Step-by-Step Guide to Setting Up Your WhatsApp Store with Templates
3 mins read · Updated 01 Oct, 2025
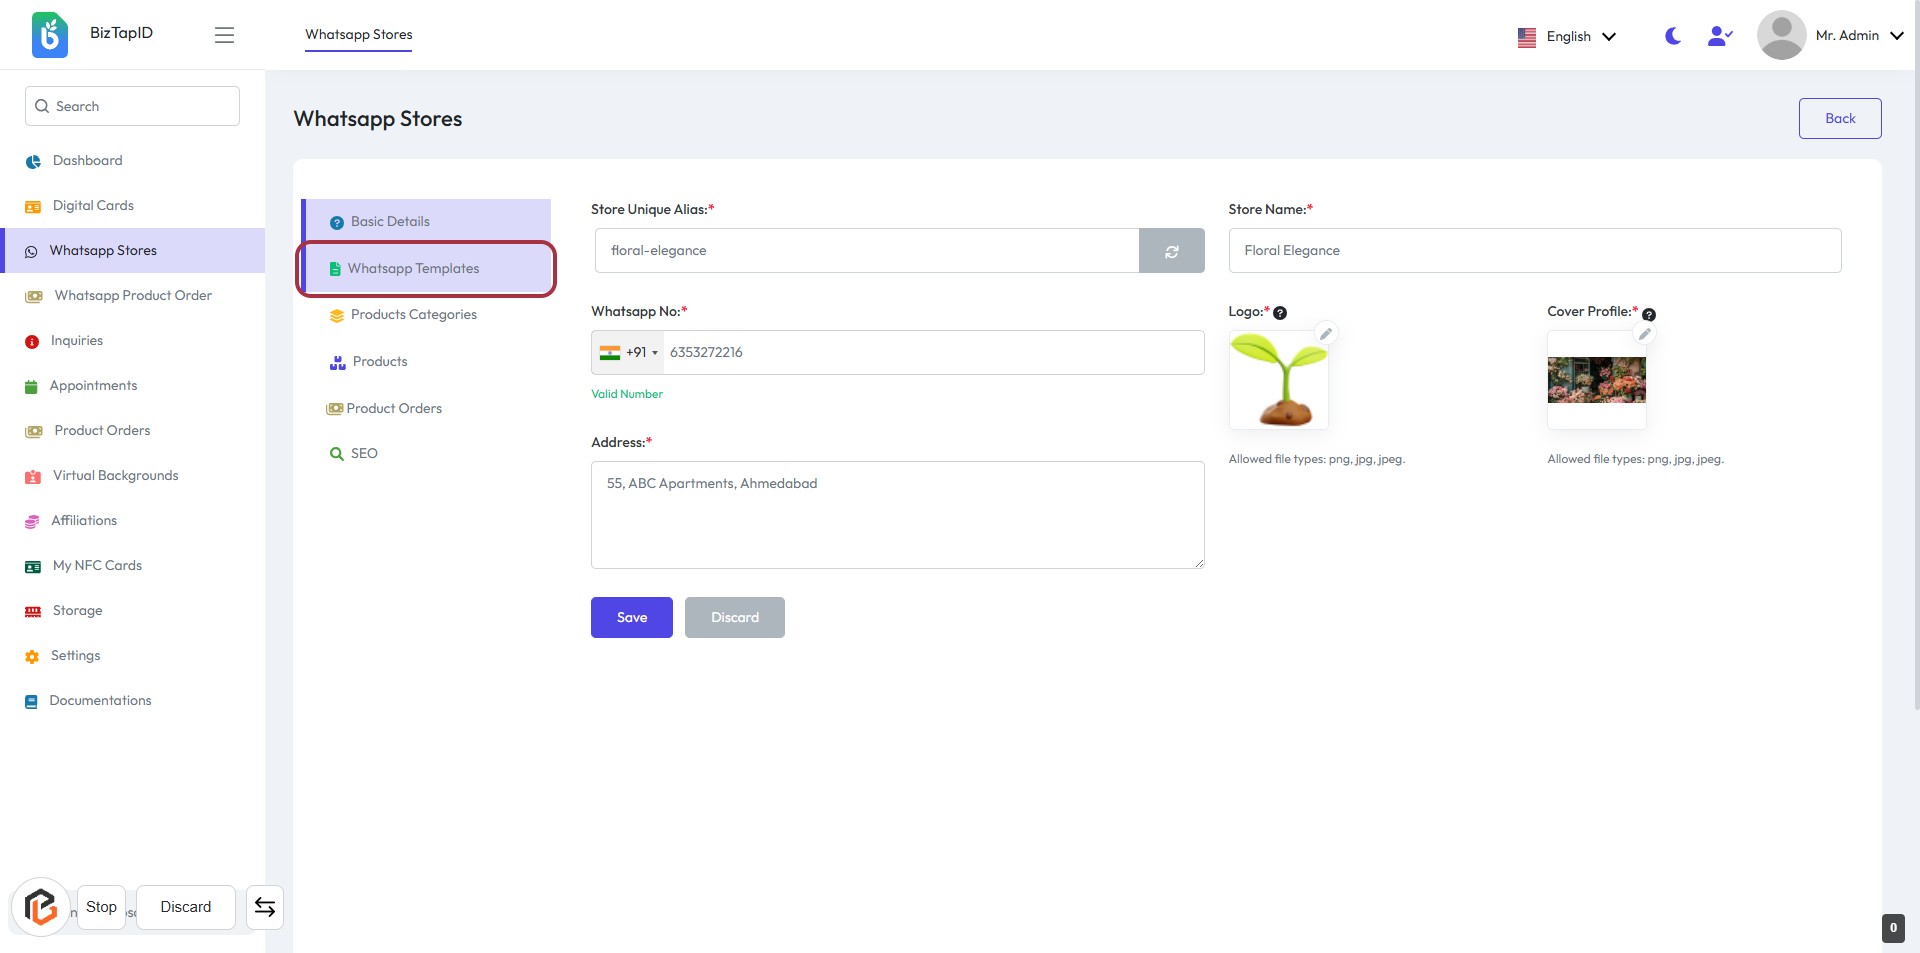
STEP 1: Click on "Whatsapp Templates"
- Navigate to the "Whatsapp Stores" section.
- Click on the "Whatsapp Templates" link highlighted in the sidebar.
- Ensure you have the following fields ready to fill:
- Store Unique Alias: (required)
- Whatsapp No: (required)
- Store Name: (required)
- Logo: (required)
- Cover Profile: (optional)
- Address: (required)
- After filling in the necessary details, proceed to the next step to select a template.
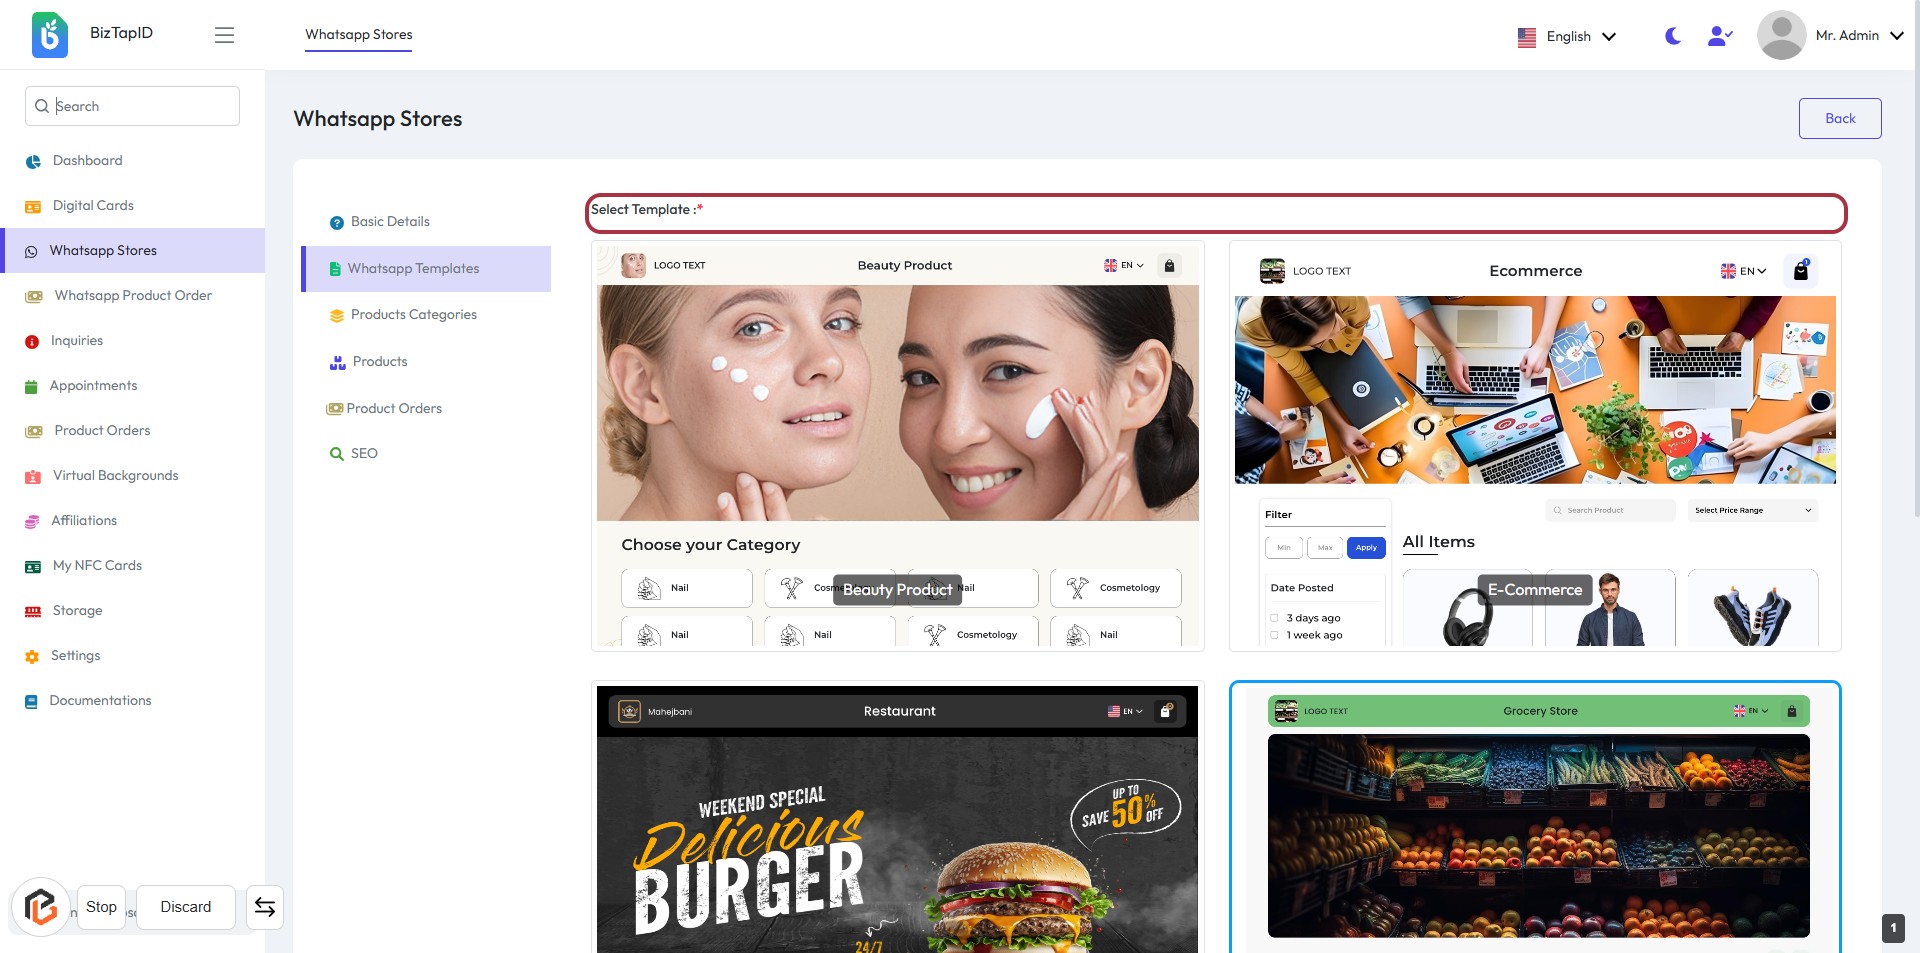
STEP 2: Select Template
- Click on the highlighted area labeled "Select Template" to choose a template for your WhatsApp store.
- Ensure to fill in any required fields marked with an asterisk (*).
- Review the available templates displayed in the adjacent sections.
- Proceed to the next step by clicking the "Save" button after selection.
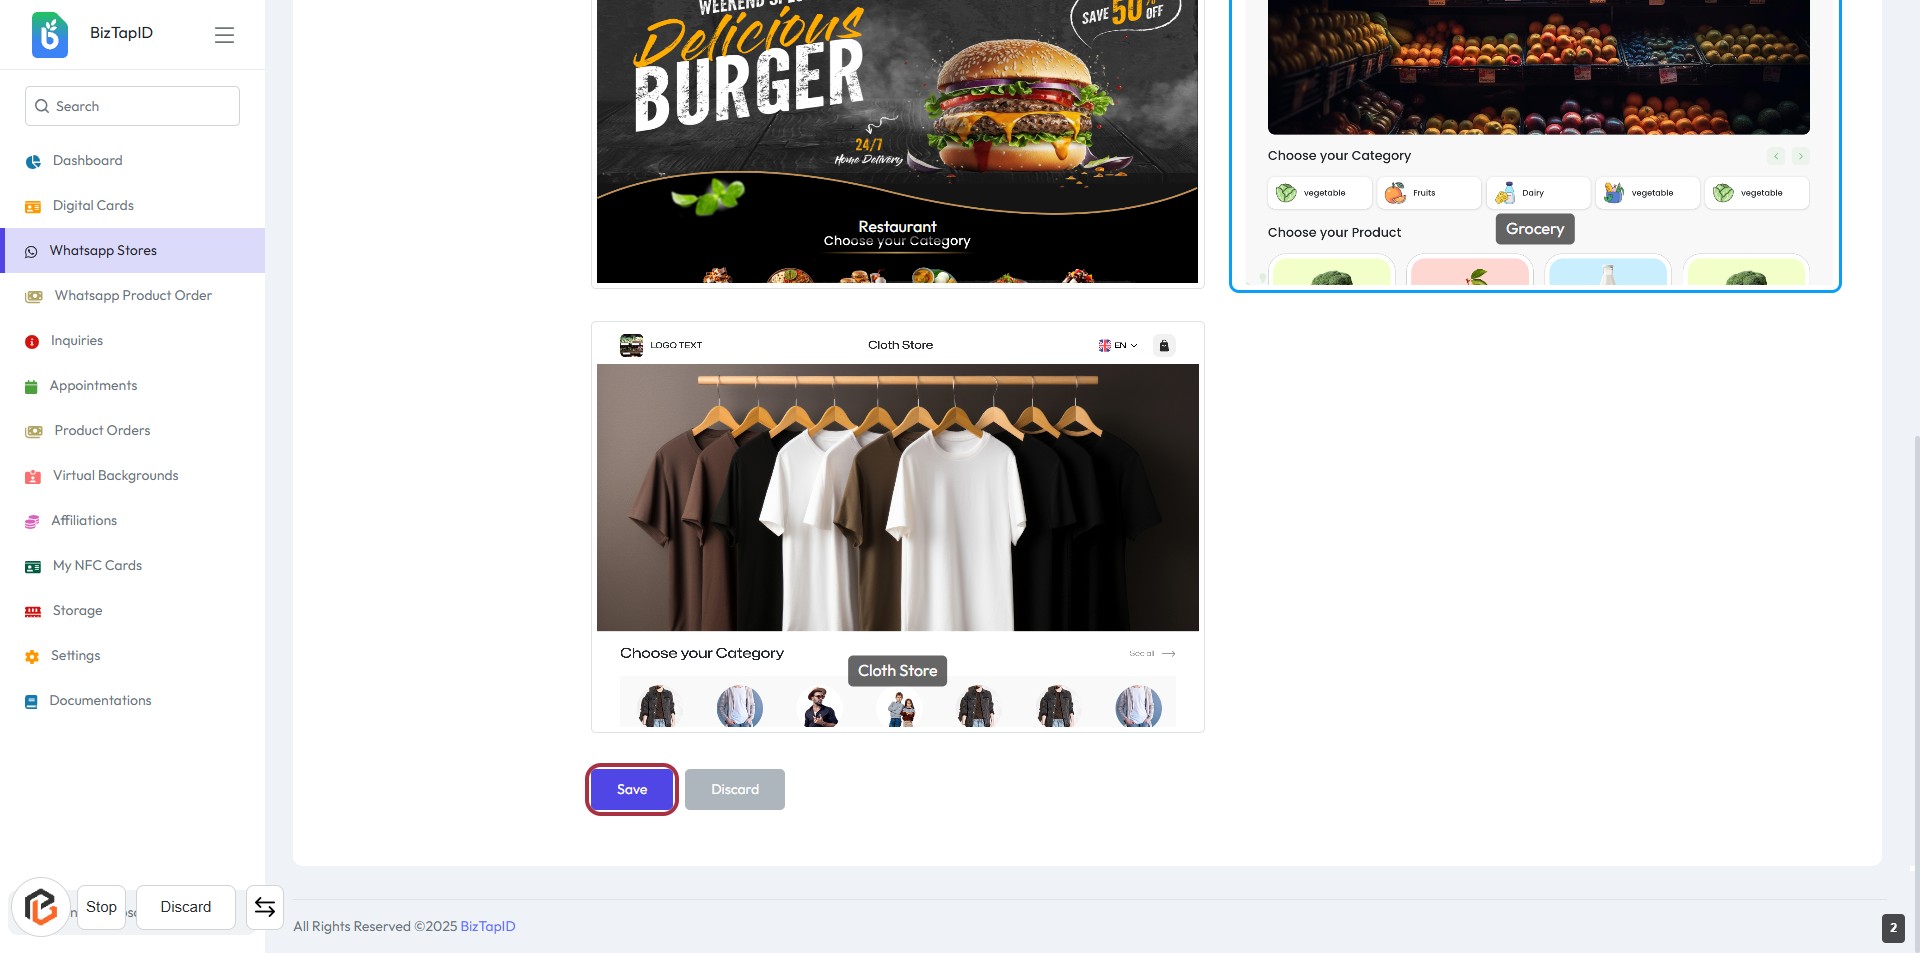
STEP 3: Click on "Save" Button
- Locate the "Save" button highlighted in the interface.
- Ensure all required fields are filled out before proceeding.
- Click the "Save" button to finalize your changes.
- Review any confirmation messages that appear after saving.