Step-by-Step Guide to Creating Your WhatsApp Store on BizTapID
11 mins read · Updated 01 Oct, 2025
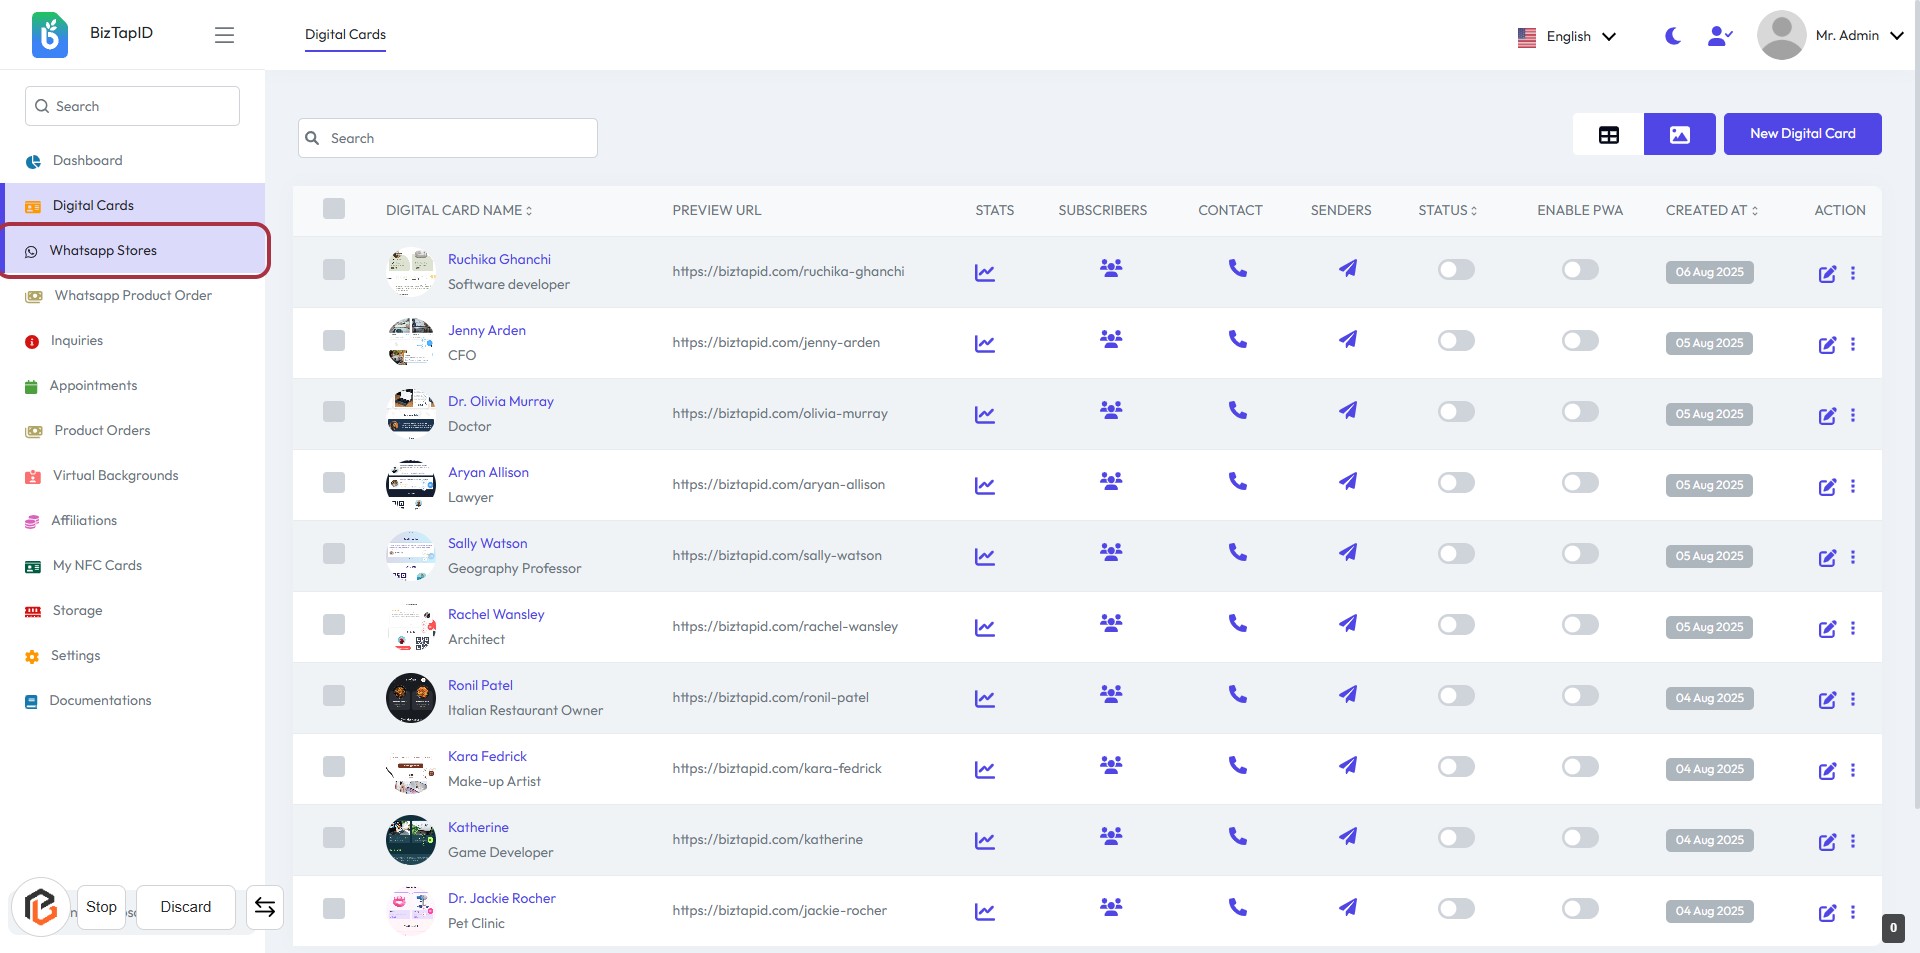
STEP 1: Click on "Whatsapp Stores" to Access the Digital Cards
- Navigate to biztapid.com.
- Click on "Whatsapp Stores" in the sidebar to view the list of digital cards.
- This section displays various digital cards with details like name, preview URL, stats, and more.
- Prepare for the next step by clicking on "New Whatsapp Store" to create a new entry.
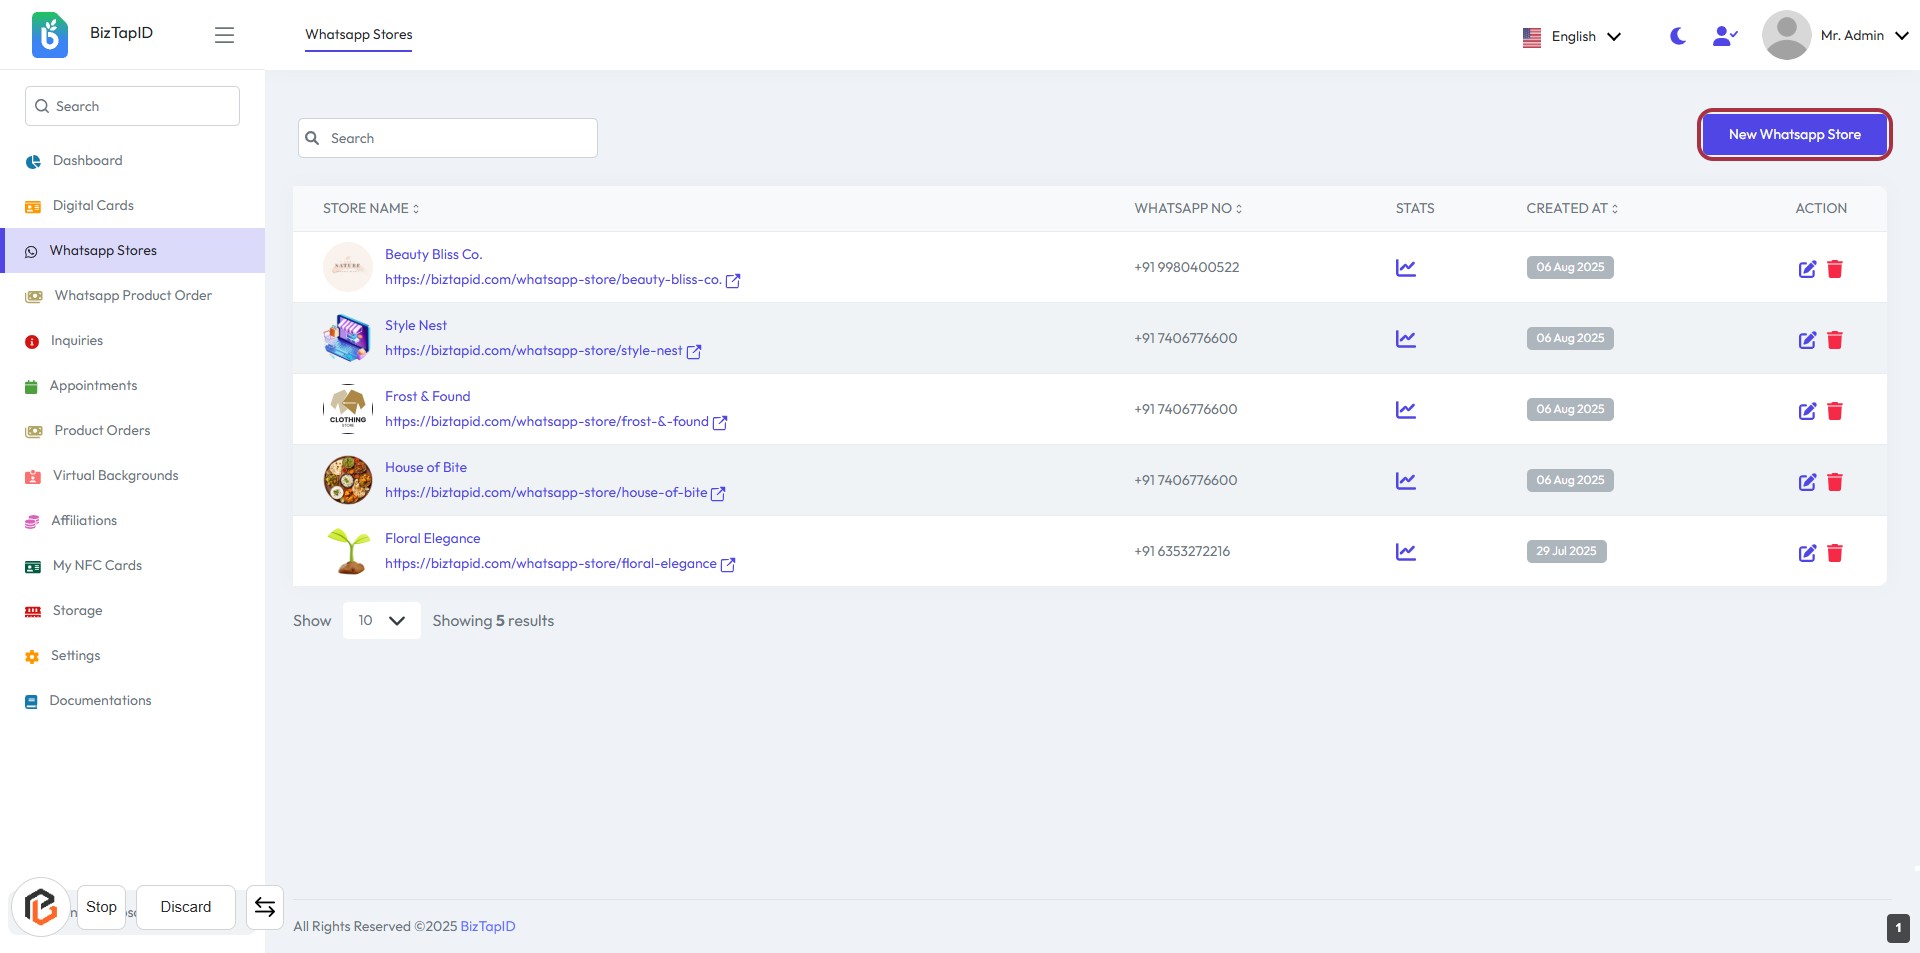
STEP 2: Click on "New Whatsapp Store"
- Navigate to the "Whatsapp Stores" section.
- Click on the "New Whatsapp Store" link located in the highlighted area.
- This action will direct you to the form for creating a new WhatsApp store.
- Ensure all required fields marked with an asterisk (*) are filled in the next step.
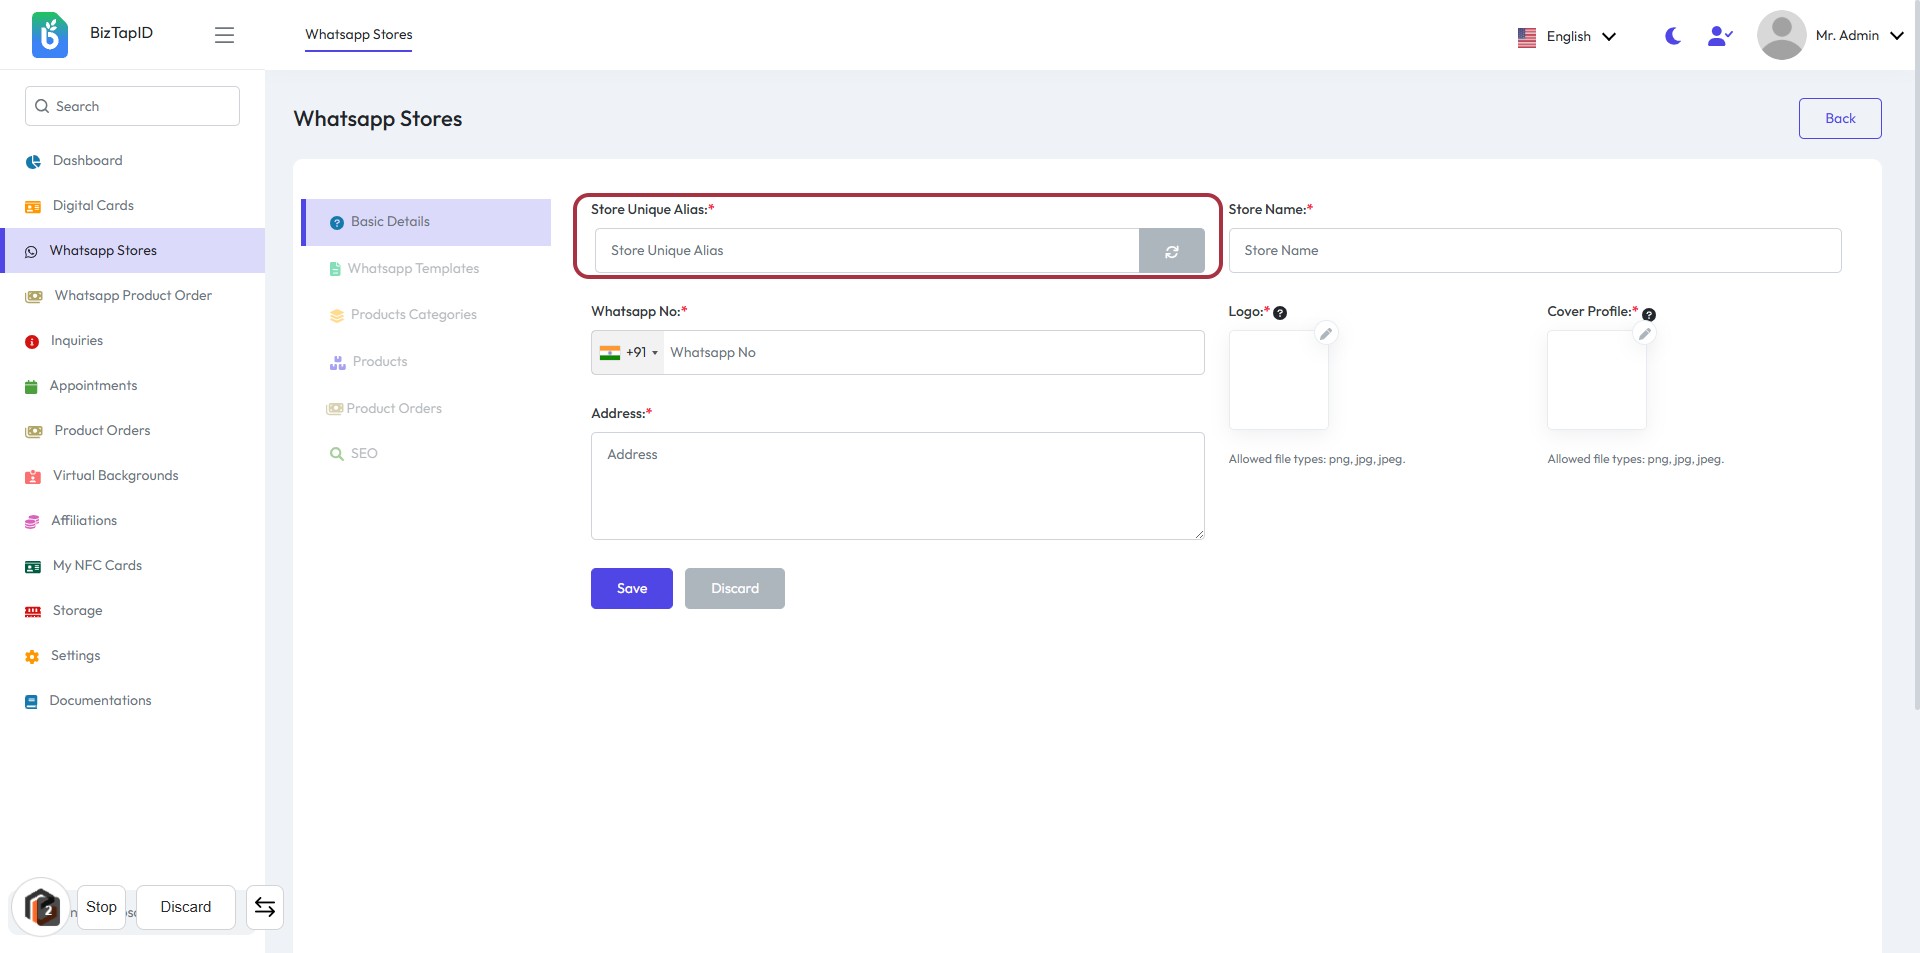
STEP 3: Enter "Store Unique Alias"
- Click on the "Store Unique Alias" field.
- Input a unique identifier for your store (required).
- Ensure the alias is distinct to avoid conflicts.
- Proceed to the next step by entering the "Store Name" after filling this field.
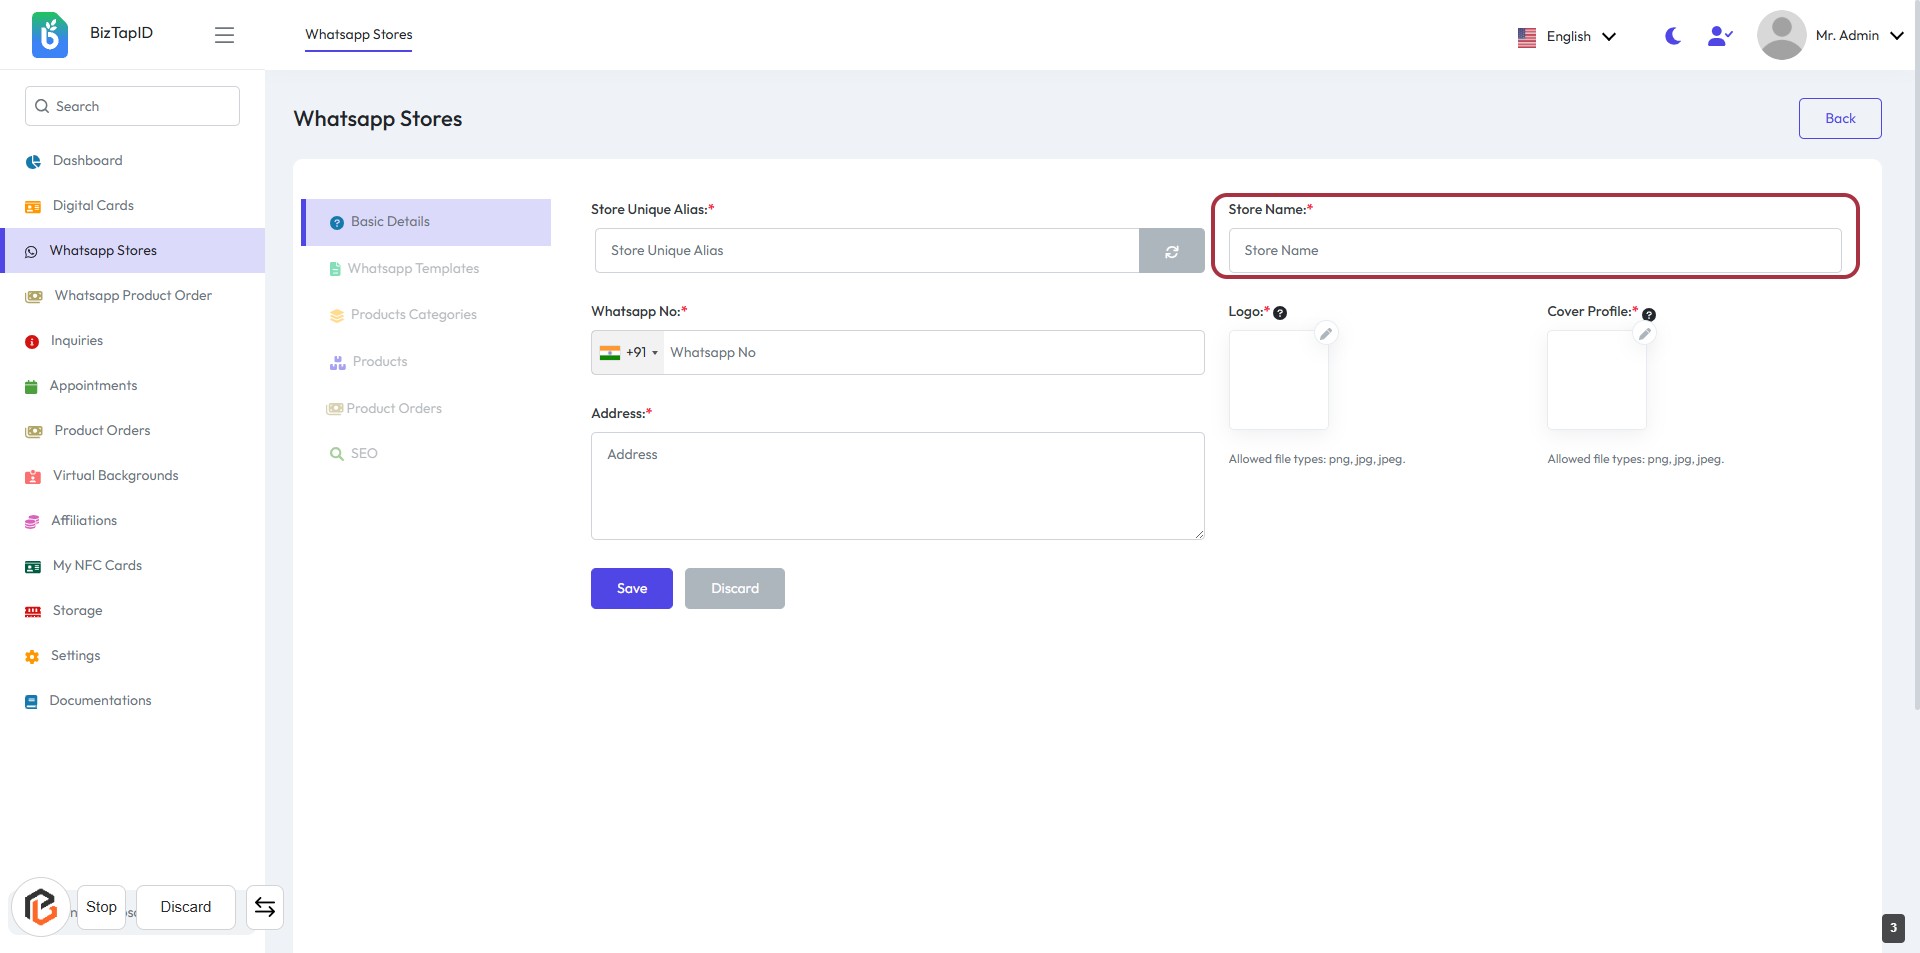
STEP 4: Enter "Store Name"
- Click on the highlighted area labeled "Store Name:".
- Fill in the required field with the name of your store.
- Ensure that the field marked with an asterisk (*) is completed, as it is mandatory.
- Proceed to the next step by entering the "WhatsApp No".
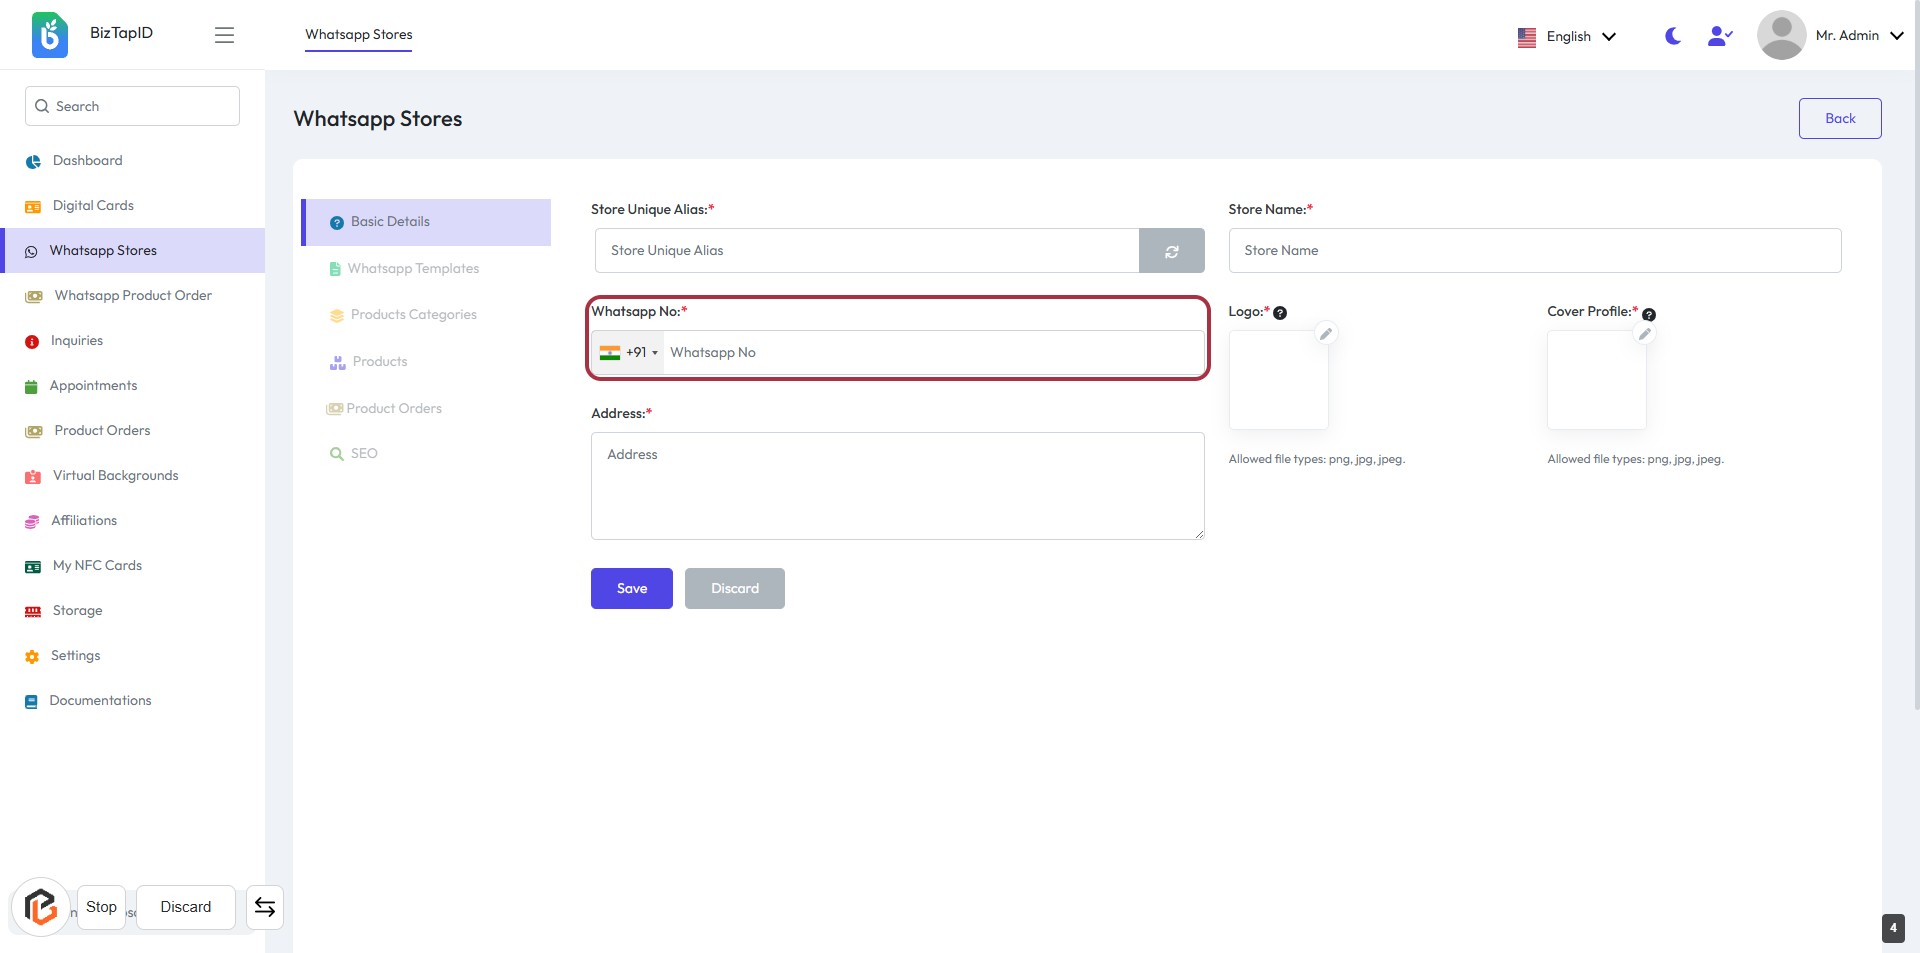
STEP 5: Enter "WhatsApp No"
- Click on the highlighted area labeled "WhatsApp No."
- Select the country code (+91) from the dropdown.
- Enter your WhatsApp number in the provided field.
- Ensure the field marked with an asterisk (*) is filled, as it is required.
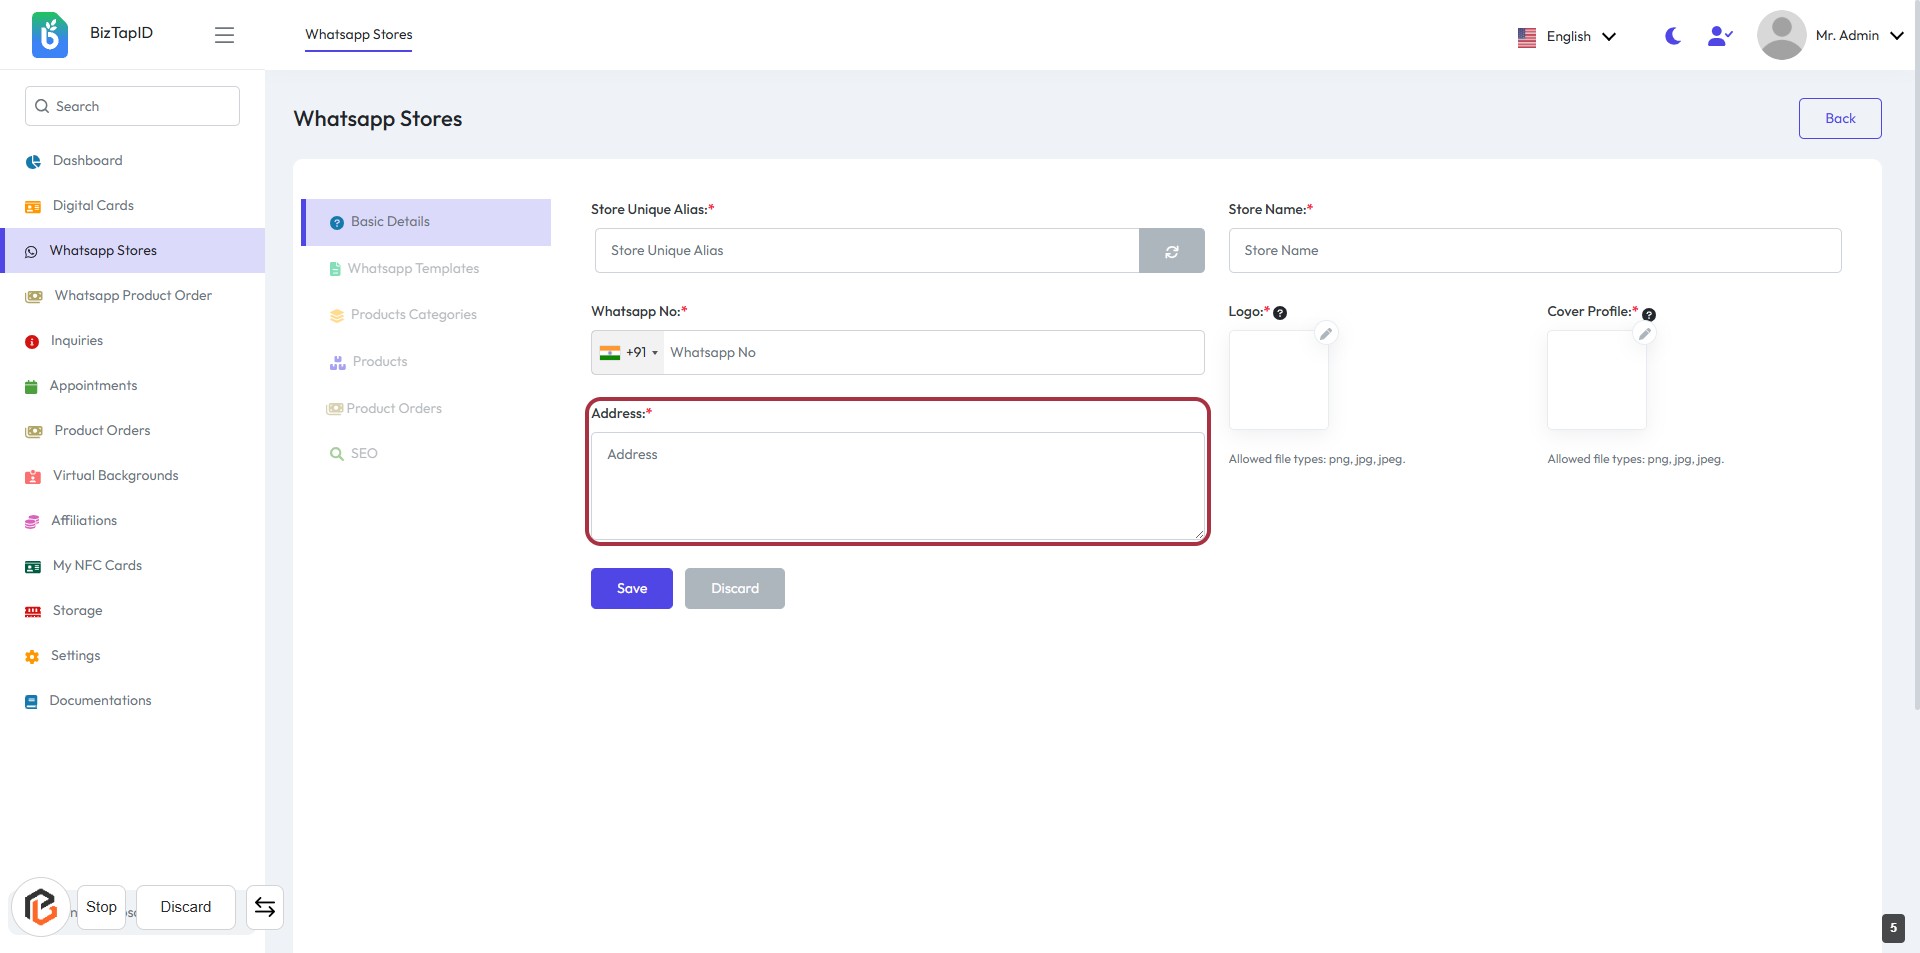
STEP 6: Enter "Address"
- Click on the highlighted area labeled "Address:" to input your store's address.
- Ensure to fill in the required field marked with an asterisk (*).
- Review the address for accuracy before proceeding to the next step.
- After entering the address, you can continue to upload your logo.
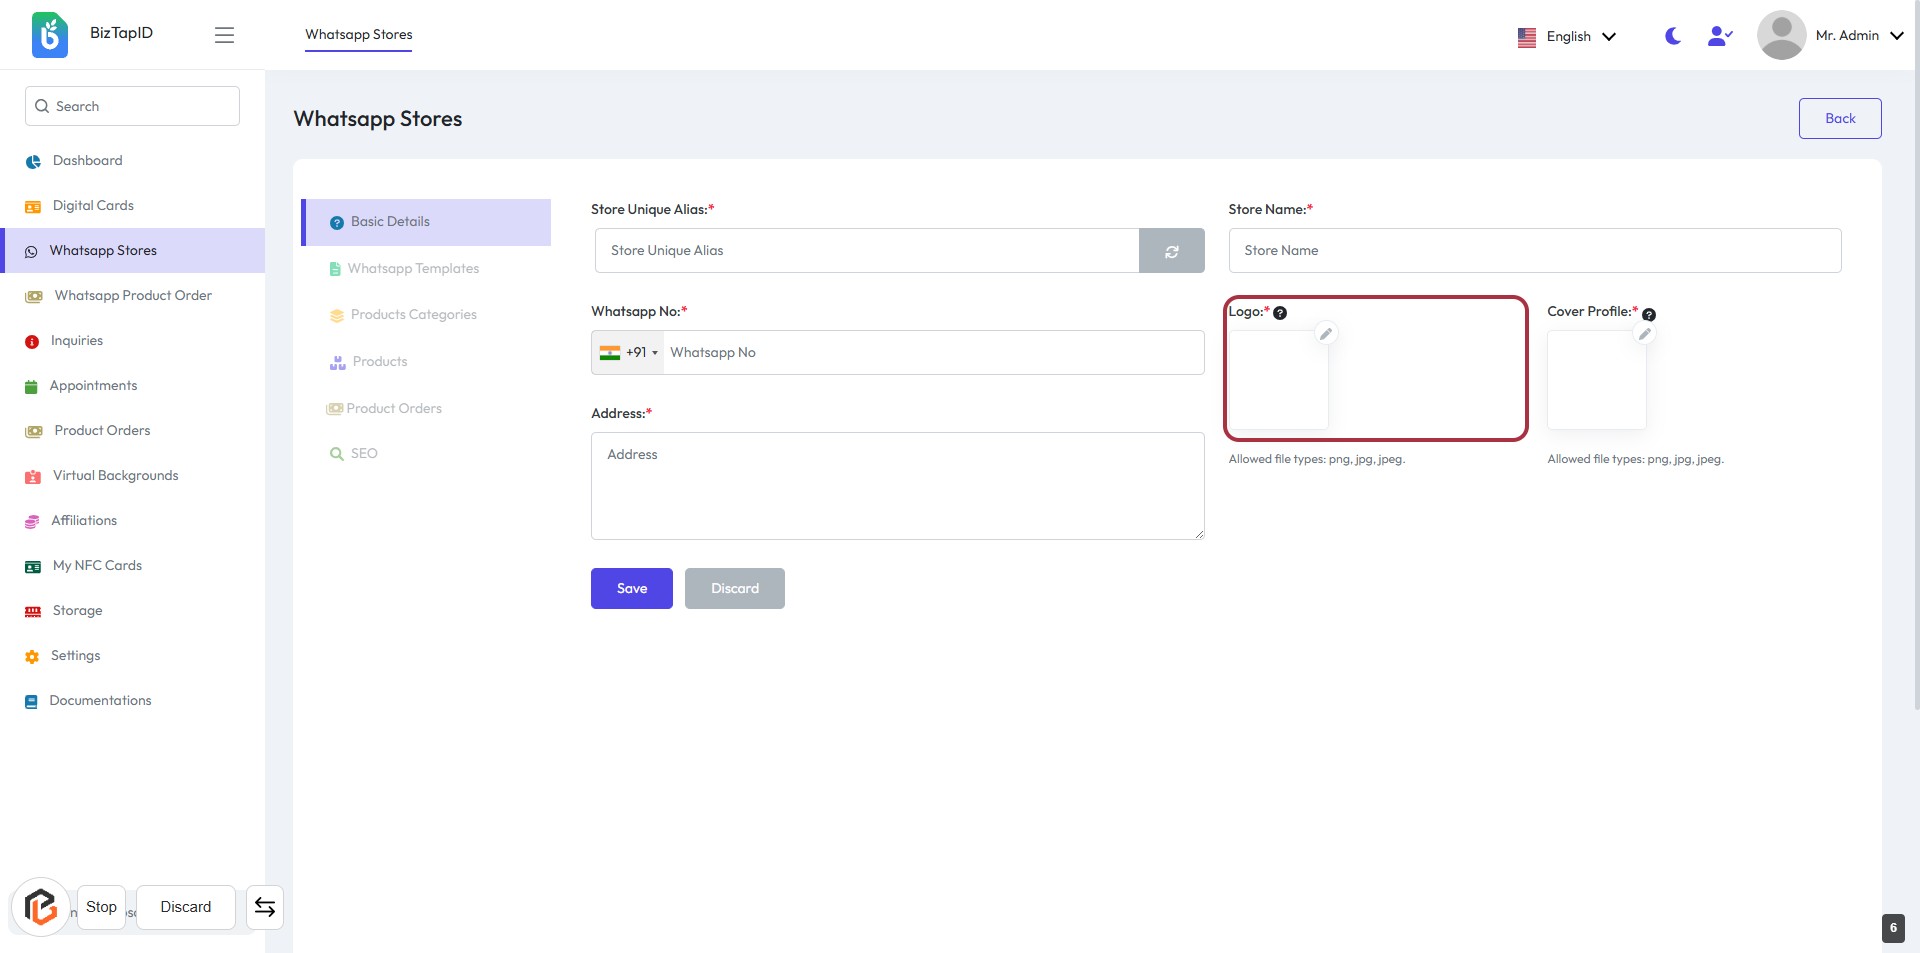
STEP 7: Upload Logo for Your Store
- Click on the Logo: section highlighted in red to upload your store's logo.
- Ensure the logo file is in png, jpg, or jpeg format.
- This field is required, indicated by the asterisk (*).
- After uploading, proceed to the next step to upload the Cover Profile.
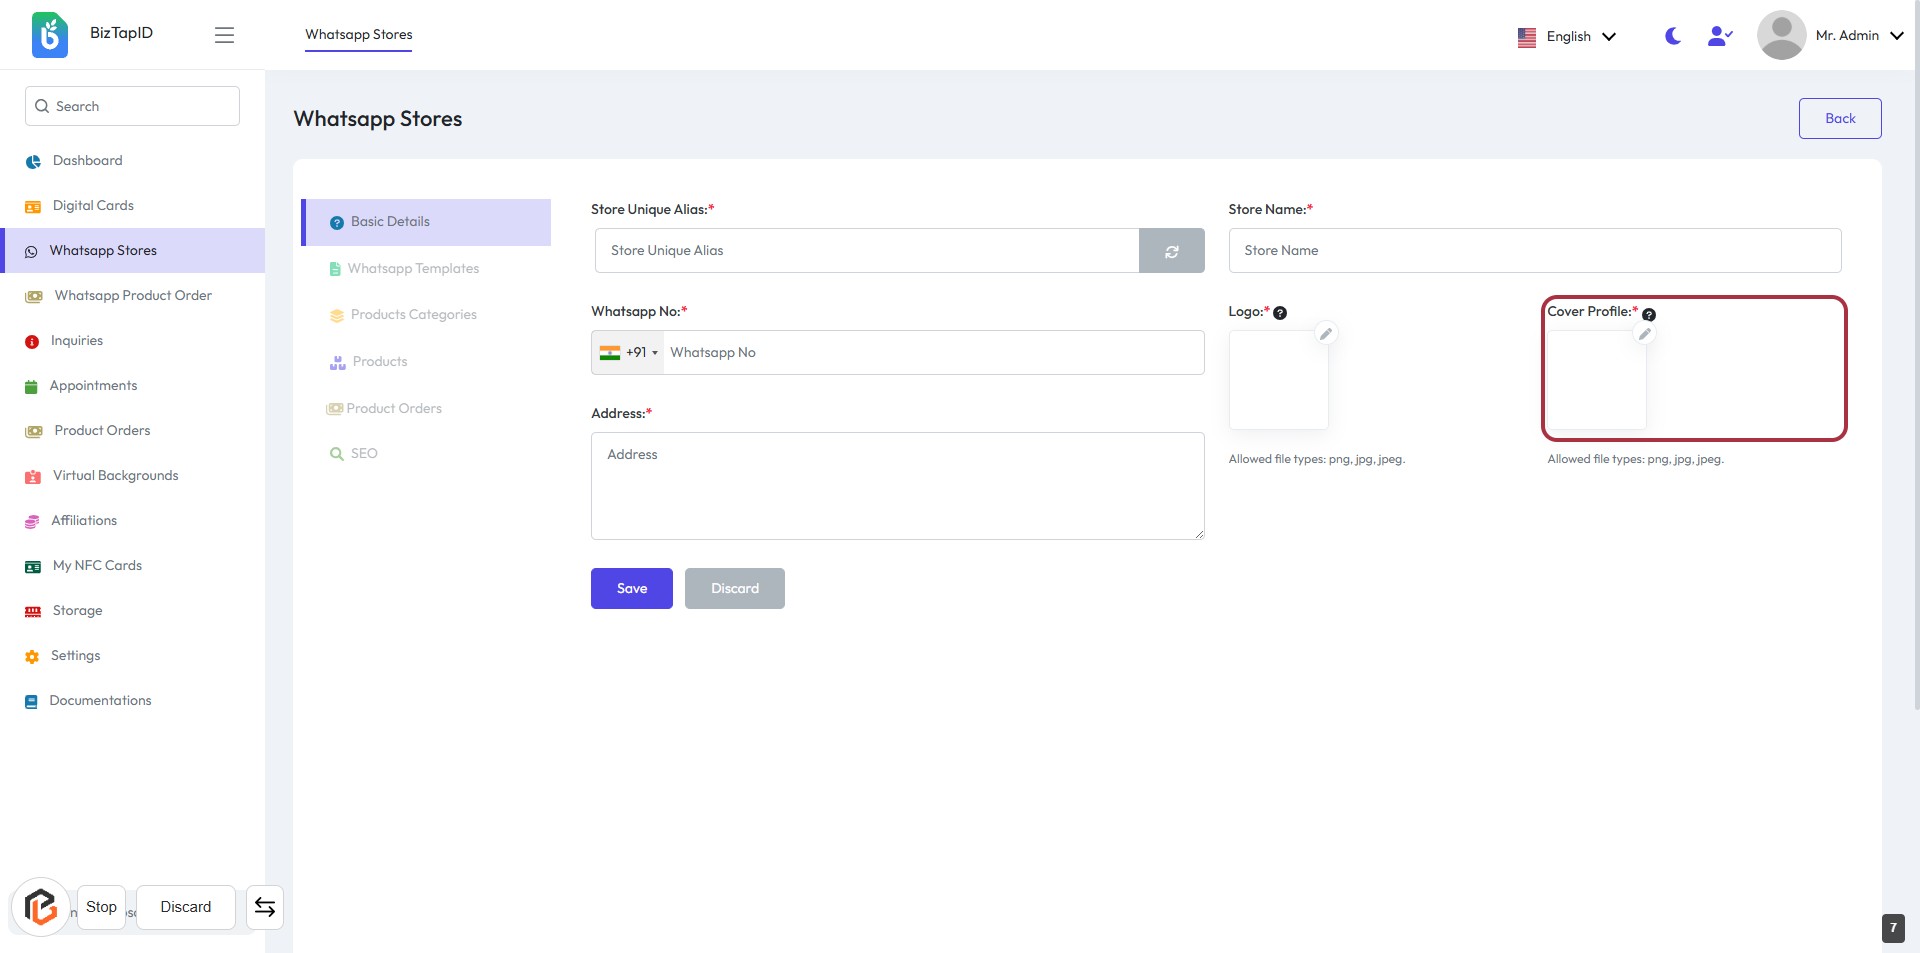
STEP 8: Click to Upload Cover Profile
- Navigate to the "Cover Profile" section on the form.
- Click on the designated area to upload your cover profile image.
- Ensure the image meets the allowed file types: png, jpg, jpeg.
- Review any additional instructions or tips provided in the interface.
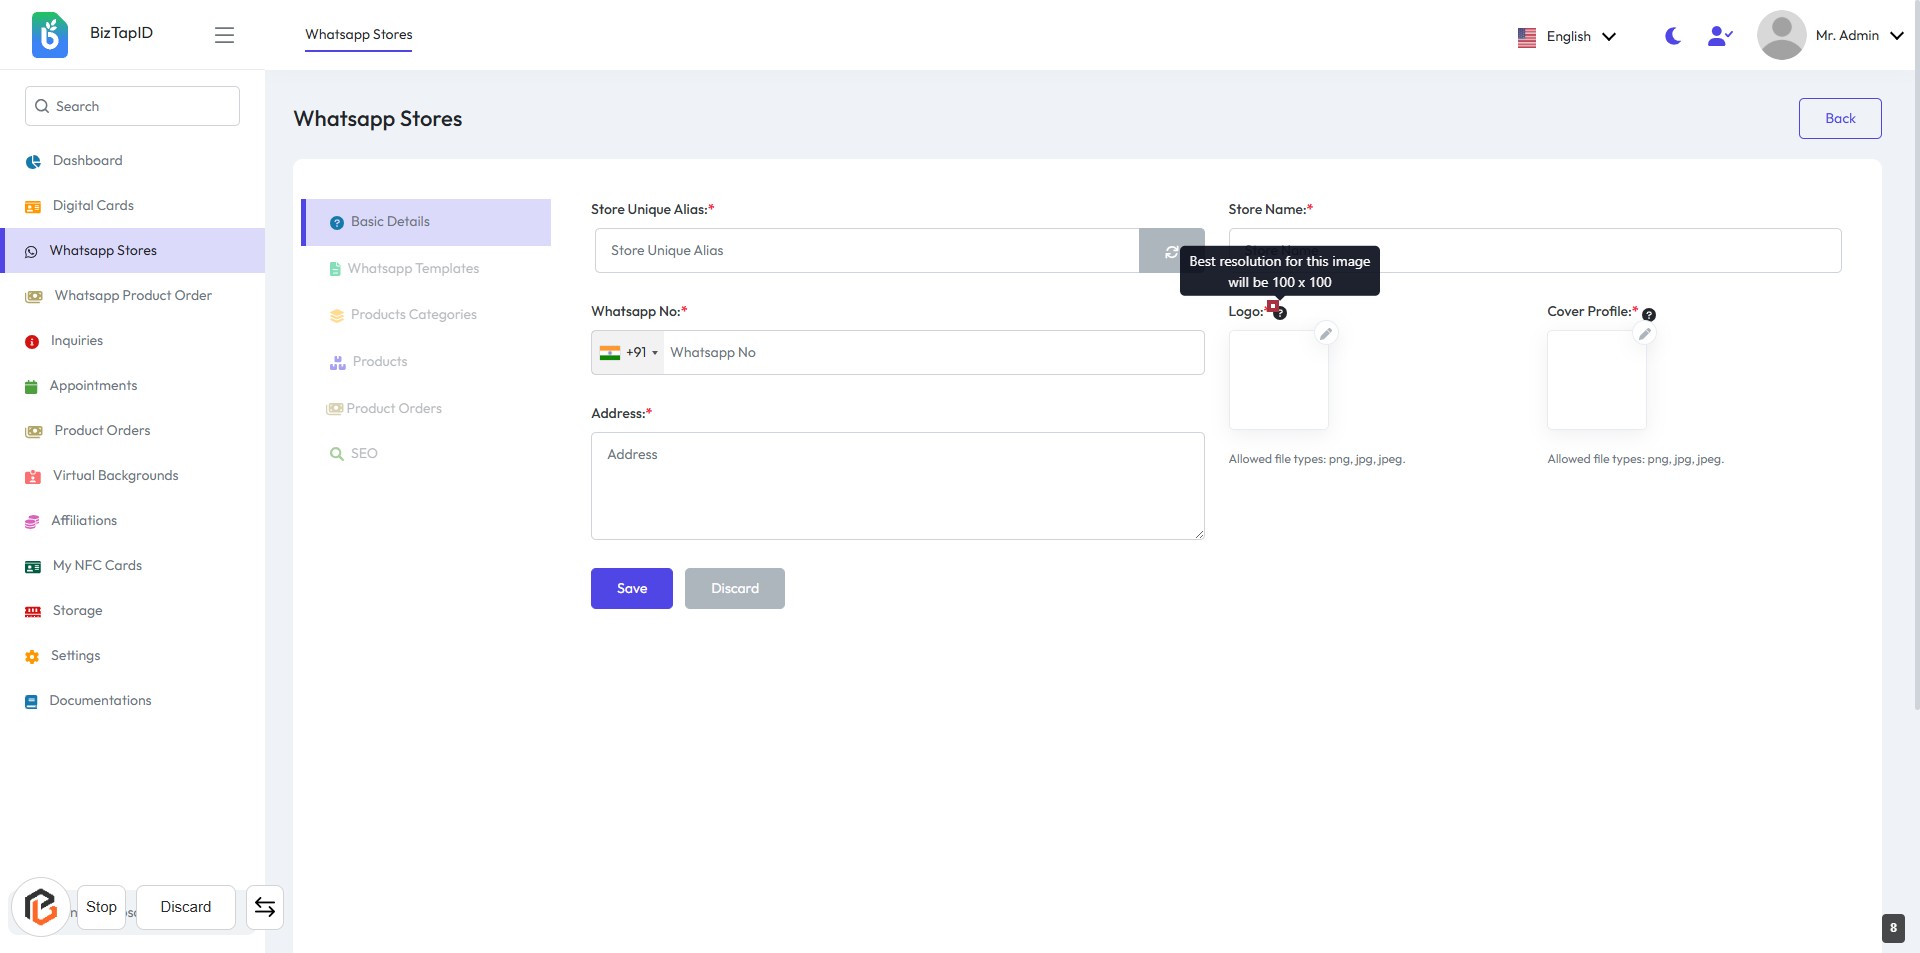
STEP 9: Click on "?" to view Logo size
- Locate the "Logo:" section in the form.
- Click on the "?" icon next to the logo field.
- A tooltip will appear, indicating the recommended logo size (100 x 100).
- Ensure your logo meets this size requirement for optimal display.
- Proceed to fill in other required fields as indicated by asterisks (*).
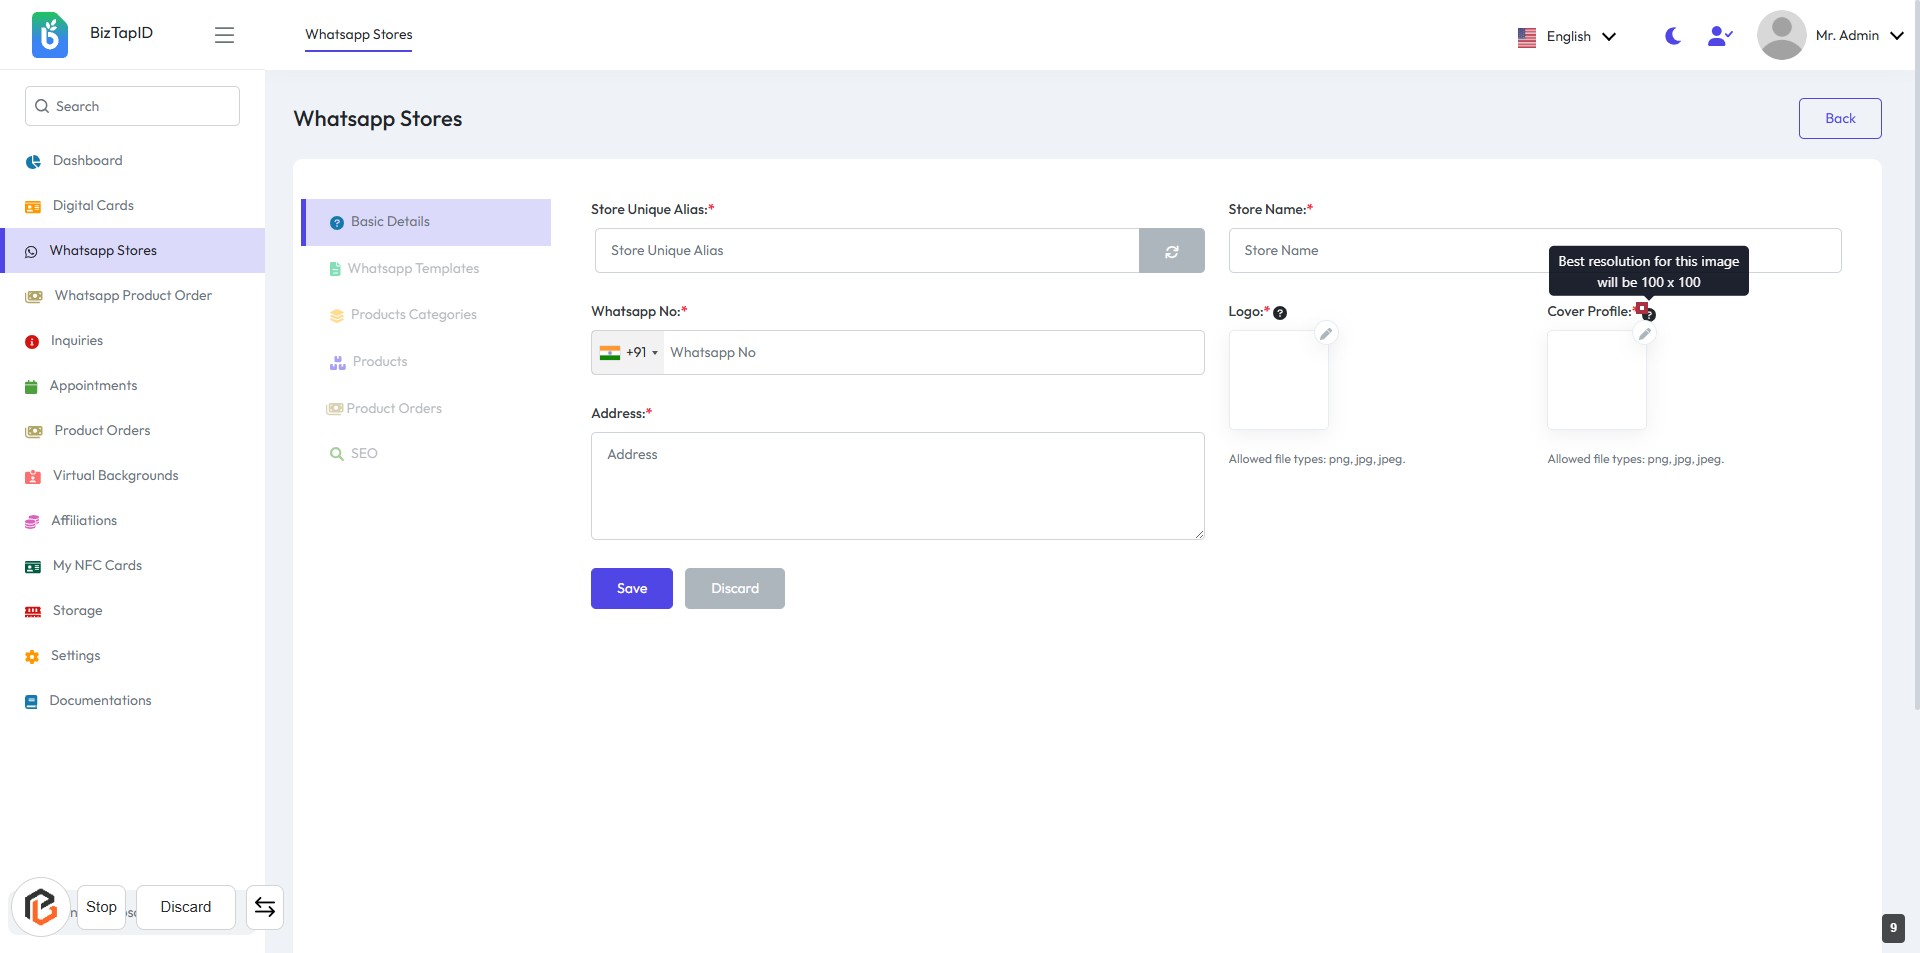
STEP 10: Click on "?" to view Cover Profile Size
- Locate the "Cover Profile" section in the form.
- Click on the "?" icon next to the "Cover Profile" label.
- A tooltip will appear, indicating the best resolution for the cover profile image (100 x 100).
- Ensure you have the correct image dimensions before uploading.
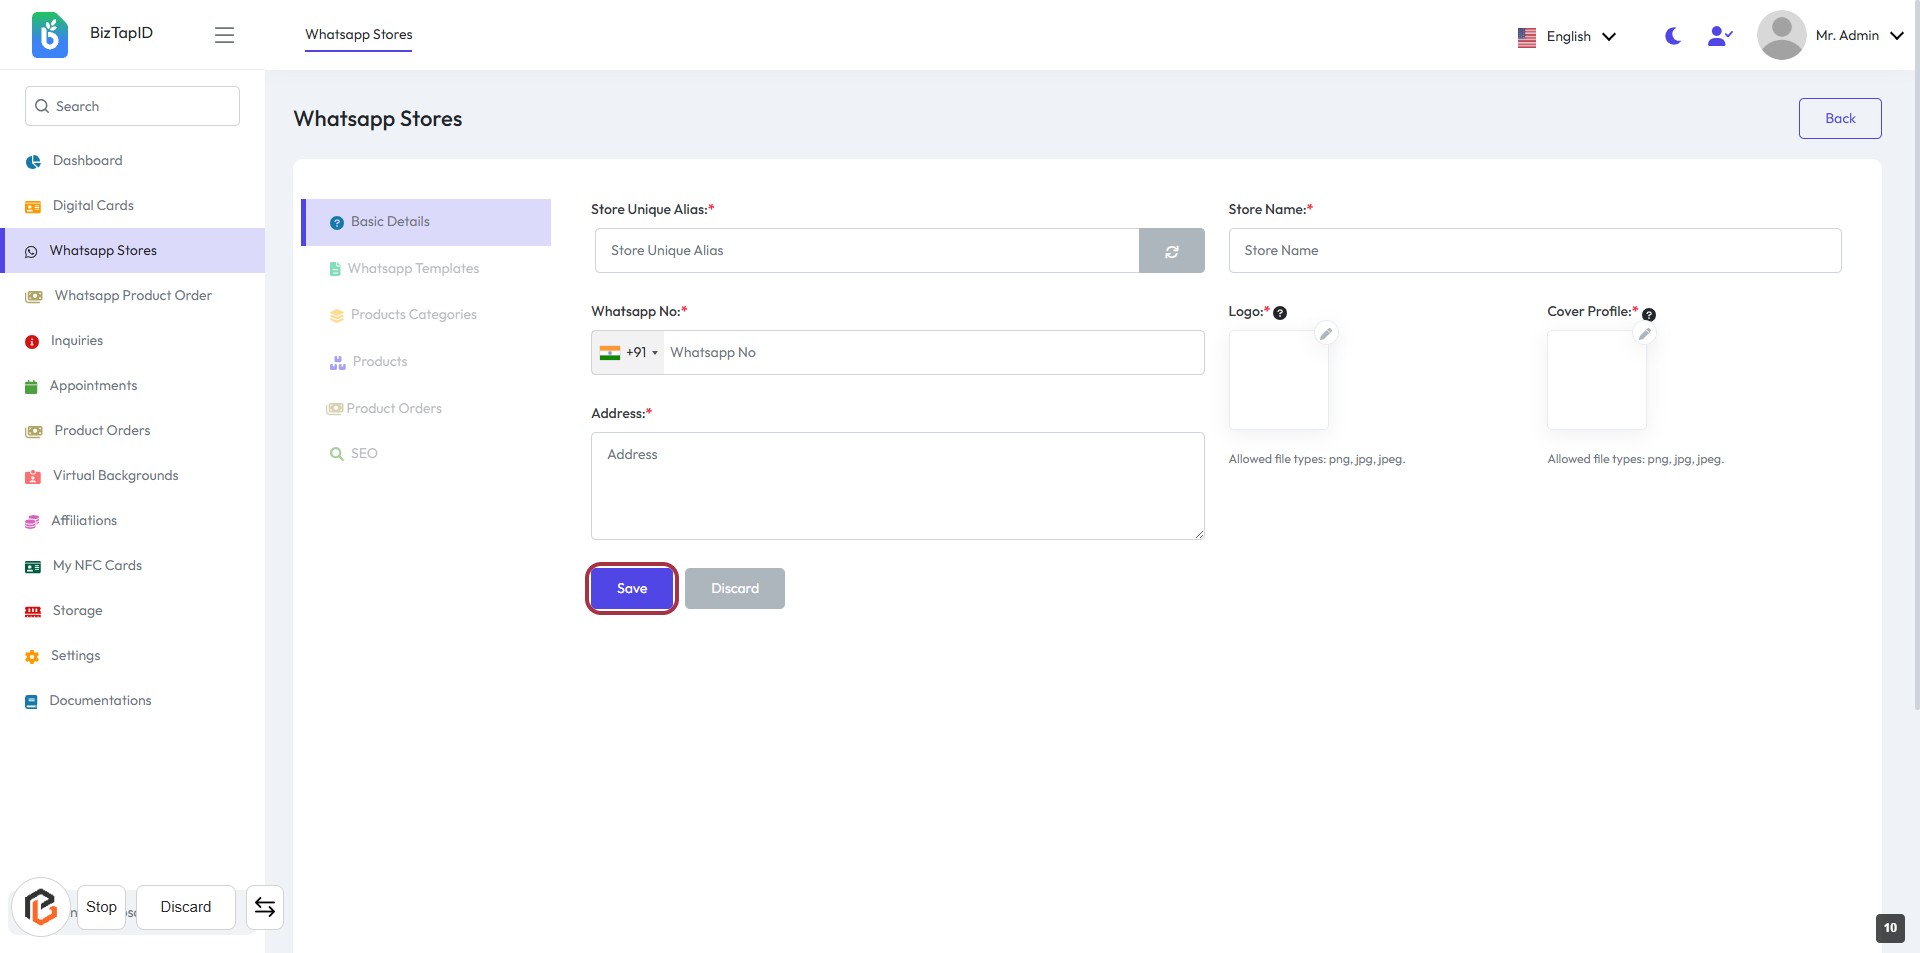
STEP 11: Click on "Save" Button
- Ensure all required fields (marked with *) are filled: Store Unique Alias, Store Name, Whatsapp No, and Address.
- Review your entries for accuracy.
- Click the "Save" button located at the bottom of the form to submit your information.