Step-by-Step Guide to Creating a New WhatsApp Store on the BizTapID Dashboard
9 mins read · Updated 01 Oct, 2025
STEP 1: Click on "Whatsapp Stores"
- Navigate to the BizTapID dashboard.
- Locate the "Digital Cards" section on the left sidebar.
- Click on "Whatsapp Stores" to access the related options.
- This will direct you to the list of existing WhatsApp stores.
- Prepare for the next action by clicking on "New Whatsapp Store."

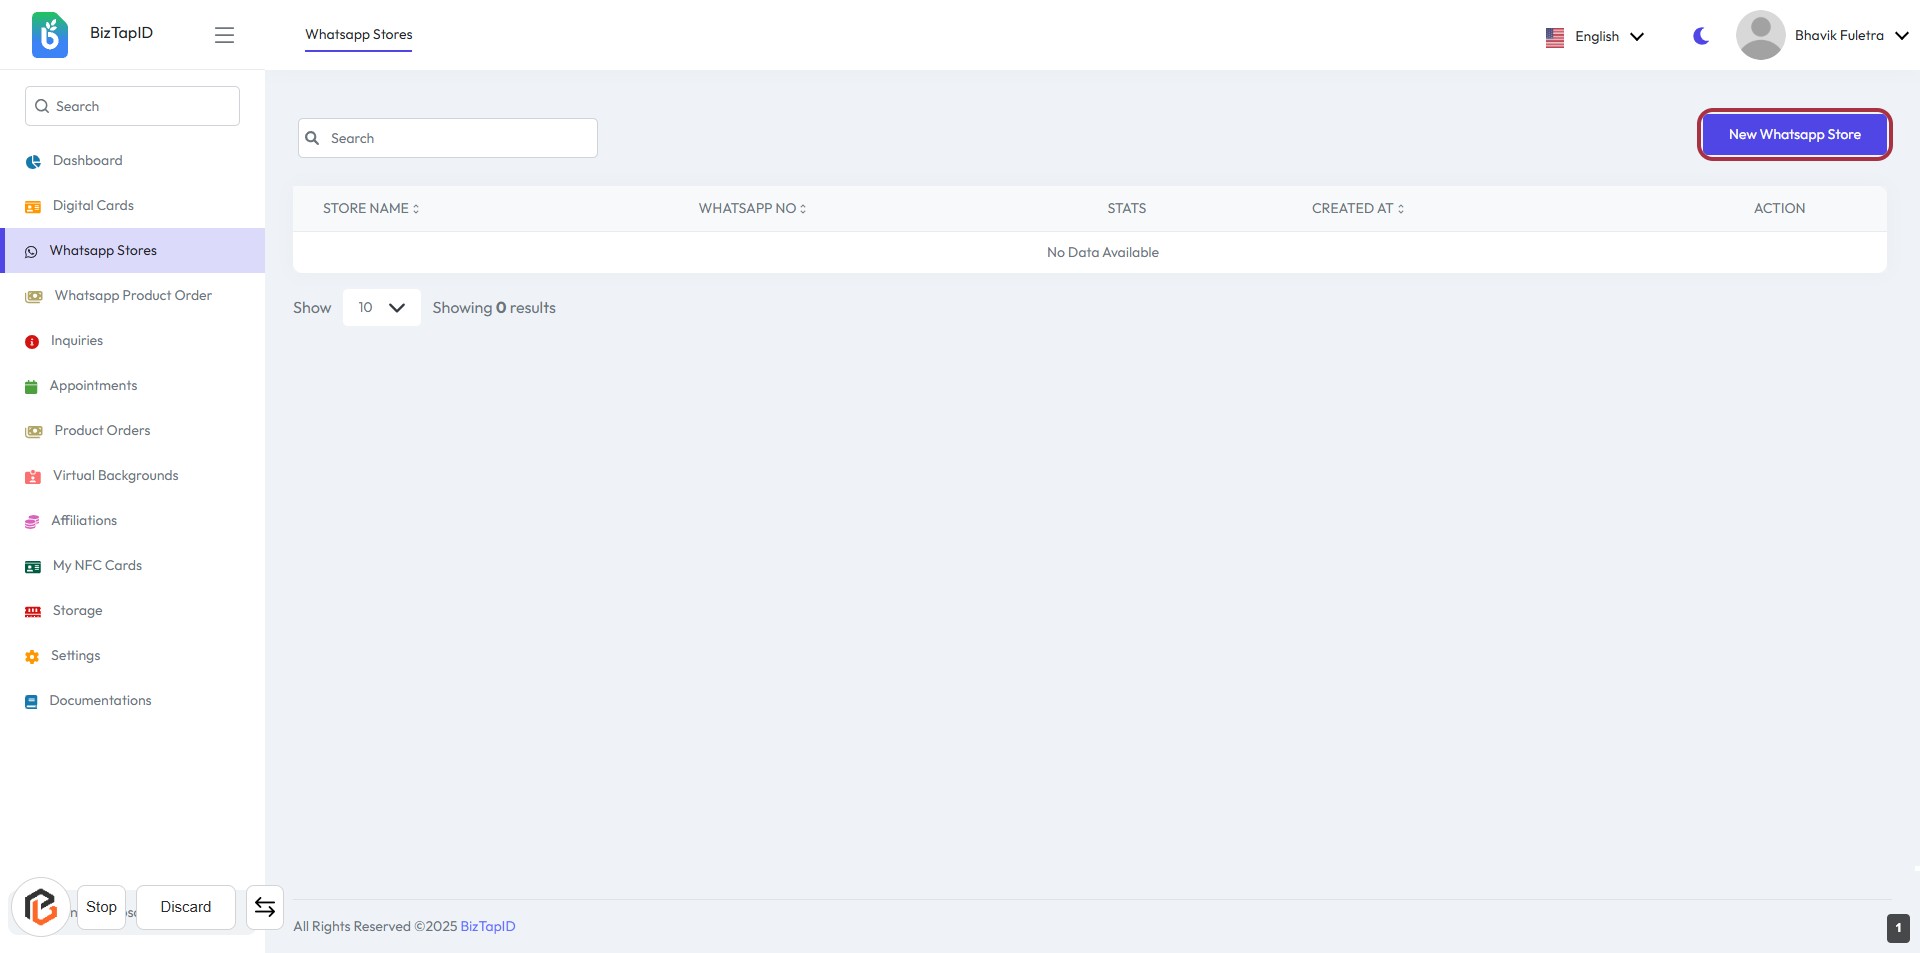
STEP 2: Click on "New Whatsapp Store"
- Navigate to the "Whatsapp Stores" section.
- Click on the highlighted button labeled "New Whatsapp Store".
- This action will lead you to the next step where you will enter the "Store Unique Alias".
- Ensure you have the necessary information ready for the next input.
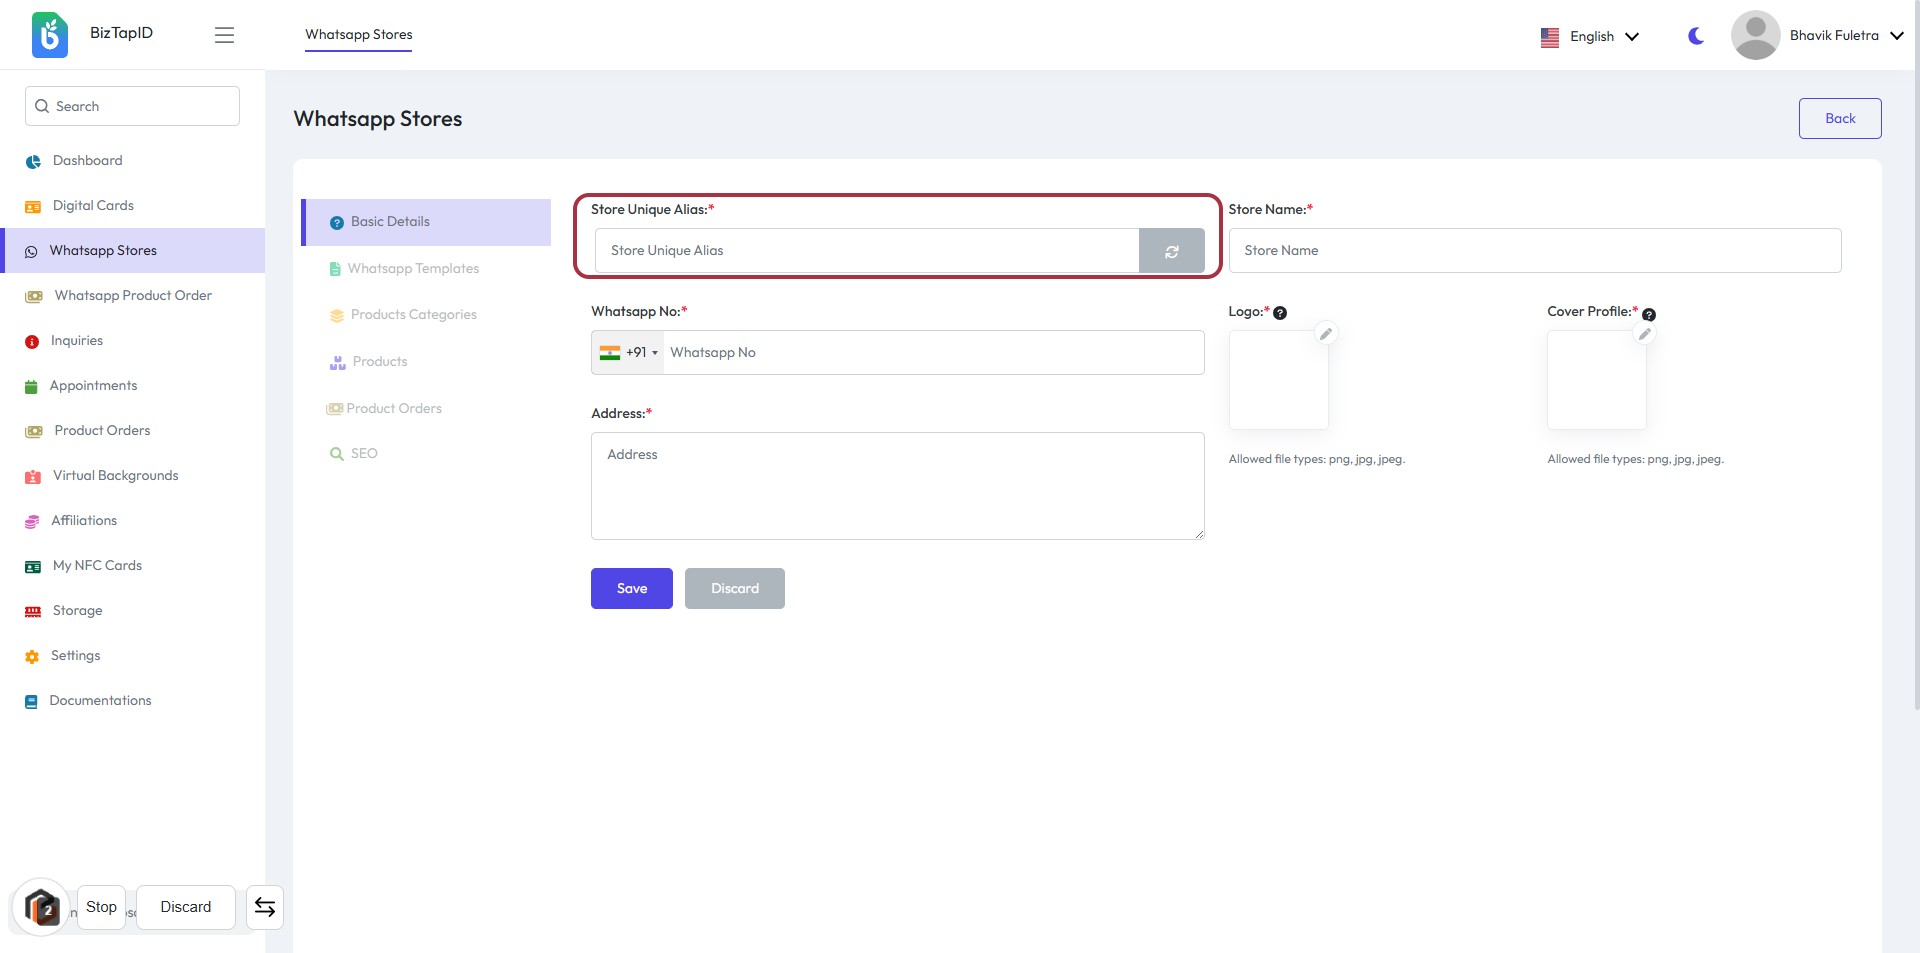
STEP 3: Enter "Store Unique Alias"
- Click on the "Store Unique Alias" field.
- Input a unique identifier for your store (required).
- Ensure the alias is distinct to avoid conflicts.
- Proceed to the next step by entering the "Store Name."
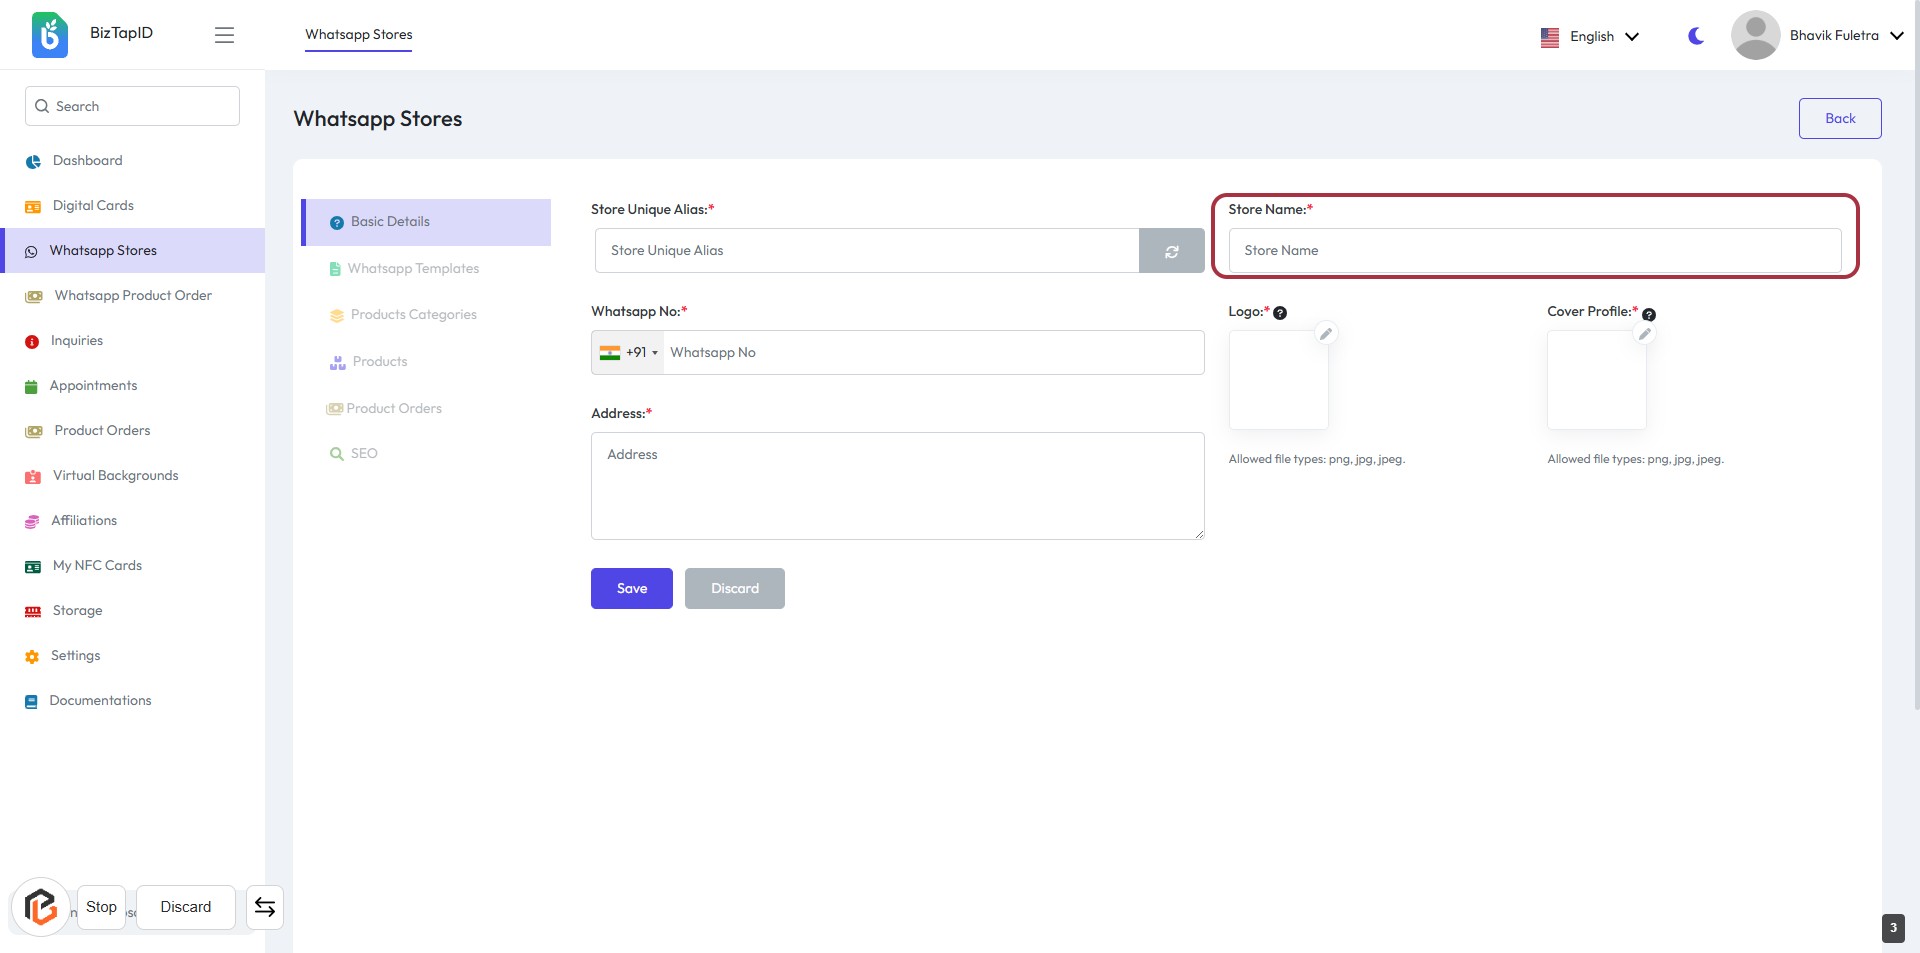
STEP 4: Enter "Store Name"
- Click on the "Store Name" field.
- Fill in the required information for the store name (indicated by the asterisk).
- Ensure the name is unique and relevant to your business.
- Proceed to the next step by entering the "WhatsApp No."
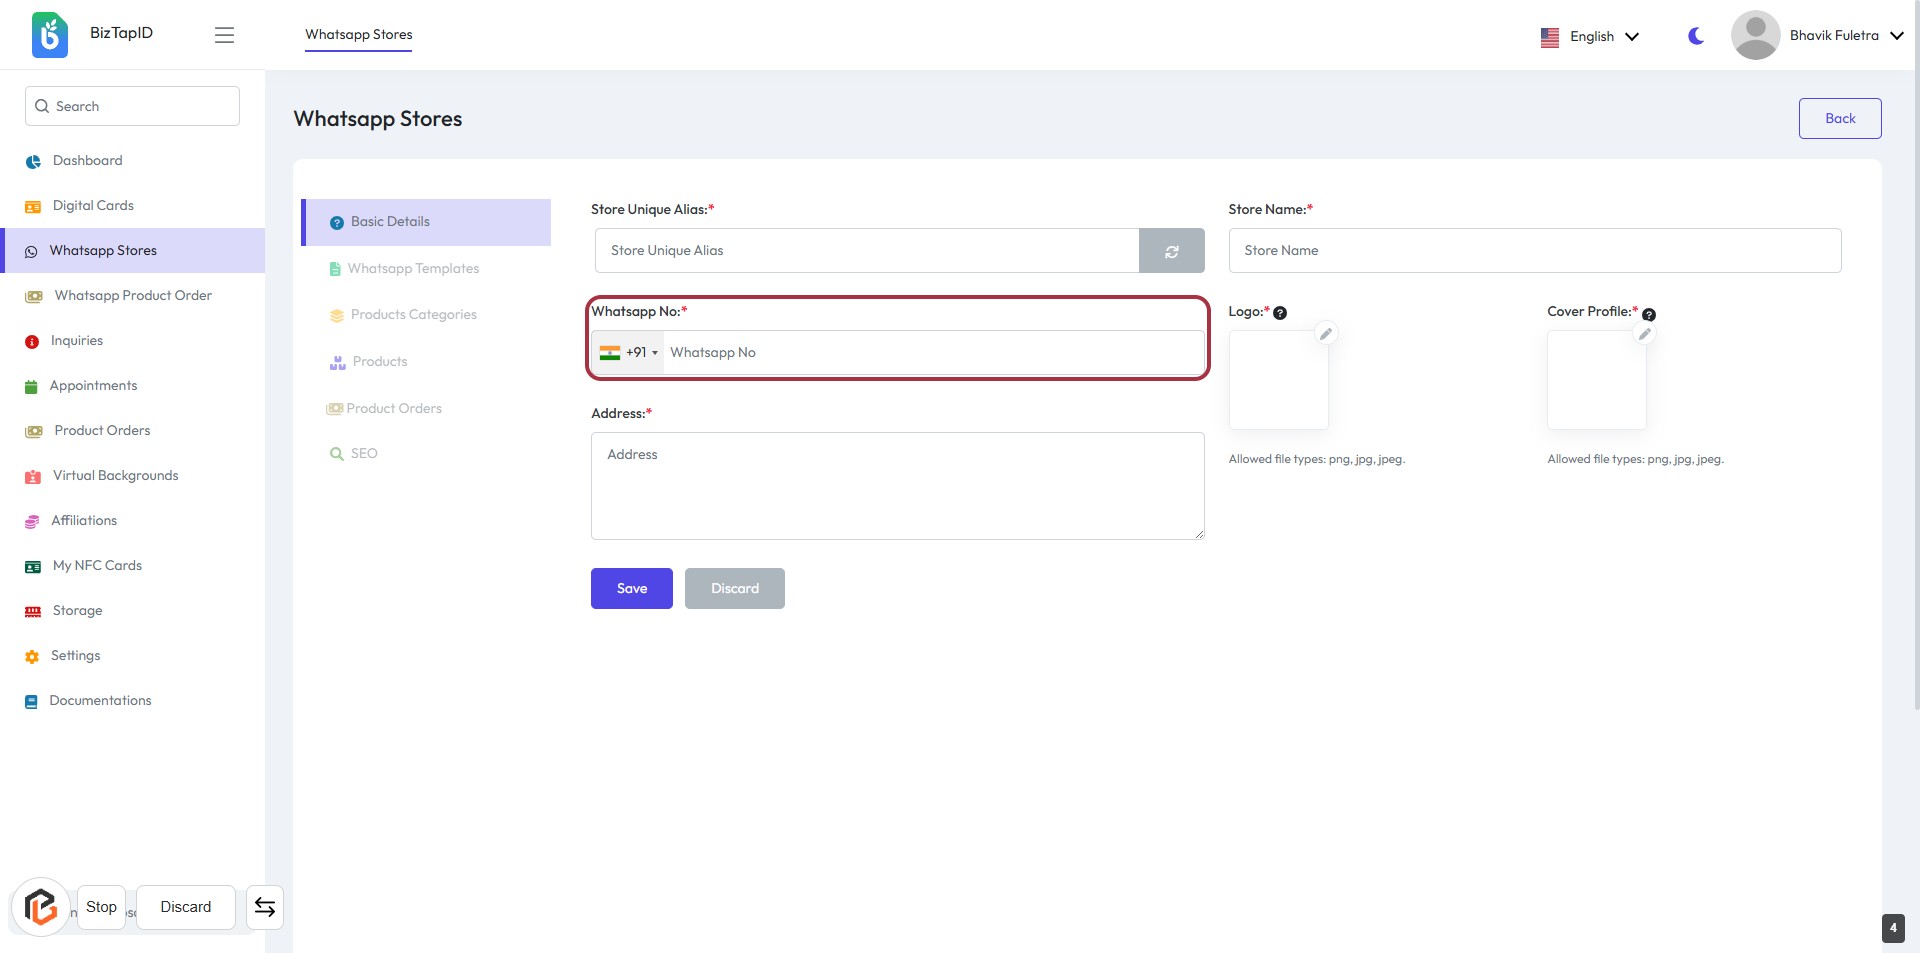
STEP 5: Enter "WhatsApp No"
- Click on the highlighted area labeled "WhatsApp No."
- Select the country code (+91) from the dropdown.
- Enter your WhatsApp number in the provided field.
- Ensure that the field marked with an asterisk (*) is filled, as it is required.
- Proceed to the next step by entering your address.
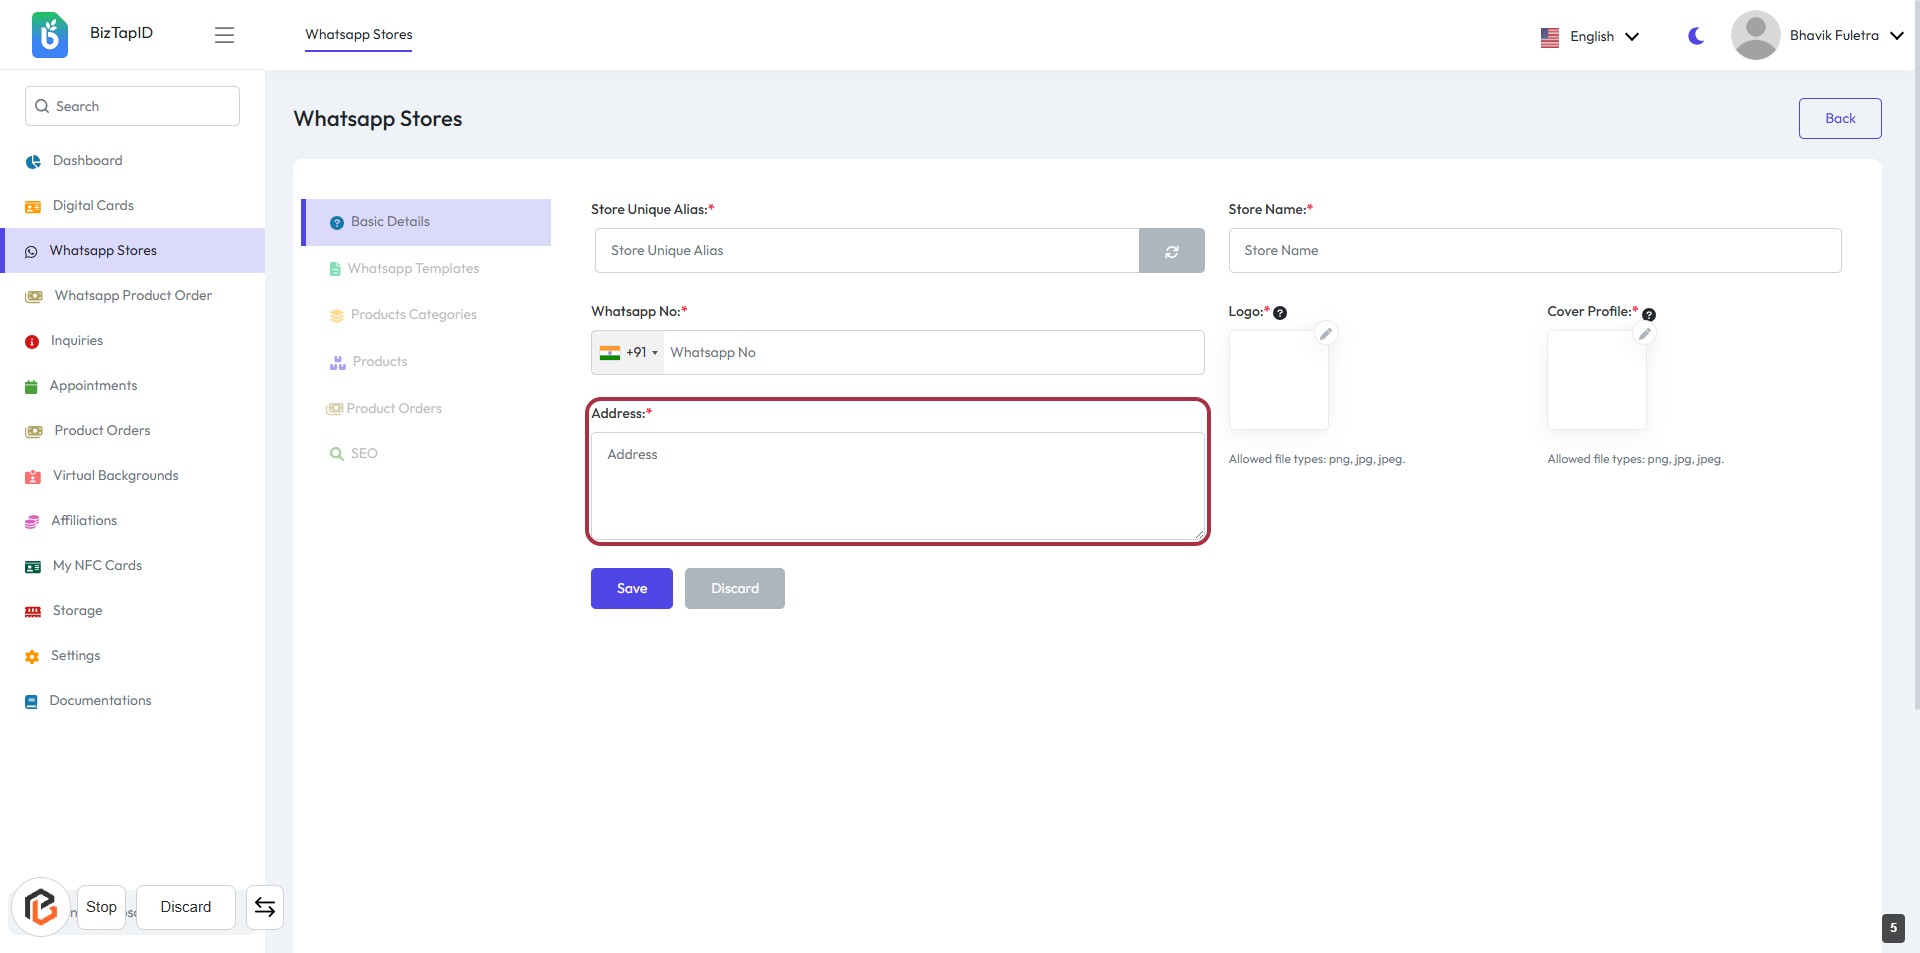
STEP 6: Enter "Address"
- Click on the highlighted area labeled "Address:" to input your store's address.
- Ensure to fill in the required field marked with an asterisk (*).
- Review the address for accuracy before proceeding to the next step.
- After entering the address, you can continue to upload your logo.
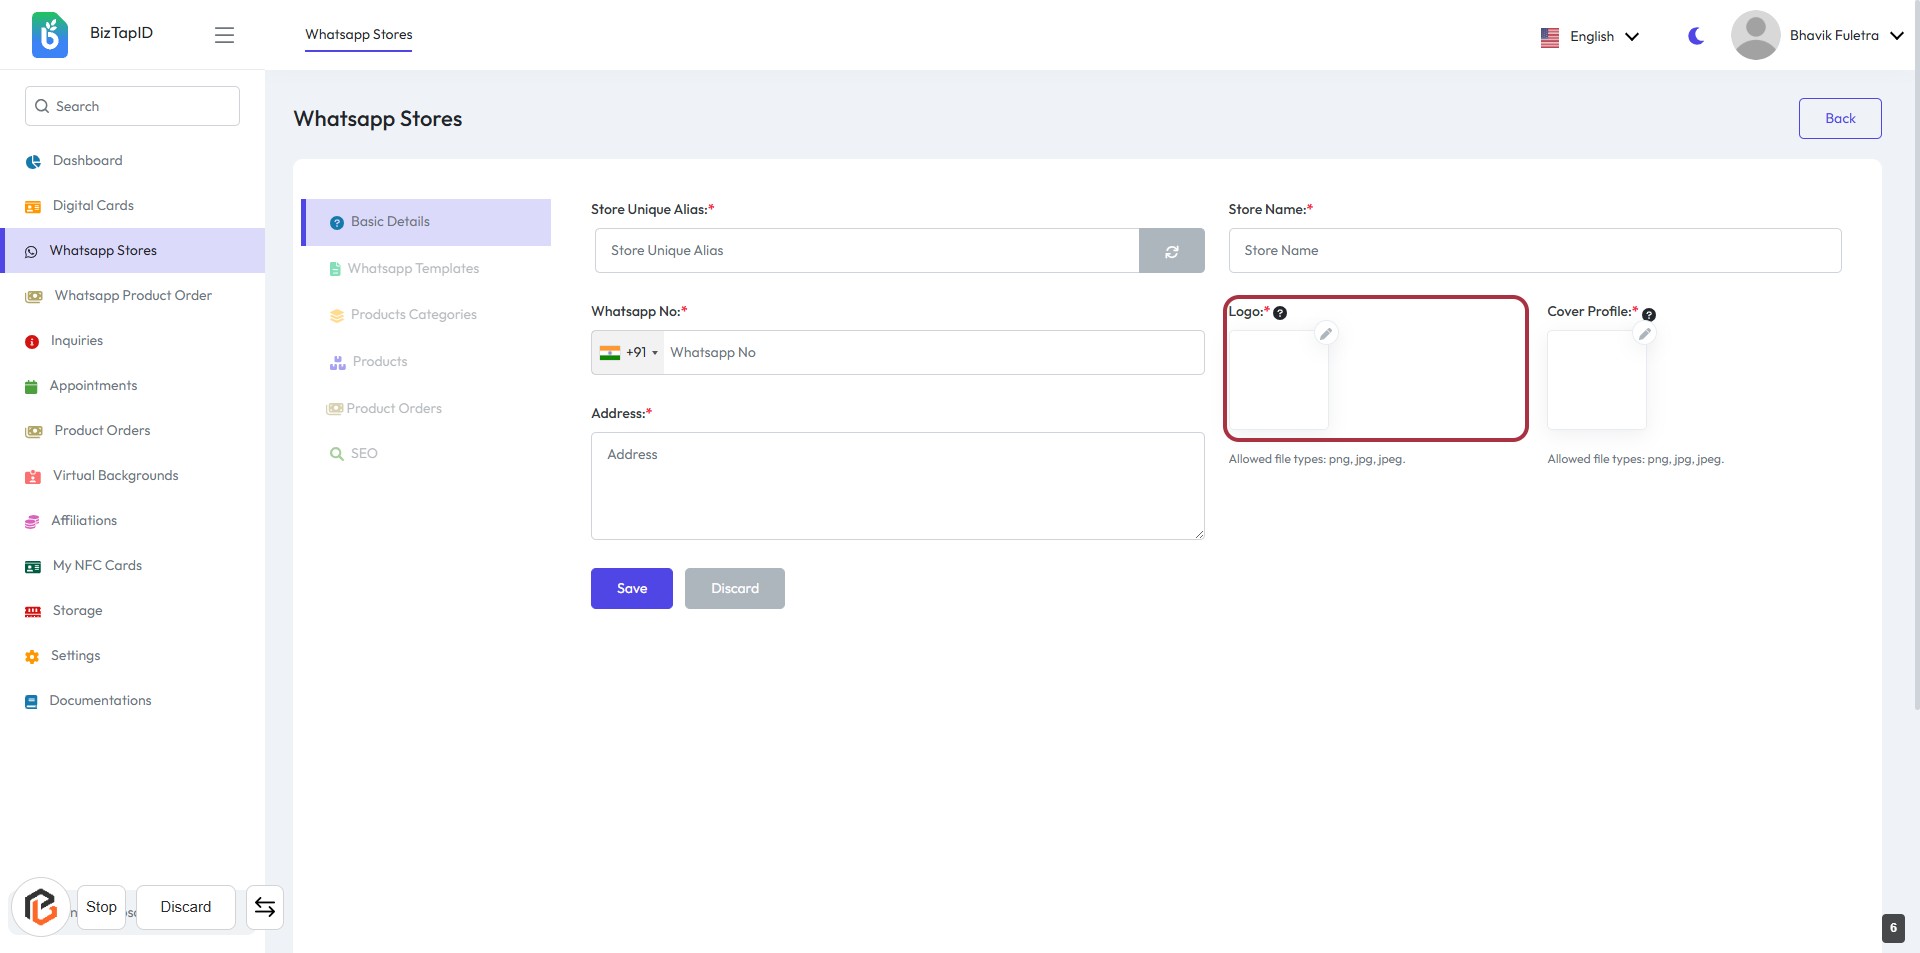
STEP 7: Click to Upload "Logo"
- Navigate to the highlighted area labeled "Logo:".
- Click on the designated area to initiate the upload process.
- Ensure the logo file meets the allowed formats: png, jpg, jpeg.
- After uploading, verify the logo appears correctly in the designated space.
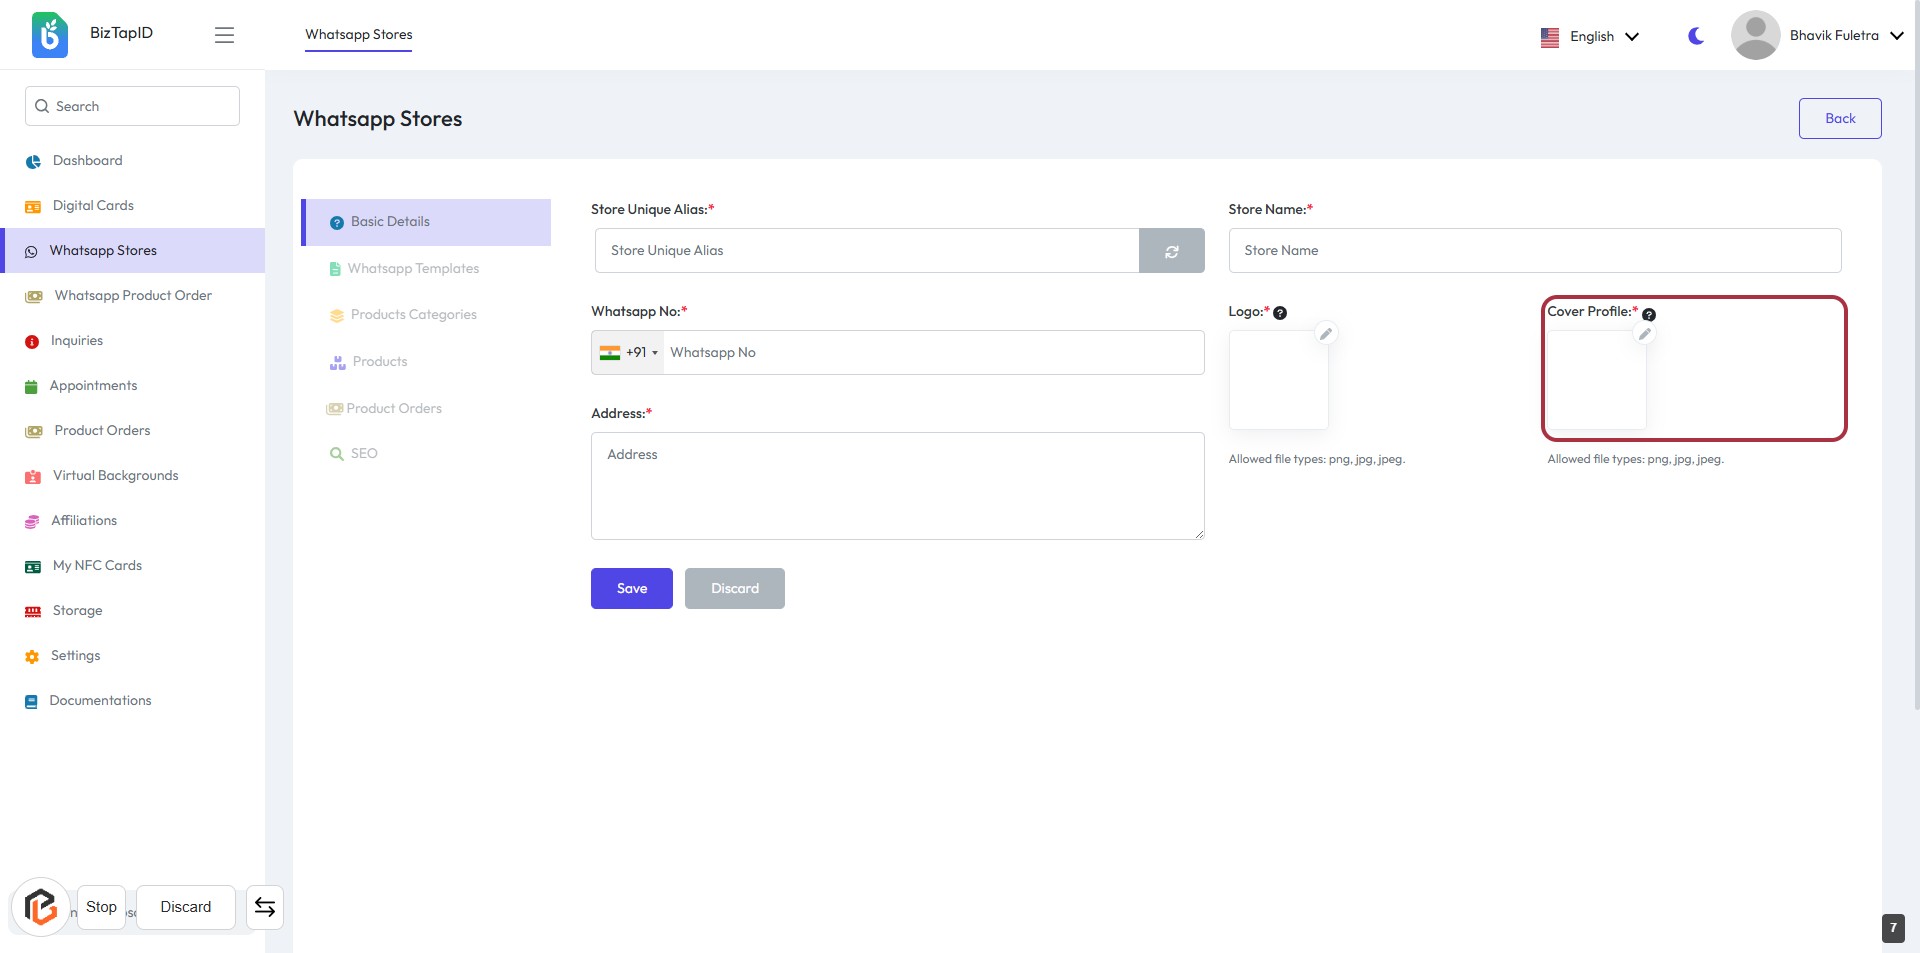
STEP 8: Click to Upload "Cover Profile"
- Click on the "Cover Profile" area highlighted in red.
- Ensure the file you want to upload is in the allowed formats: png, jpg, jpeg.
- After selecting the file, verify that it appears in the designated area.
- Proceed to the next step by clicking the "Save" button.
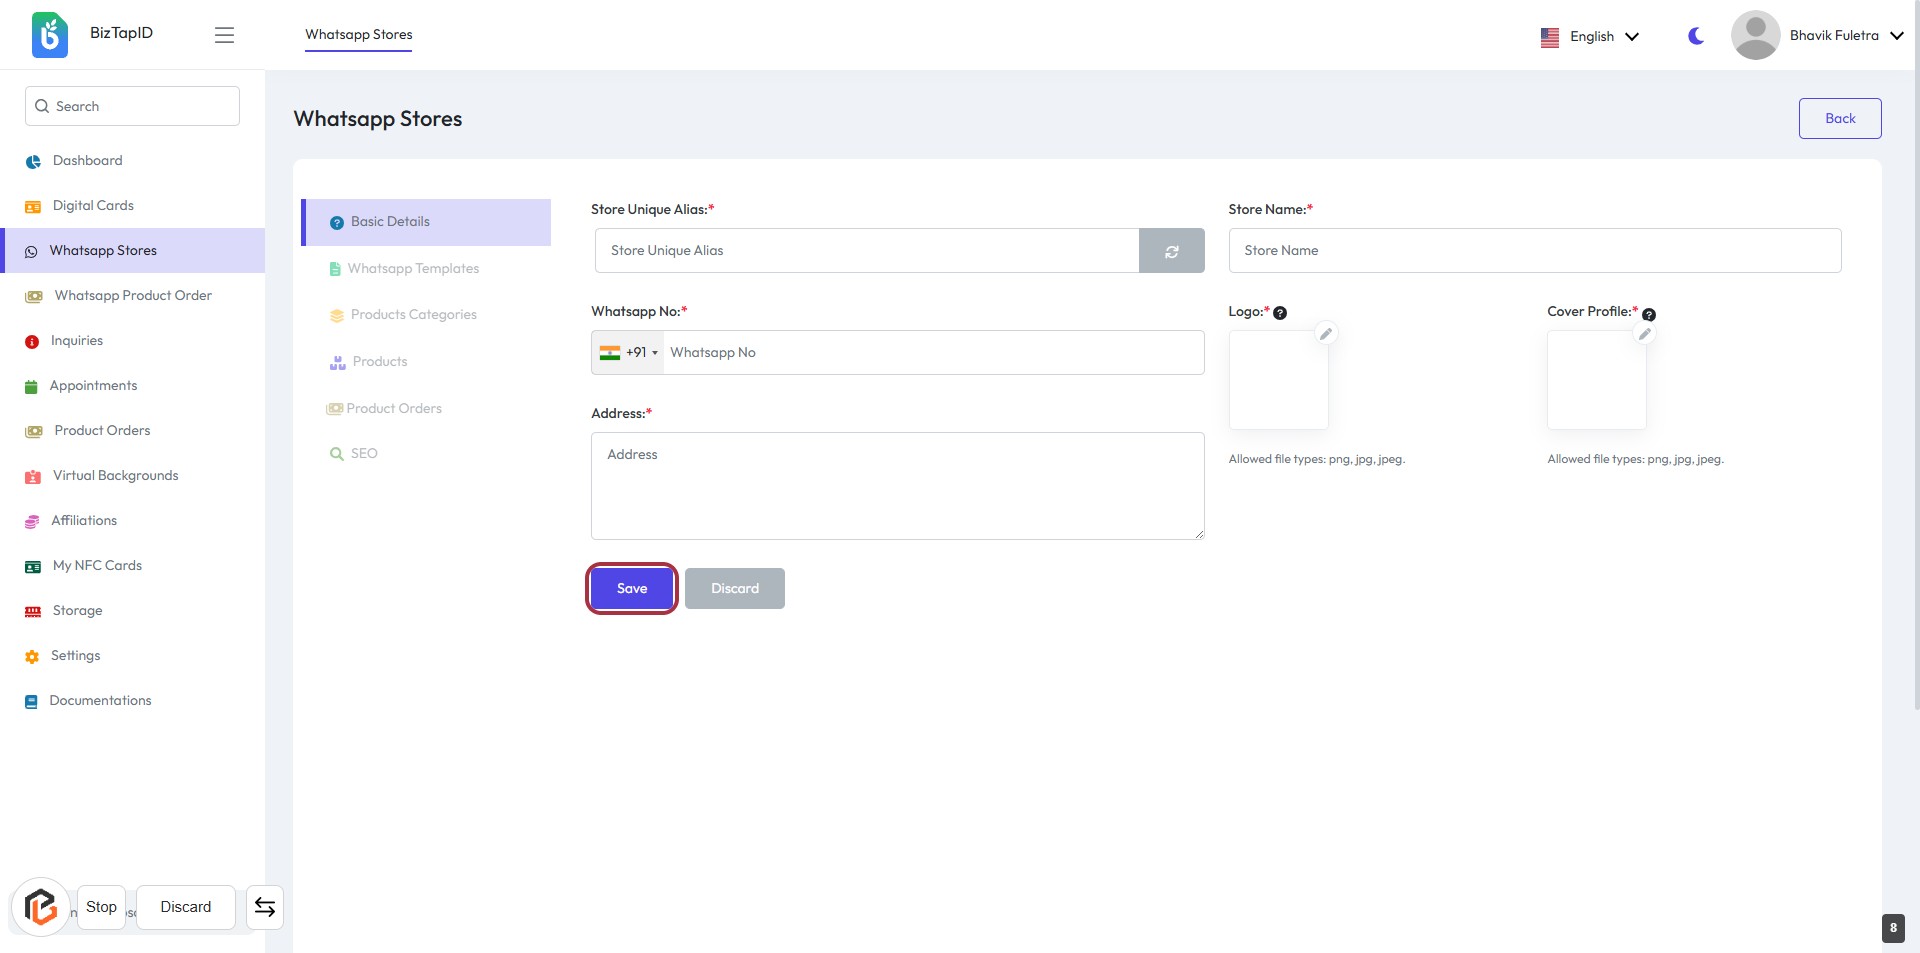
STEP 9: Click on "Save" to Submit Your Information
- Ensure all required fields marked with '*' are filled:
- Store Unique Alias
- Store Name
- Whatsapp No
- Address
- Logo
- Cover Profile
- Click the Save button to submit your details.
- Review your entries before saving to avoid errors.