Step-by-Step Guide to Adding New Products in the WhatsApp Store: From Navigation to Finalizing Listings
13 mins read · Updated 01 Oct, 2025
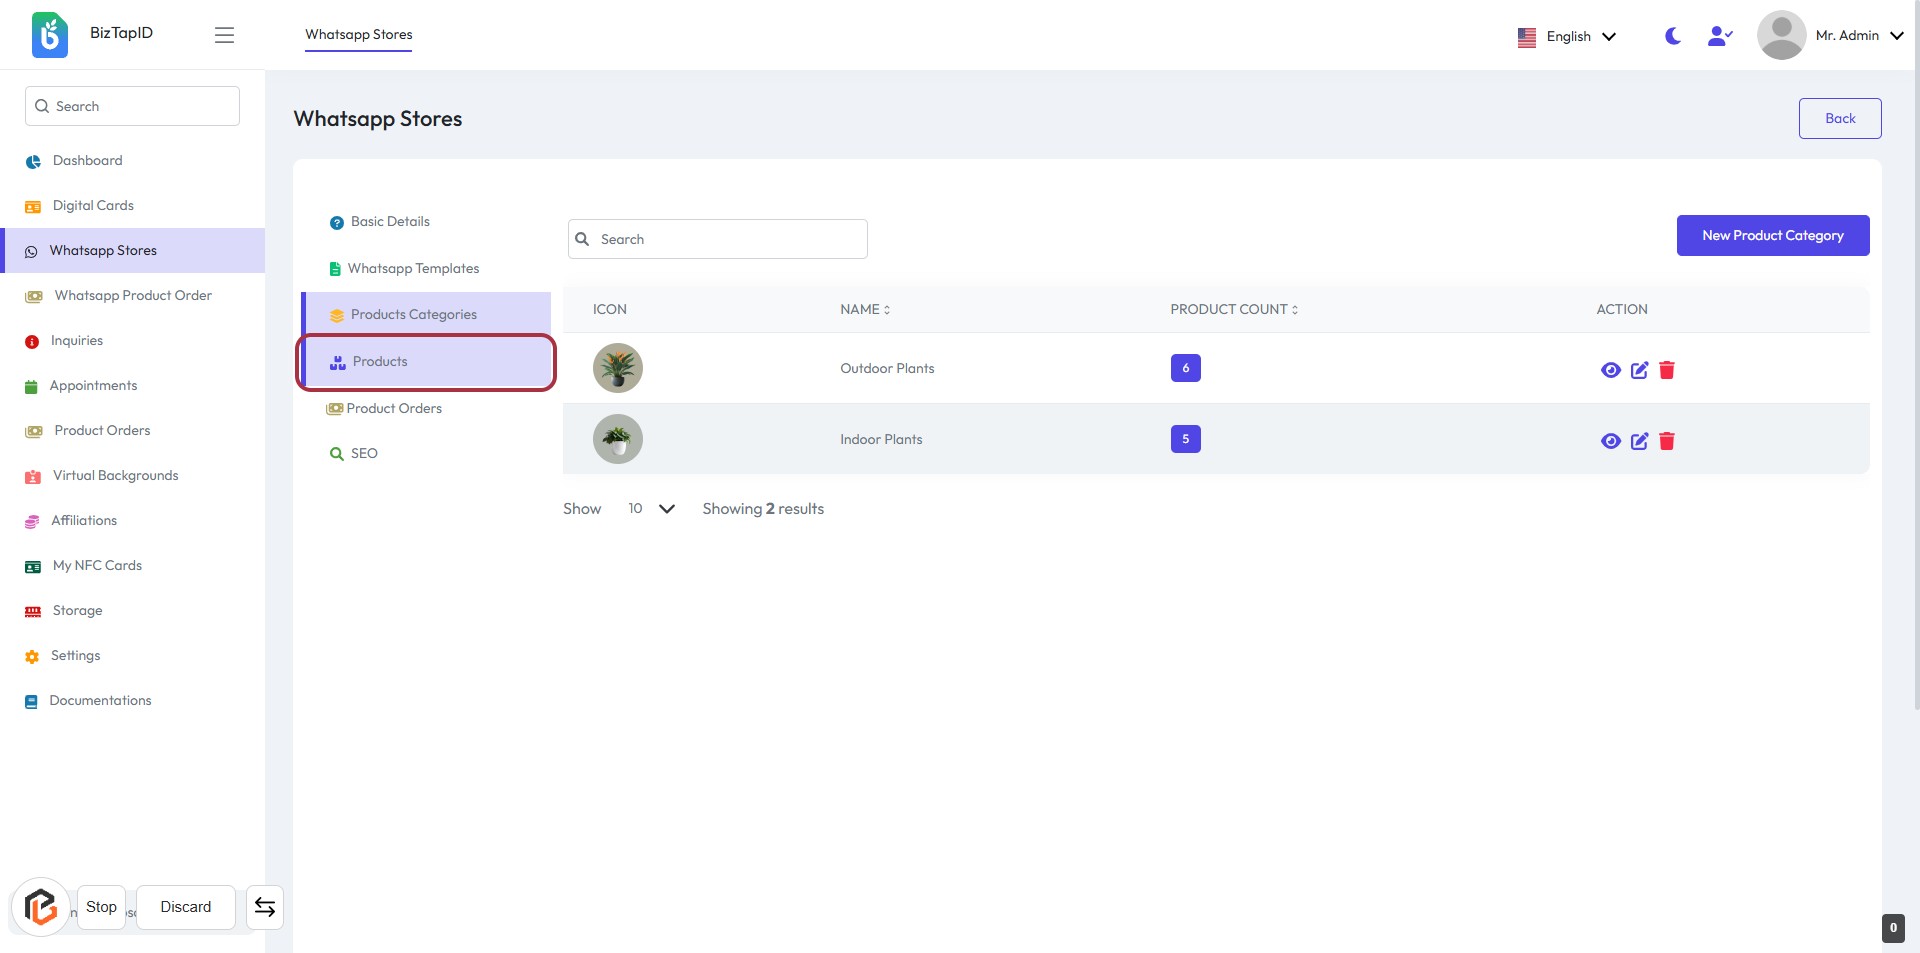
STEP 1: Click on "Products" in the Sidebar Menu
- Navigate to the sidebar menu on the left.
- Locate and click on the "Products" option highlighted in purple.
- This will direct you to the Products section where you can manage your product listings.
- Ensure you see the product categories and their respective counts displayed.
Next, you will proceed to click on "New Product" to add a new item.
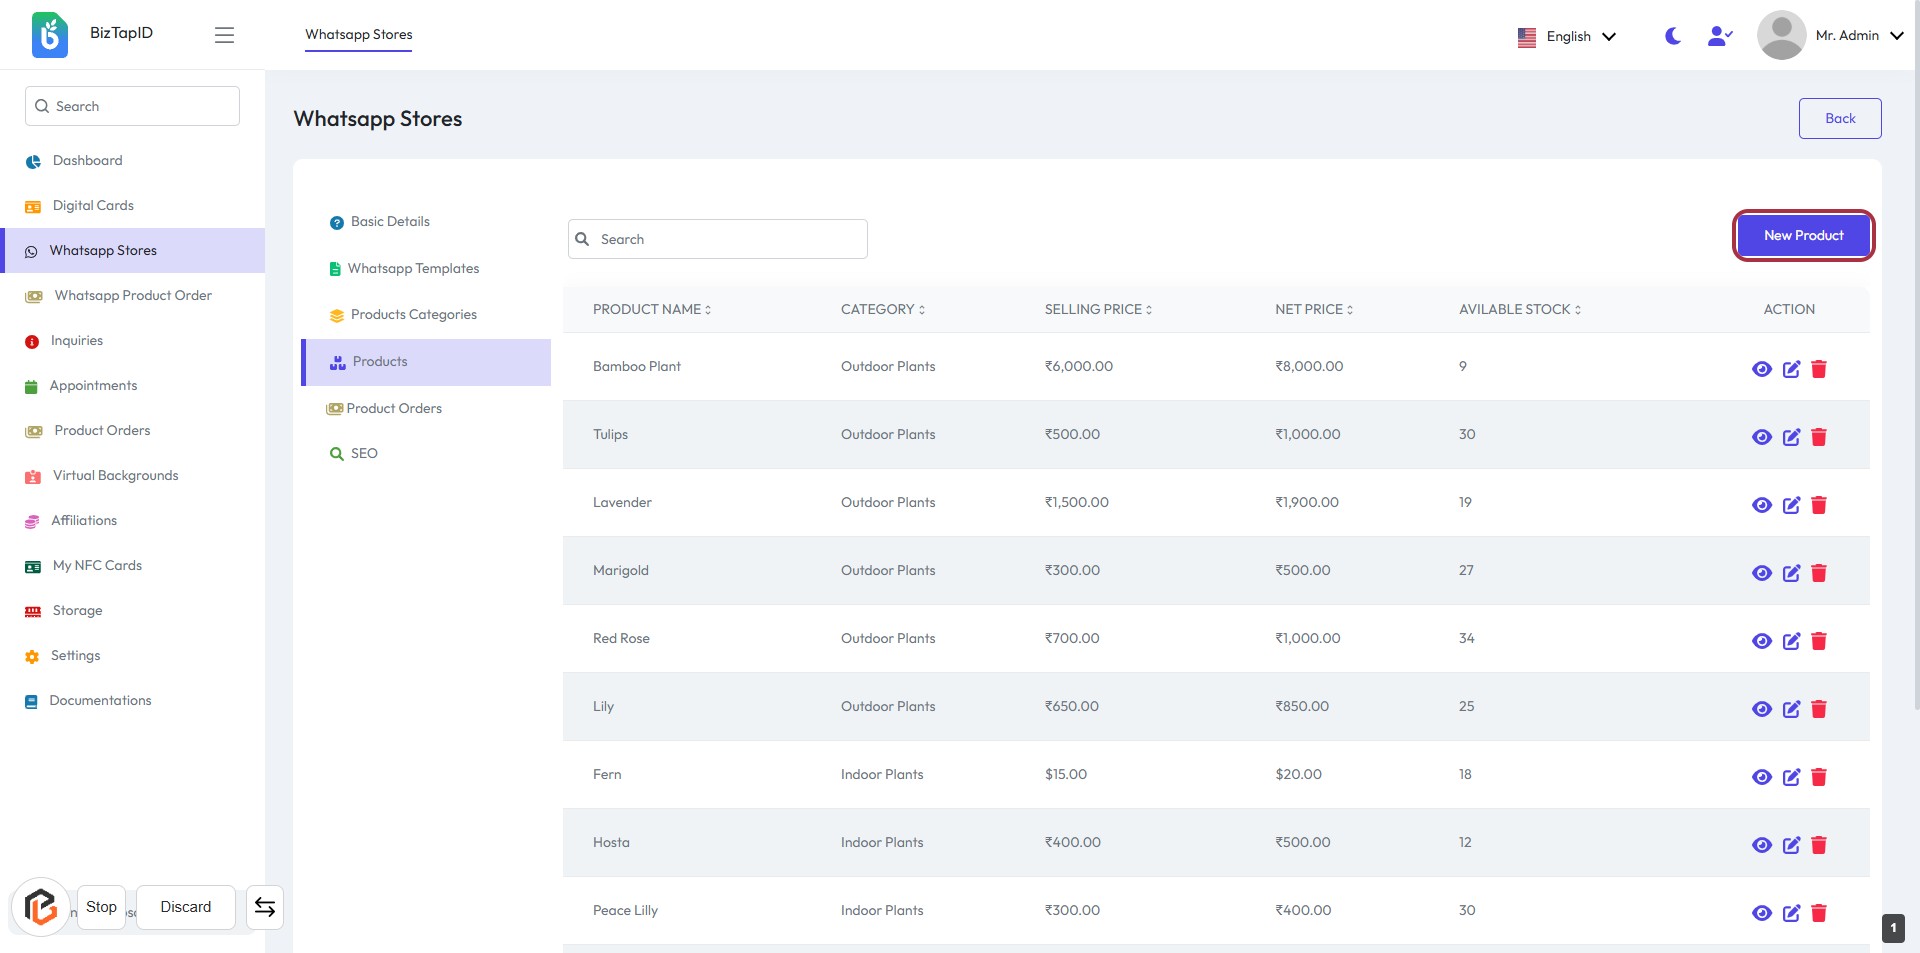
STEP 2: Click on "New Product"
- Navigate to the "Whatsapp Stores" section.
- Click on the highlighted "New Product" button on the right side of the screen.
- This action will take you to the product creation form.
- Ensure to fill in all required fields marked with an asterisk (*).
- Proceed to the next step to Enter "Name" for the new product.
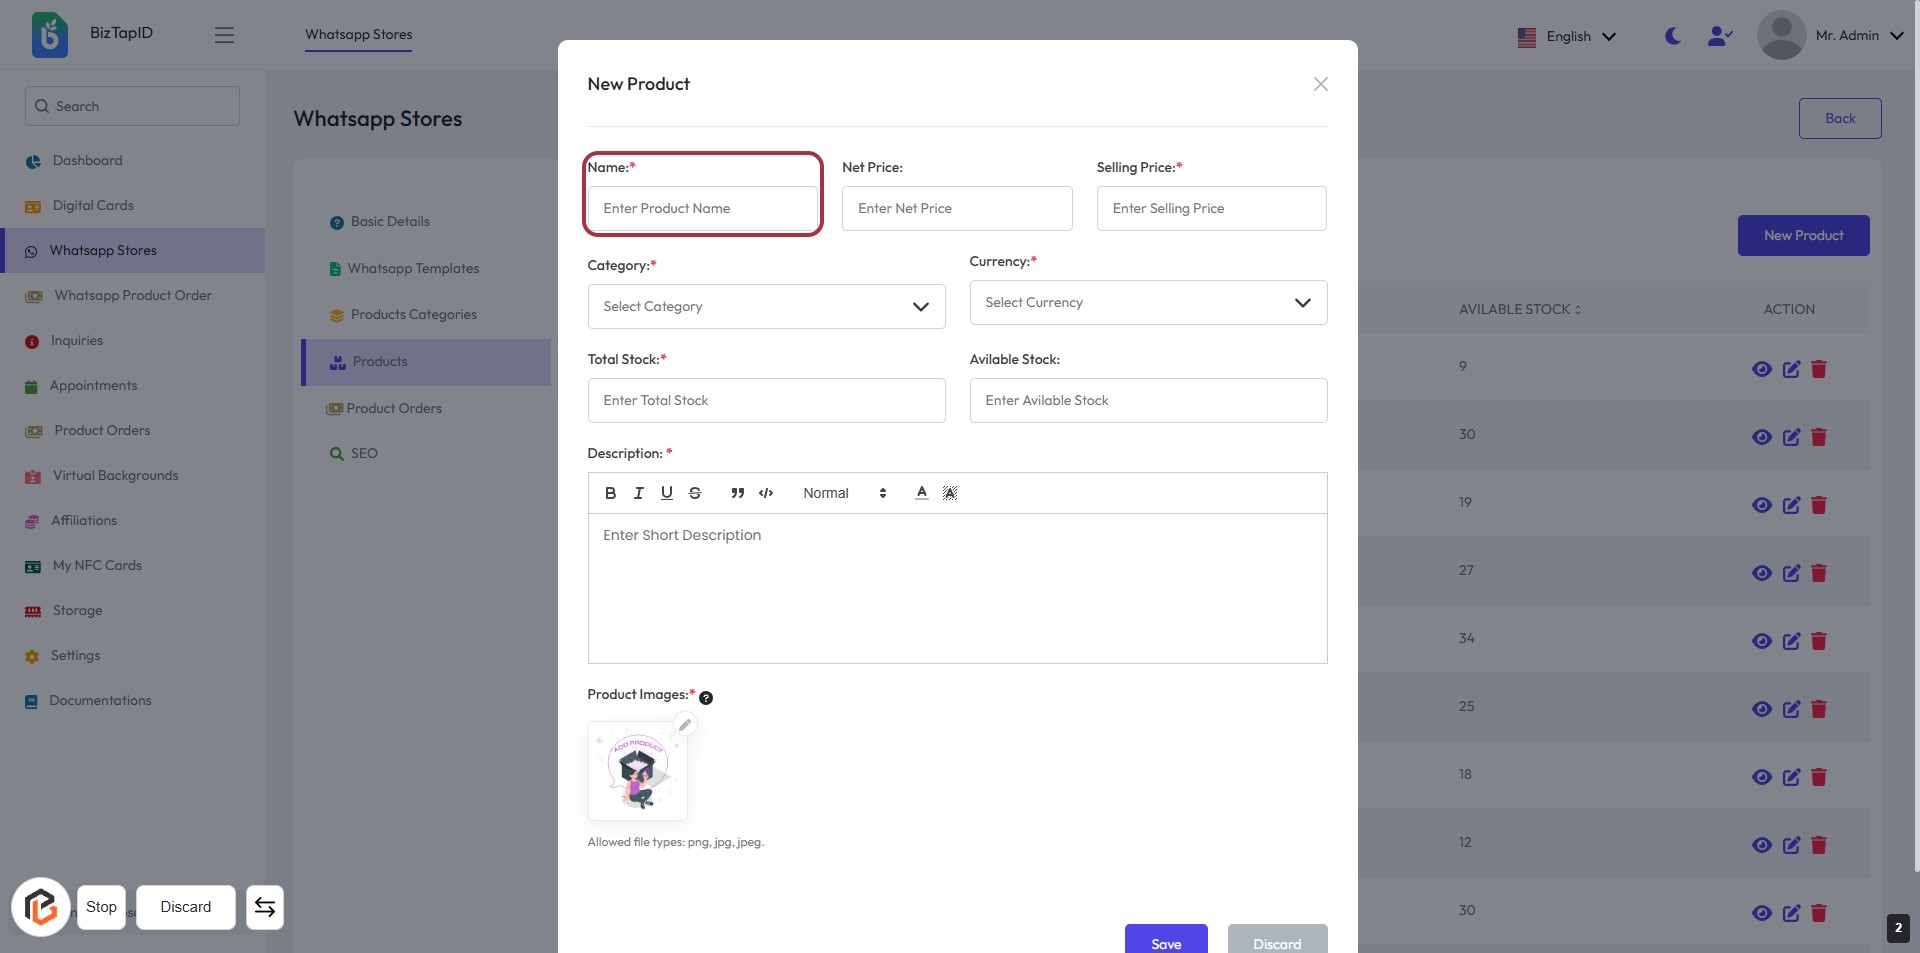
STEP 3: Enter Product Name
- Click on the highlighted area labeled "Name:" to input the product name.
- Ensure to fill this field as it is marked with an asterisk (*), indicating it is required.
- After entering the product name, proceed to the next step by entering the "Net Price."
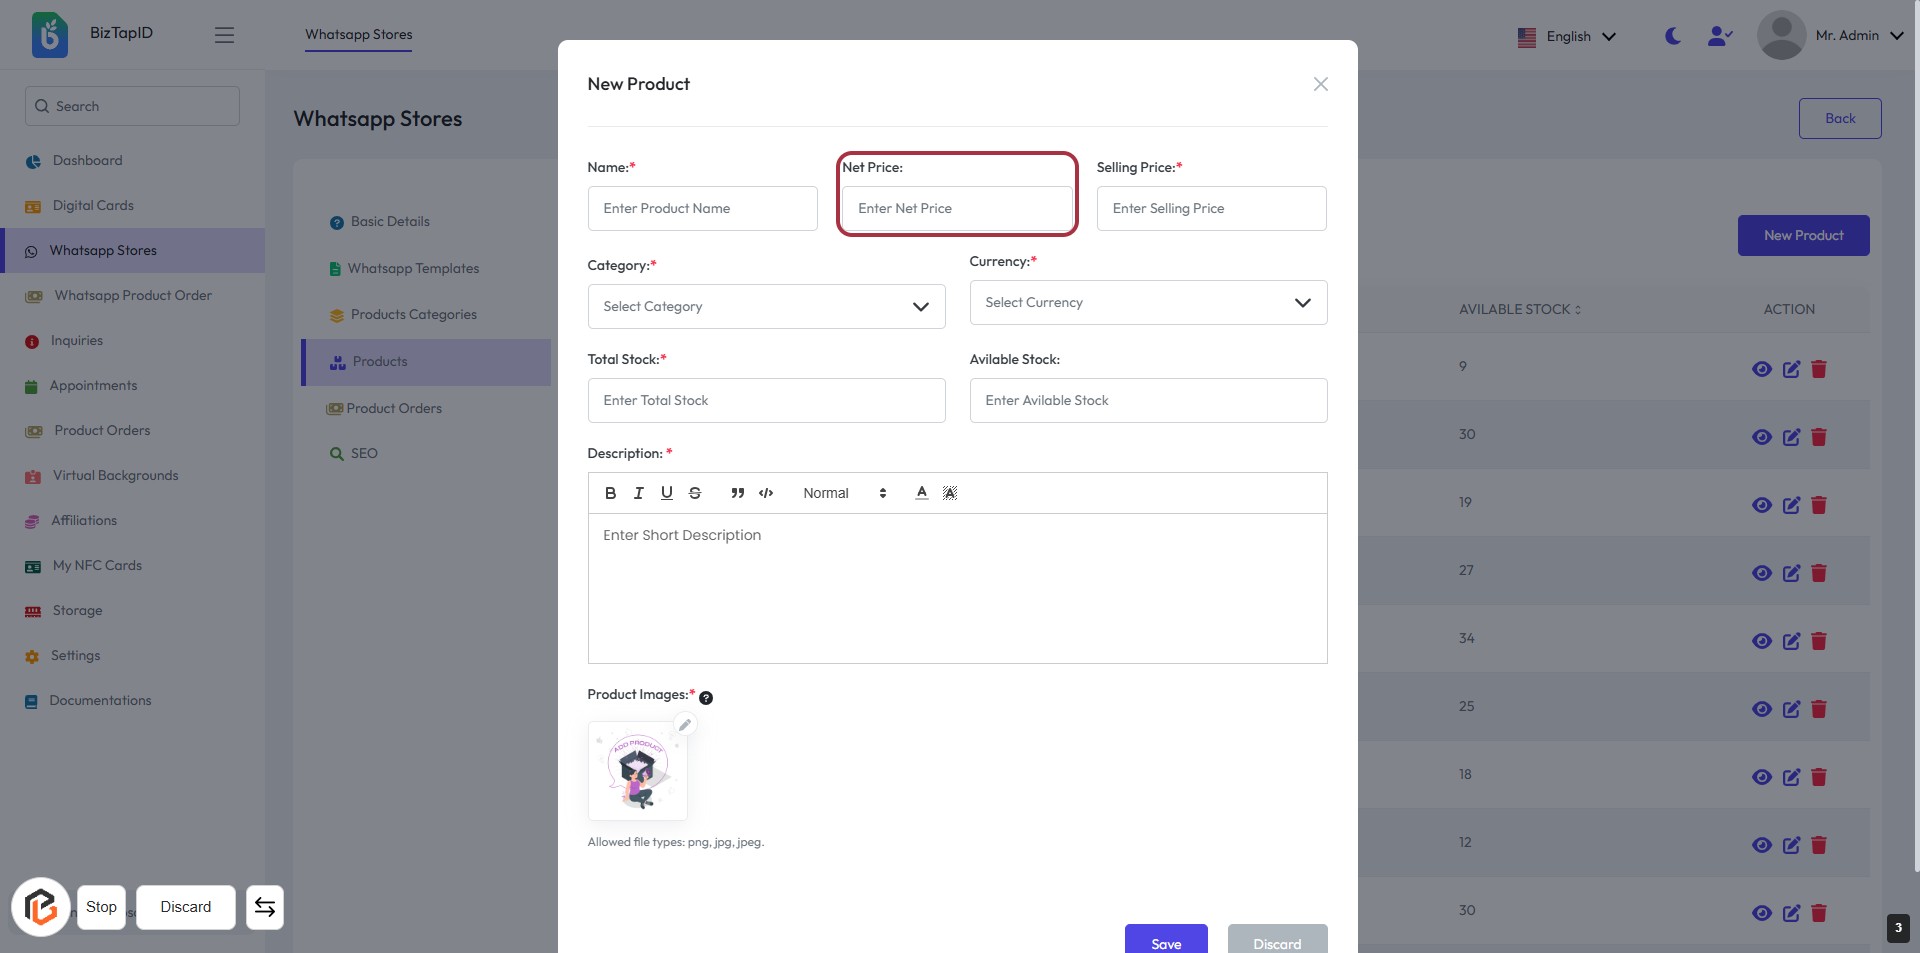
STEP 4: Enter "Net Price"
- Click on the "Net Price" field in the form.
- Input the net price of the product as required (indicated by the asterisk).
- Ensure all mandatory fields marked with an asterisk (*) are filled out before proceeding.
- After entering the net price, you can move on to the next step by entering the "Selling Price."
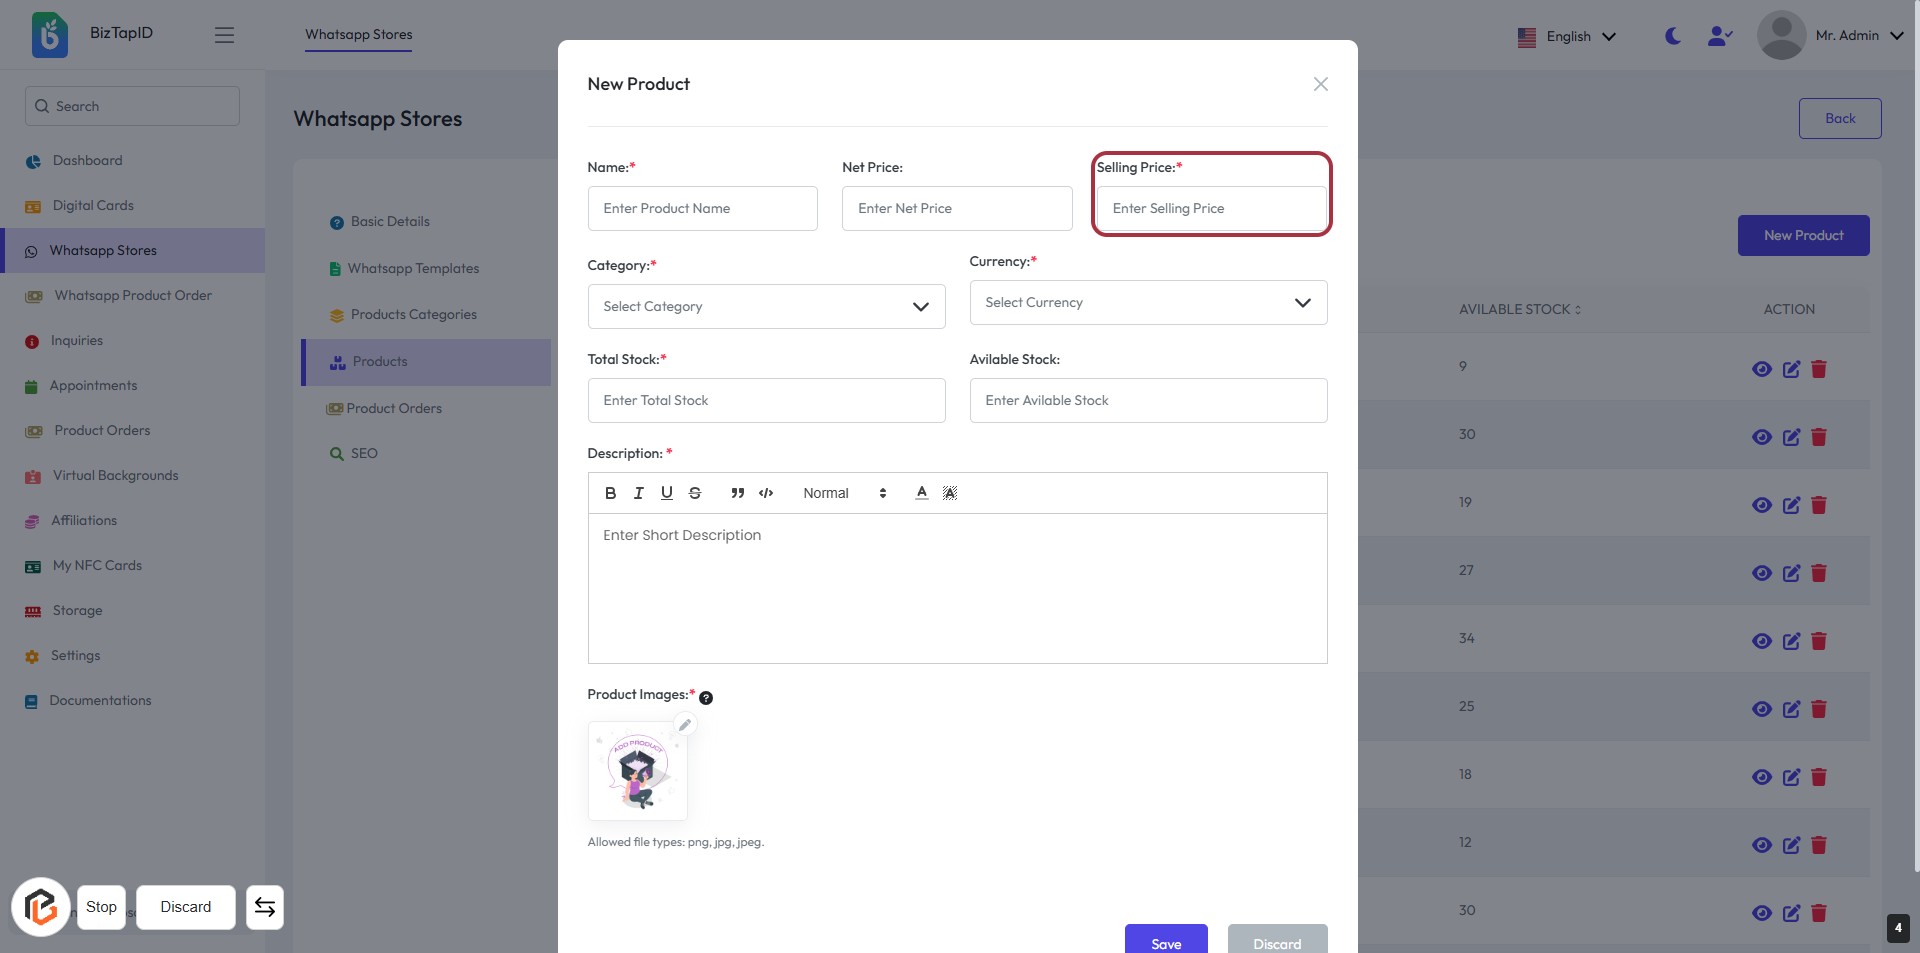
STEP 5: Enter "Selling Price"
- Click on the "Selling Price" field highlighted in red.
- Enter the desired selling price for the product.
- Ensure that the field marked with an asterisk (*) is filled, as it is required.
- Review other fields such as "Name," "Net Price," "Total Stock," and "Available Stock" to ensure all necessary information is complete before proceeding.
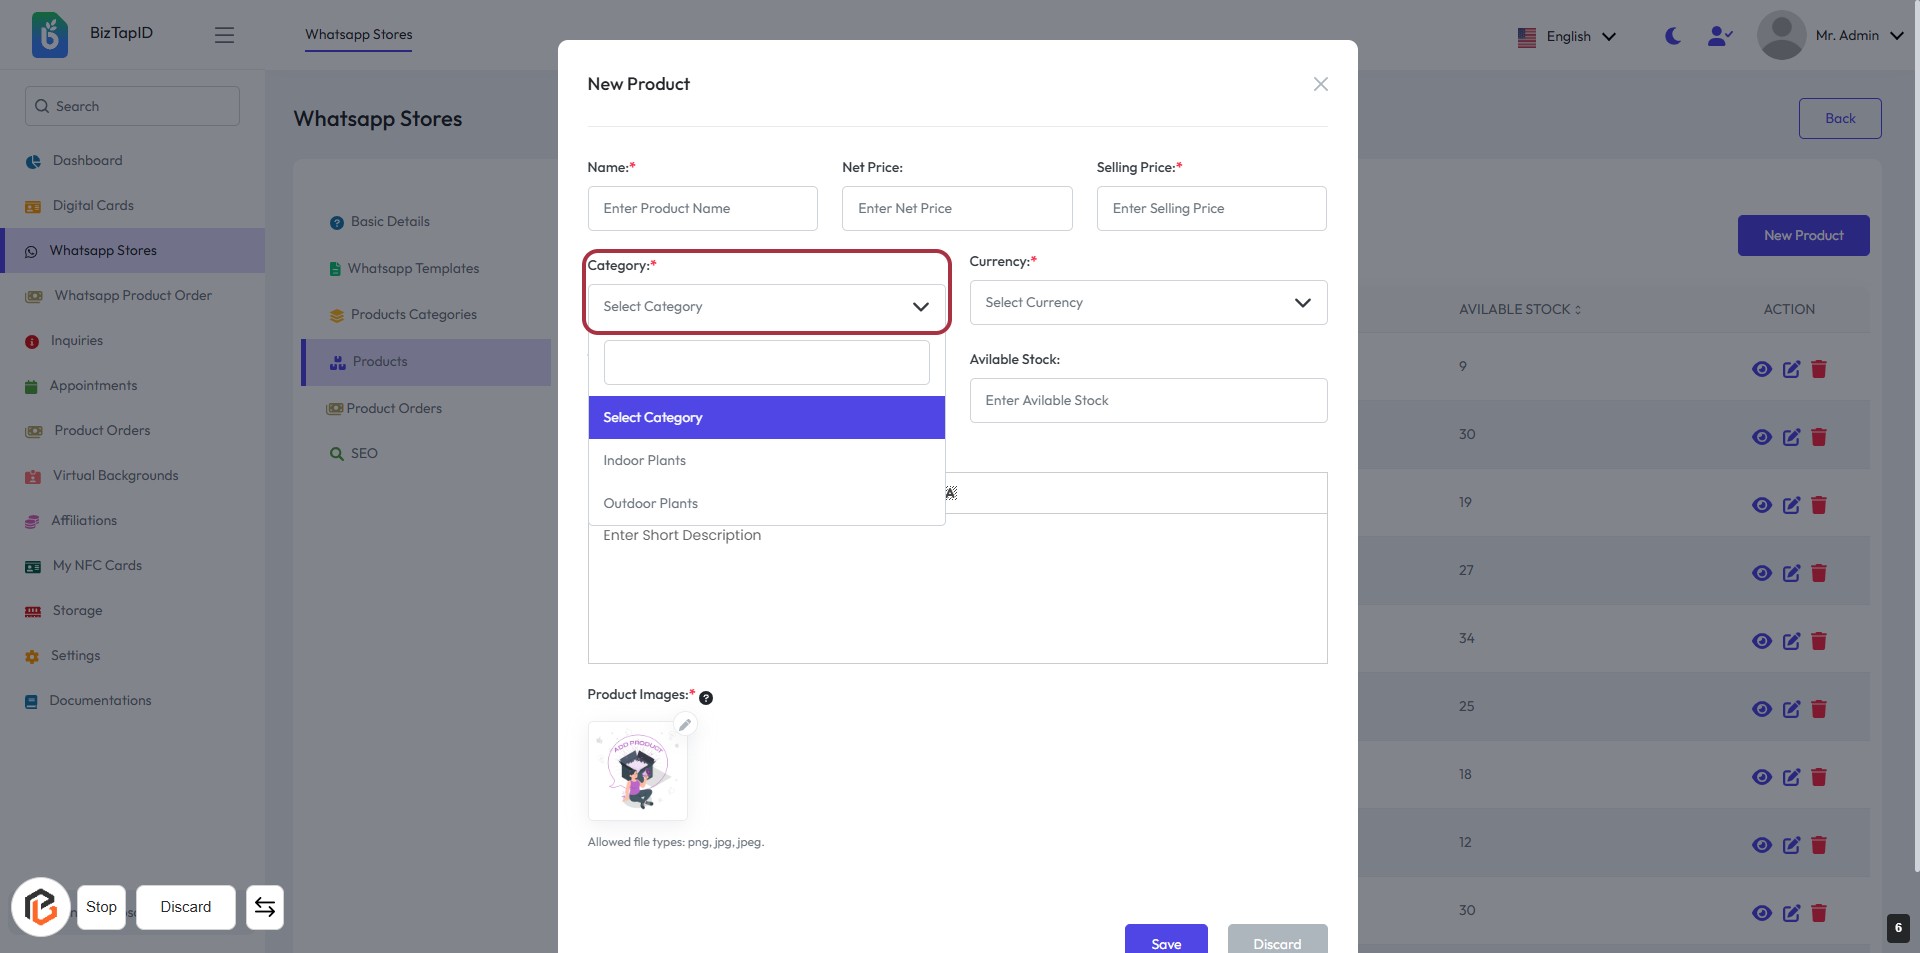
STEP 6: Select "Category"
- Click on the "Category" dropdown.
- Choose an appropriate category from the list (e.g., Indoor Plants, Outdoor Plants).
- Ensure the field marked with an asterisk (*) is filled, as it is required.
- Proceed to the next step by selecting "Currency."
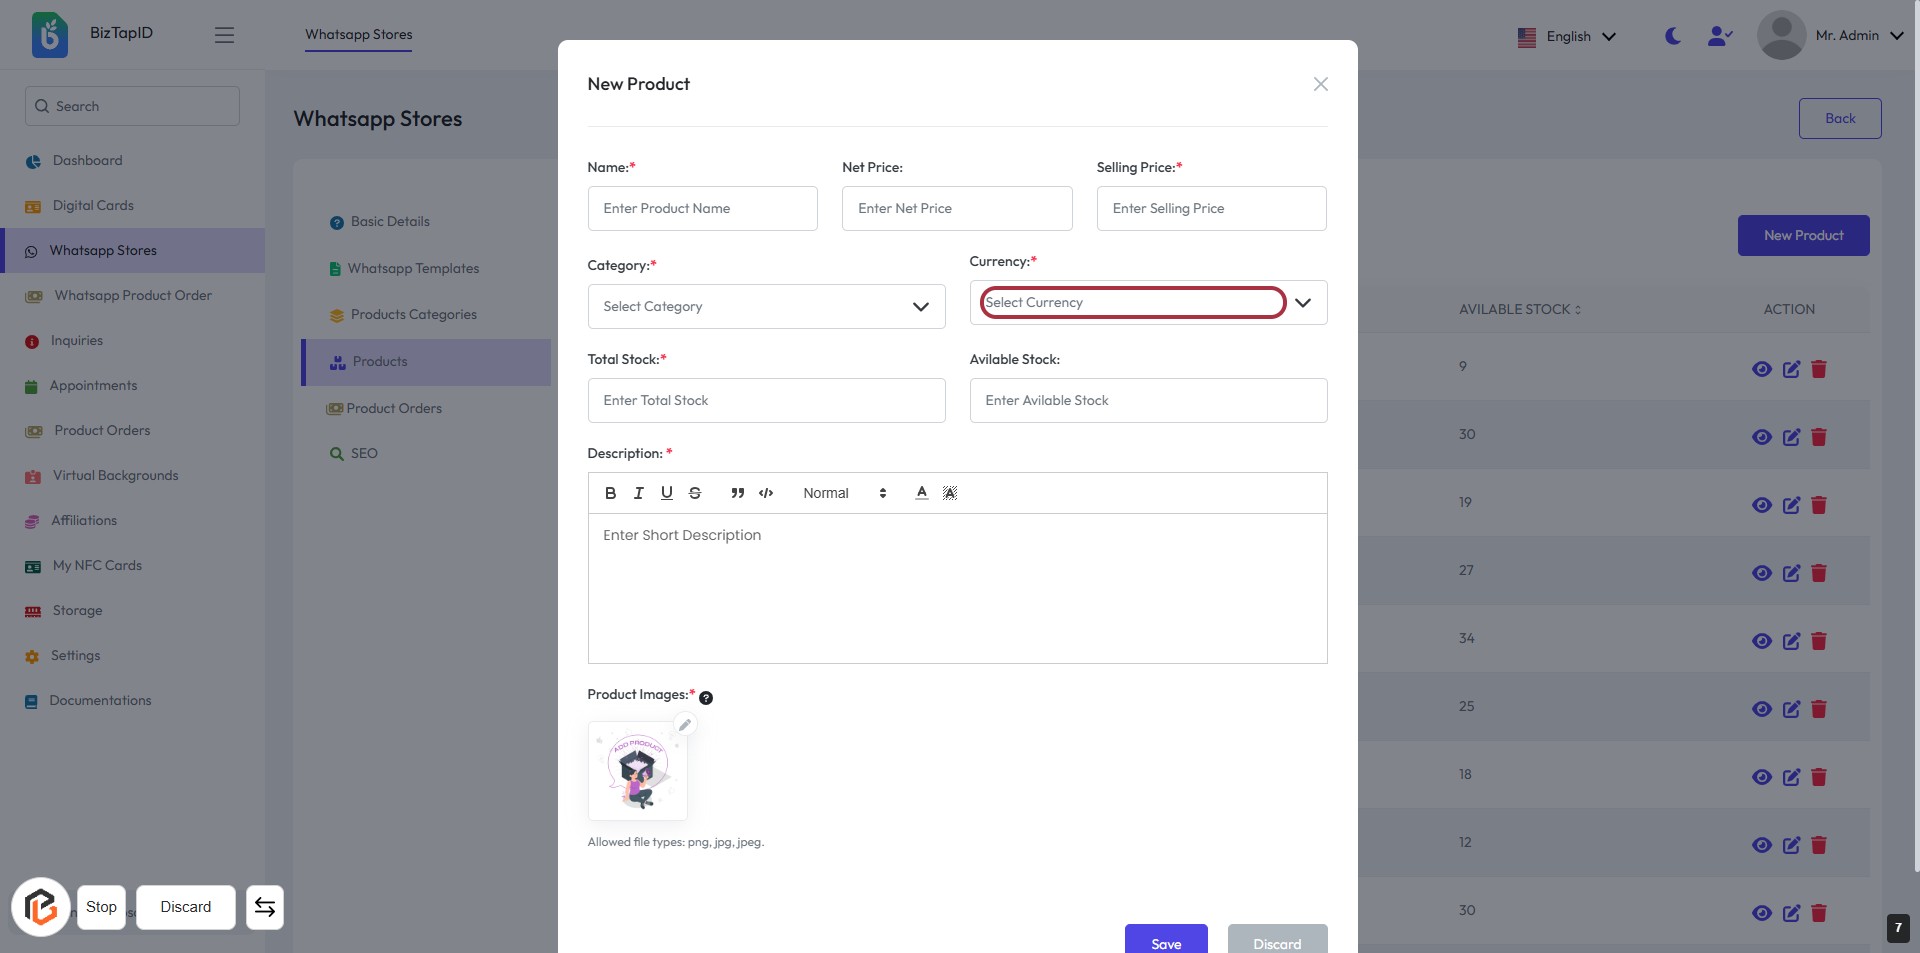
STEP 7: Select "Currency"
- Click on the highlighted area labeled "Currency" to open the currency selection dropdown.
- Ensure you choose a currency from the available options.
- Remember, this field is mandatory (indicated by the asterisk *).
- After selecting, proceed to the next step to enter "Total Stock."
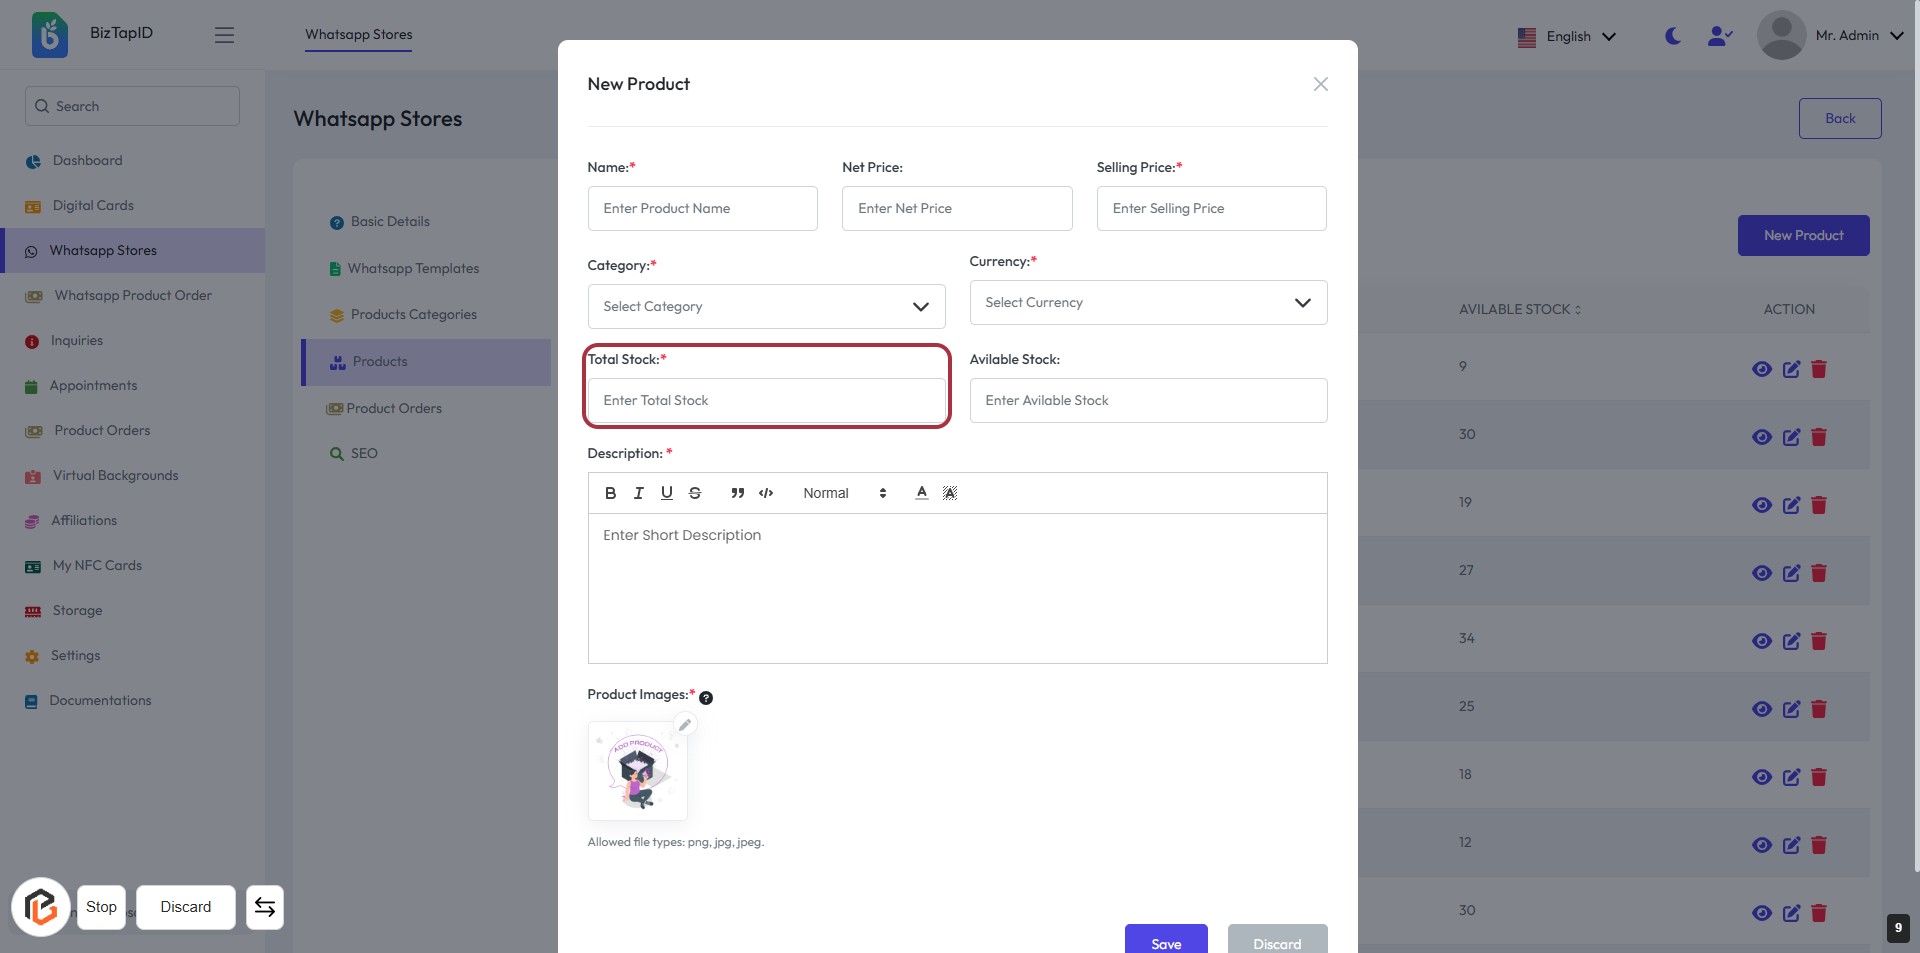
STEP 8: Enter Total Stock
- Click on the "Total Stock" field in the form.
- Input the total quantity of stock available for the product.
- Ensure to fill in this field as it is marked with an asterisk (*), indicating it is required.
- Review other fields like "Name," "Net Price," "Selling Price," "Category," and "Currency" to ensure all necessary information is provided before proceeding.
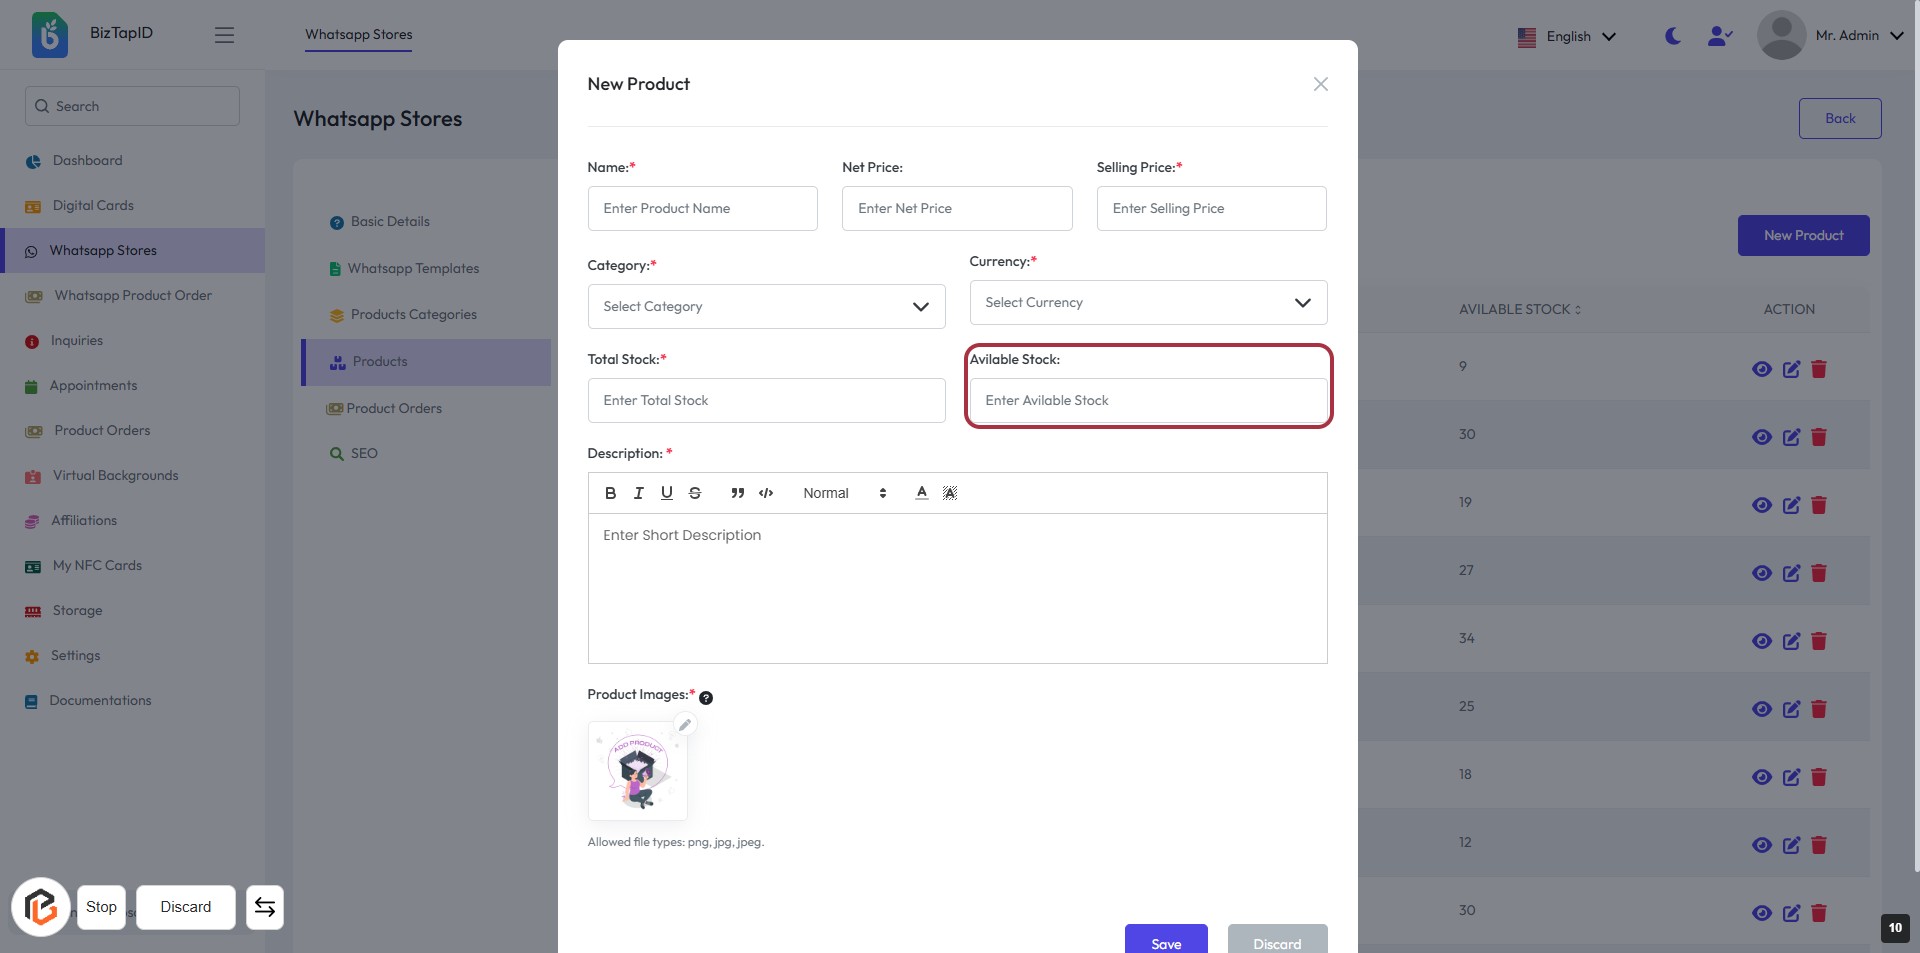
STEP 9: Enter Available Stock
- Click on the "Available Stock" field to input the quantity of stock currently available.
- Ensure to fill in the field marked with an asterisk (*) as it is required.
- Review other fields like "Total Stock," "Name," "Net Price," and "Selling Price" for completeness.
- Proceed to the next step to write the product description.
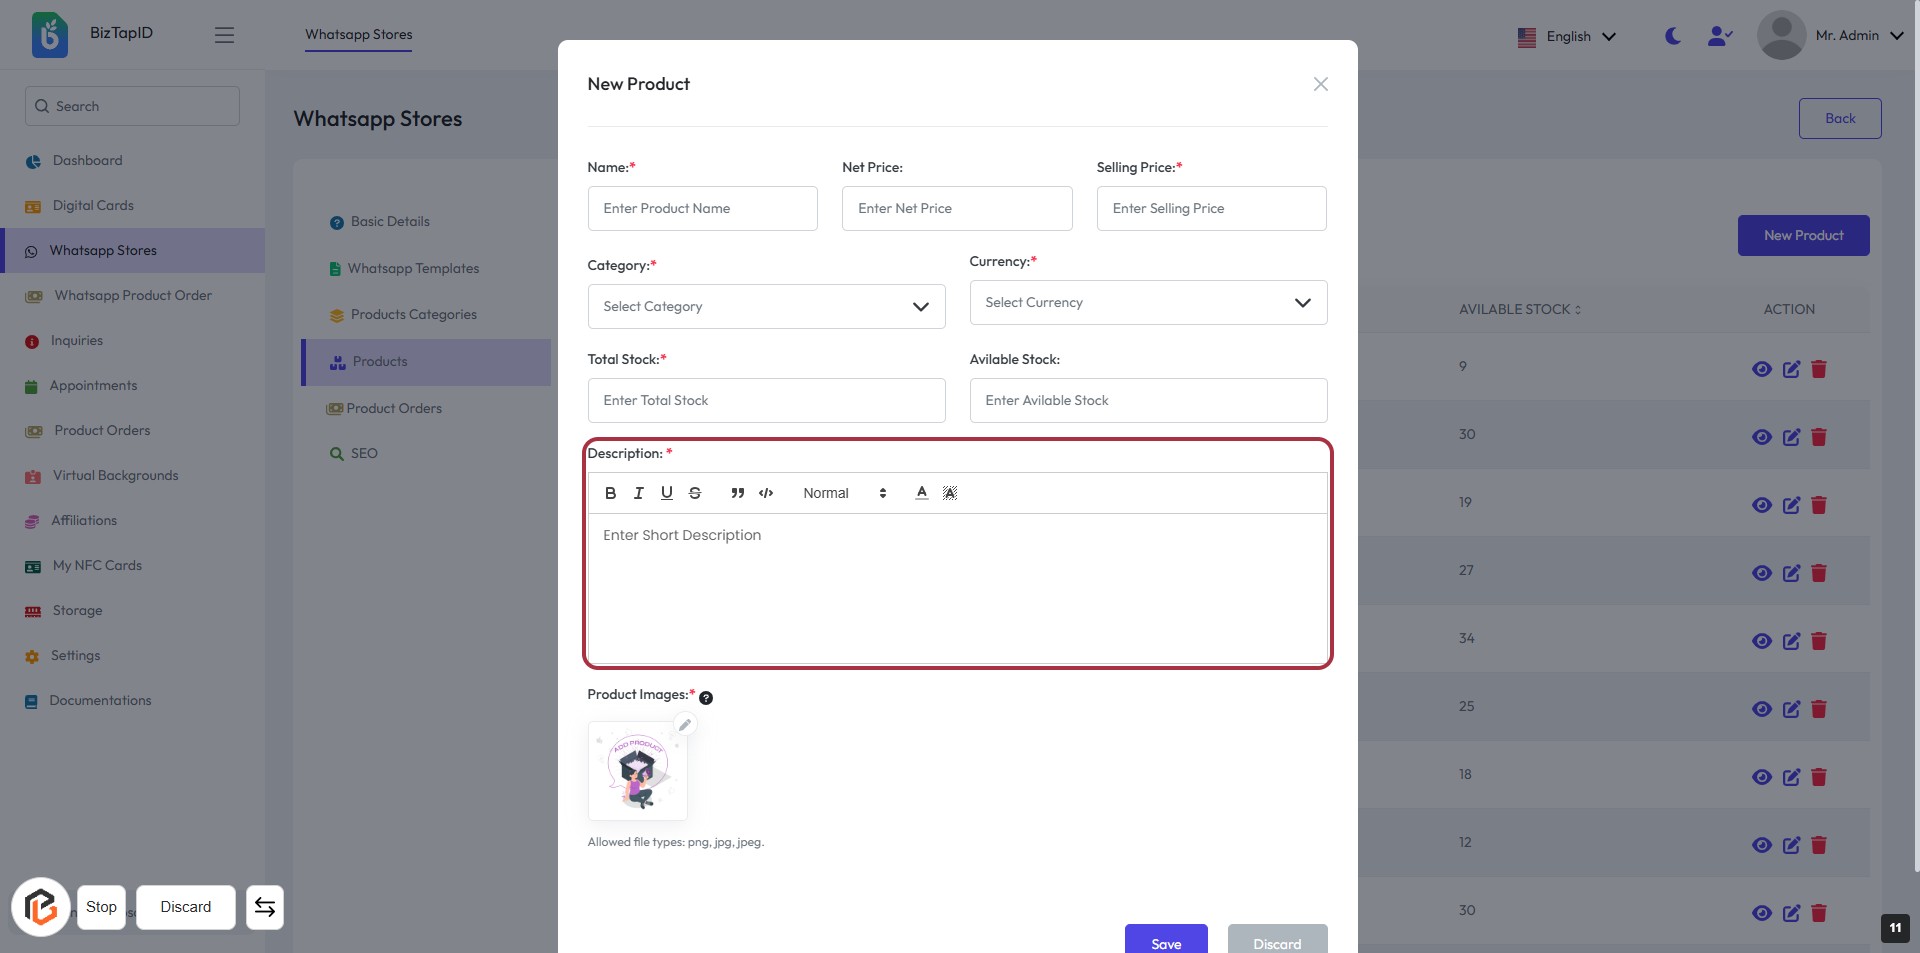
STEP 10: Click on "Description" to Add Product Details
- Locate the "Description" field in the form.
- Click on the highlighted area to activate the text input.
- Enter a brief description of the product (this field is mandatory).
- Ensure to format the text as needed using the available tools (bold, italic, etc.).
- Proceed to the next step by clicking on the "?" icon for product image size guidance.
STEP 11: Click on "?" to view Product image size
- Click the "?" icon next to "Product Images" to view recommended image resolution.
- Ensure your product images meet the specified resolution of 280 x 230 pixels for optimal display.
- Review the allowed file types: png, jpg, jpeg.
- Proceed to upload your product images in the next step.

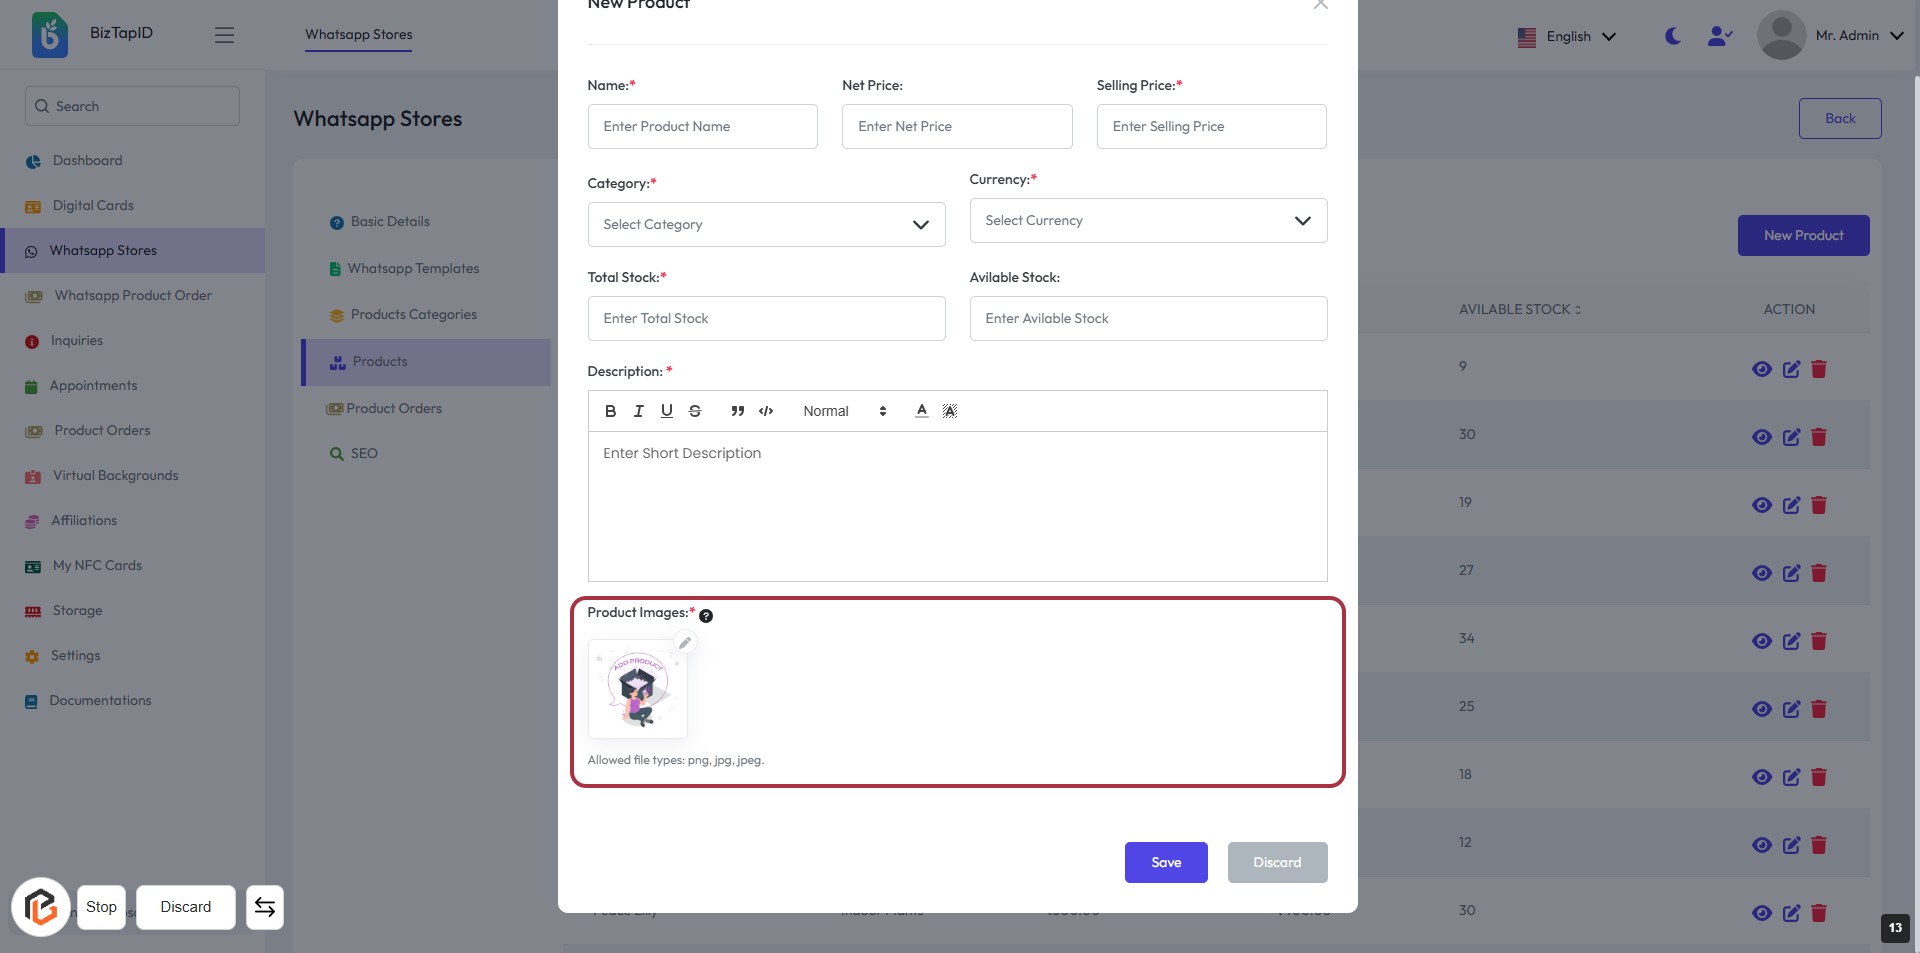
STEP 12: Upload Product Images
- Click on the "Product Images:" section to upload images.
- Ensure the images meet the allowed file types: png, jpg, jpeg.
- Review the highlighted area for any additional instructions or requirements.
- Proceed to the next step by clicking the "Save" button after uploading.
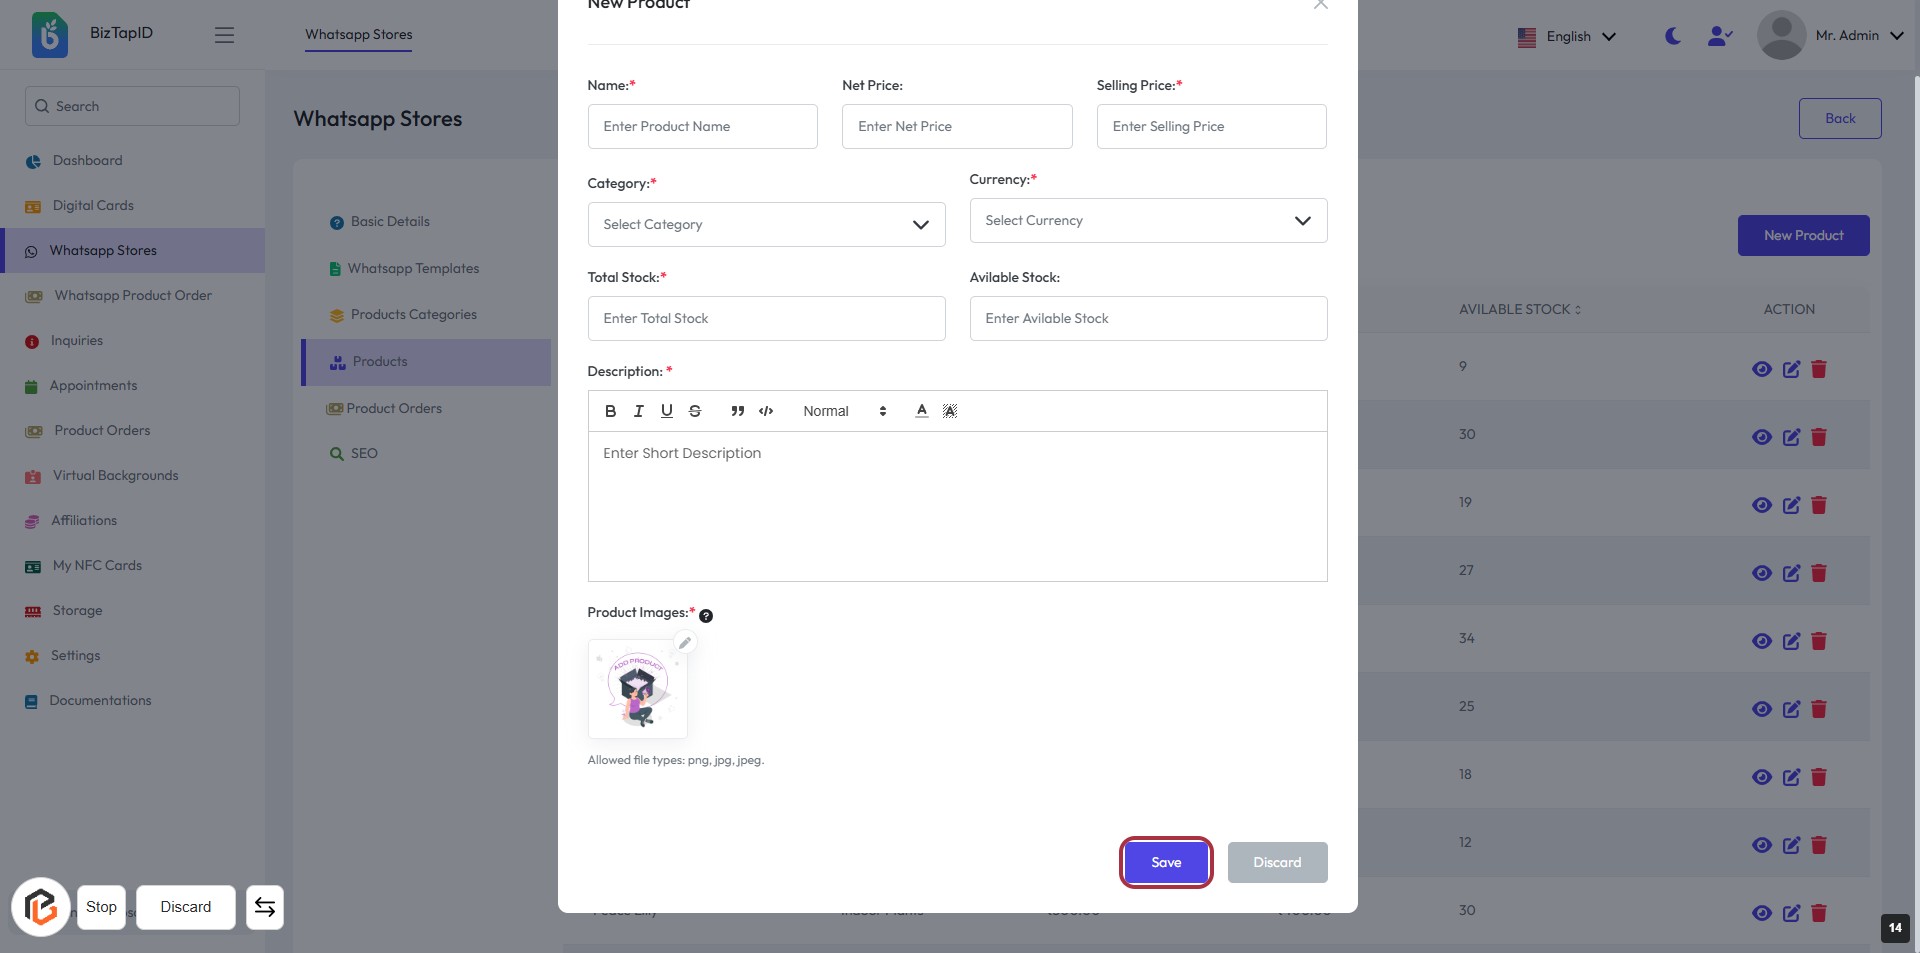
STEP 13: Click on "Save" Button to Finalize Product Details
- Ensure all required fields marked with * are filled:
- Name
- Net Price
- Category
- Currency
- Total Stock
- Available Stock
- Description
- Product Images
- Click the Save button at the bottom right to save your product details.