Step-by-Step Guide to Configuring Your Custom Domain in BizTapID
3 mins read · Updated 01 Oct, 2025
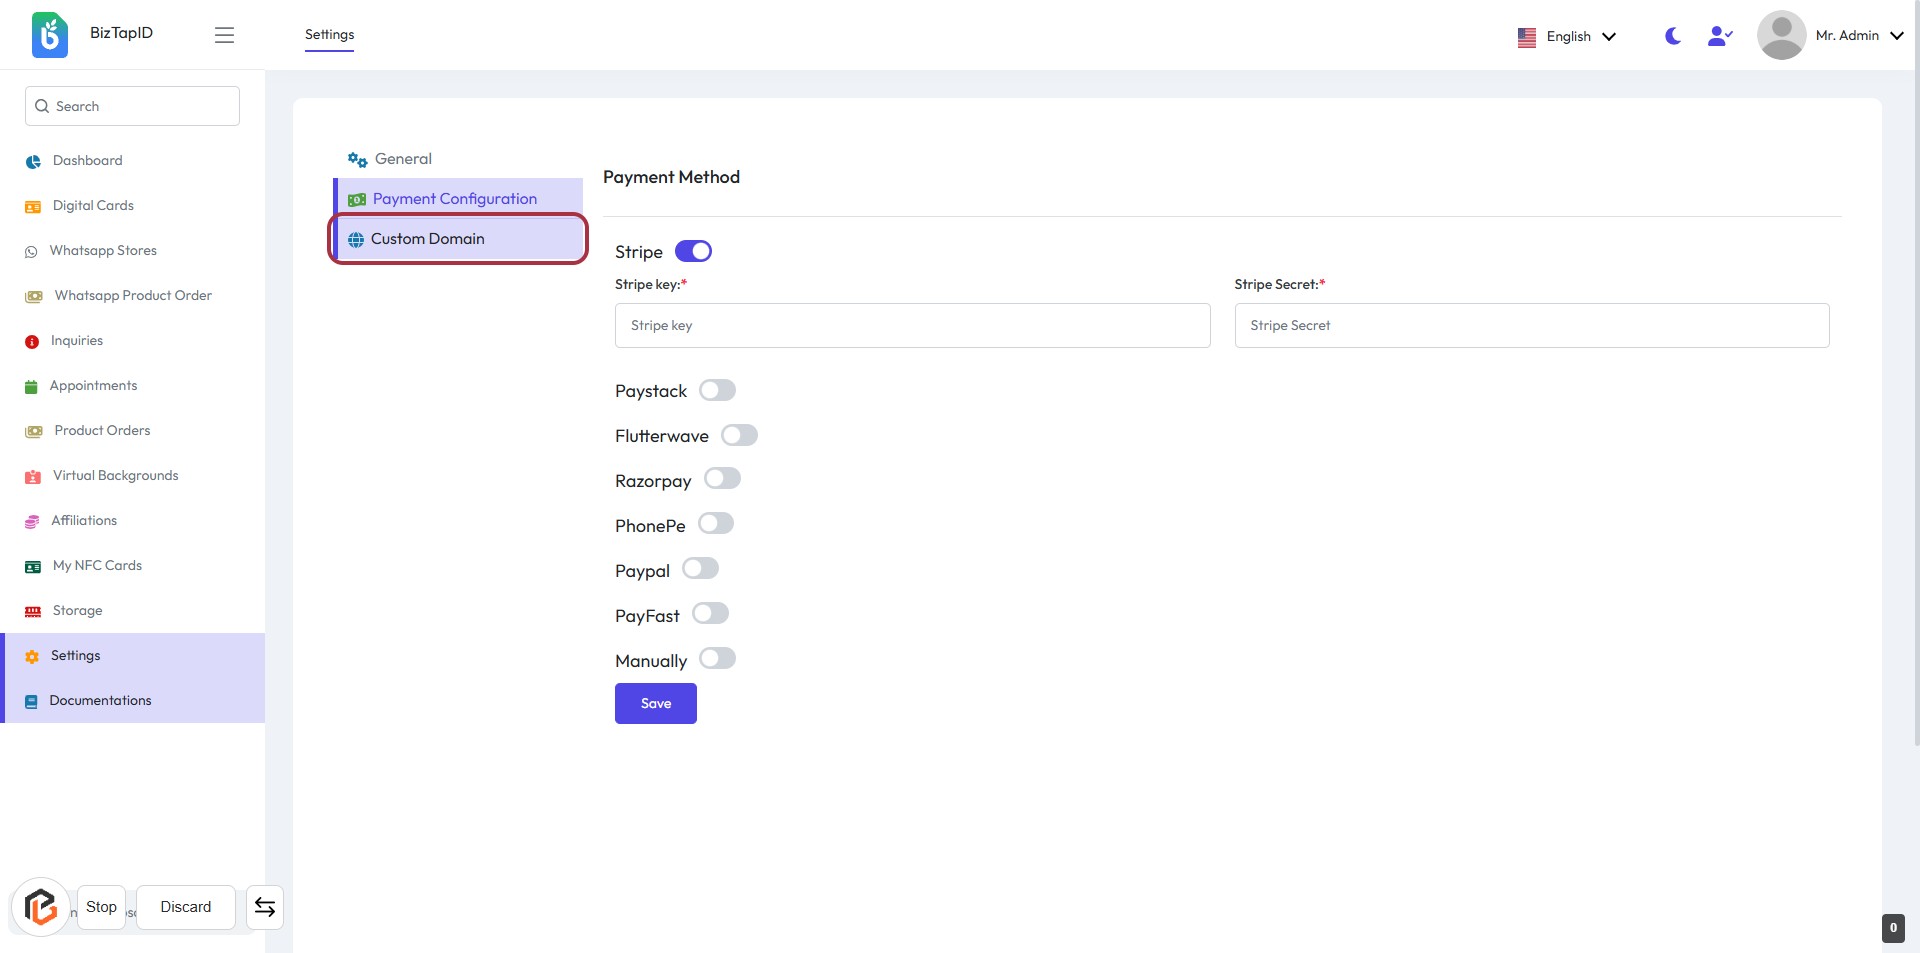
STEP 1: Click on "Custom Domain" in BizTapID Settings
- Navigate to the Payment Configuration section.
- Click on the Custom Domain link highlighted in the settings menu.
- Ensure you are on the correct page to proceed with entering your custom domain details in the next step.
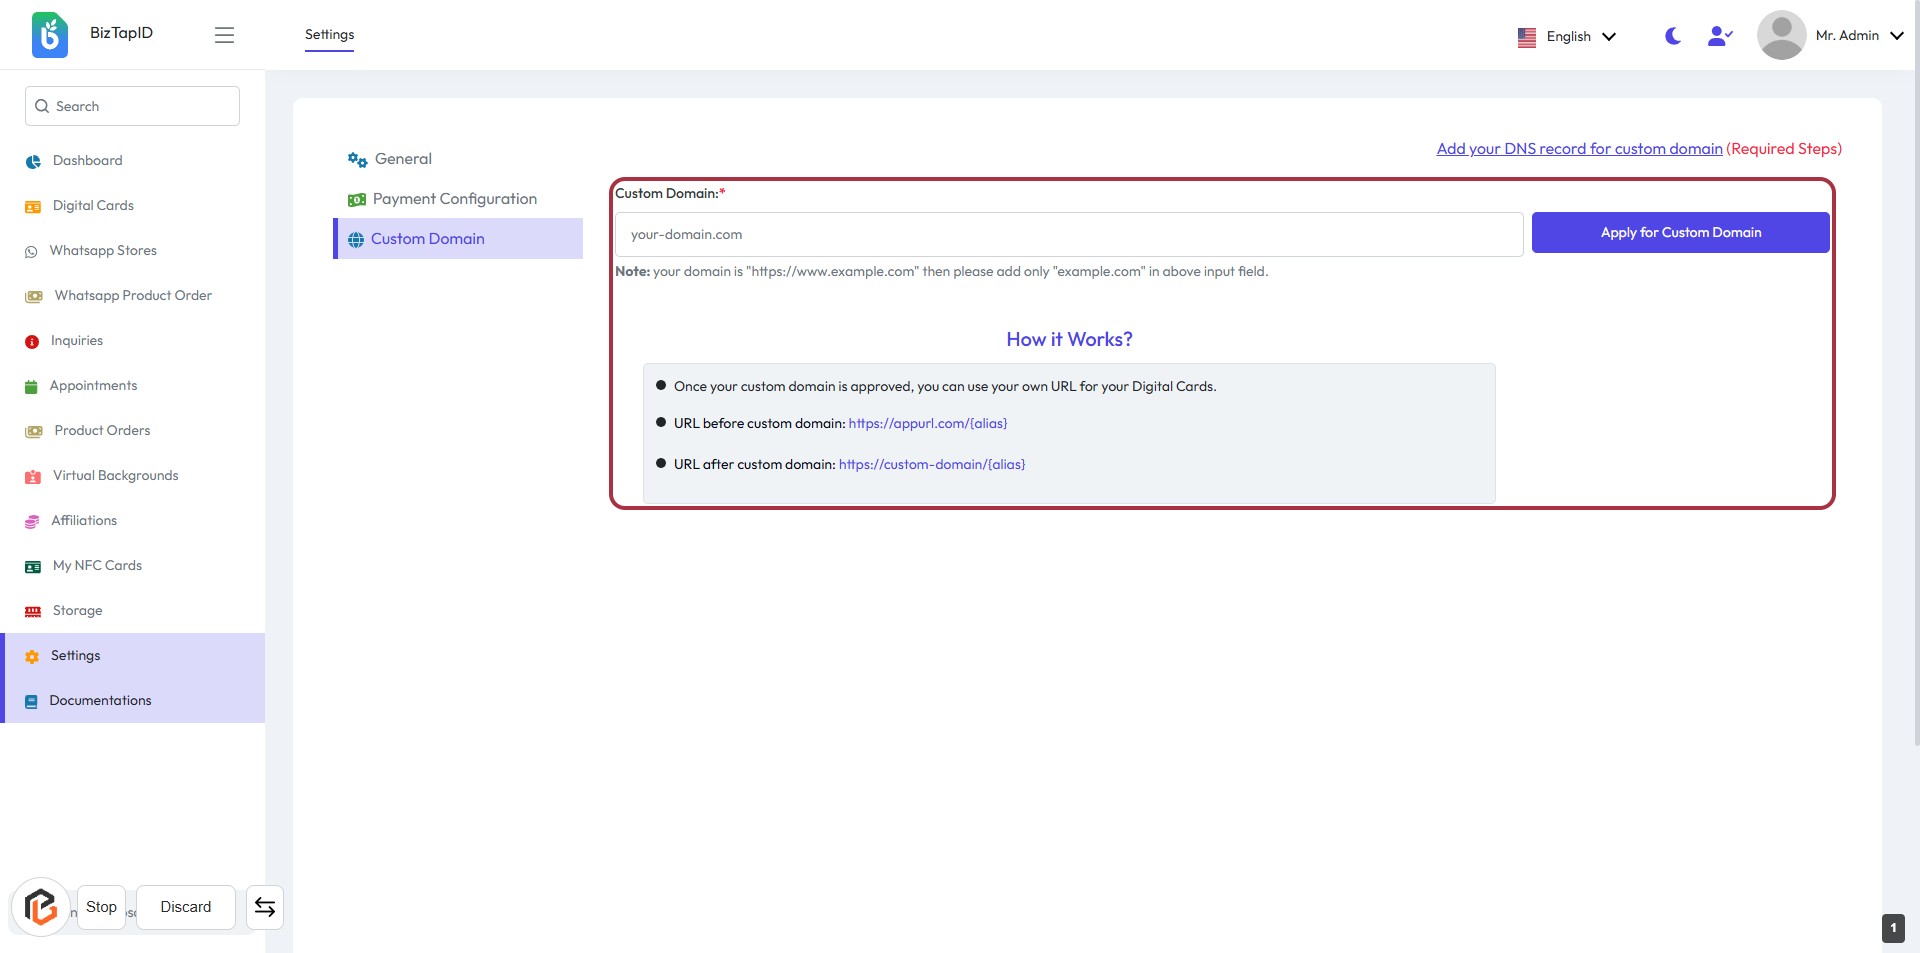
STEP 2: Enter Custom Domain
- Click on the "Custom Domain" section in the BizTapID settings.
- In the highlighted area, enter your custom domain (e.g., "example.com").
- Note: If your domain is "https://www.example.com", only input "example.com".
- Review the instructions on how the custom domain works below the input field.
- Proceed to the next step by clicking "Apply for Custom Domain".
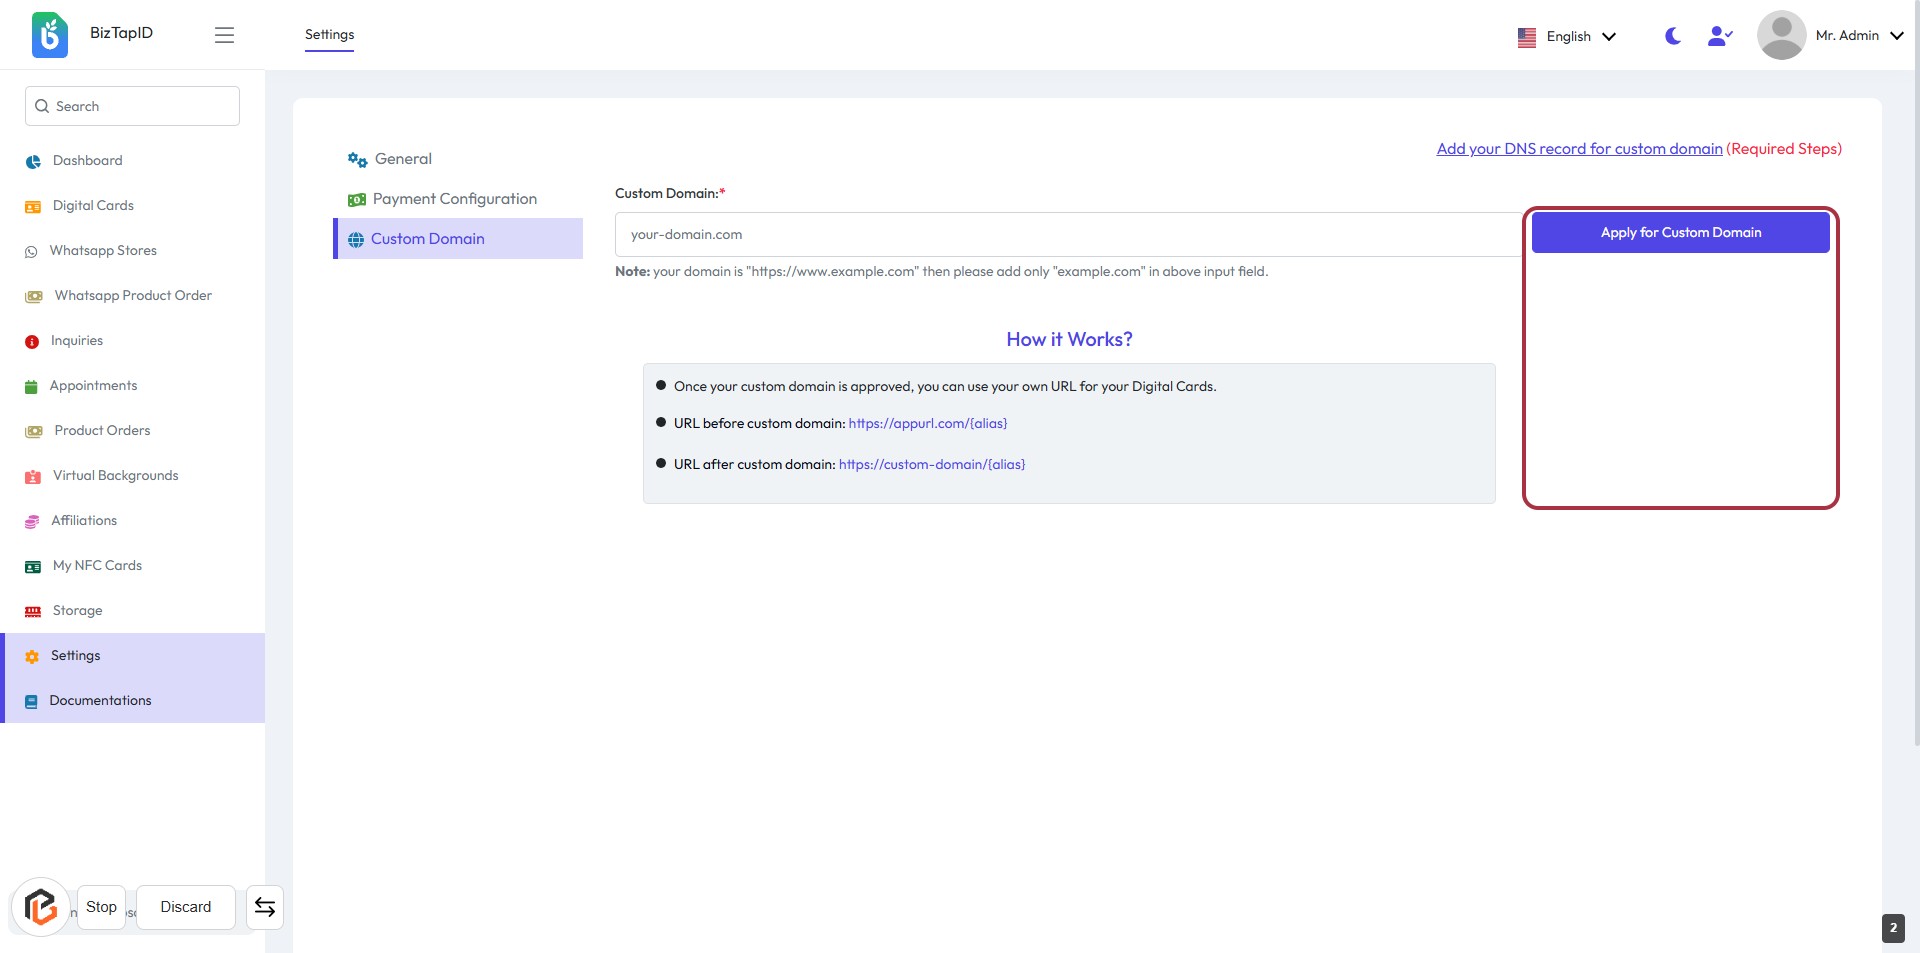
STEP 3: Click on "Apply for Custom Domain"
- Navigate to the Custom Domain section.
- Ensure the Custom Domain field is filled with your desired domain (required).
- Click on the Apply for Custom Domain button highlighted in the red border.
- Review the instructions provided on how the custom domain works.