Complete Guide to Configuring BizTapID Settings: A Step-by-Step Tutorial
13 mins read · Updated 01 Oct, 2025
STEP 1: Click on "Settings" in BizTapID
- Navigate to the left sidebar of the BizTapID dashboard.
- Locate and click on the "Settings" option highlighted in the red border.
- This will direct you to the settings page where you can manage various configurations.
- Ensure to check for any required fields marked with an asterisk (*) in the upcoming steps.
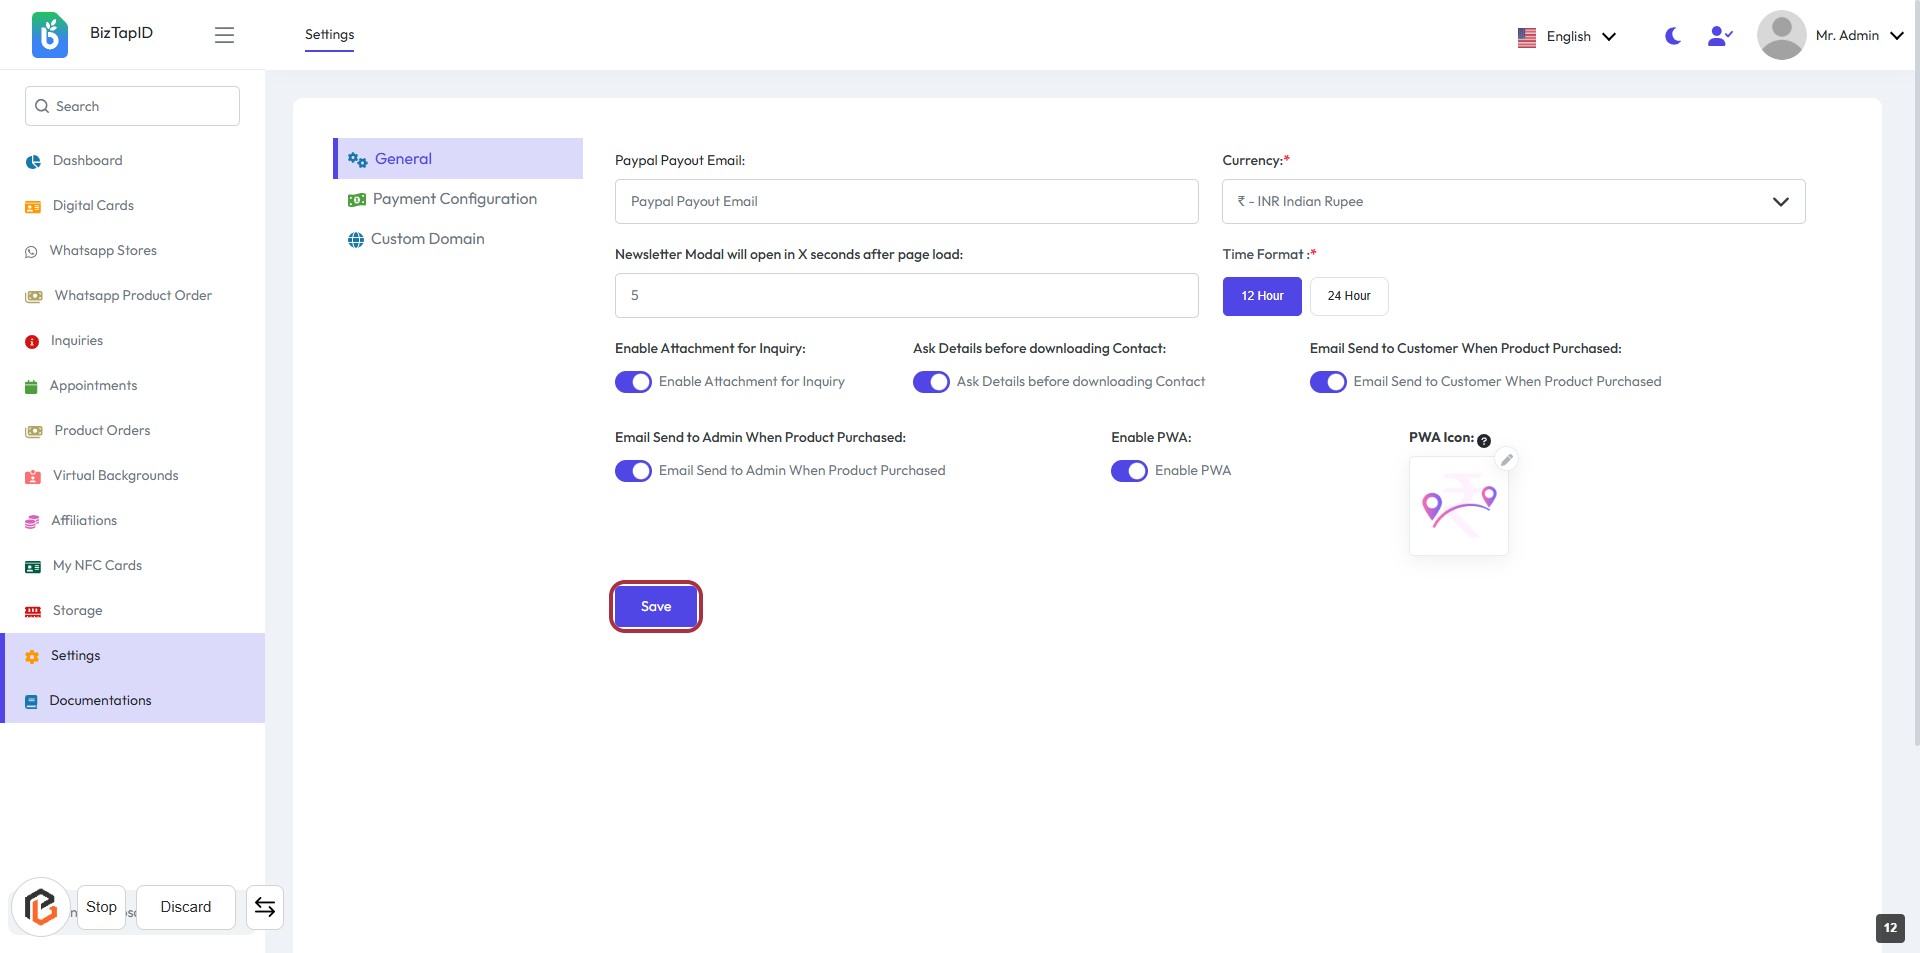
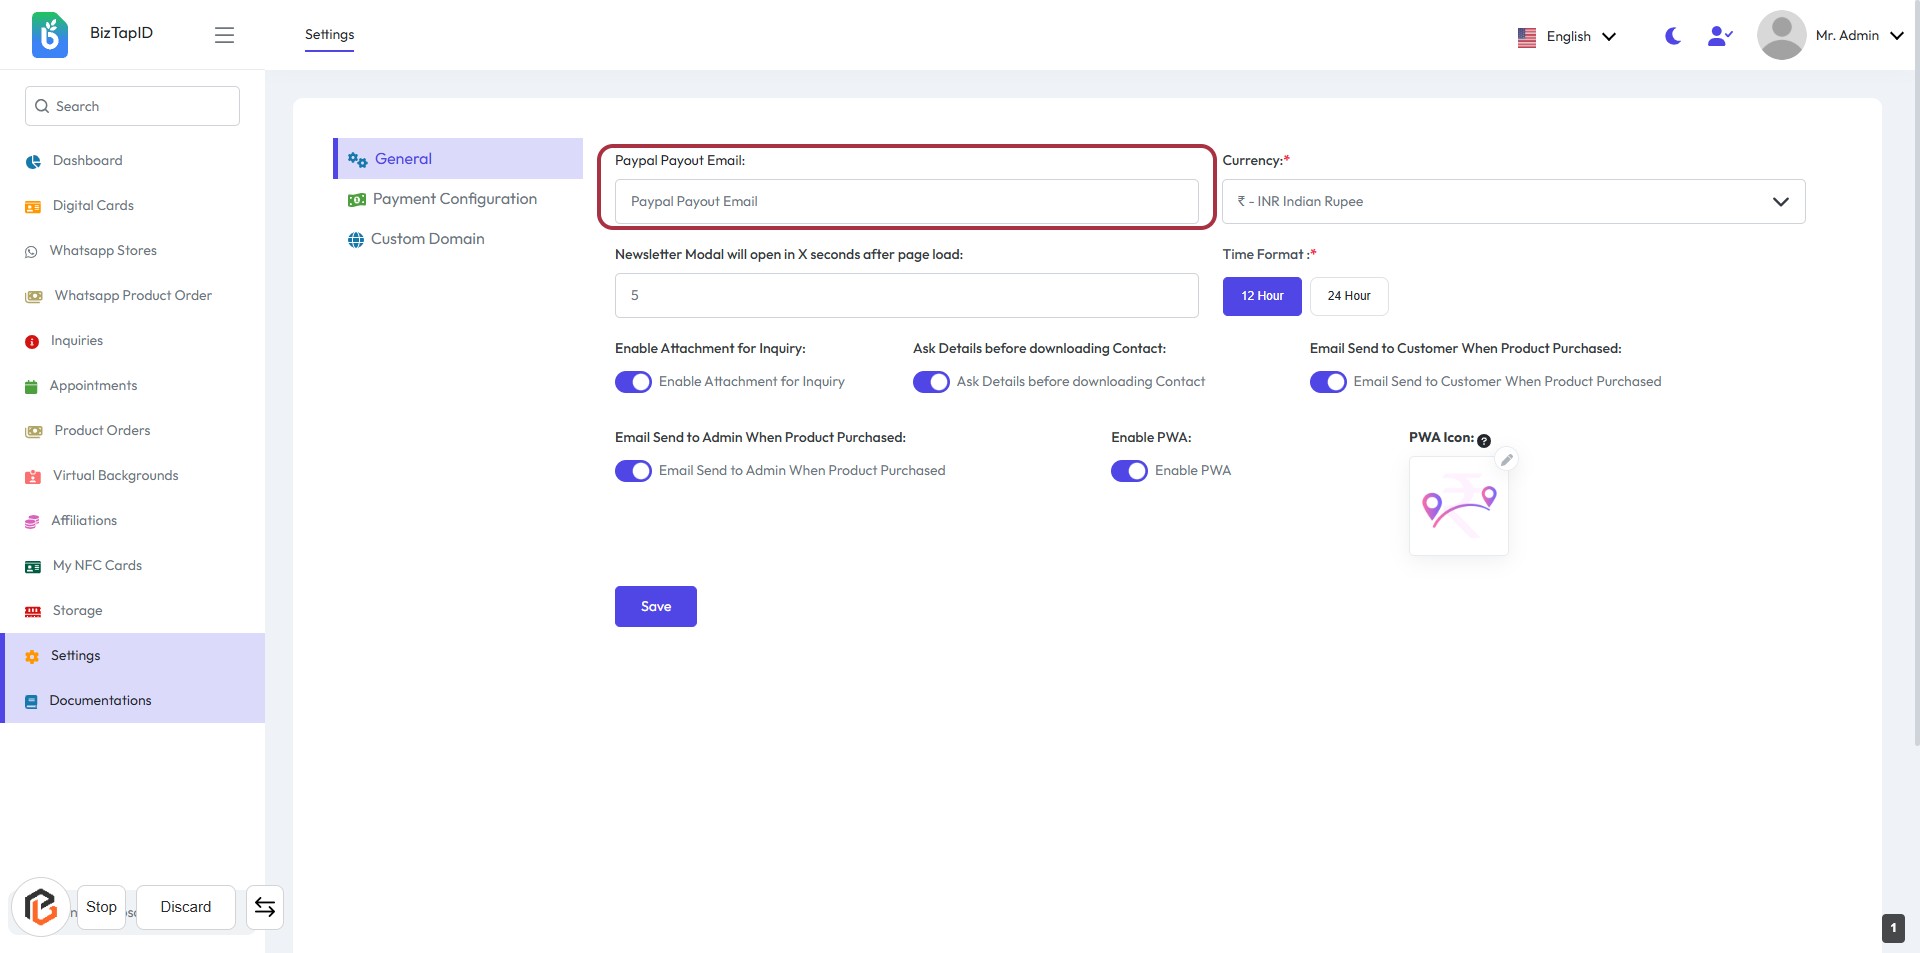
STEP 2: Enter PayPal Payout Email
- Click on the "PayPal Payout Email" field to input your email address.
- Ensure the email format is correct to avoid payment issues.
- This field is mandatory, indicated by the asterisk (*).
- After entering, proceed to the next step to select the currency.
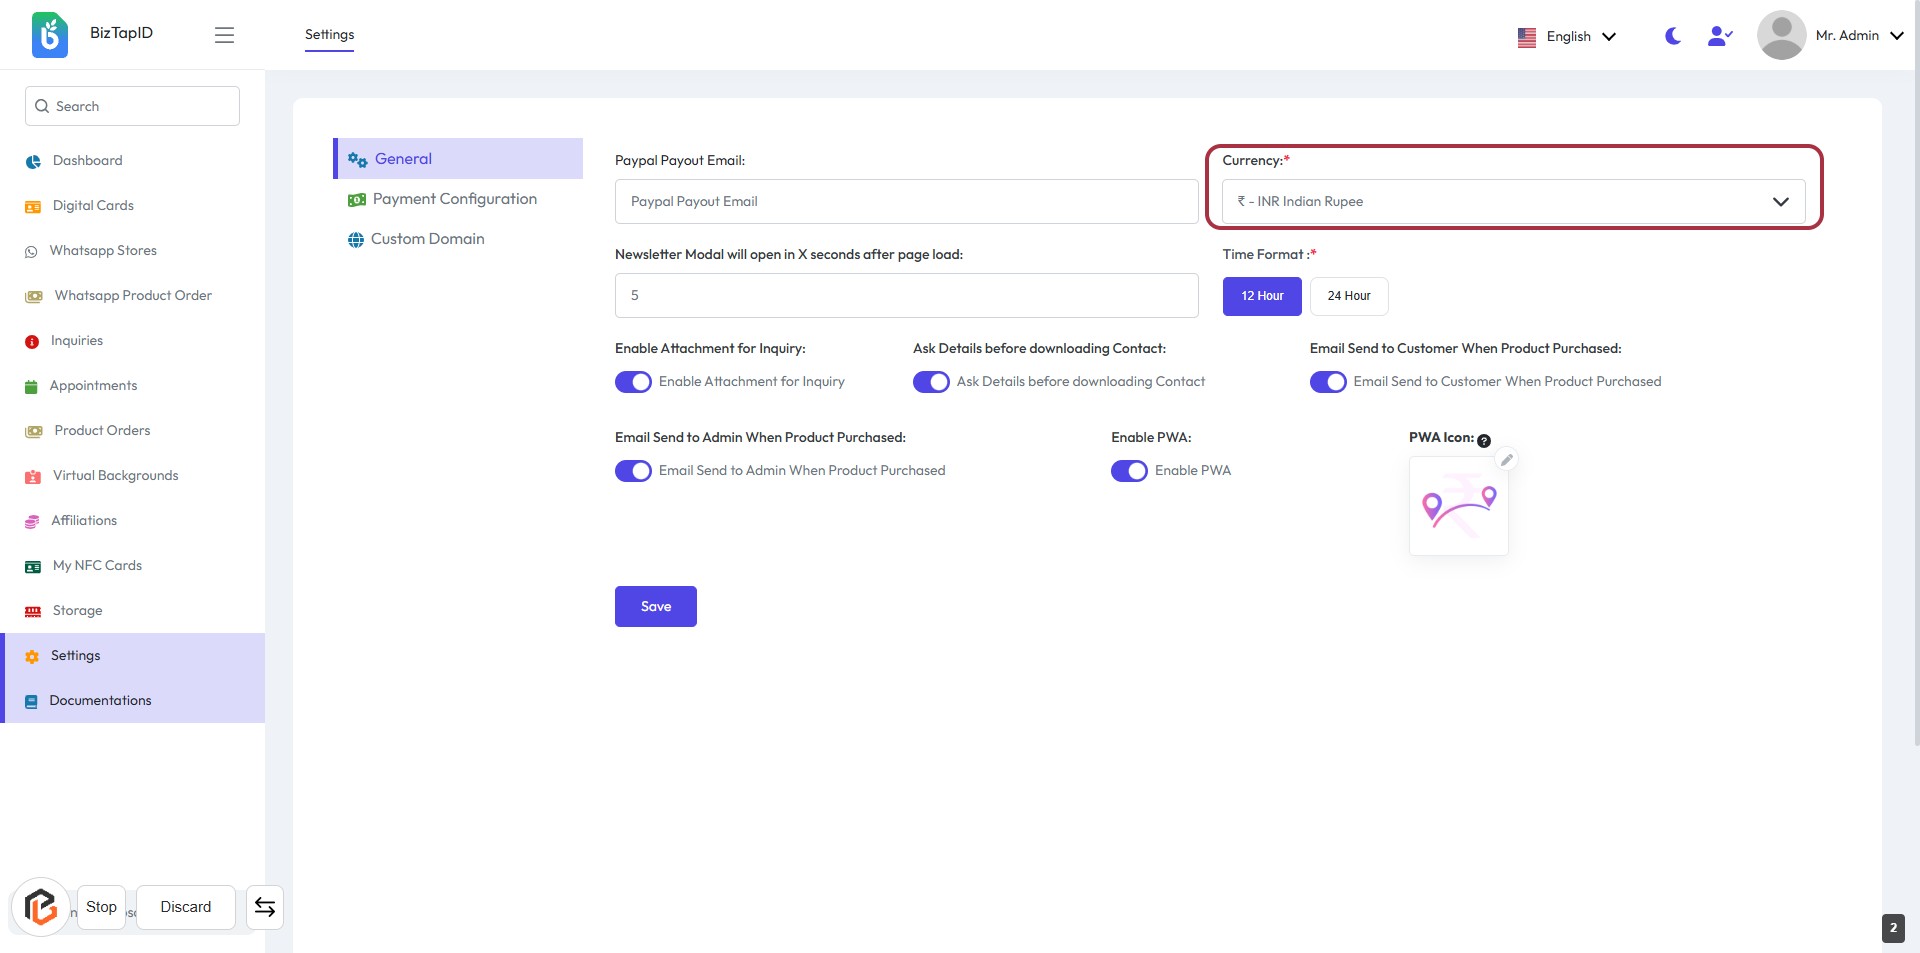
STEP 3: Select Currency
- Click on the "Currency" dropdown menu.
- Choose your preferred currency from the list (indicated by the asterisk * as a required field).
- Ensure the selection aligns with your payment preferences.
- Proceed to the next step by entering the "Newsletter Modal will open in X seconds after page load."
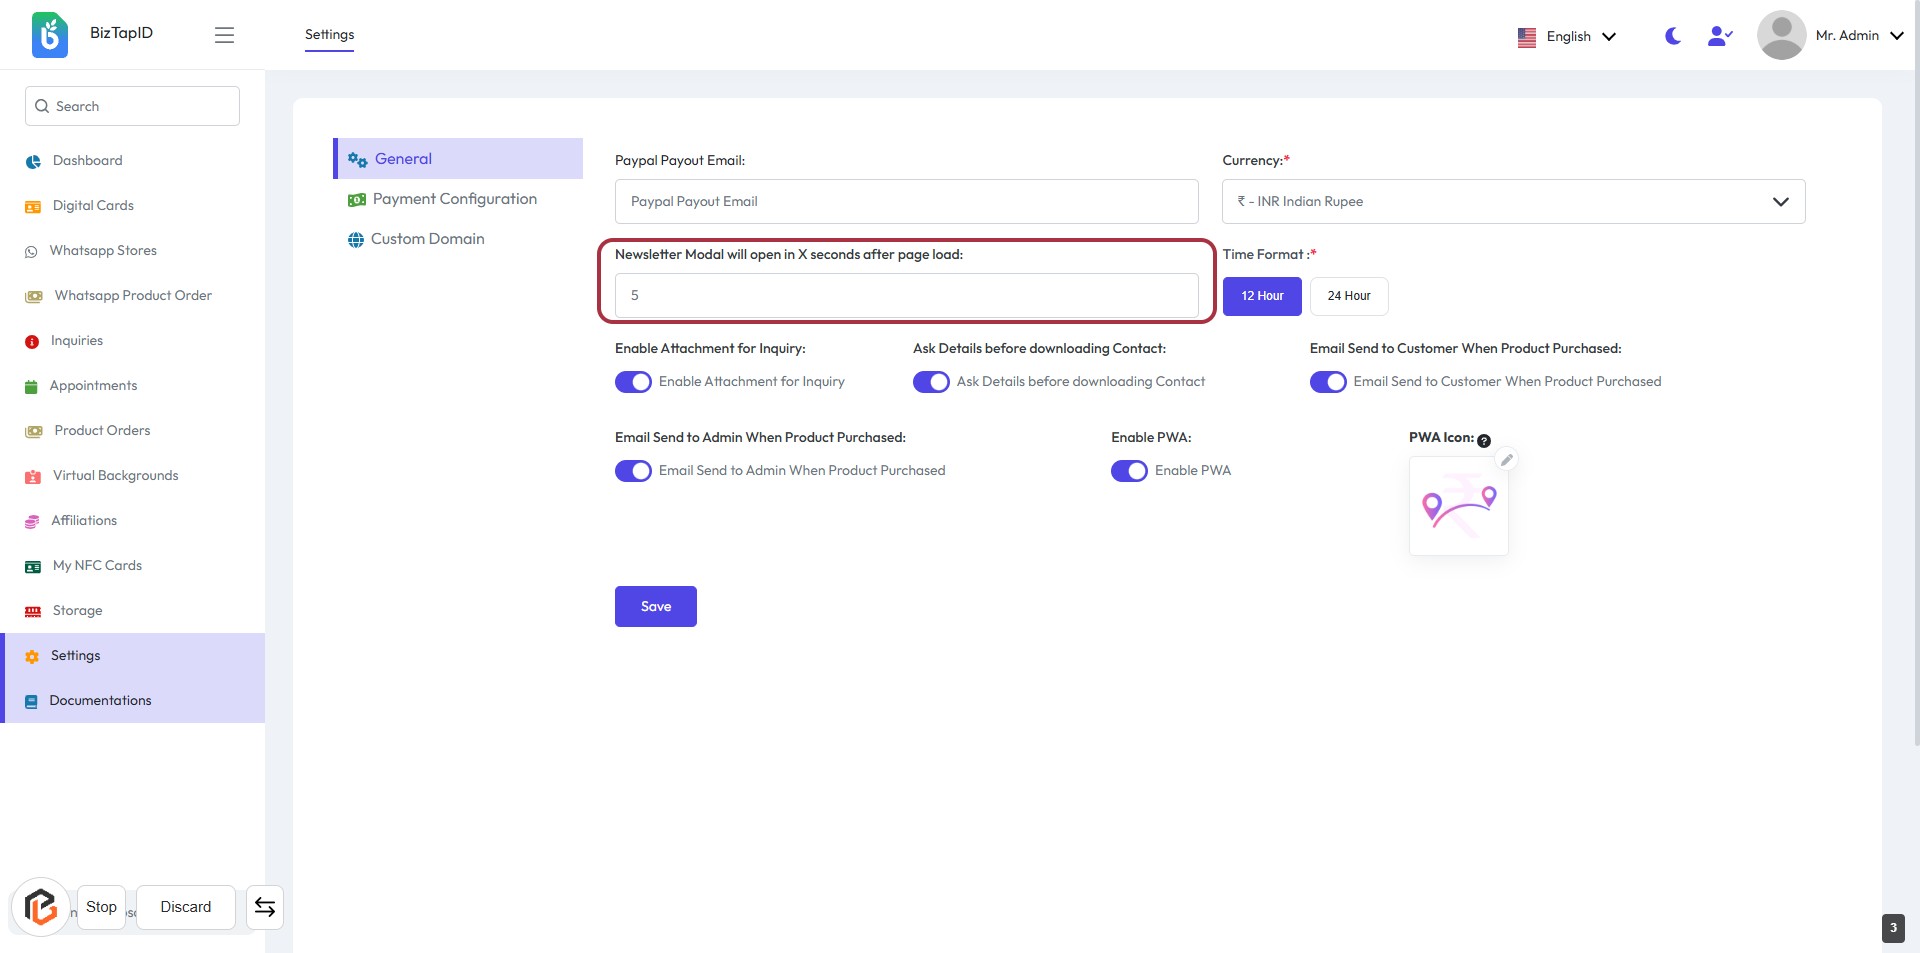
STEP 4: Enter Newsletter Modal Timing
- Click on the highlighted area to set the timing for the newsletter modal.
- Input the number of seconds (e.g., "5") for the modal to appear after the page loads.
- Ensure all required fields marked with '*' are filled out.
- Review other settings like "Enable Attachment for Inquiry" and "Ask Details before downloading Contact" as needed.
- Click "Save" to apply your changes.
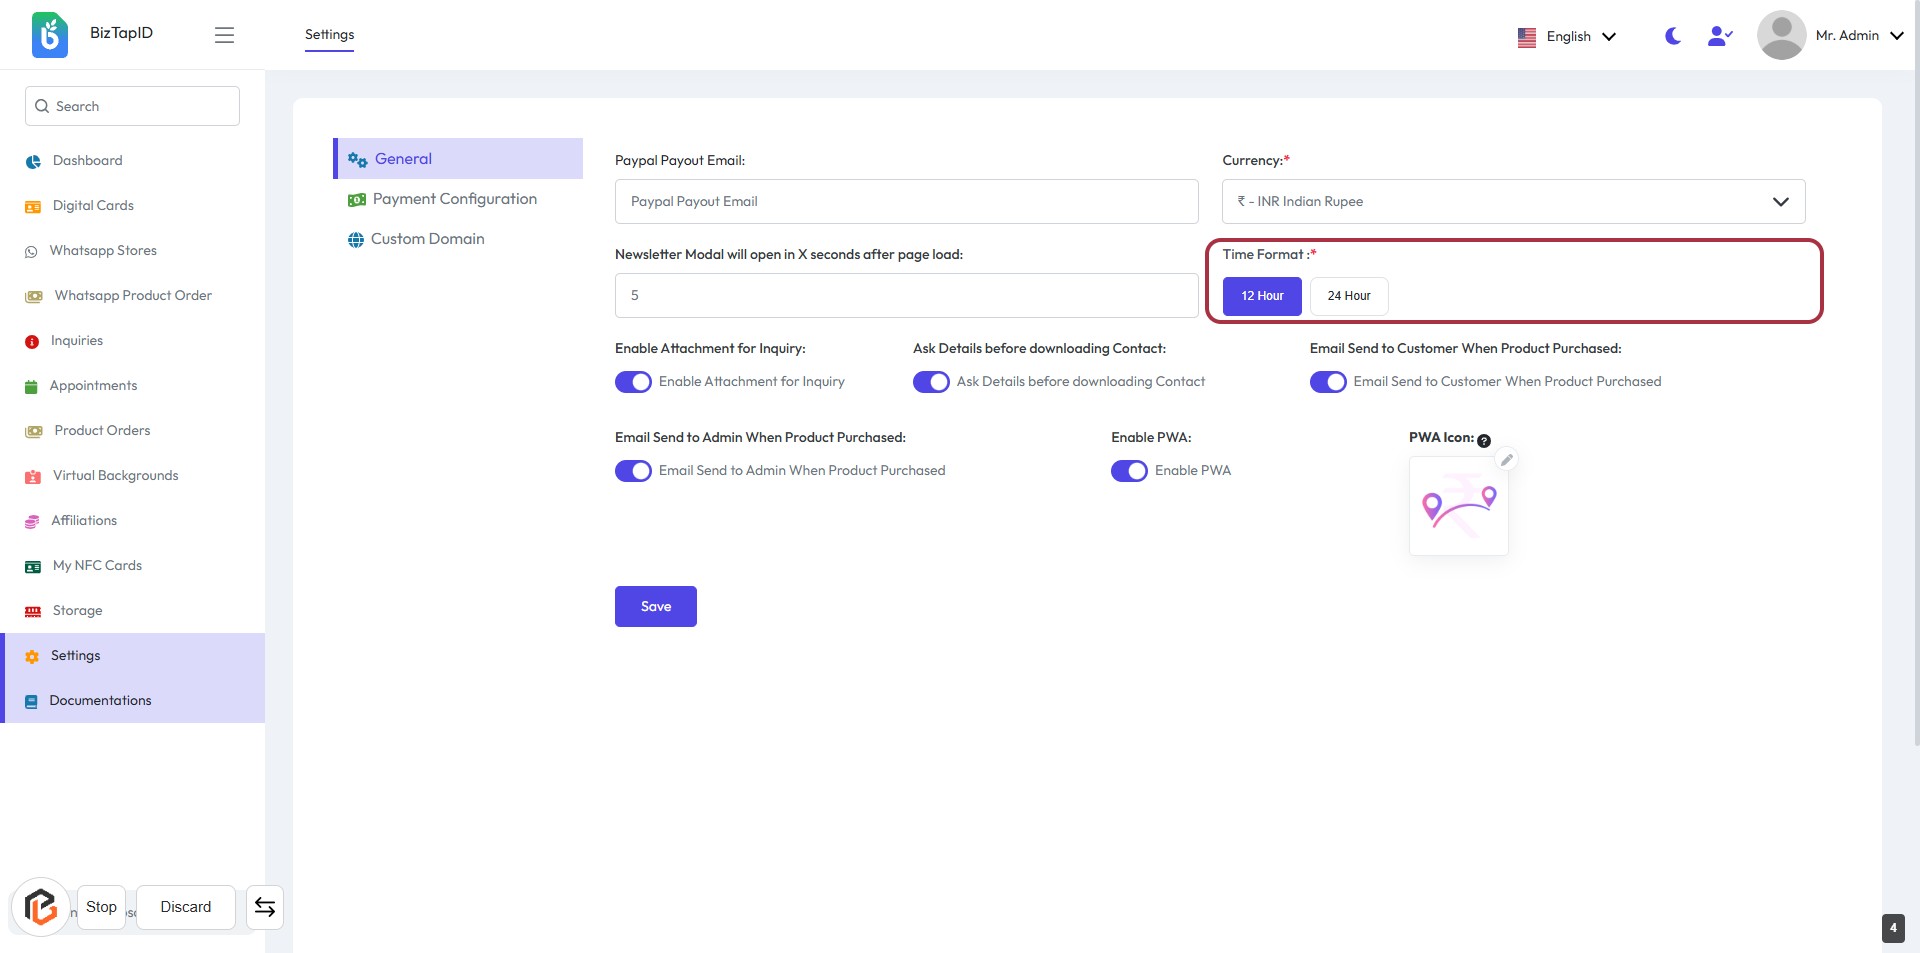
STEP 5: Select "Time Format"
- Click on the "Time Format" option in the settings.
- Choose between the available formats: 12 Hour or 24 Hour.
- Ensure you select the format that best suits your preference.
- Review other settings on the page before proceeding to the next step.
STEP 6: Click to Enable Attachment for Inquiry
- Navigate to the "Enable Attachment for Inquiry" section.
- Click the toggle switch to enable or disable the feature.
- Ensure the setting aligns with your preferences for inquiry attachments.
- Review other related settings if necessary.
- Don't forget to click "Save" to apply your changes.

STEP 7: Click to Turn on "Ask Details before downloading Contact"
- Navigate to the "Ask Details before downloading Contact" section.
- Click on the toggle switch to enable or disable this feature.
- Ensure the setting aligns with your preferences for user inquiries.
- Review other related settings for consistency.
- Click "Save" to apply changes.

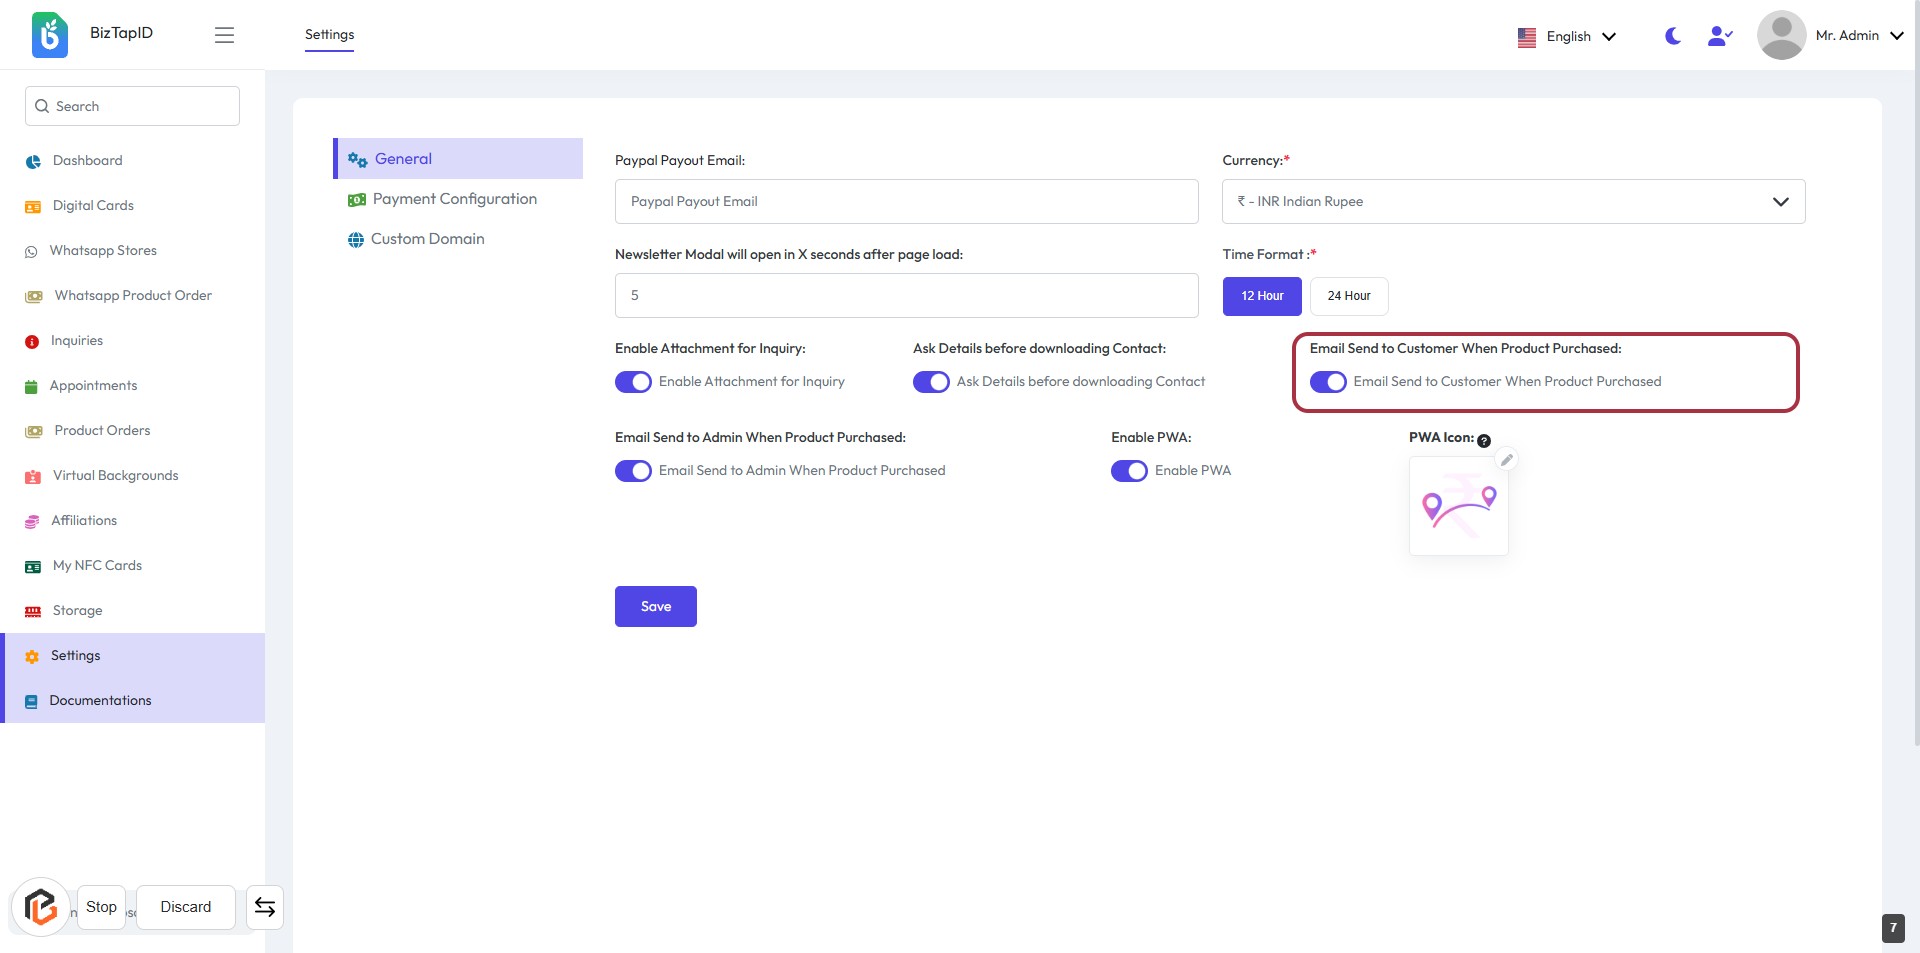
STEP 8: Click to Turn on "Email Send to Customer When Product Purchased"
- Locate the option labeled Email Send to Customer When Product Purchased in the settings.
- Click on the toggle switch next to this option to enable or disable it based on your preference.
- Ensure the setting reflects your desired configuration before proceeding.
- Don't forget to click Save to apply your changes.
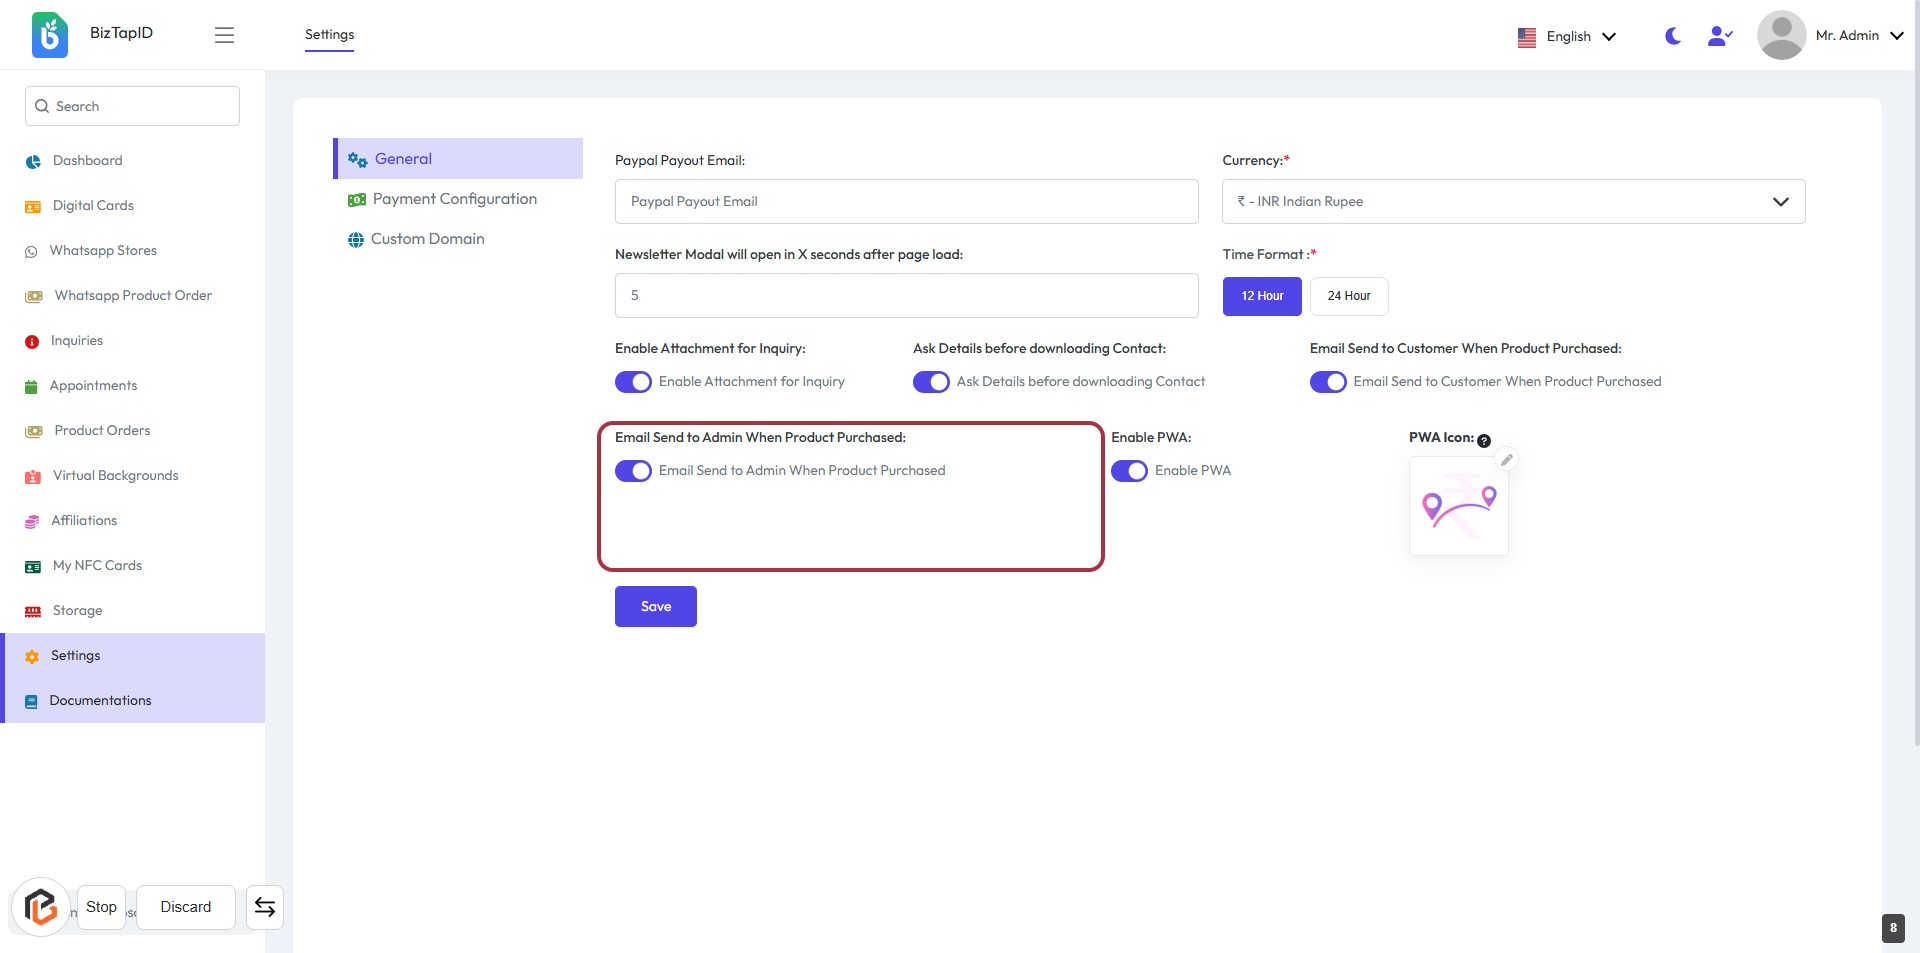
STEP 9: Turn on based on your preference "Email Send to Admin When Product Purchased"
- Click on the toggle next to "Email Send to Admin When Product Purchased" to enable or disable this feature.
- Ensure that the toggle is highlighted to confirm activation.
- Review other settings in the form for additional configurations.
- Don’t forget to click "Save" to apply your changes.
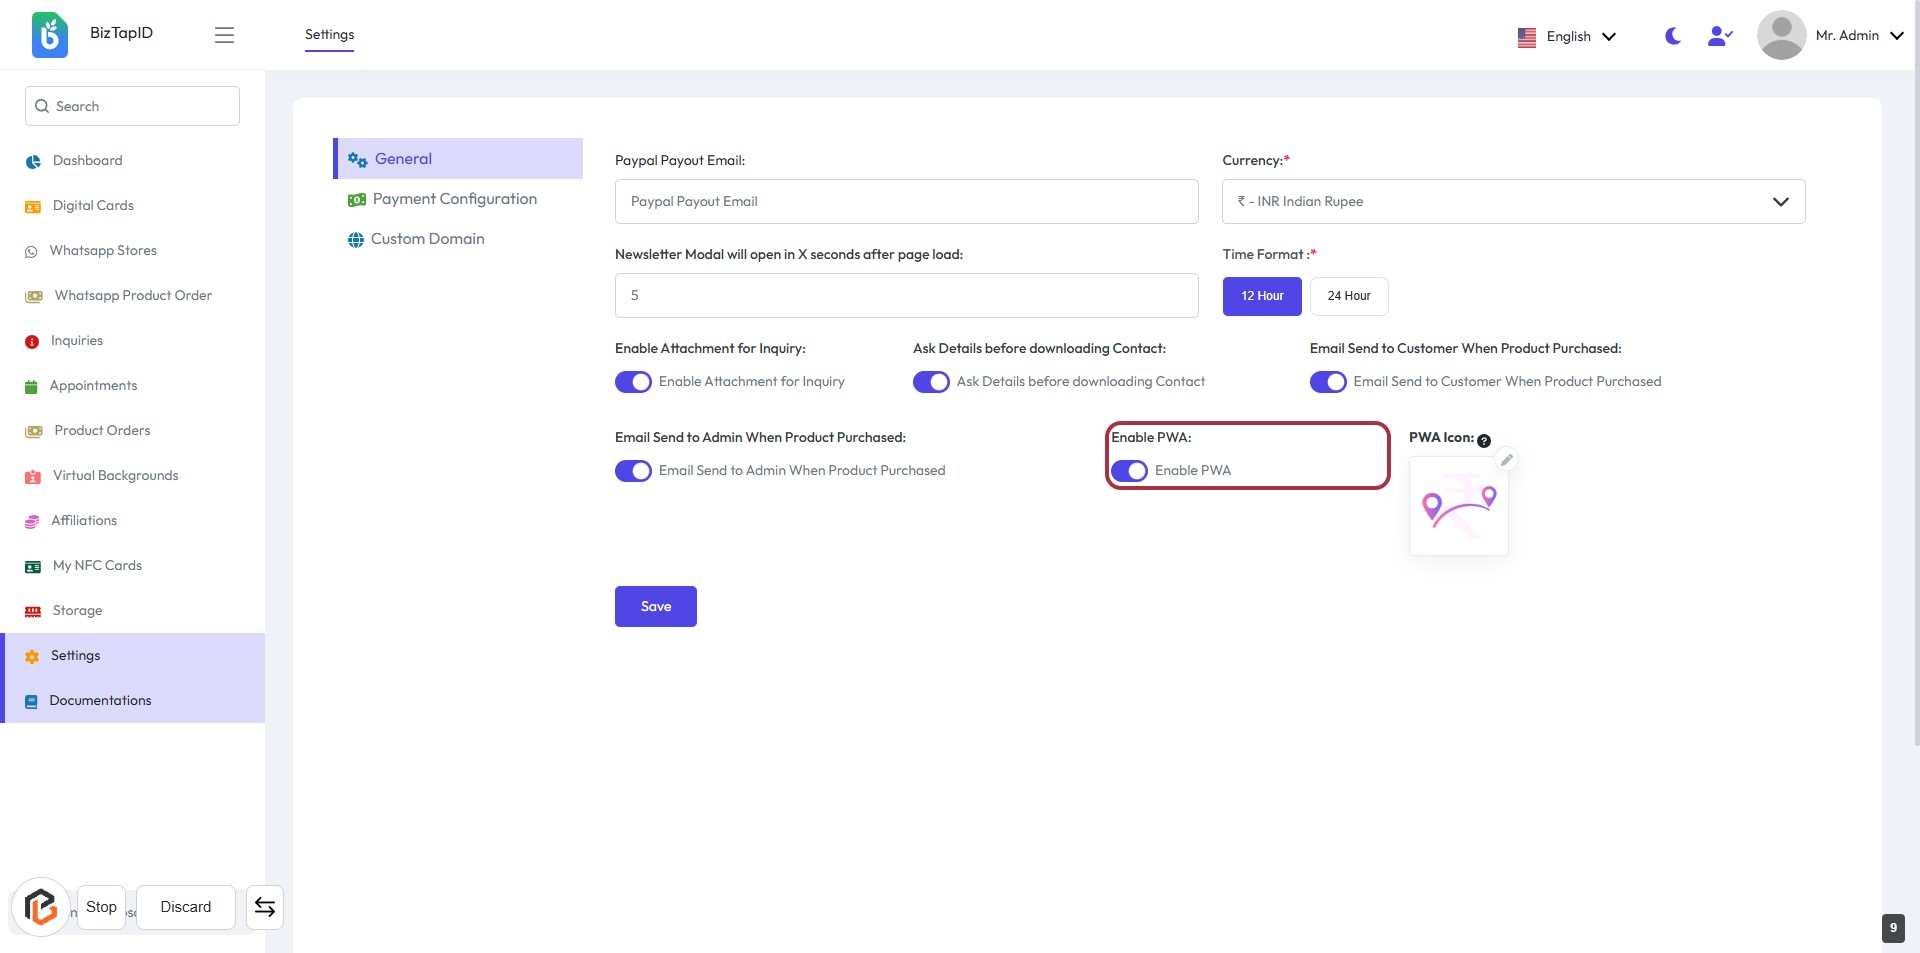
STEP 10: Click to Enable PWA
- Navigate to the "Enable PWA:" section in the settings.
- Click on the toggle switch to activate the PWA feature.
- Ensure the toggle changes to indicate that PWA is enabled.
- Review any additional settings related to PWA if necessary.
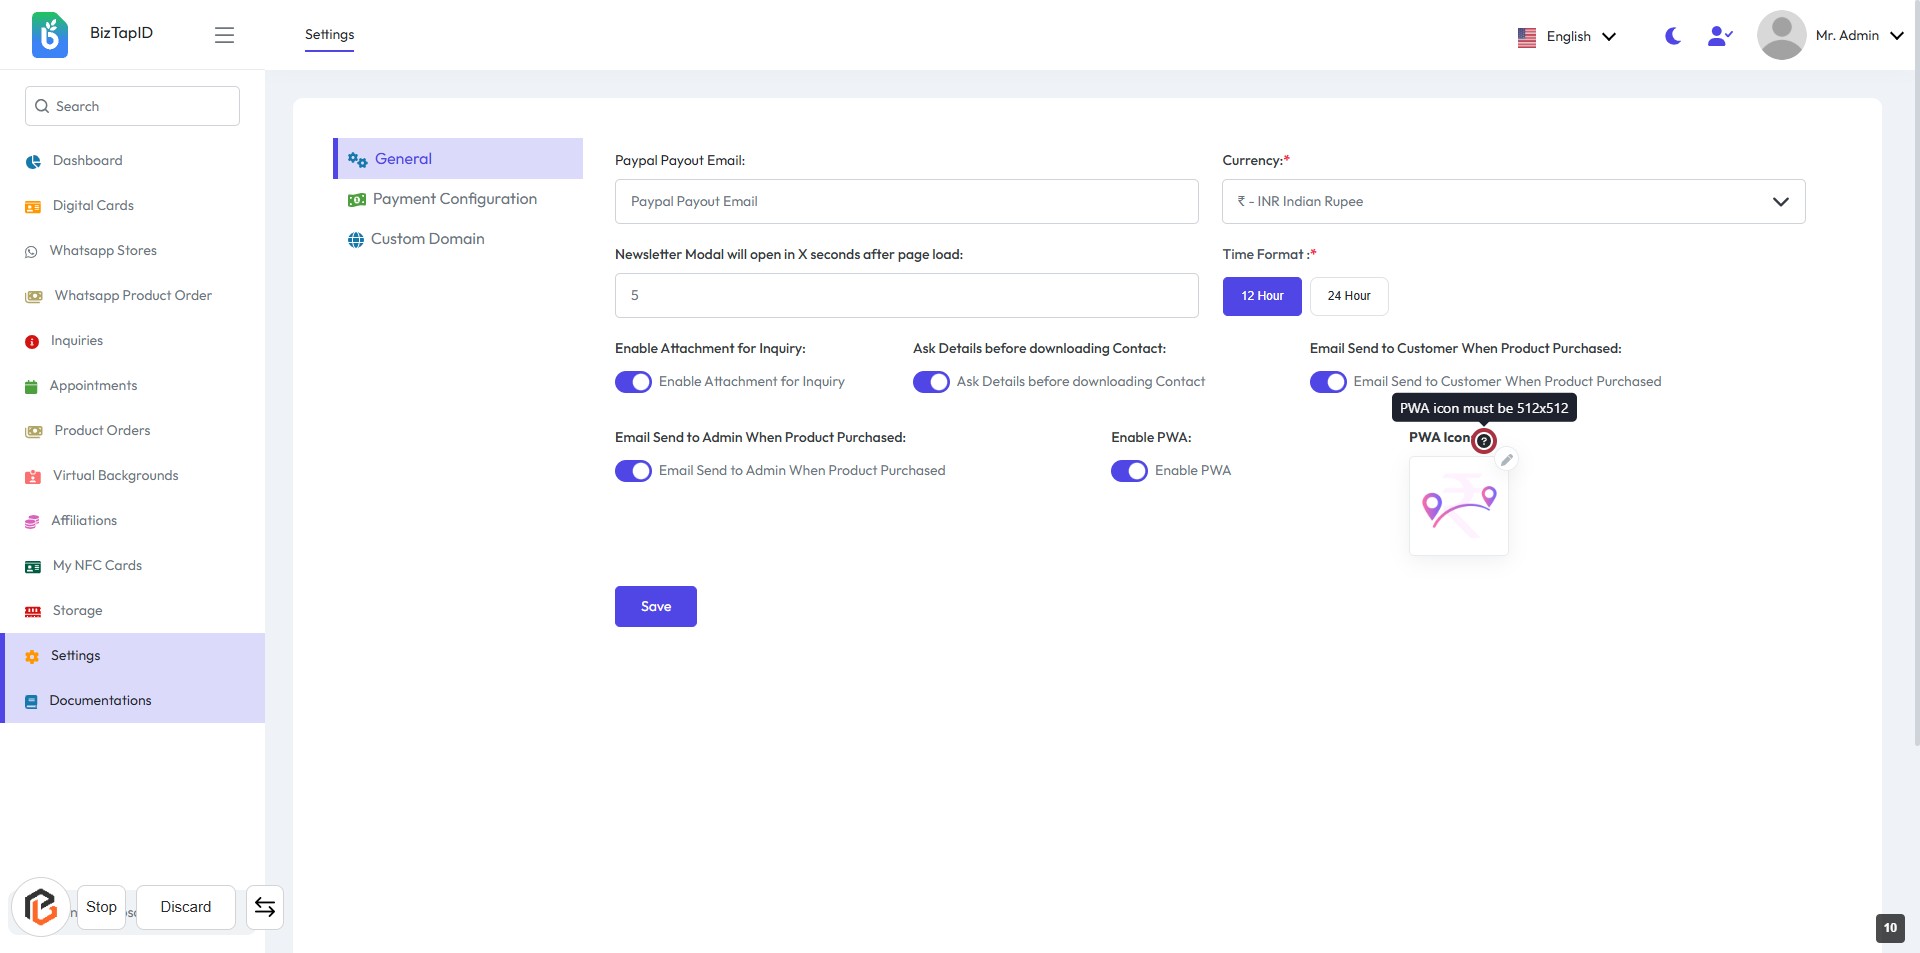
STEP 11: CLICK on "?" to view PWA Image size (for context only)
- Locate the "PWA Icon" section in the settings.
- Click on the "?" icon next to the PWA Icon label.
- A tooltip will appear, providing information about the required image size (512x512).
- Ensure you understand the specifications before proceeding to upload the icon in the next step.
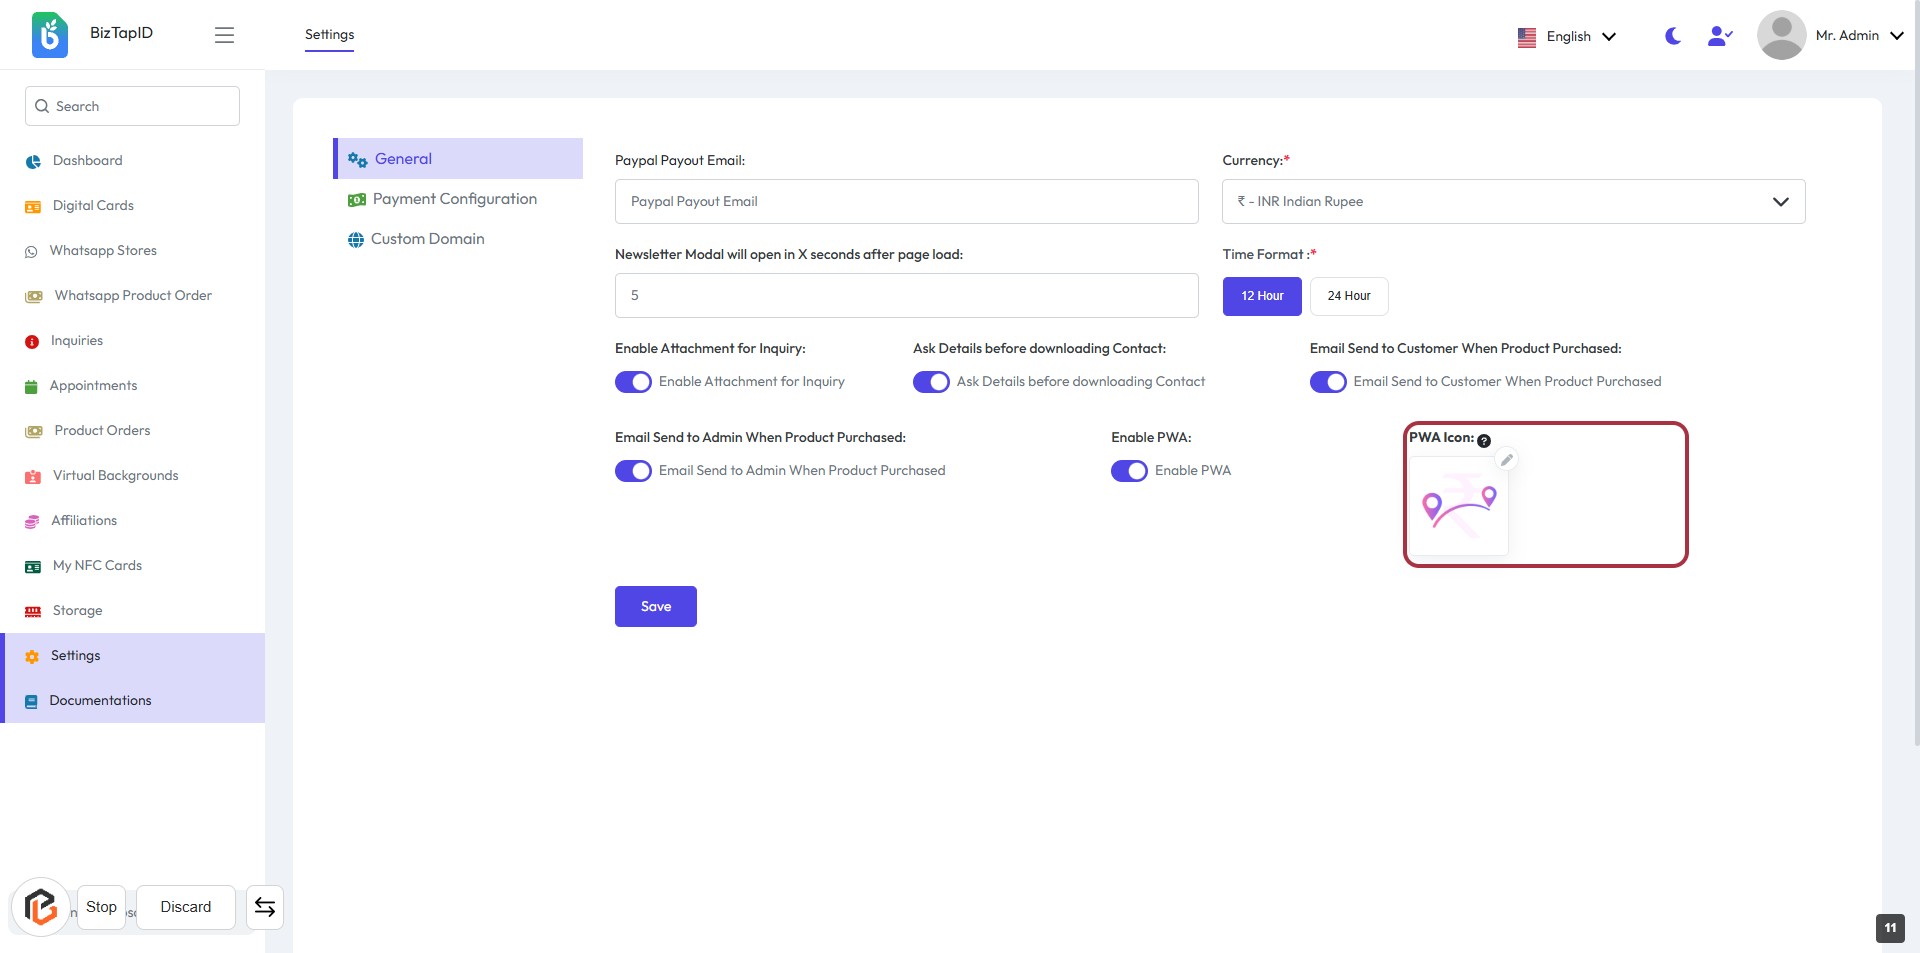
STEP 12: Upload PWA Icon
- Locate the "PWA Icon:" section in the settings form.
- Click on the highlighted area to upload your PWA icon.
- Ensure the icon meets the required specifications (check for any asterisks indicating mandatory fields).
- After uploading, proceed to the next step by clicking the "Save" button.
STEP 13: CLICK on "Save" Button
- Ensure all required fields are filled out, marked with an asterisk (*).
- Review your settings for accuracy.
- Click the Save button located at the bottom of the form to apply your changes.
- Confirm that a success message appears to indicate successful saving.