Complete Guide to Navigating BizTapID Digital Cards and Managing Product Orders
15 mins read · Updated 01 Oct, 2025
STEP 1: Click on the Preview URL for Bhavik Fuletra
- Navigate to the Digital Cards section on the BizTapID dashboard.
- Locate the entry for Bhavik Fuletra.
- Click on the highlighted Preview URL:
https://biztapid.com/bhavik-palzin. - This action will open the preview of the digital card for further review.

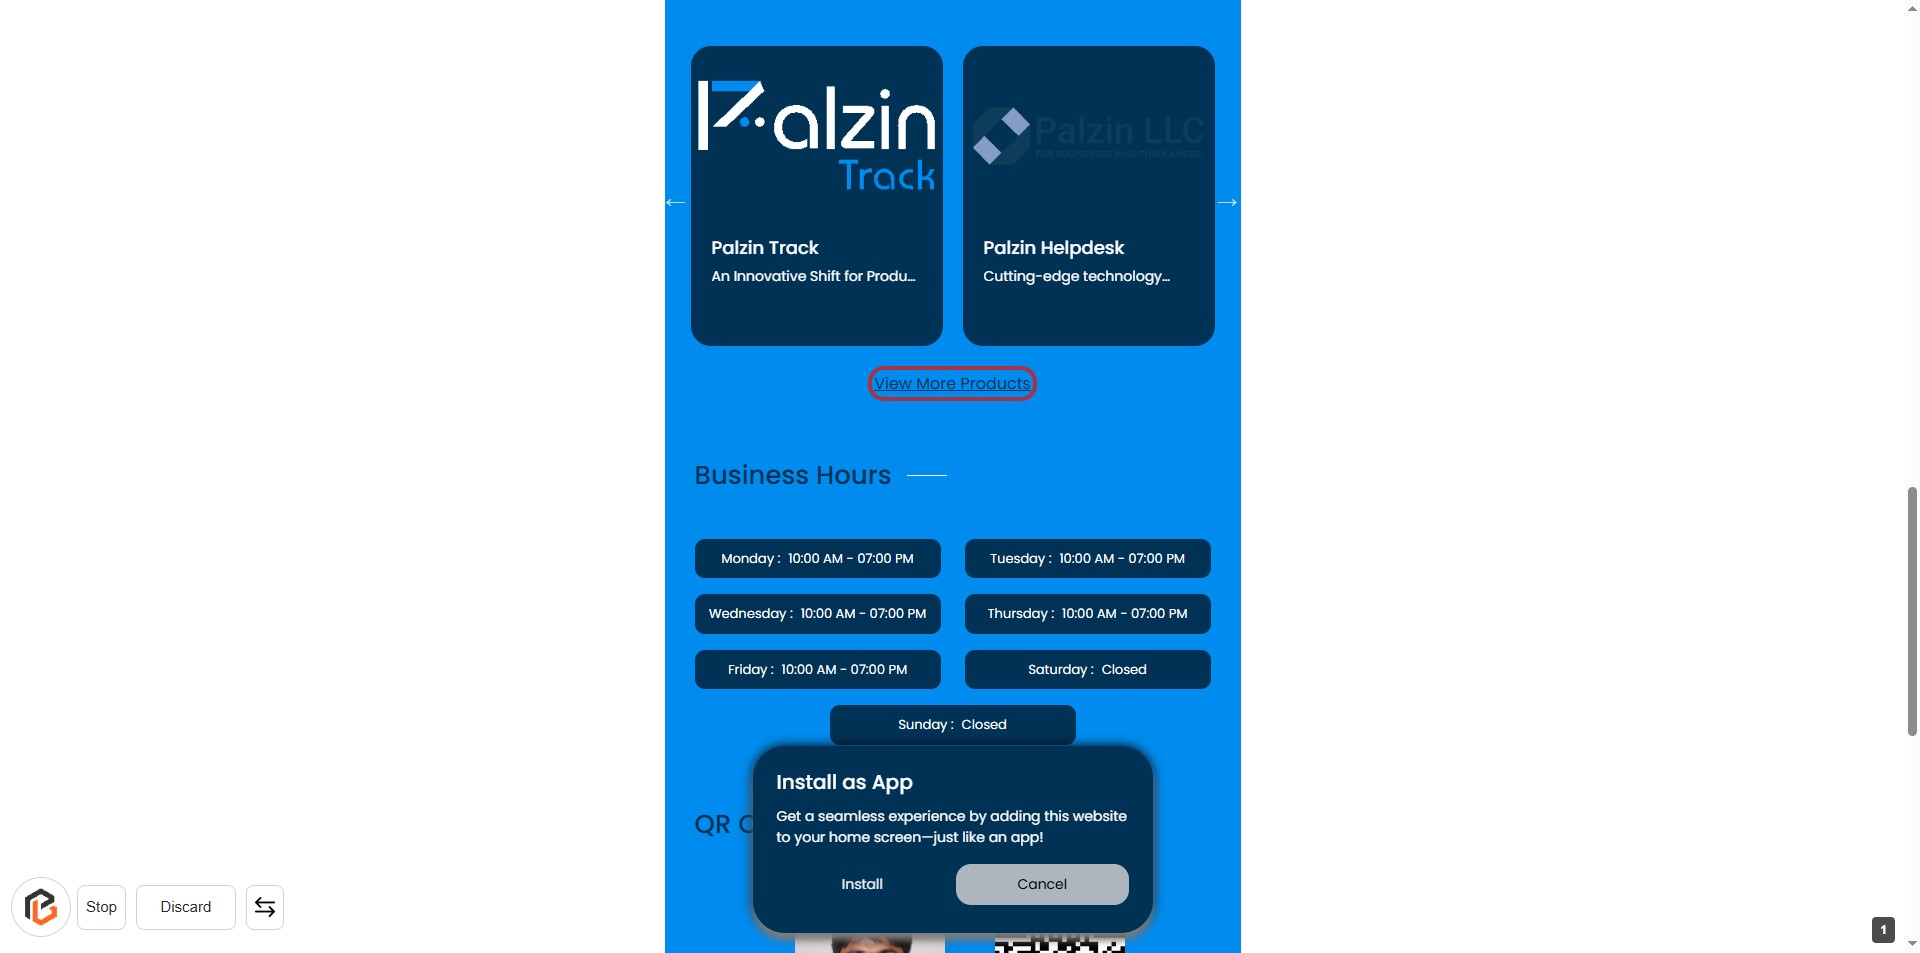
STEP 2: Click on "View More Products"
- Navigate to the section labeled "View More Products."
- Click on the highlighted link to explore additional product options.
- Ensure you have a stable internet connection for seamless navigation.
- After clicking, you will be directed to a page with more product details.
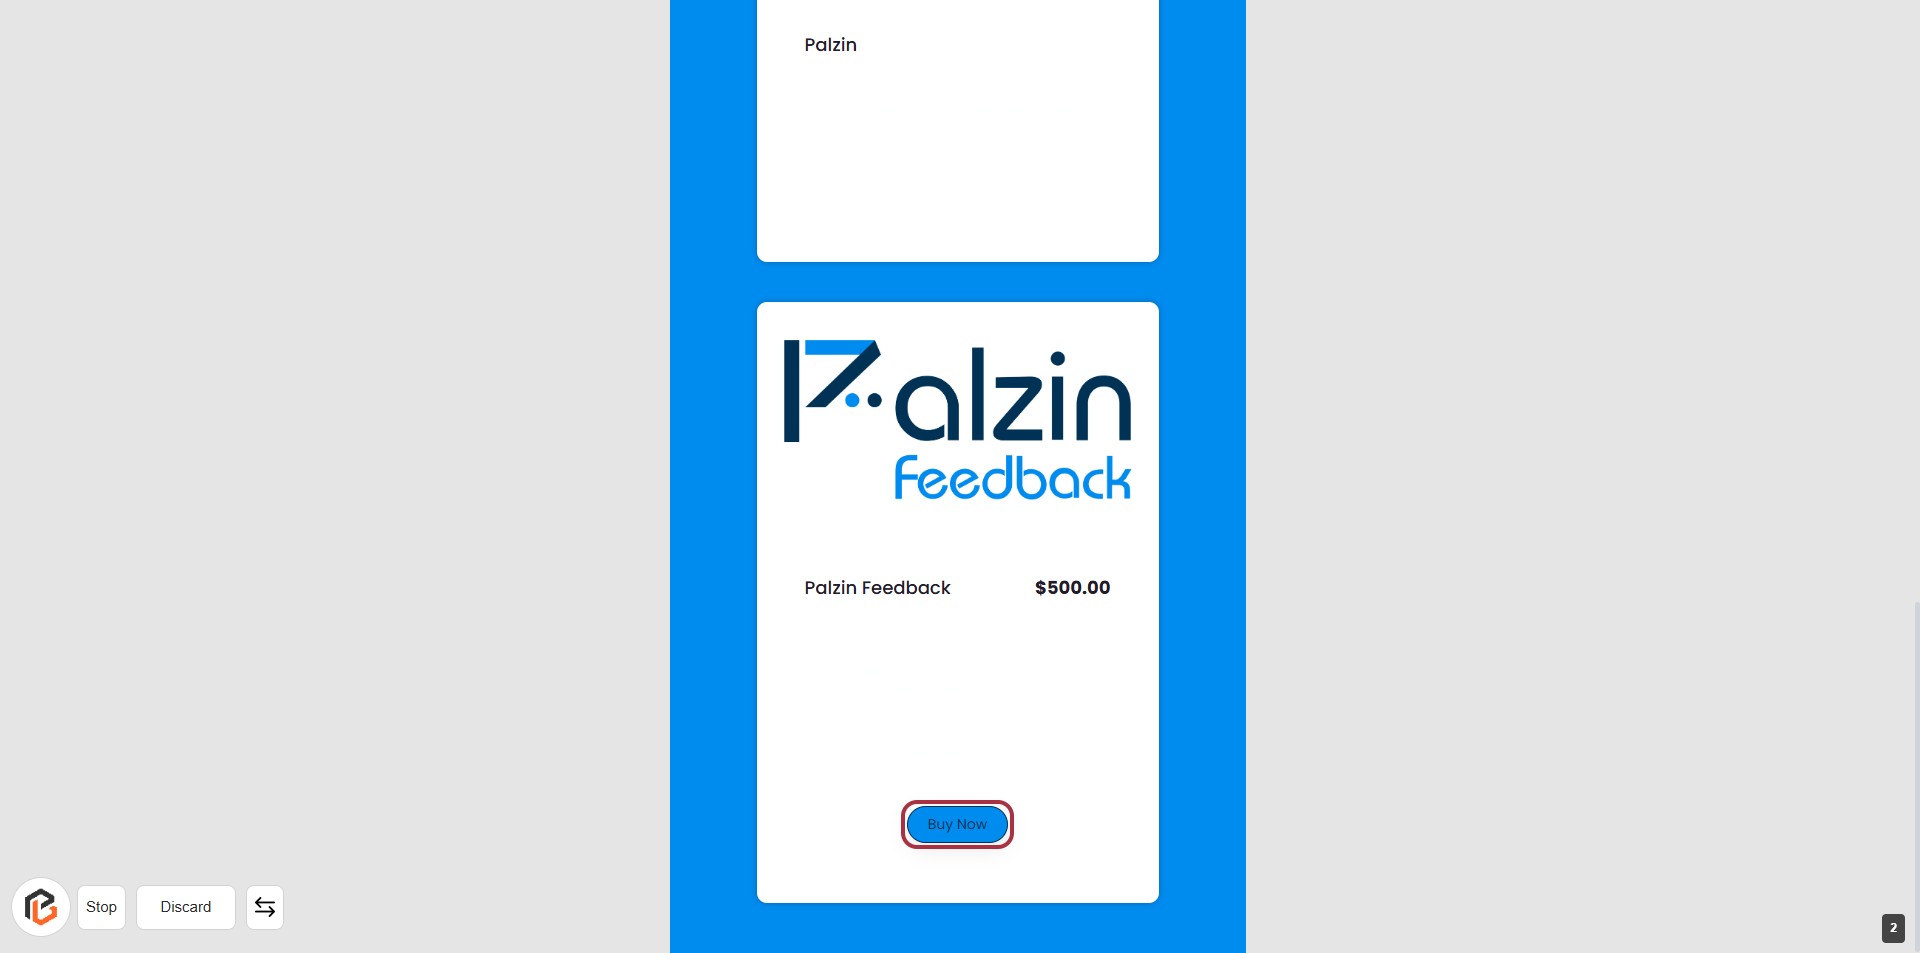
STEP 3: Click on "Buy Now"
- Locate the "Buy Now" button on the product page.
- Ensure you are ready to proceed with the purchase.
- Click the "Buy Now" button to initiate the transaction.
- After clicking, you will be directed to the next step to enter your name.
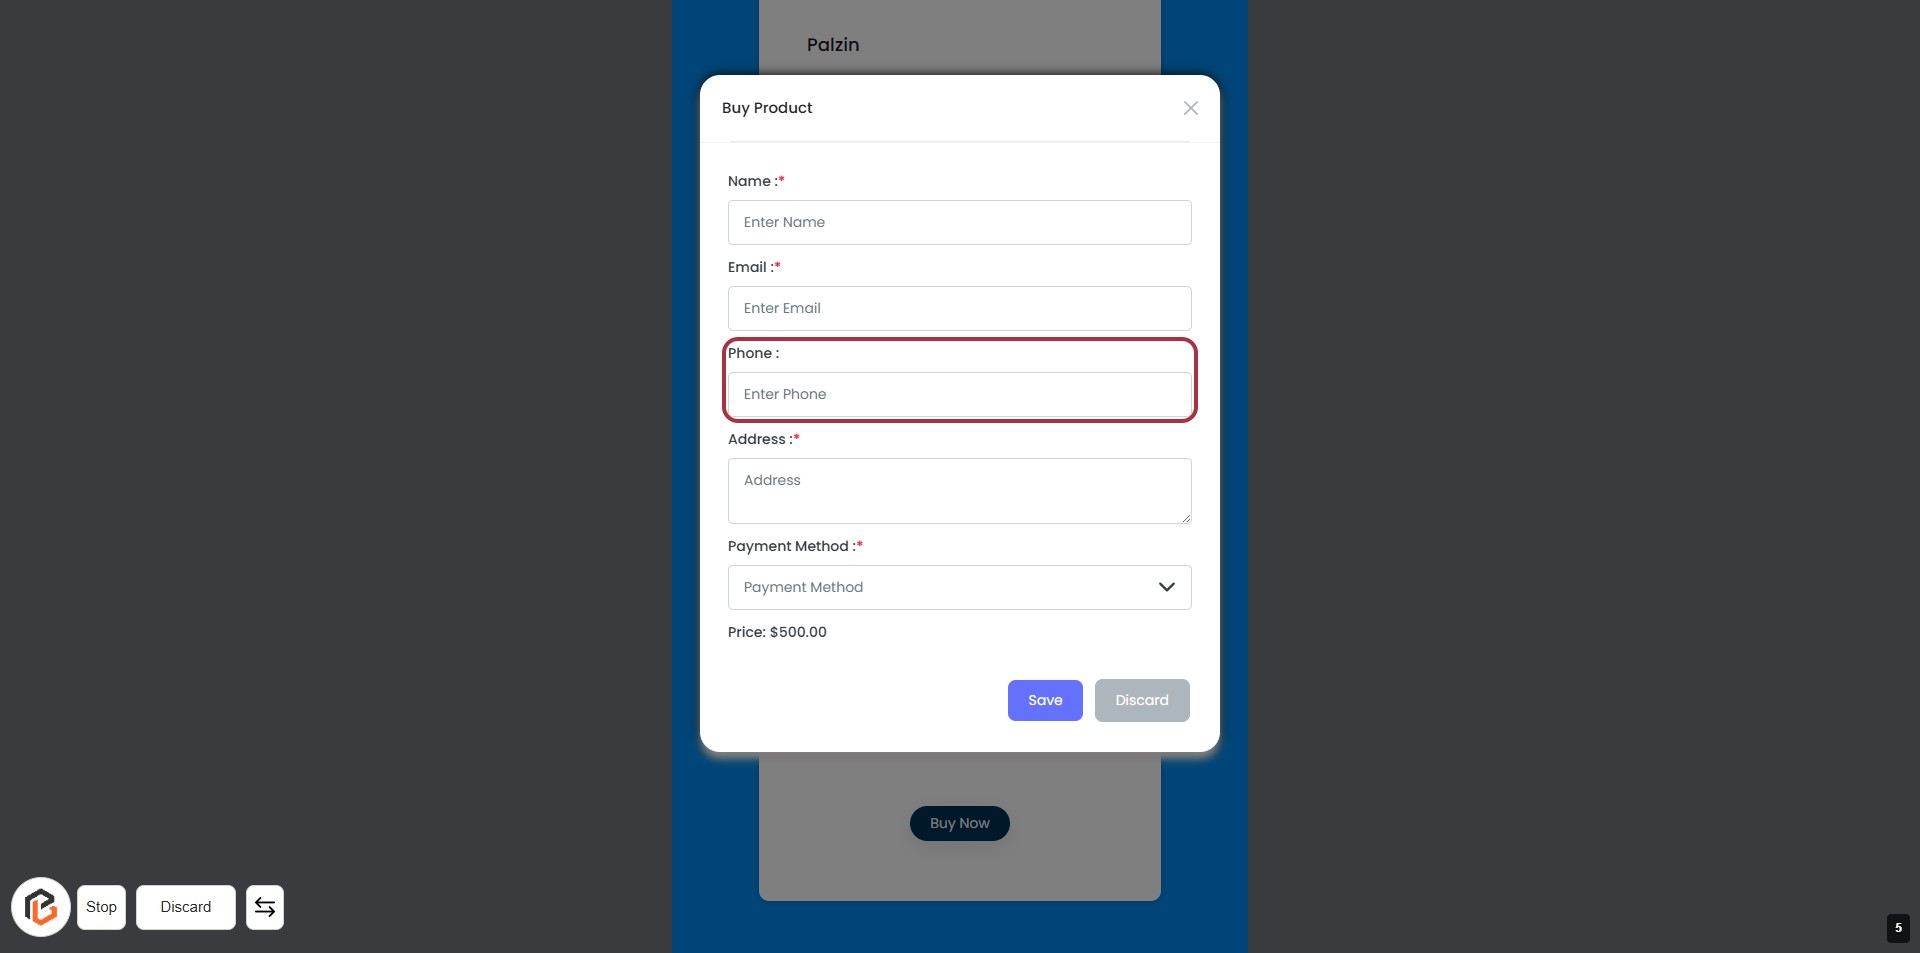
STEP 4: Enter Name in the Buy Product Form
- Click on the "Name" field to begin entering your name.
- Ensure to fill in the required fields marked with an asterisk (*).
- The form also includes fields for Email, Phone, Address, and Payment Method.
- After entering your name, proceed to the next step by entering your email.

STEP 5: Enter Email in the Buy Product Form
- Click on the "Email" field in the Buy Product form.
- Ensure to enter a valid email address as it is marked with an asterisk (*), indicating it is required.
- Review other fields: Name, Phone, Address, and Payment Method, which also require input.
- After filling in the email, proceed to the next step to enter your phone number.

STEP 6: Enter Phone Number in the Buy Product Form
- Click on the "Phone :" field in the Buy Product form.
- Ensure to enter your phone number in the provided space.
- Note that the phone number field is required (indicated by the asterisk).
- After entering the phone number, proceed to the next step by entering your address.
STEP 7: Enter Address in the Buy Product Form
- Click on the "Address" field to input your address.
- Ensure to fill in all required fields marked with an asterisk (*).
- Review your entries for accuracy before proceeding.
- After entering the address, continue to the next step to select your payment method.

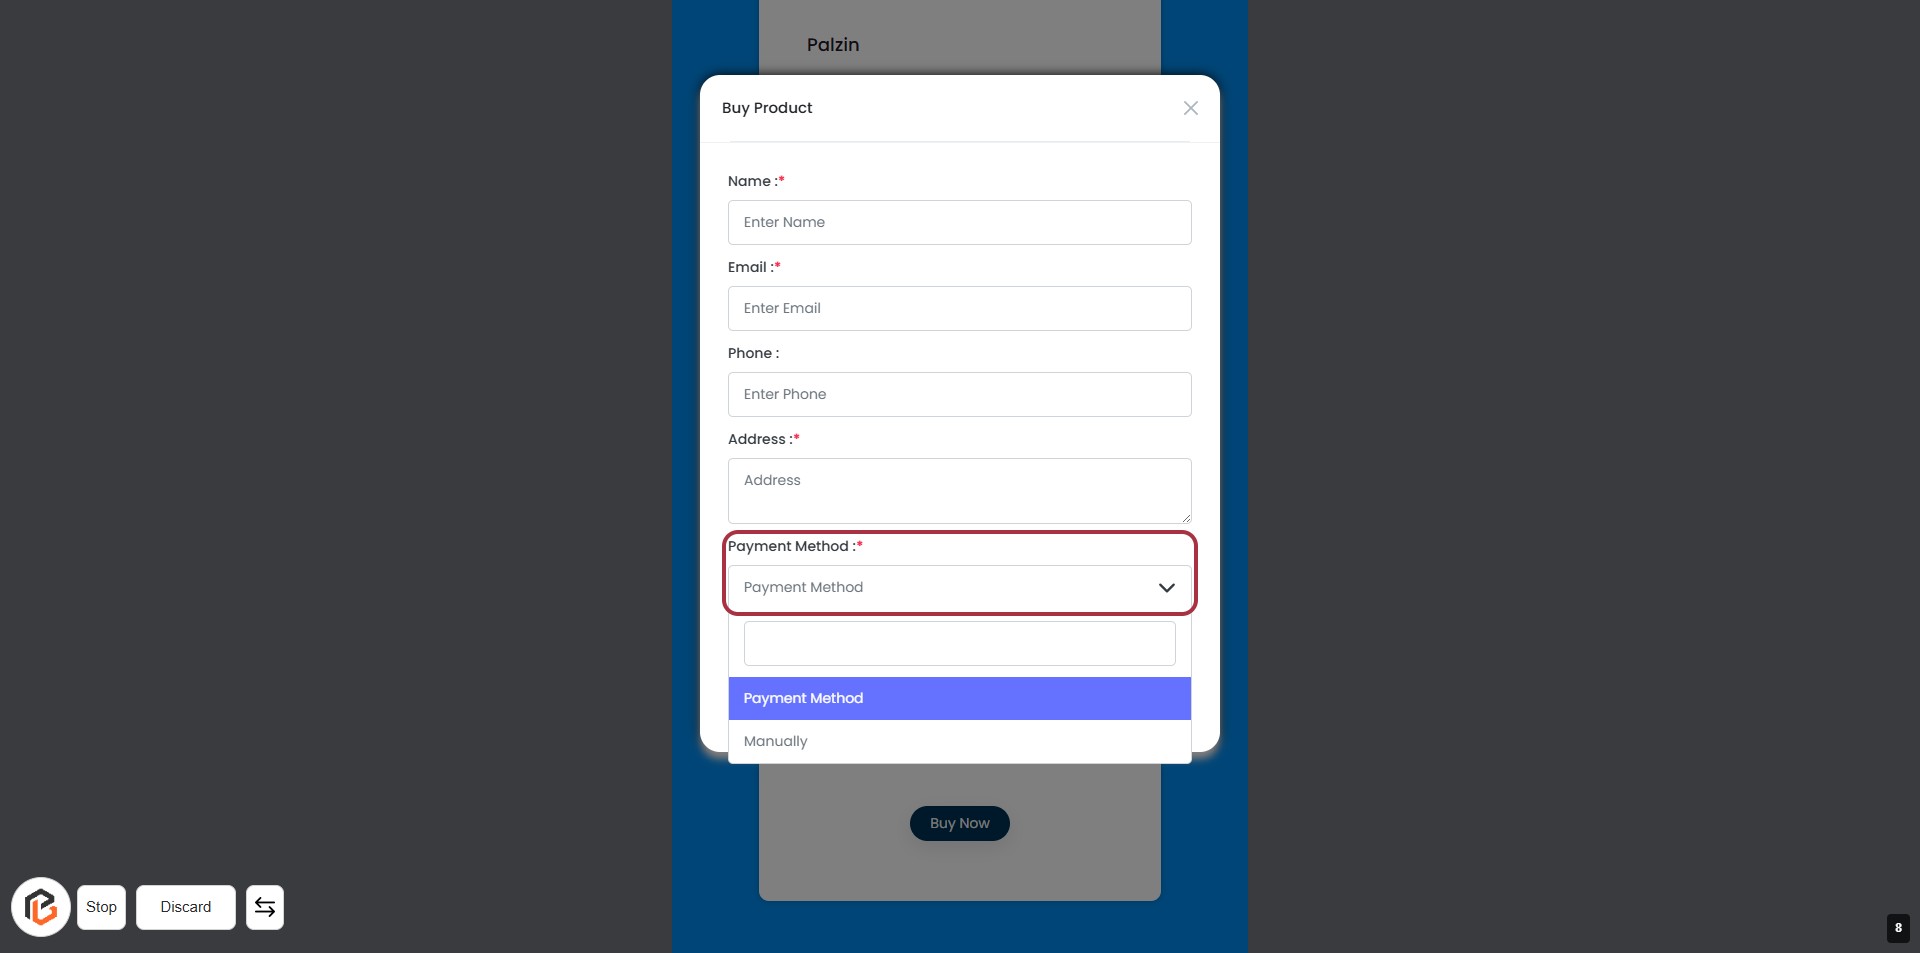
STEP 8: Select Payment Method
- Click on the "Payment Method" dropdown.
- Choose your preferred payment option from the list.
- Ensure that the selected payment method is highlighted.
- Proceed to the next step by clicking the "Save" button.
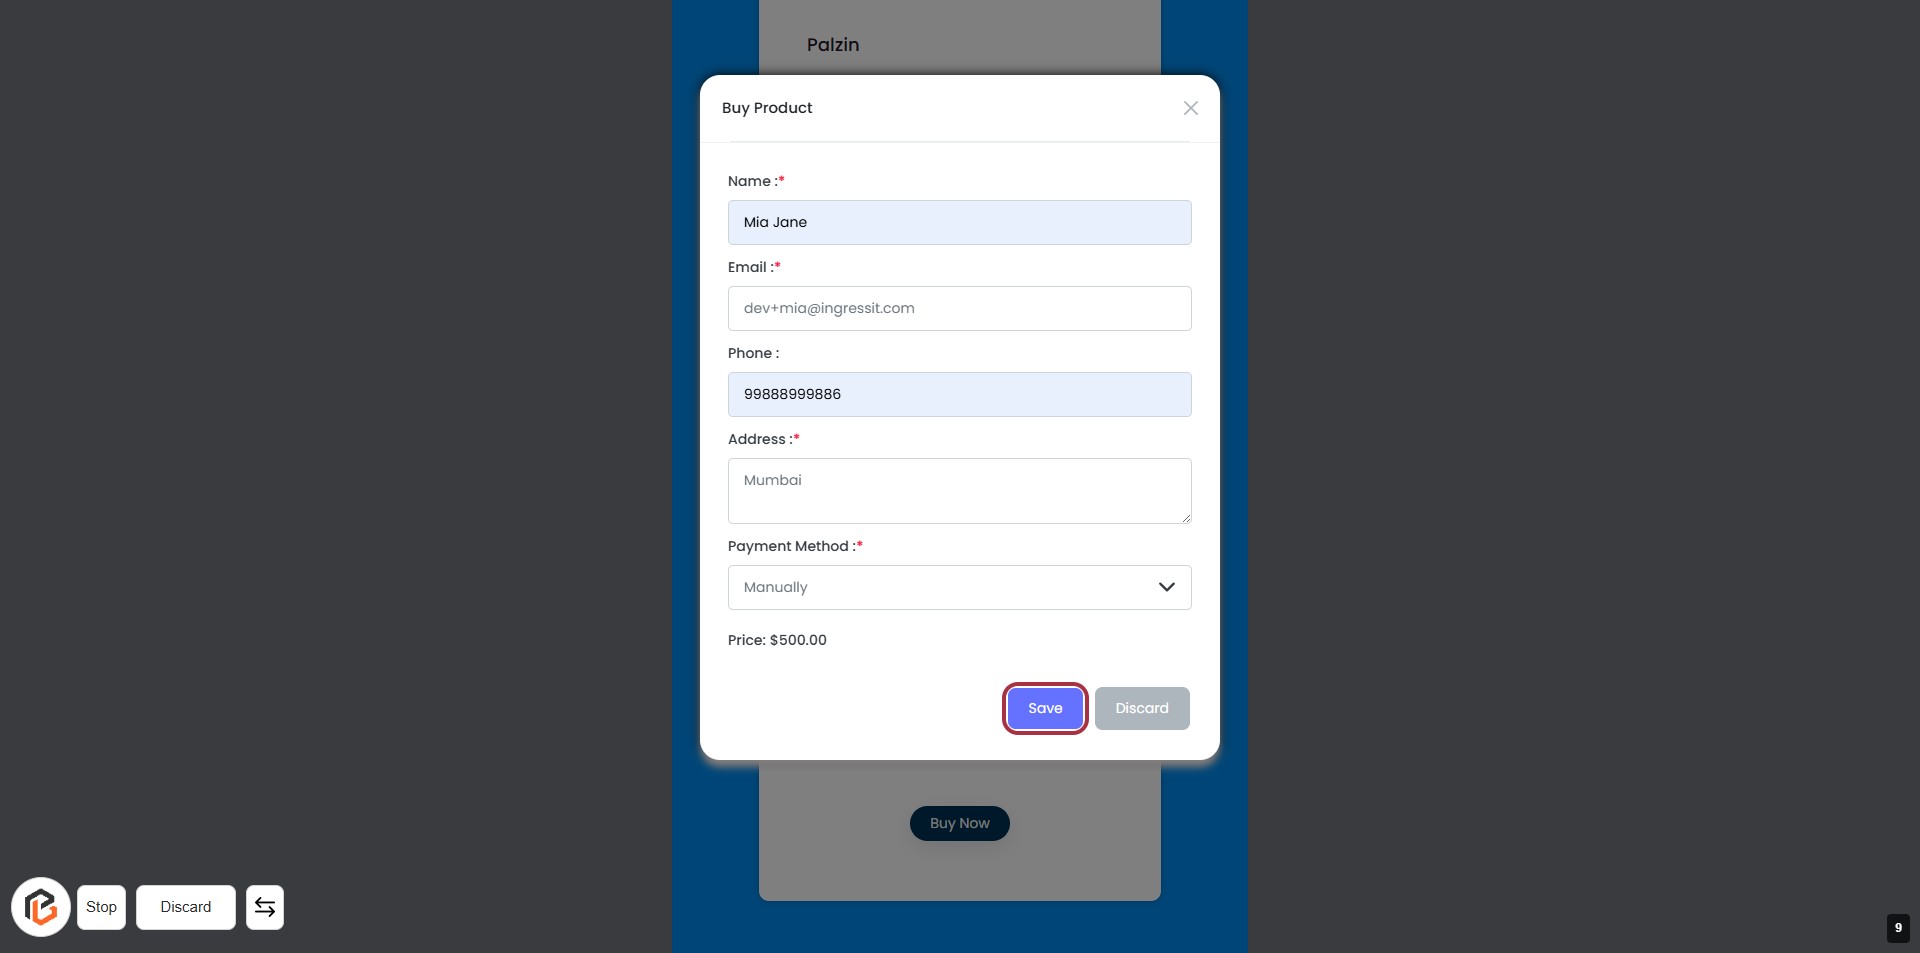
STEP 9: Click on "Save" Button
- Ensure all required fields are filled: Name, Email, Phone, Address, and Payment Method (marked with *).
- Review your entries for accuracy.
- Click the "Save" button to proceed with your purchase.
- After saving, you can continue to the next step by clicking on "Product Orders."
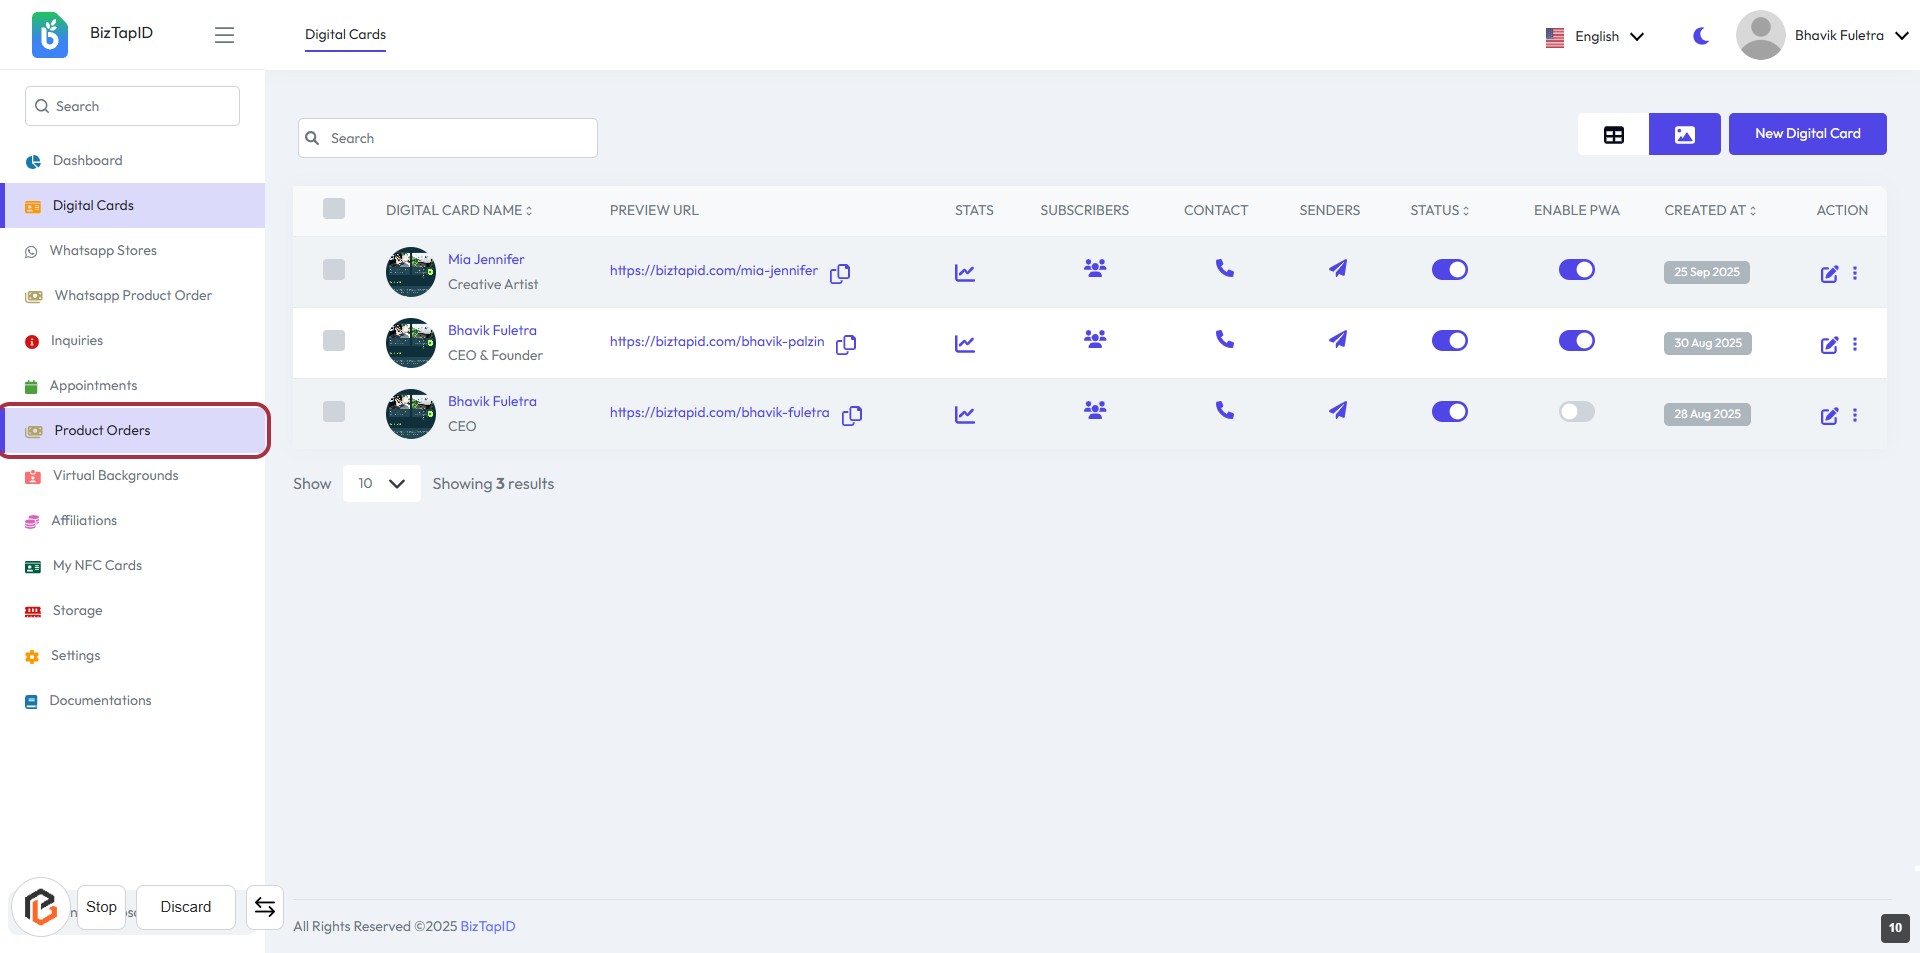
STEP 10: Click on "Product Orders"
- Navigate to the sidebar menu.
- Locate and click on the "Product Orders" link highlighted in red.
- This will direct you to the Product Orders dashboard where you can manage your orders.
- Ensure to check for any required fields or options marked with an asterisk (*) in the upcoming dashboard.
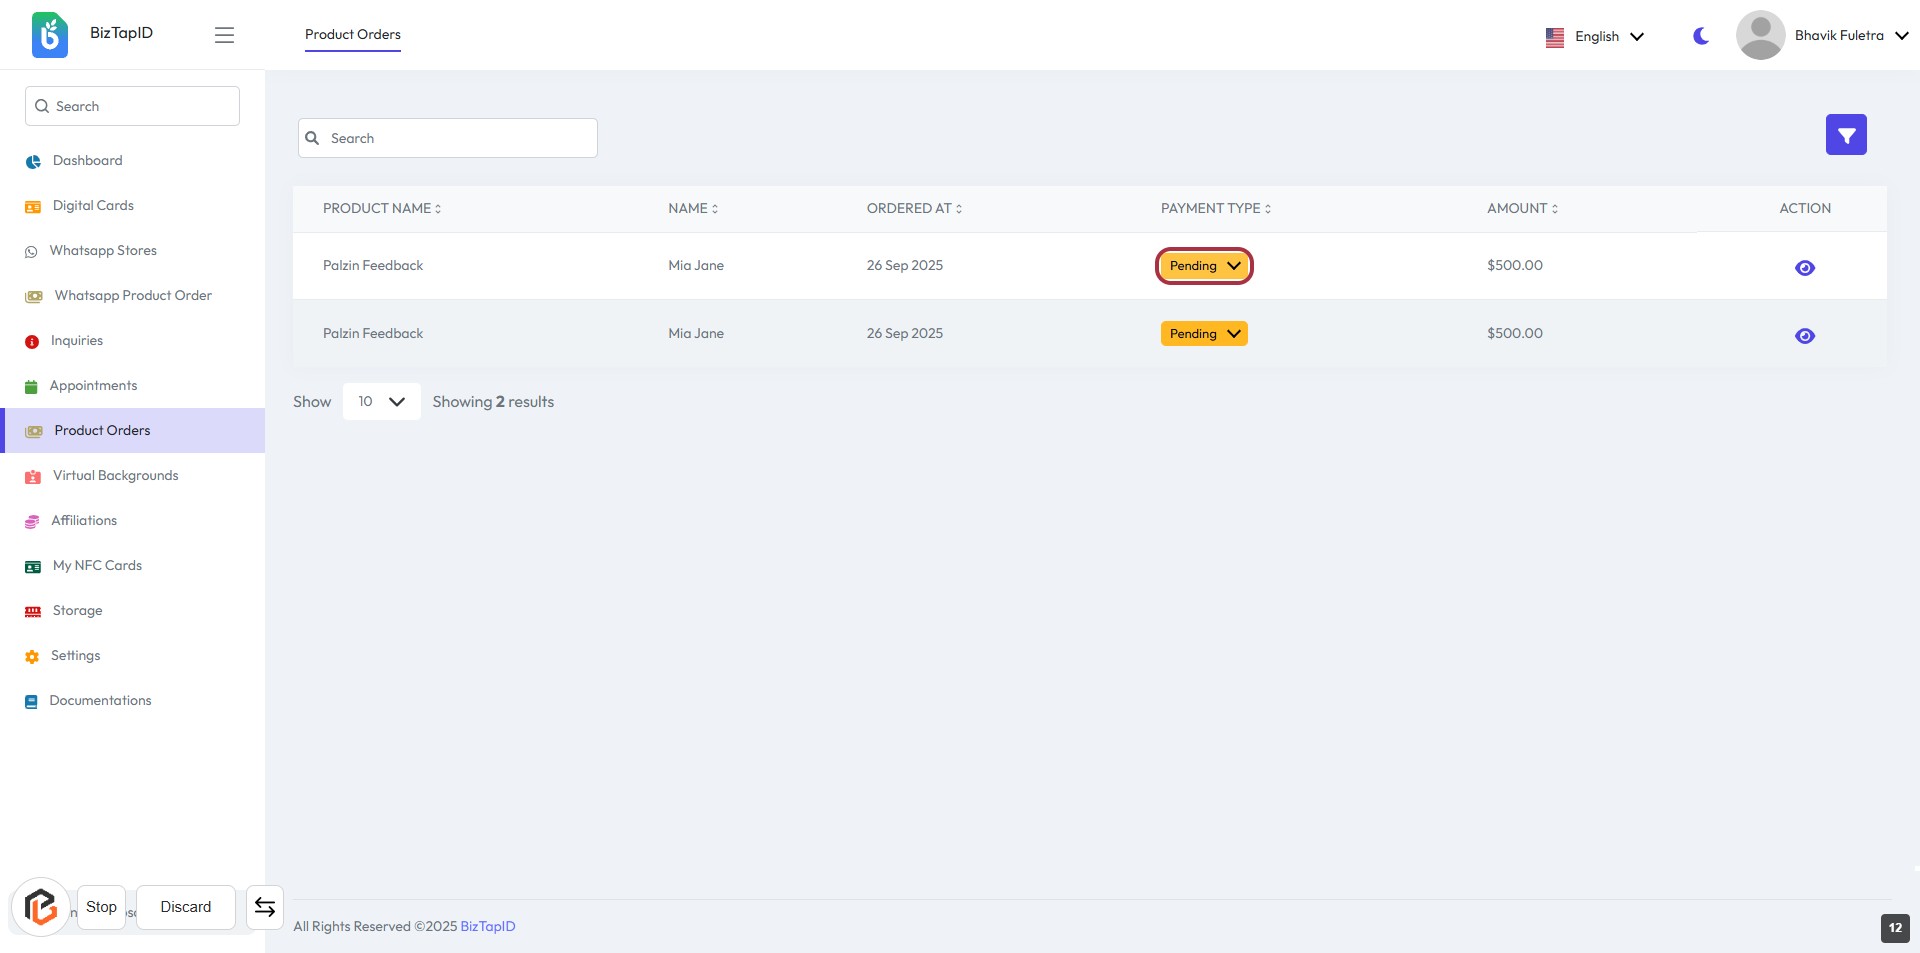
STEP 11: Click on "Product Orders" Dashboard
- Ensure you are connected to the internet to view the dashboard.
- The dashboard displays a list of product orders with the following columns:
- Product Name
- Name
- Ordered At
- Payment Type
- Amount
- Action
- Use the search bar to filter results as needed.
- Click on the "Payment Type" dropdown to proceed.

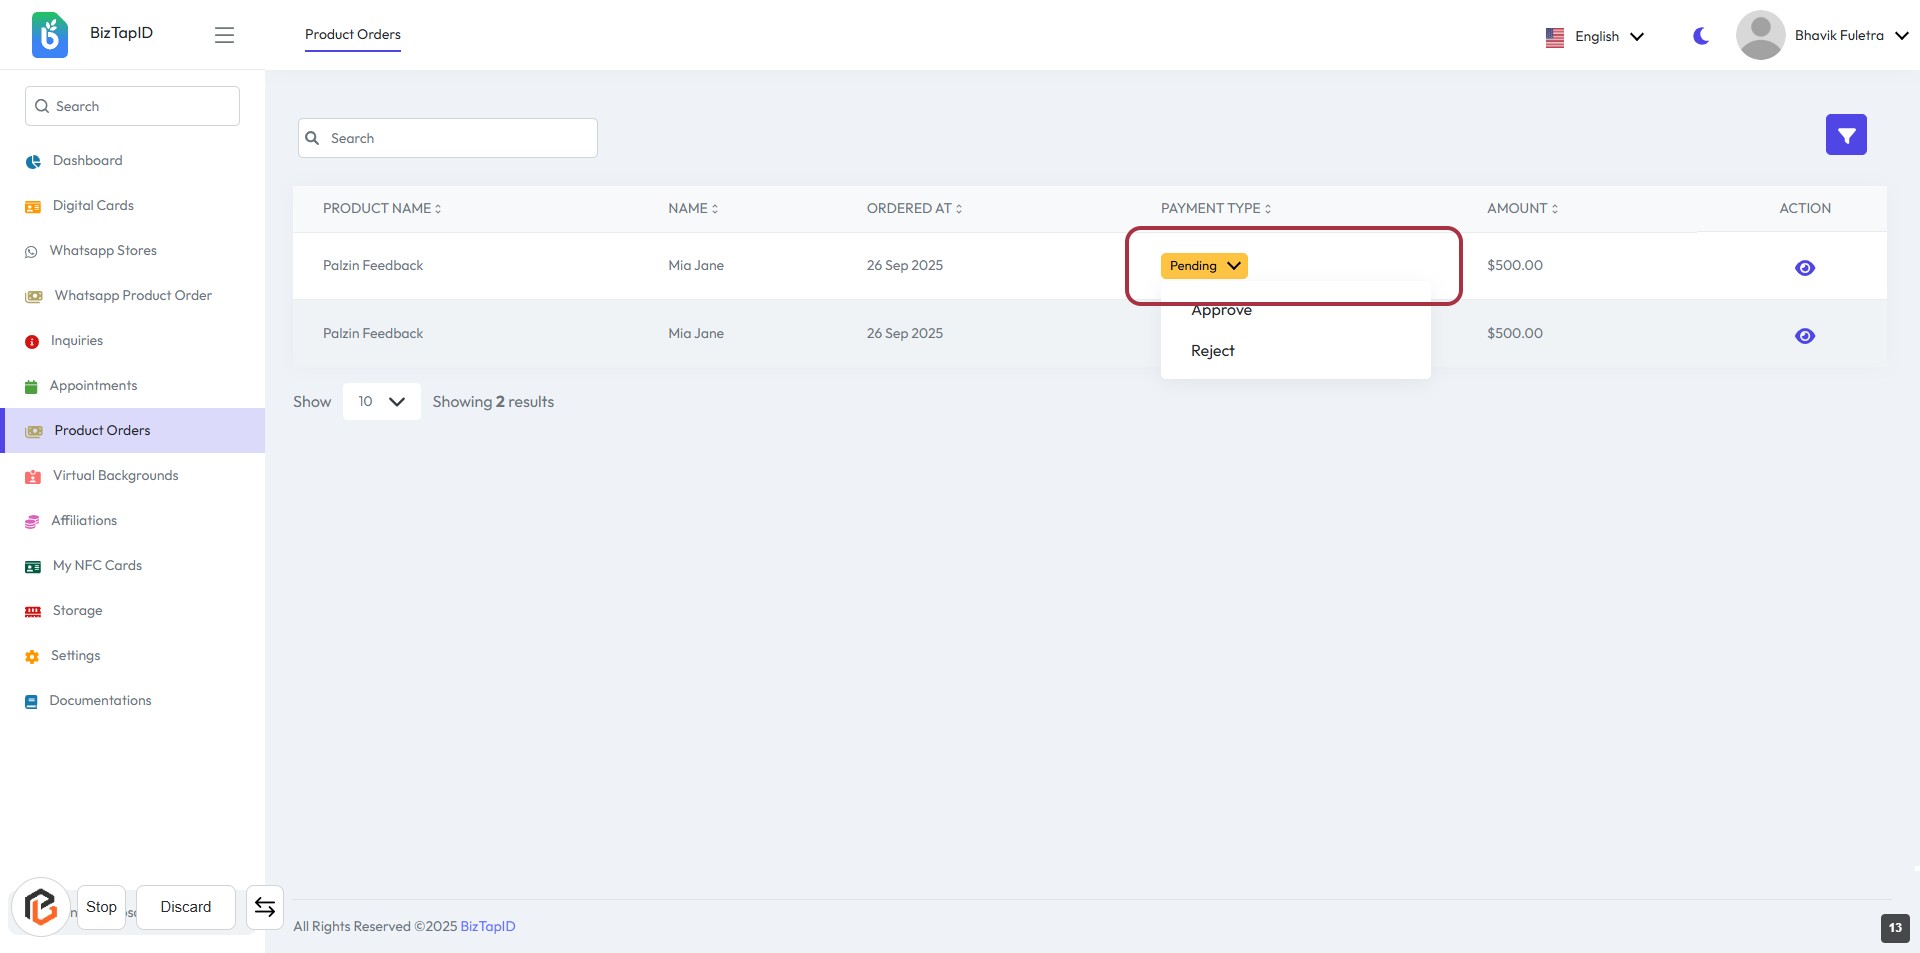
STEP 12: Click on "Payment Type"
- Navigate to the "Product Orders" dashboard.
- Locate the "Payment Type" button in the table.
- Click on the button labeled "Pending" to initiate the selection process.
- Ensure to review any additional options that may appear after clicking.
STEP 13: Select "Payment Type"
- Click on the "Pending" dropdown in the Payment Type column.
- Choose from the options: "Approve" or "Reject."
- Ensure to review the selected payment type before proceeding.
- After selection, continue to the next step by clicking on the "View" icon.
STEP 14: Click on "View" Icon to Access Order Details
- Navigate to the "Product Orders" section.
- Locate the order you wish to view.
- Click on the View icon (represented by an eye symbol) in the ACTION column for the selected order.
- This will direct you to the Product Order Details page for further information.

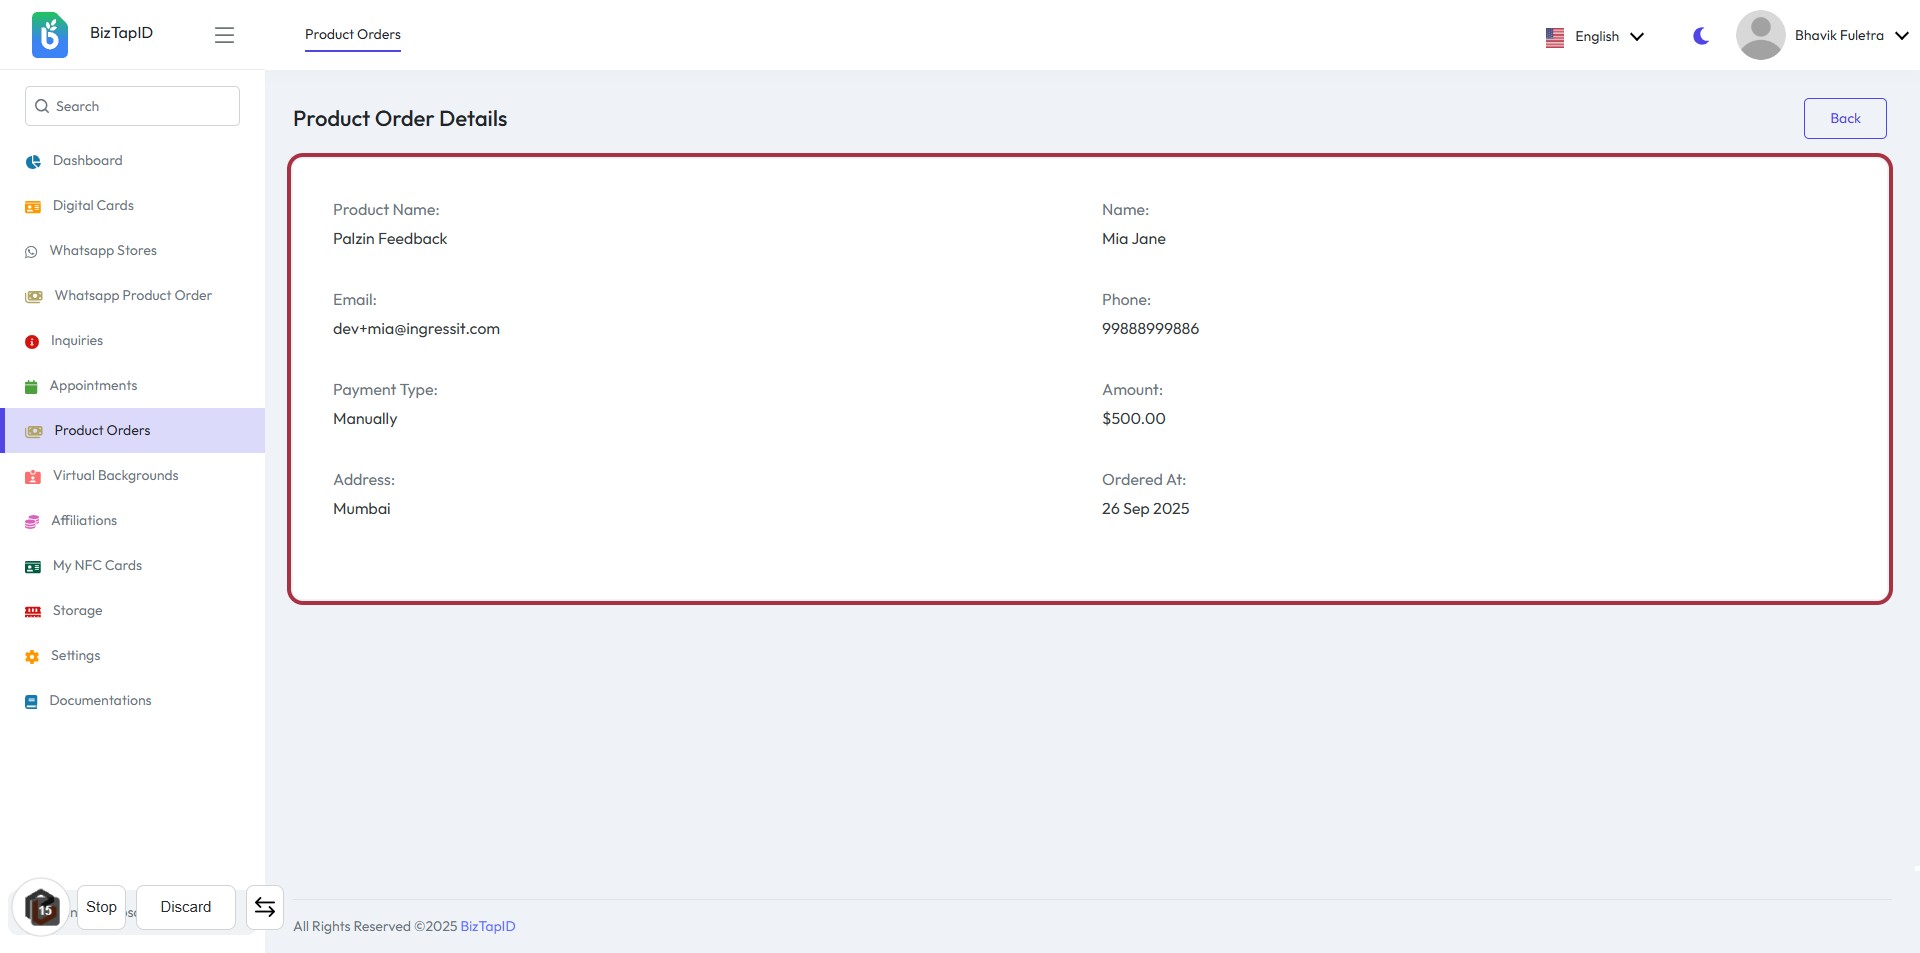
STEP 15: View Product Order Details
- Click on the highlighted area to view the product order details.
- Review the following information:
- Product Name: Displays the name of the product.
- Email: Contact email associated with the order.
- Payment Type: Indicates the method of payment.
- Address: Shipping address for the order.
- Ensure all details are accurate for your records.