Step-by-Step Guide to Setting Up Business Hours: Complete Your Configuration with Ease
5 mins read · Updated 01 Oct, 2025
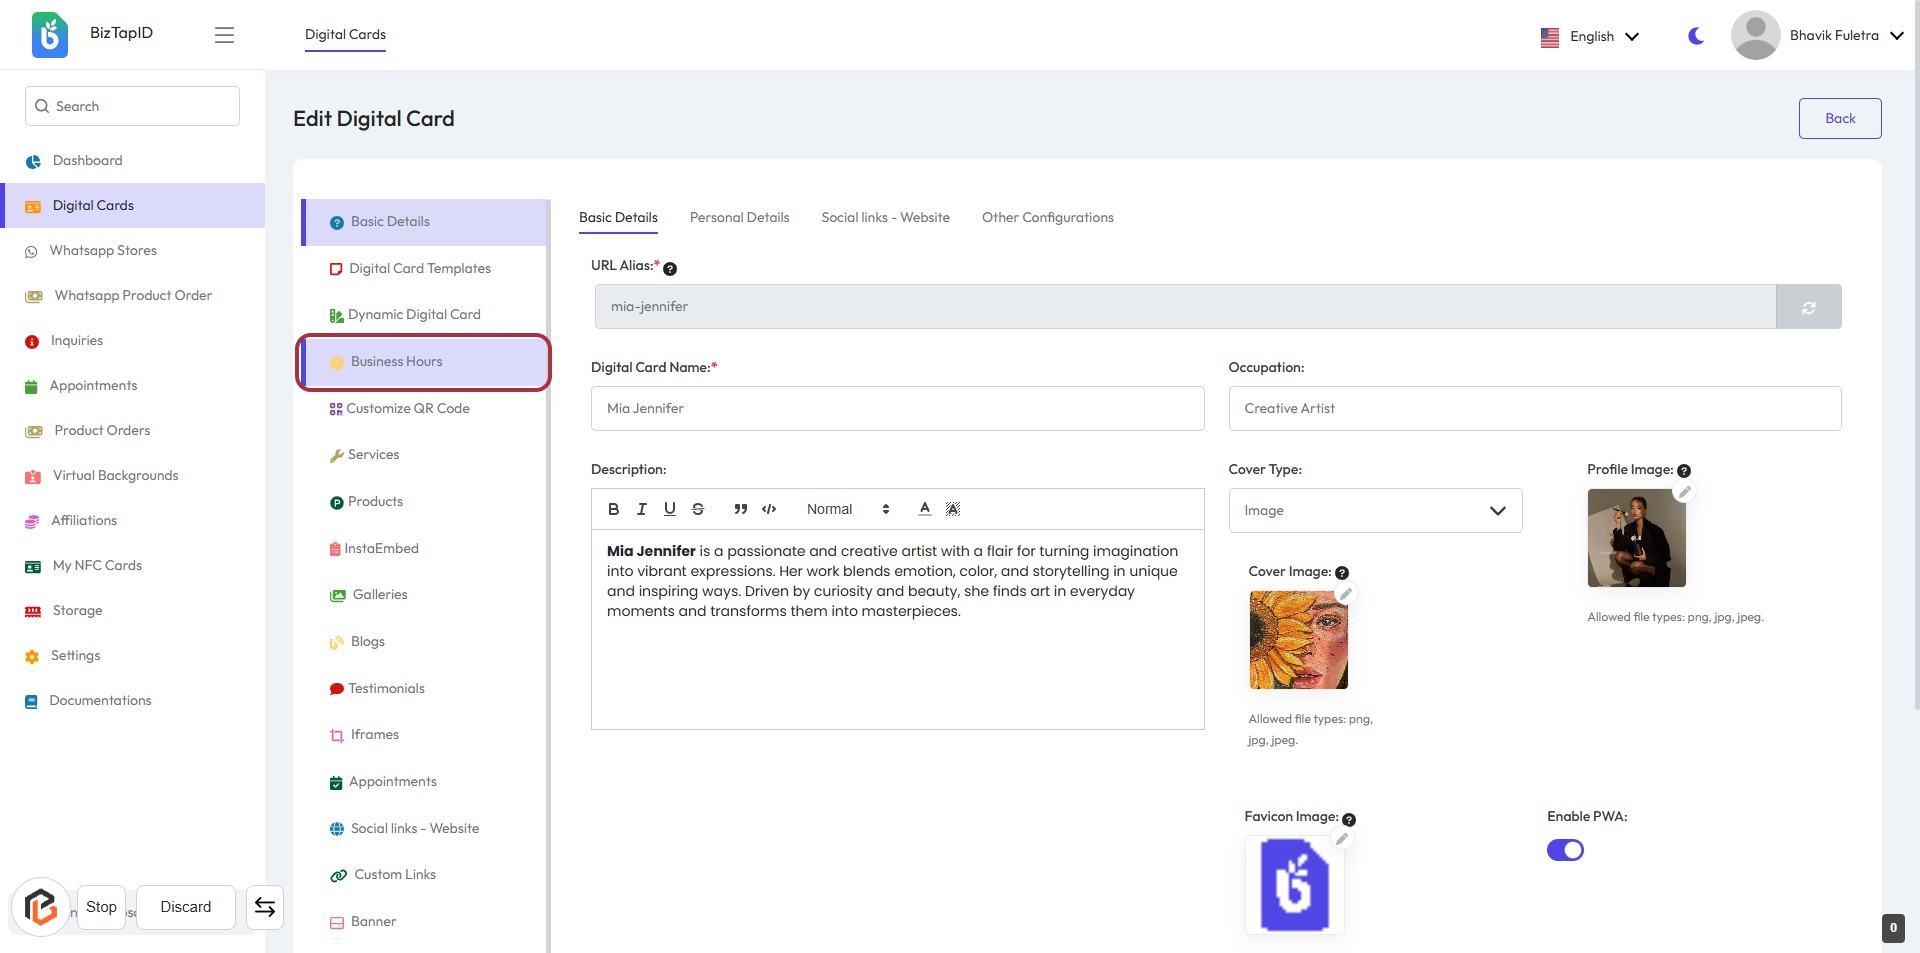
STEP 1: Click on "Business Hours" to Access Editing Options
- Navigate to the Business Hours section on the left sidebar.
- Click on the highlighted Business Hours link to proceed.
- Ensure to fill in the required fields marked with an asterisk (*), such as:
- URL Alias
- Digital Card Name
- Review optional fields for additional customization.
- After completing the necessary inputs, proceed to the next step by clicking on the radio button.
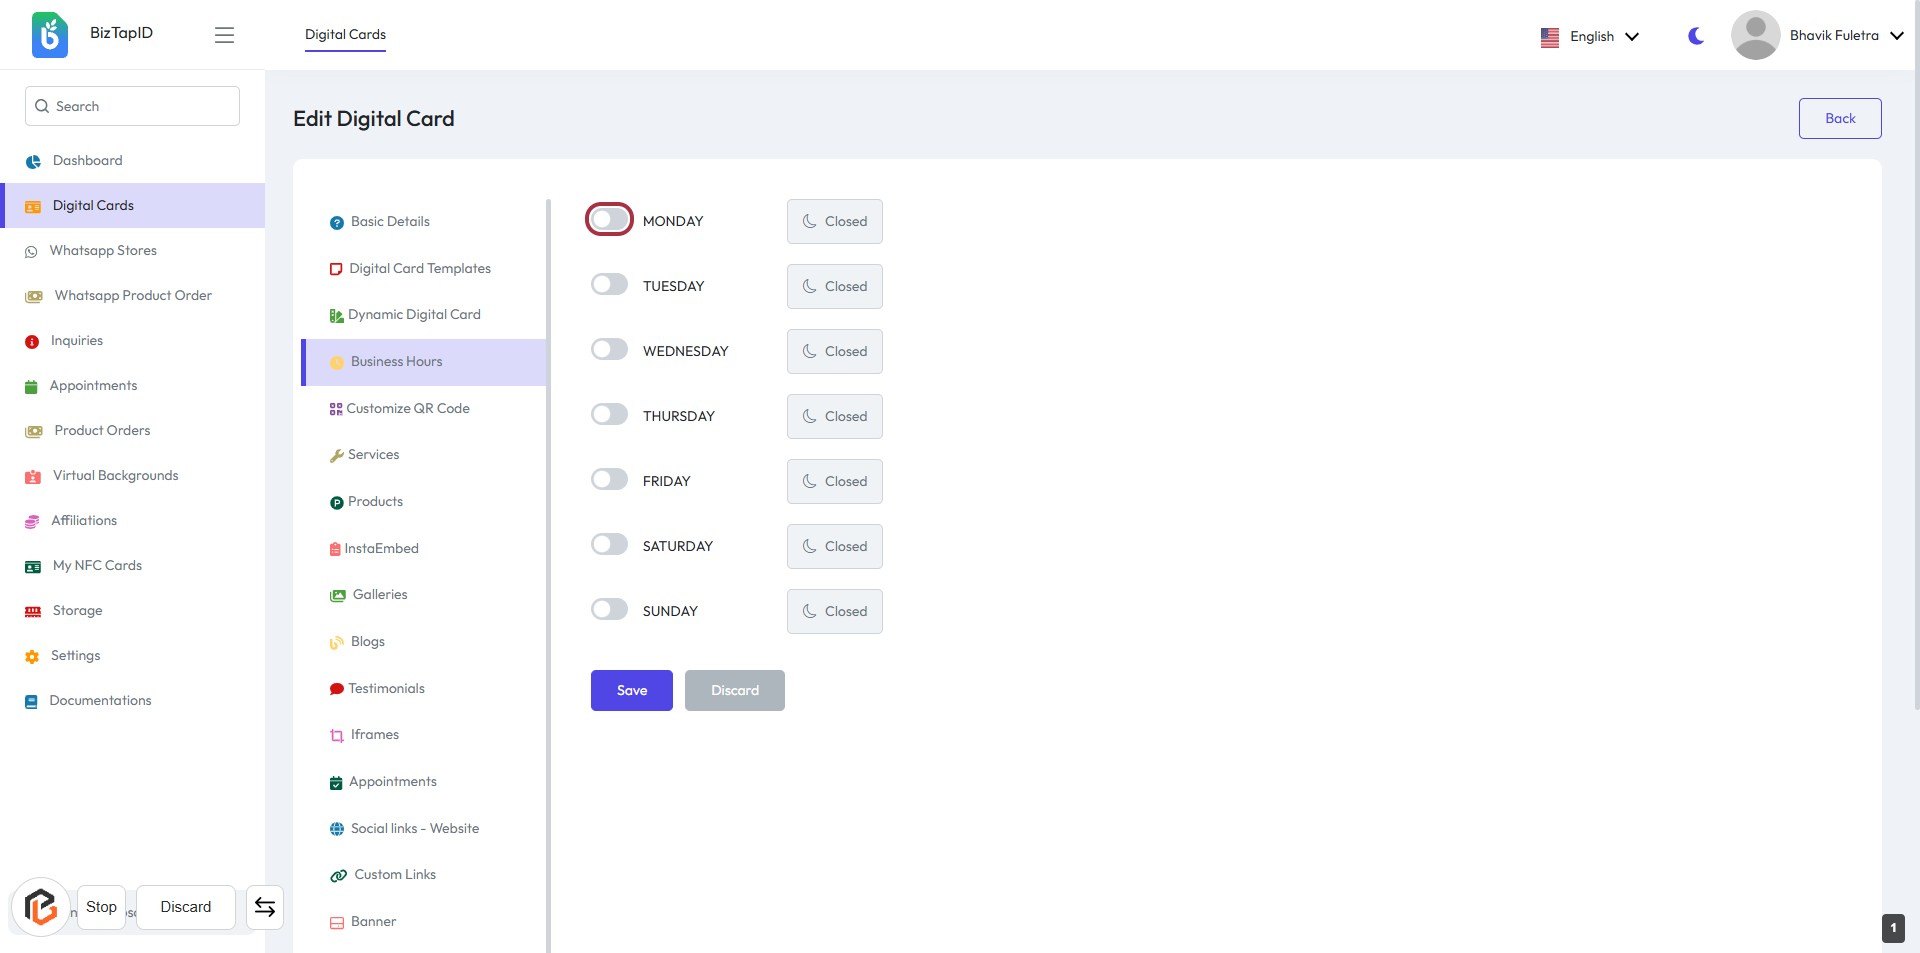
STEP 2: Click on Radio Button for Monday Business Hours
- Navigate to the "Business Hours" section.
- Click on the radio button next to "MONDAY" to enable business hours for that day.
- Ensure the toggle switches for other days are set according to your preferences.
- After making your selections, proceed to the next step to "Select Start Timings."
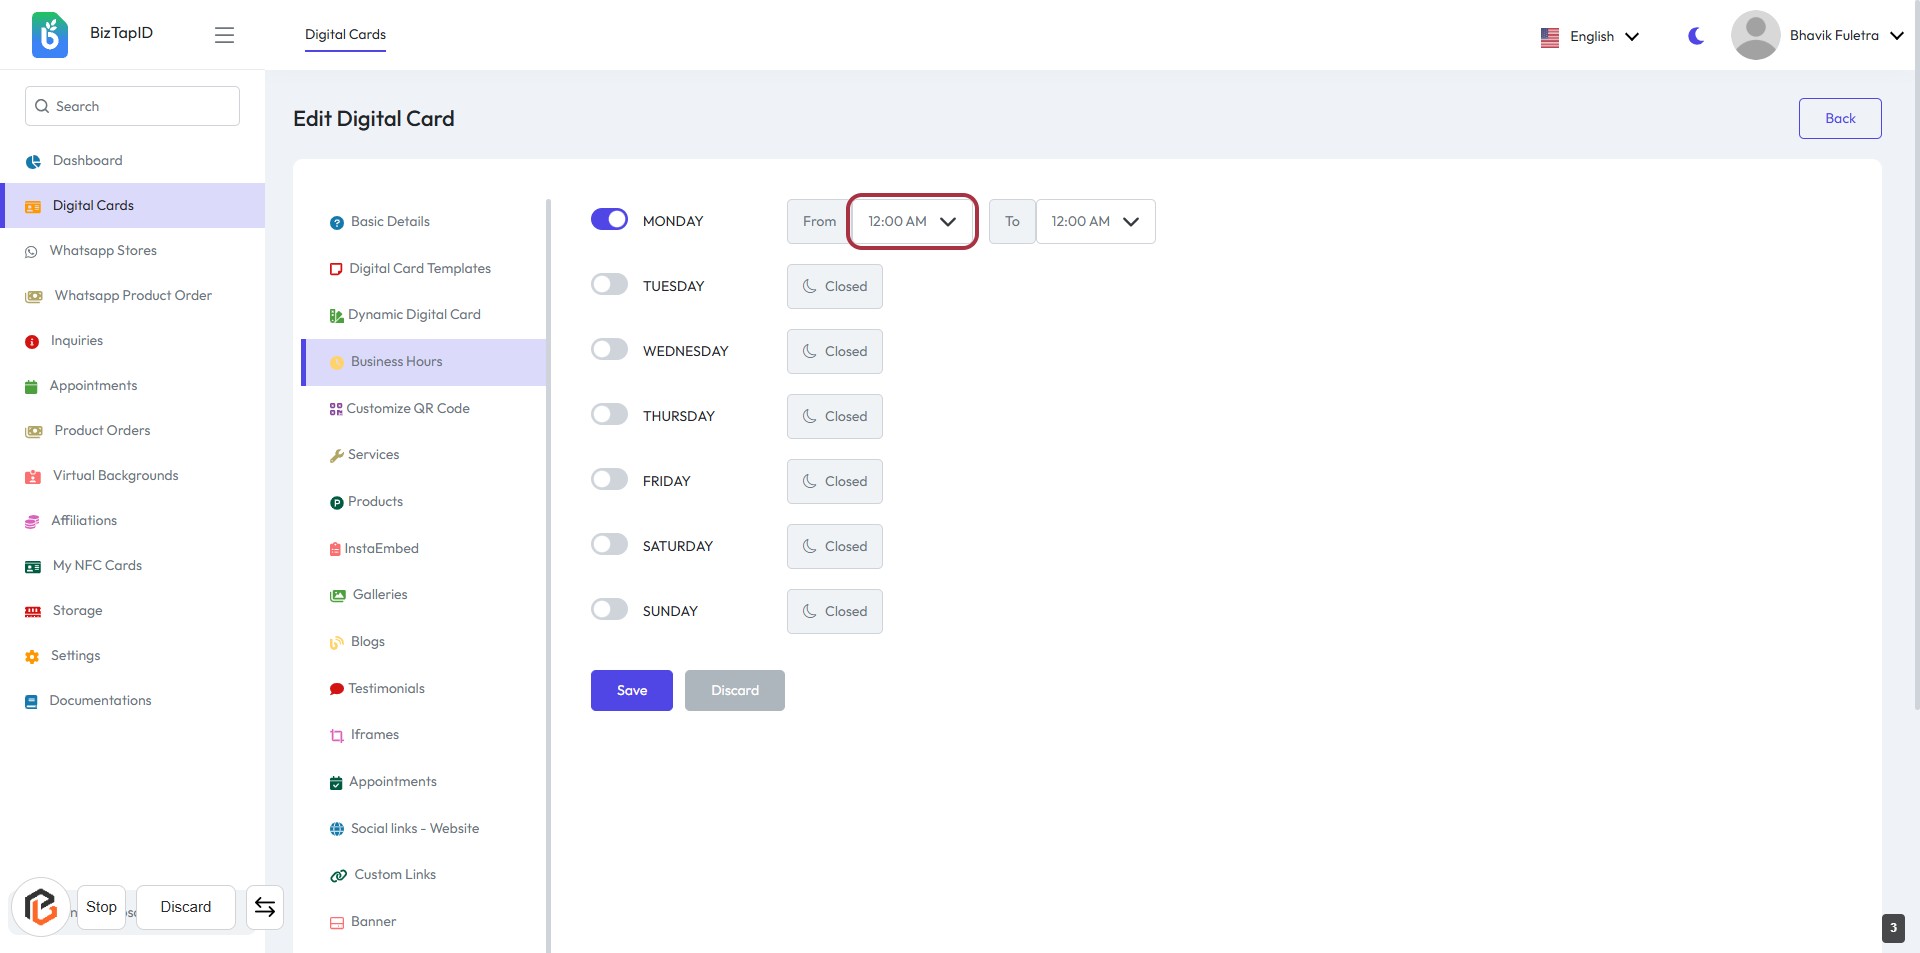
STEP 3: Select "Start Timings" for Monday Business Hours
- Click on the highlighted area displaying "12:00 AM" to set the start time for Monday.
- Ensure the time is correctly selected as it will affect your business hours.
- After selecting, proceed to the next step to set the "End Timings."
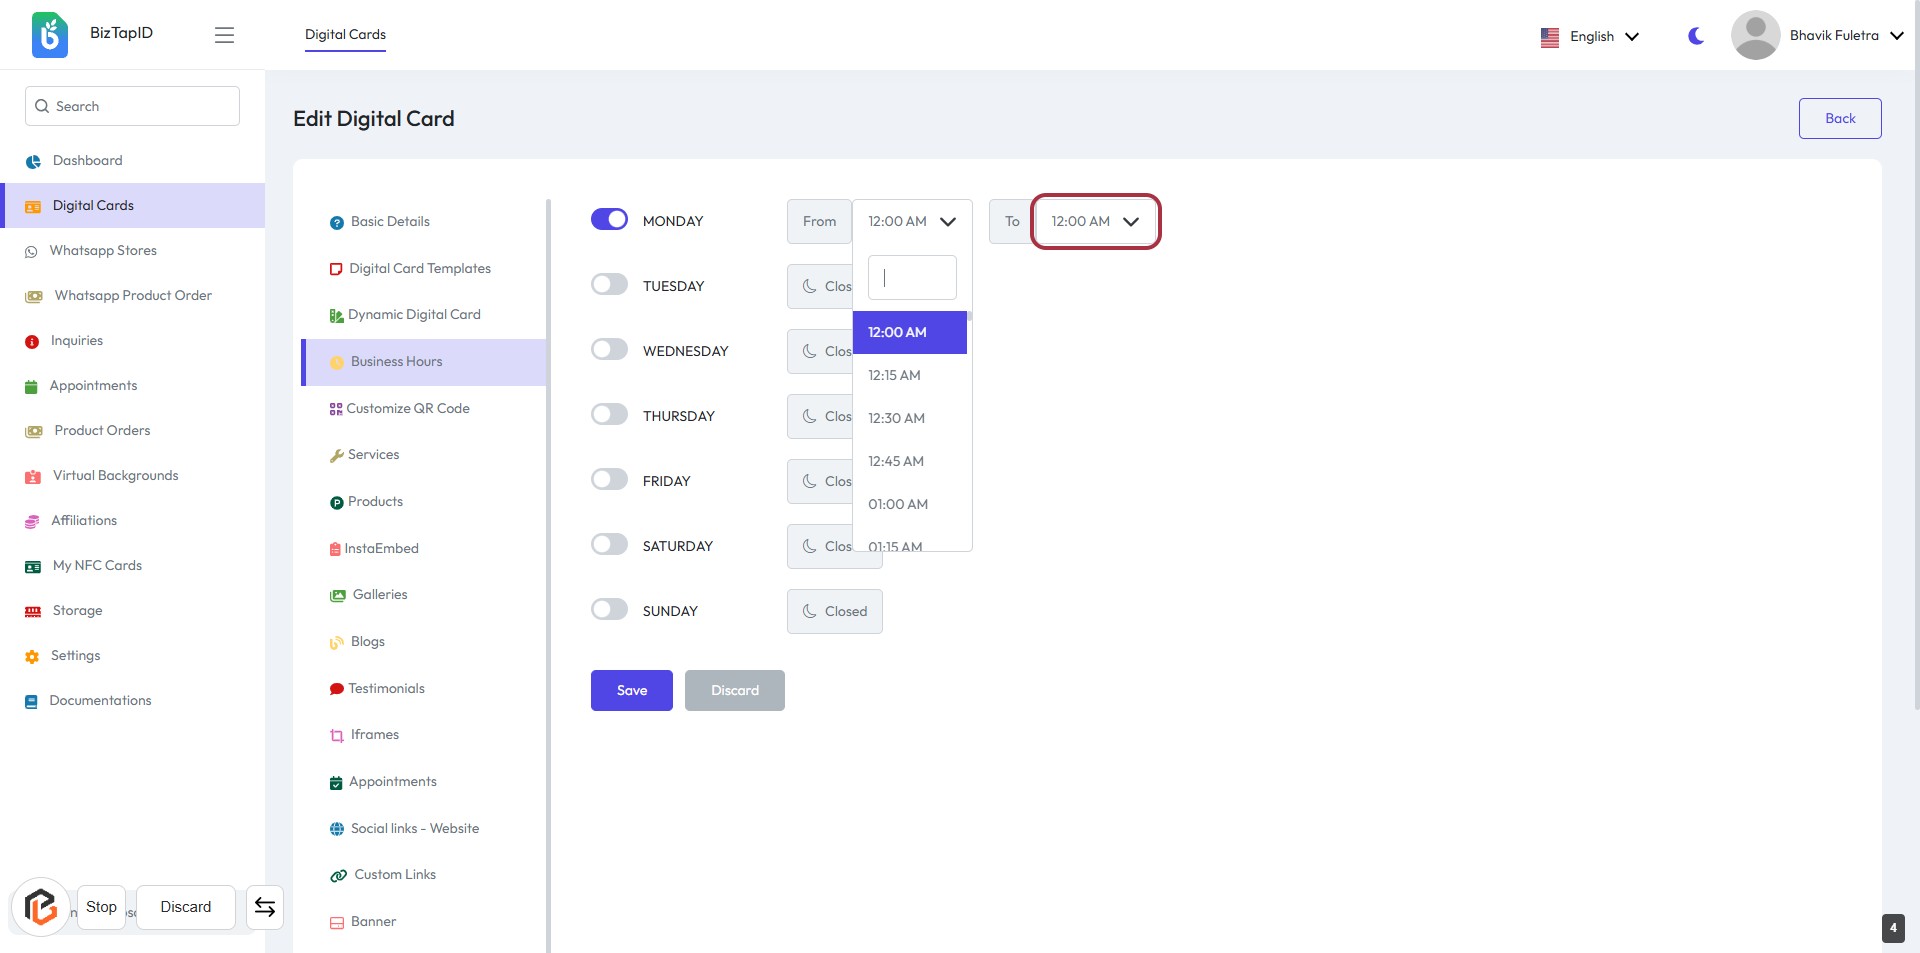
STEP 4: Select "End Timings" for Monday Business Hours
- Click on the highlighted area labeled "12:00 AM" to select the end timing for Monday.
- A dropdown will appear with various time options.
- Choose the desired end time from the list.
- Ensure all required fields are filled before proceeding to the next step.
STEP 5: Click on "Save" Button to Confirm Changes
- Ensure all business hours are correctly set for each day.
- Locate the "Save" button highlighted in the interface.
- Click the "Save" button to apply your changes.
- If needed, use the "Discard" button to cancel any modifications.
