Step-by-Step Guide to Selecting and Customizing Digital Card Templates
4 mins read · Updated 01 Oct, 2025
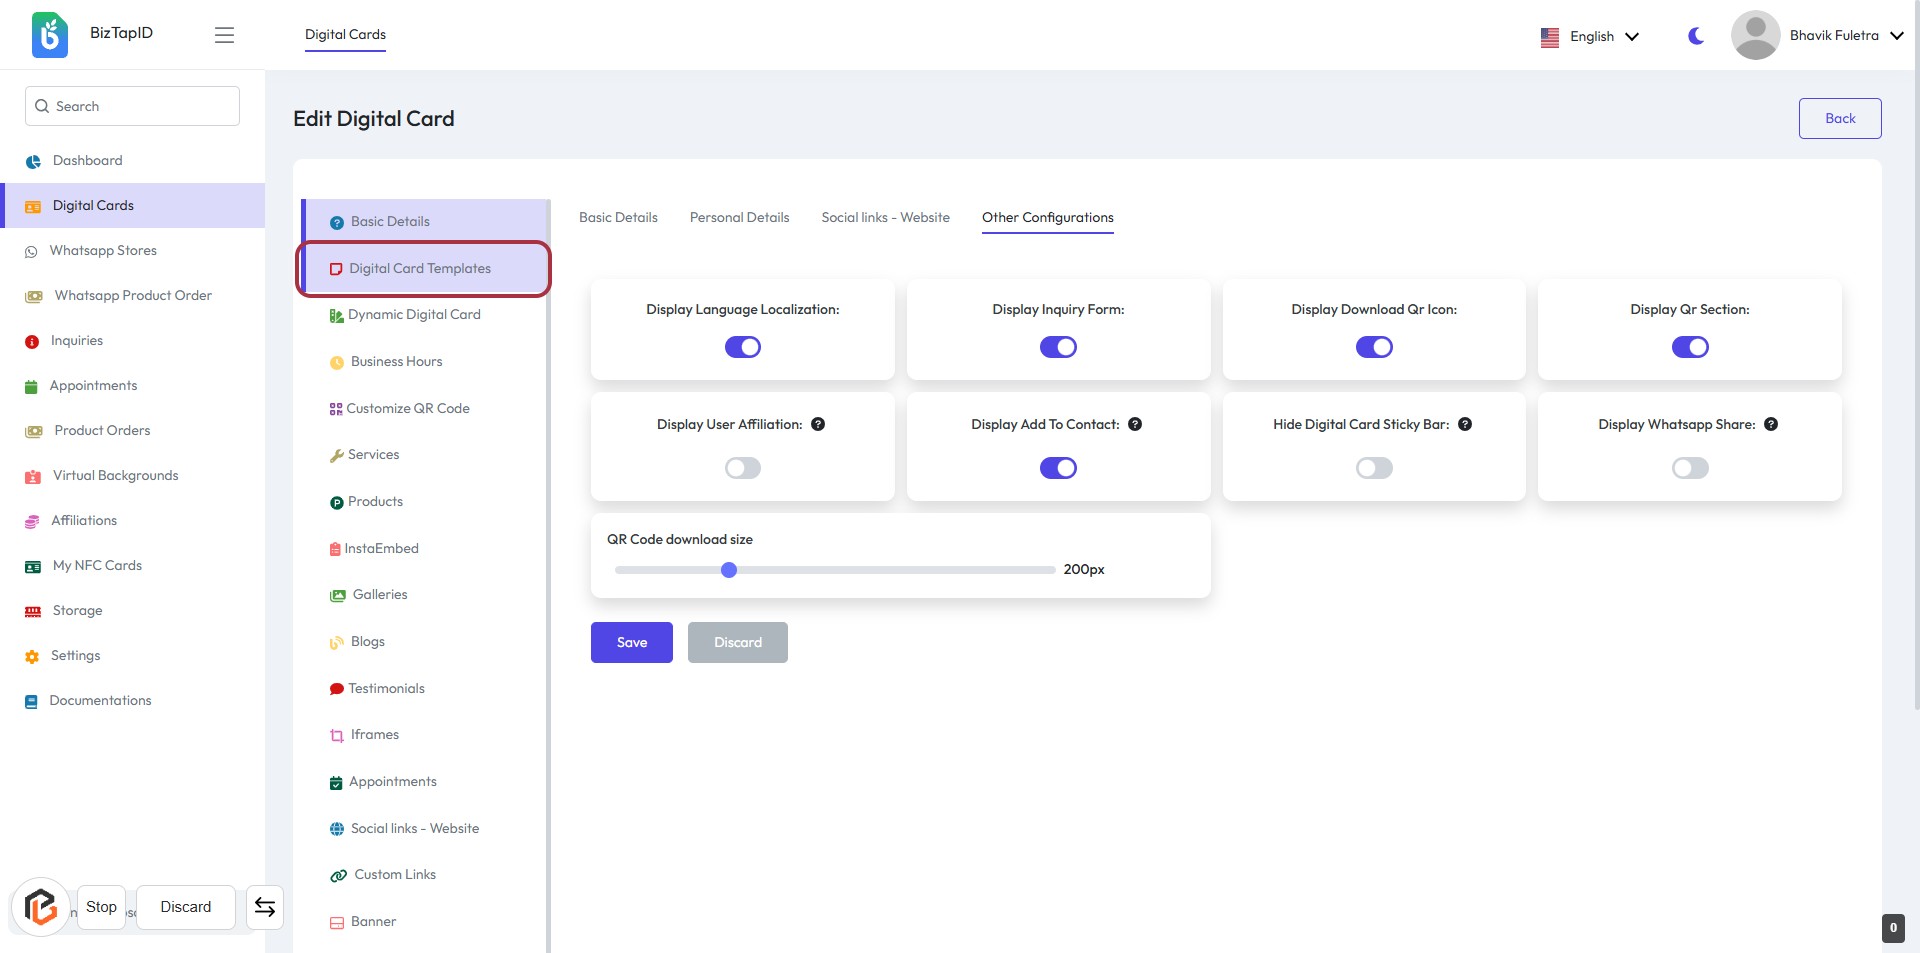
STEP 1: Click on "Digital Card Templates"
- Navigate to the Digital Cards section on the left sidebar.
- Click on Digital Card Templates to access the template options.
- Review the available configurations, including toggles for displaying language localization, inquiry forms, and QR code sections.
- Adjust settings as needed before proceeding to the next step.
STEP 2: Select Template
- Click on the "Select Template" area highlighted in red.
- Review the available digital card templates displayed.
- Choose a template that best fits your needs by clicking on it.
- Ensure to check for any required fields marked with an asterisk (*).

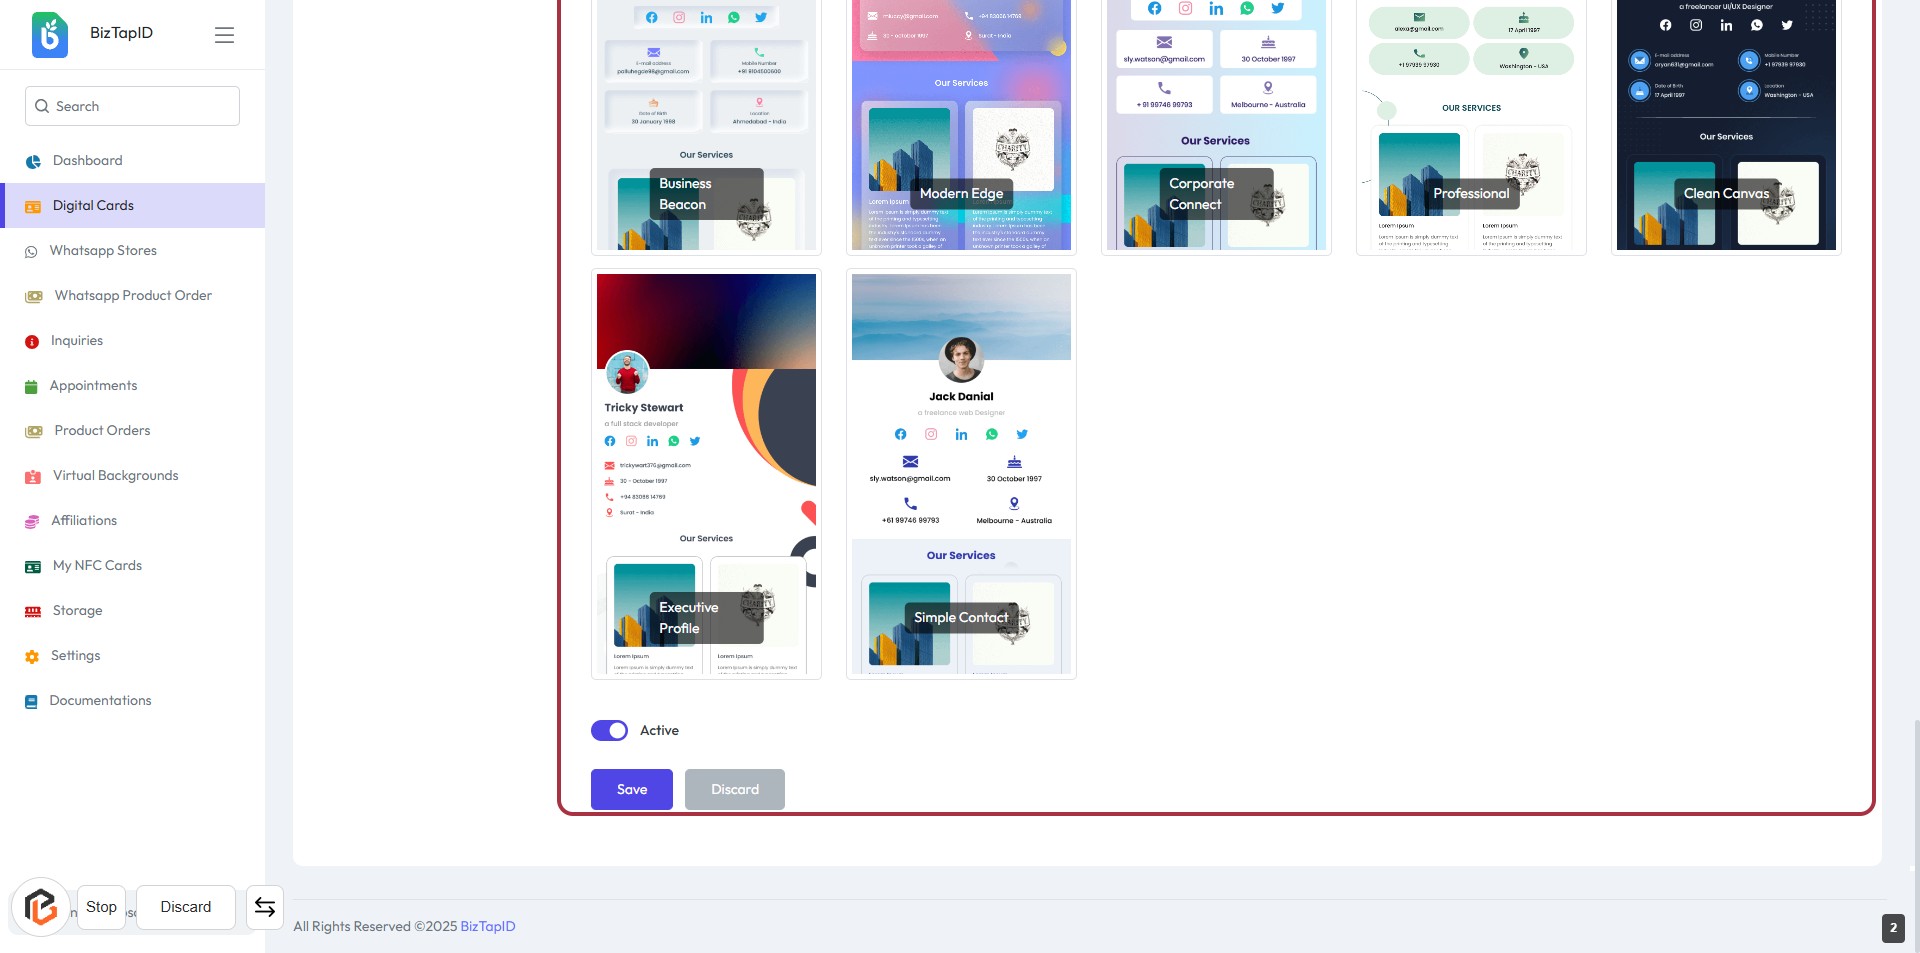
STEP 3: Select Template
- Click on the "Select Template" area highlighted in red.
- Review the available templates displayed in the card layout.
- Choose the desired template by clicking on it.
- Ensure that any required fields marked with an asterisk (*) are filled out.
- Proceed to the next step by clicking the "Save" button.
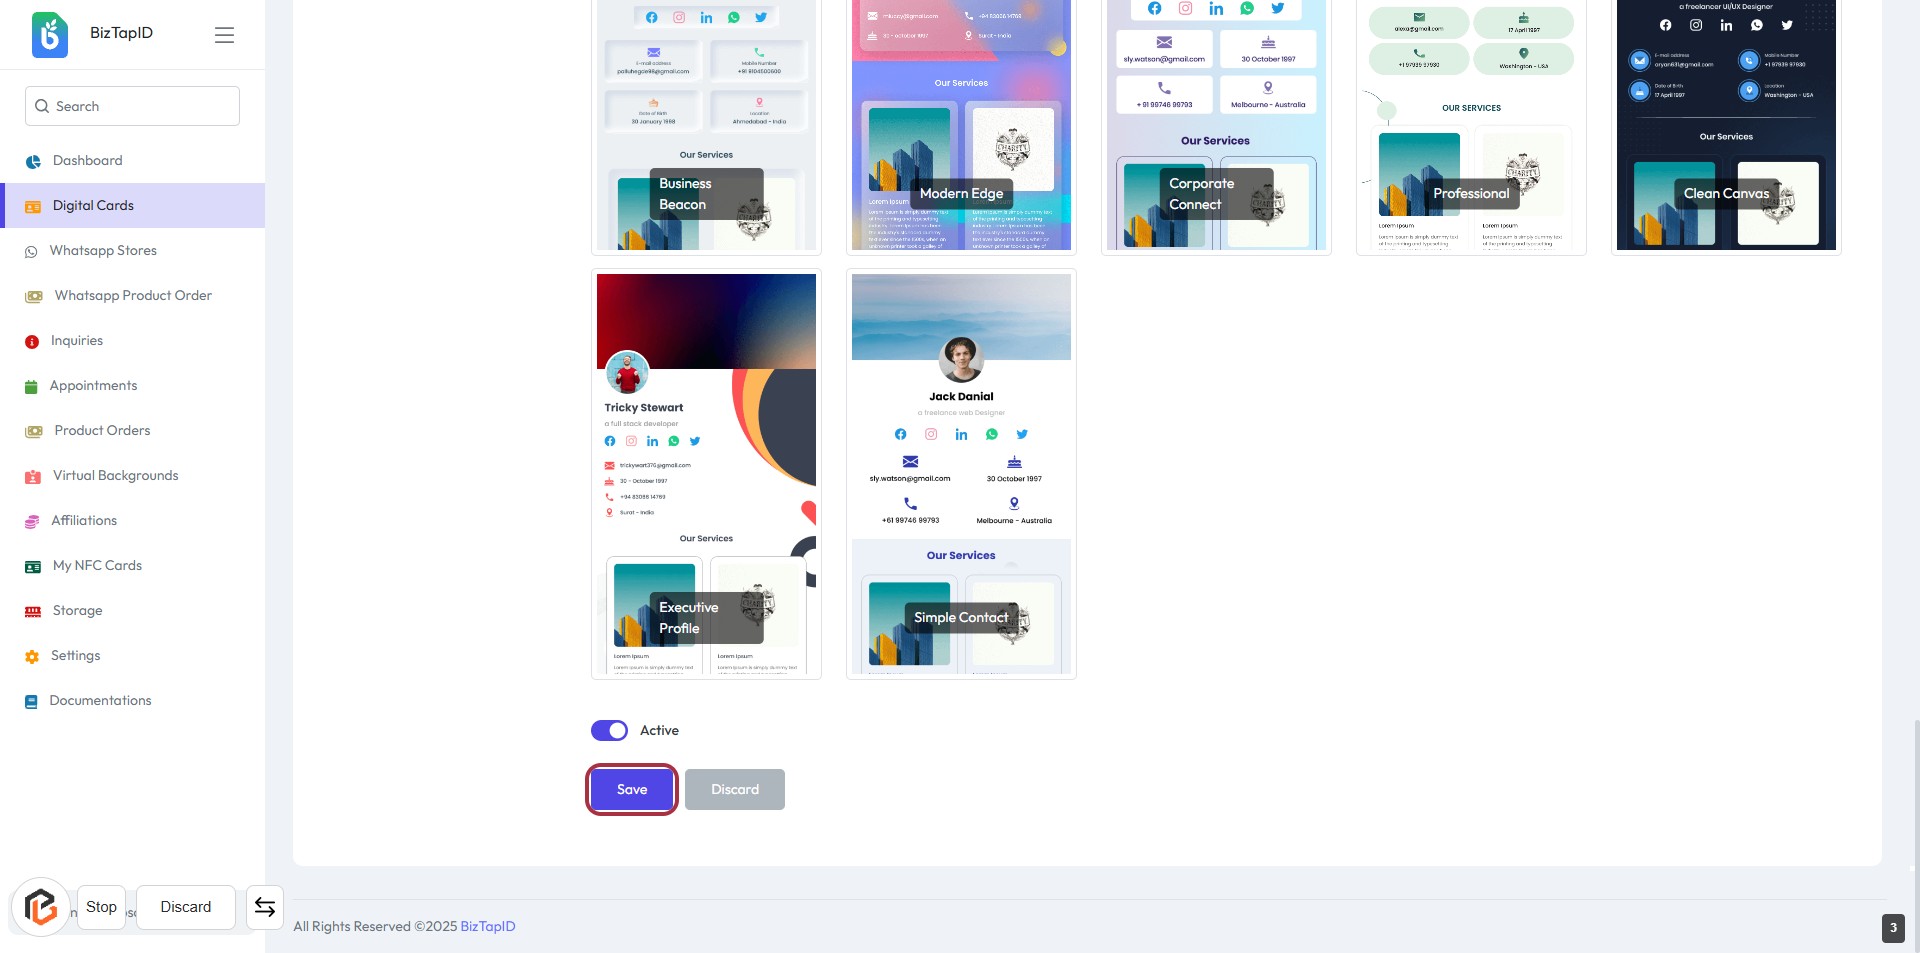
STEP 4: Click on "Save" Button
- Ensure all necessary fields are filled out correctly.
- Locate the "Save" button highlighted in red.
- Click the "Save" button to finalize your changes.
- Confirm that a success message appears, indicating your changes have been saved.