Step-by-Step Guide to Managing Your Website Header: Selection and Saving Changes
3 mins read · Updated 01 Oct, 2025
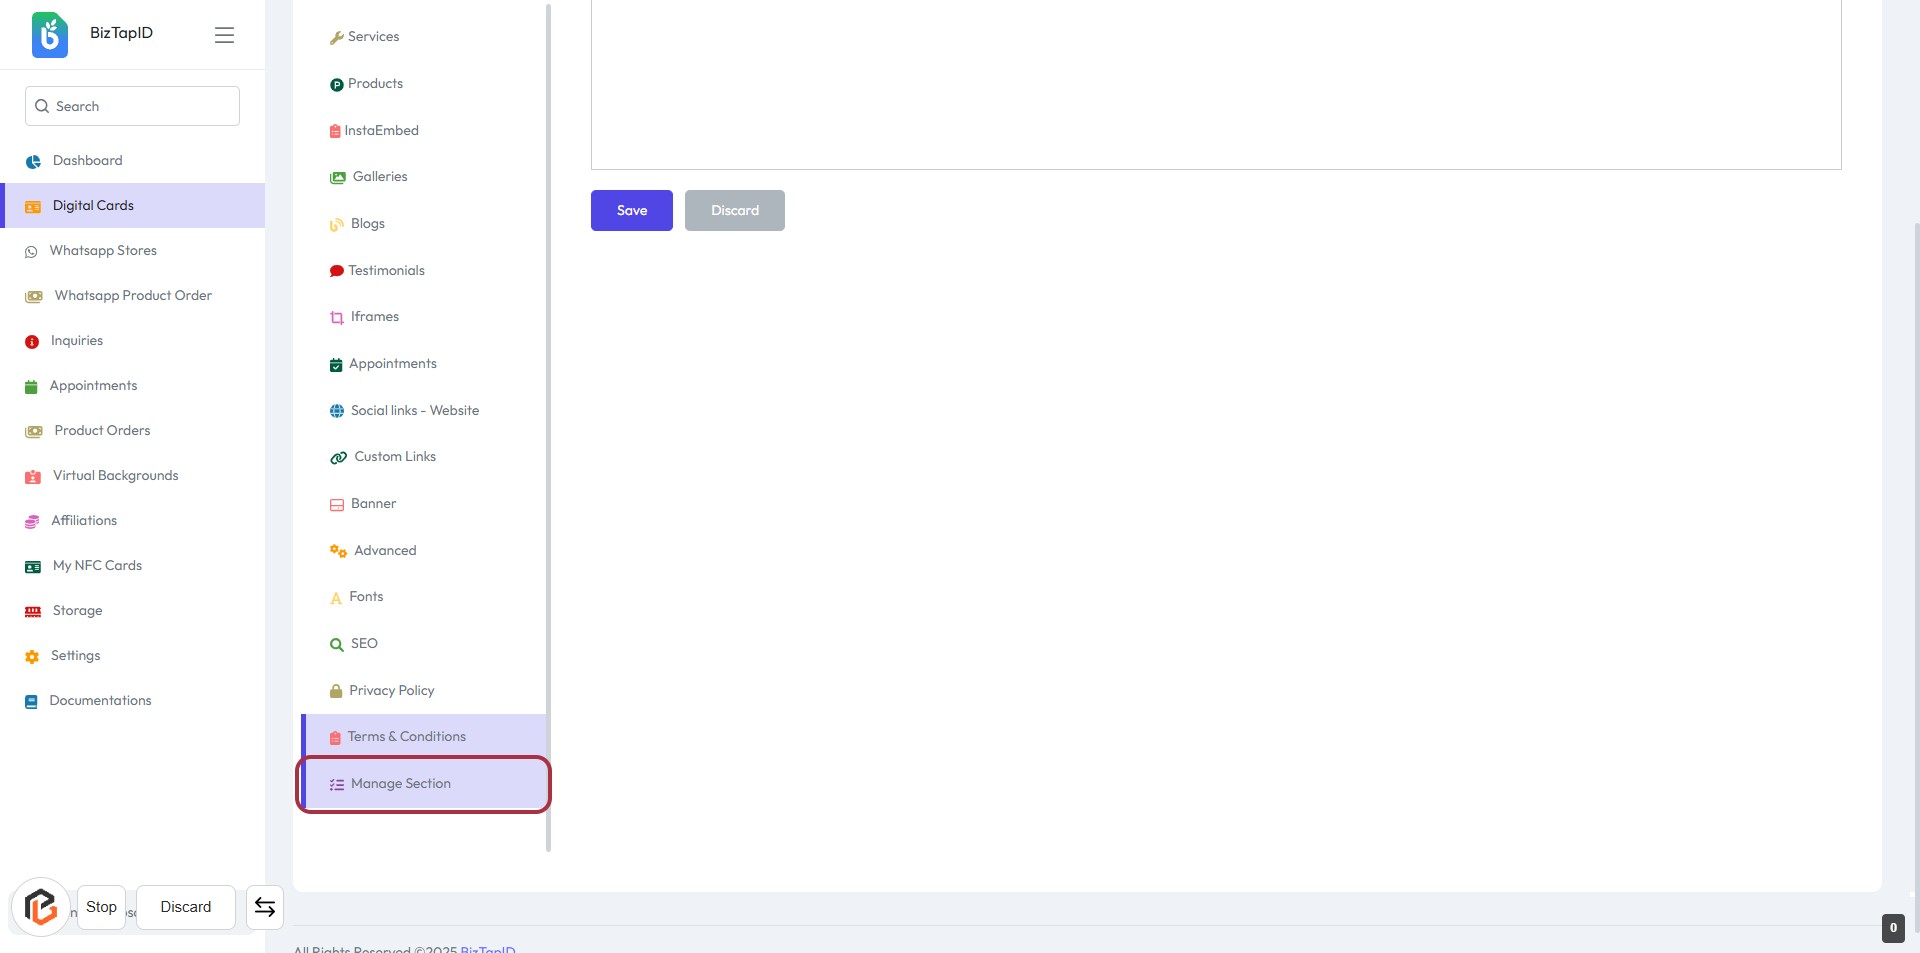
STEP 1: Click on "Manage Section"
- Navigate to the sidebar menu on the left.
- Locate and click on the Manage Section link highlighted in red.
- This action will direct you to the management interface for further options.
- Ensure you are ready to proceed to the next step where you will select options based on your preferences.
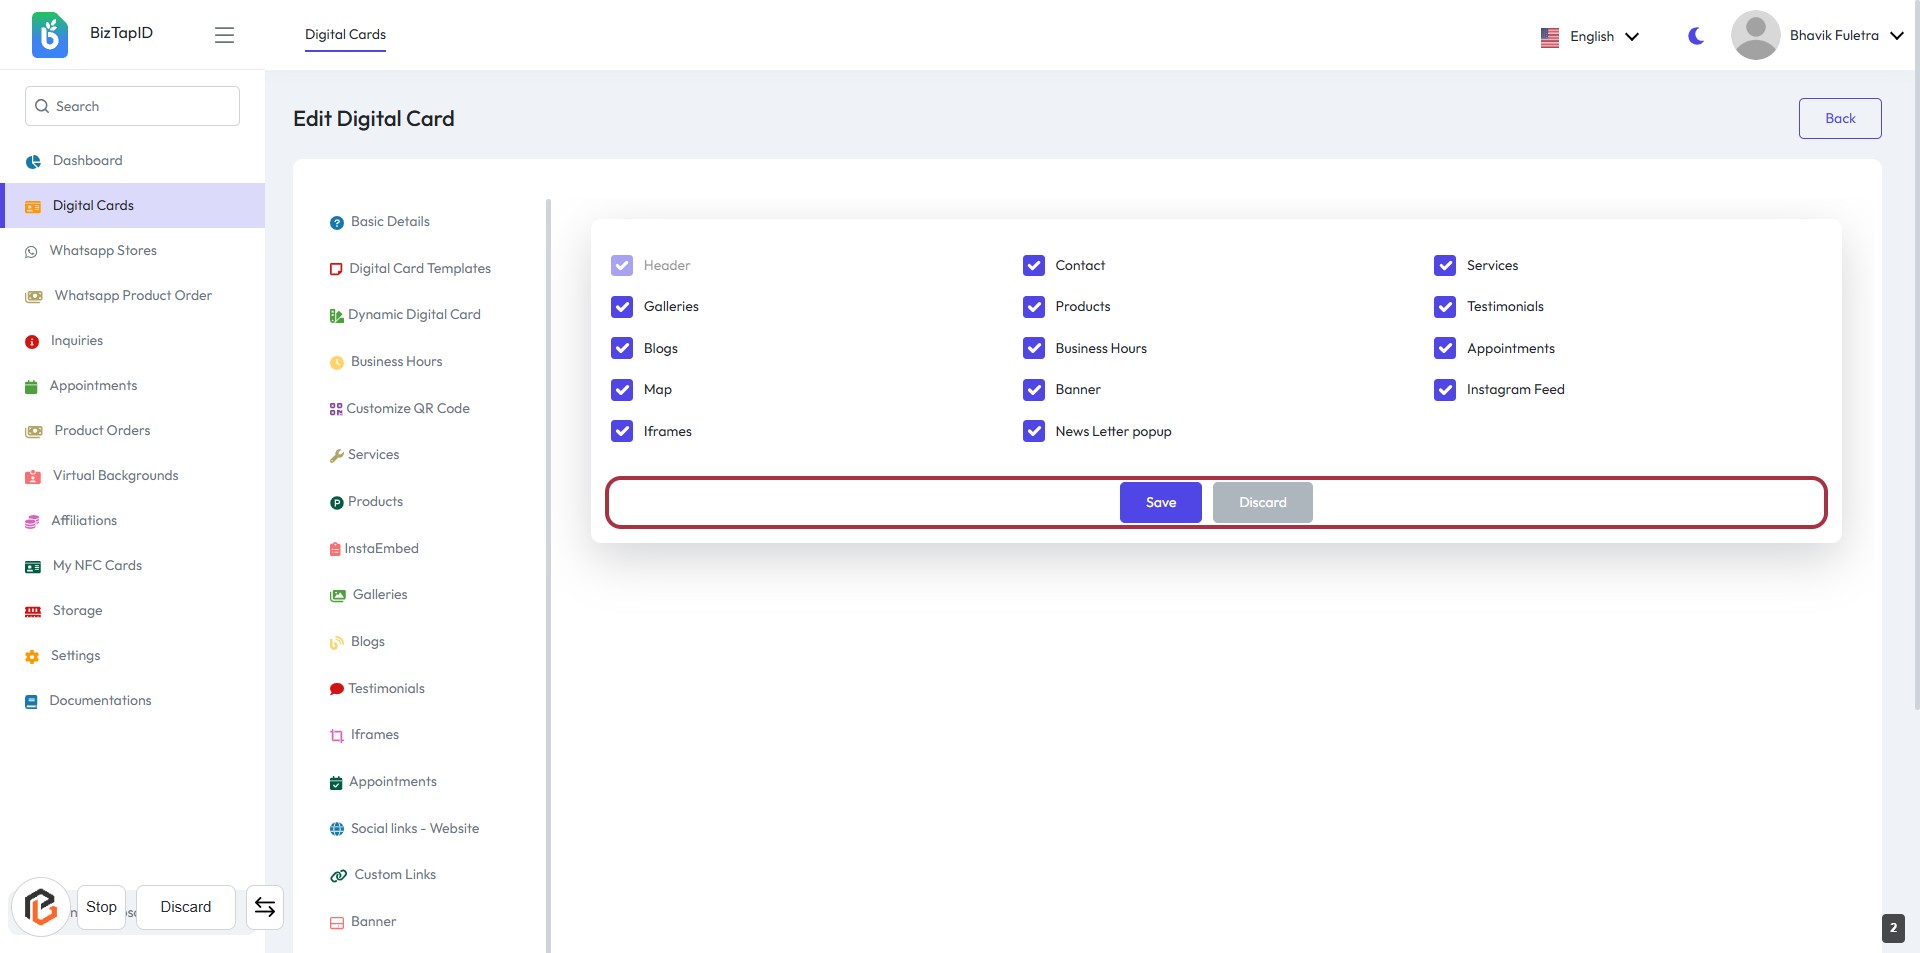
STEP 2: Select Options for Your Digital Card
- Click on the Header section to view available options.
- Choose your preferred elements from the list, including:
- Galleries
- Blogs
- Map
- Iframes
- Contact
- Products
- Business Hours
- Banner
- Newsletter popup
- Services
- Testimonials
- Appointments
- Instagram Feed
- After making selections, proceed to click on the Save button to apply changes.
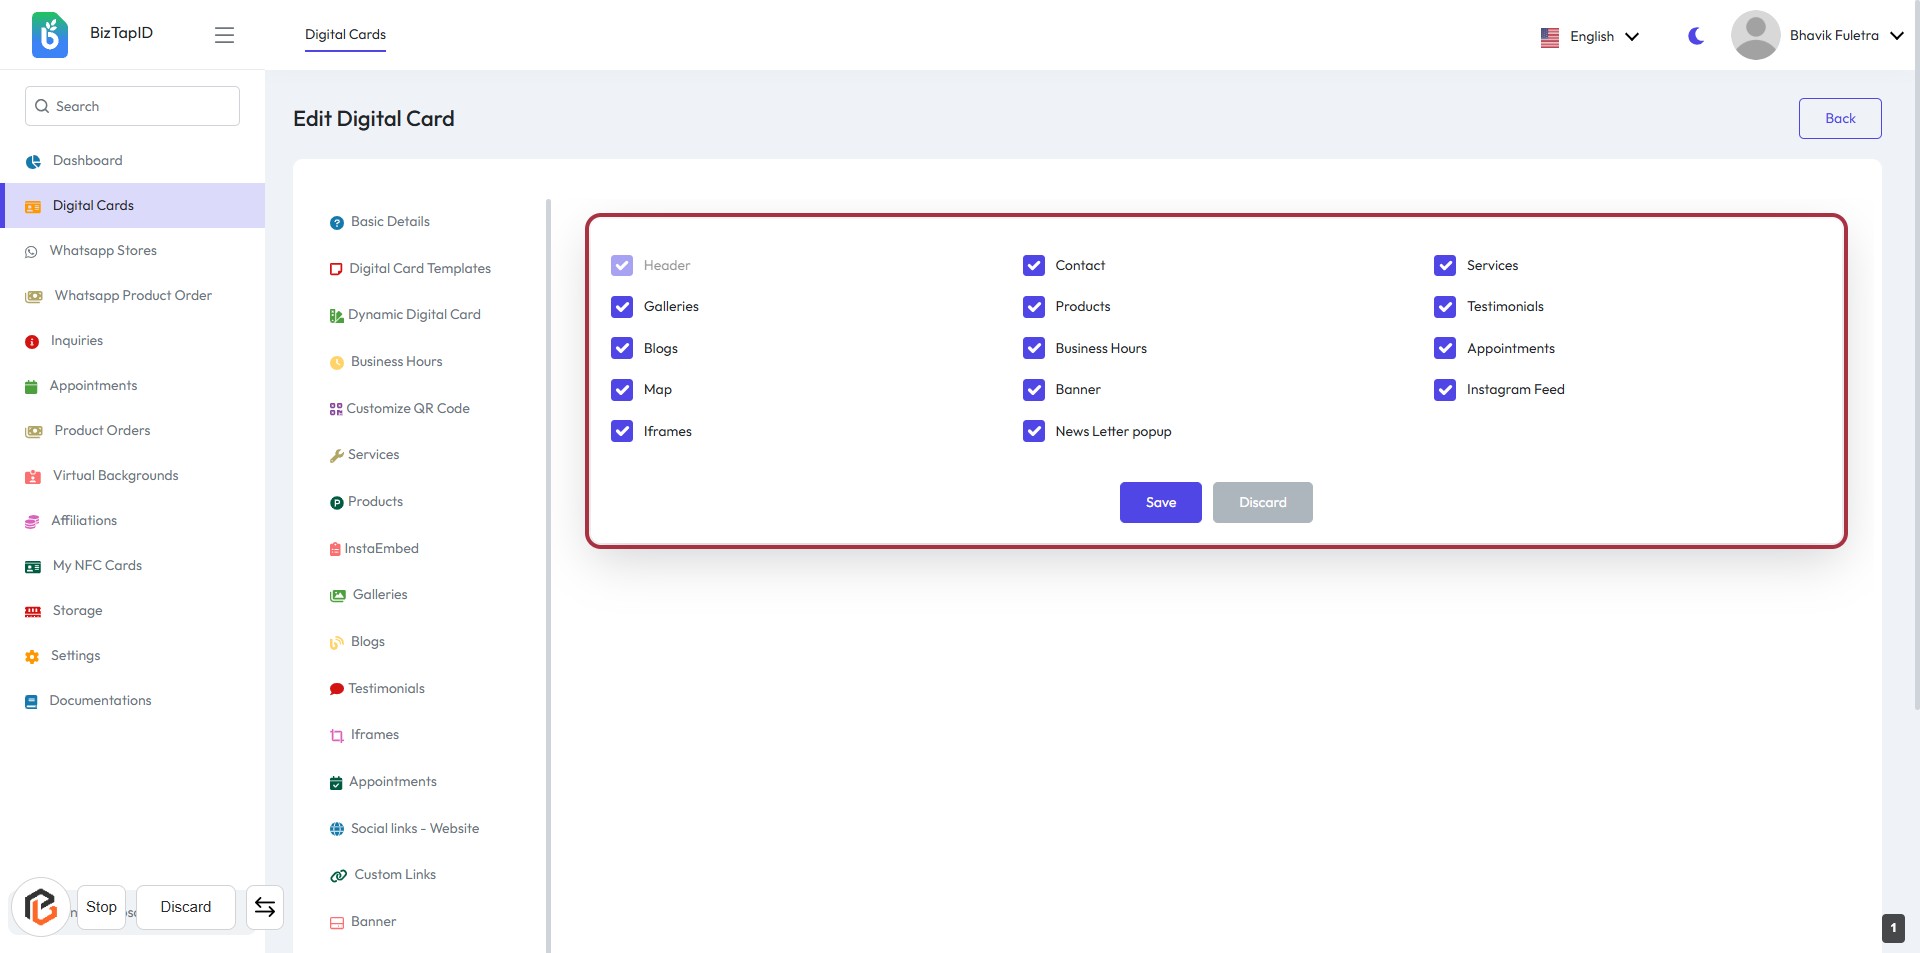
STEP 3: Click on "Save" to Confirm Changes
- Ensure all required fields are filled out correctly.
- Review your selections in the card layout.
- Click the Save button to confirm your changes.
- If you wish to discard changes, click the Discard button instead.