Step-by-Step Guide to Managing Appointments: From Selection to Confirmation
6 mins read · Updated 01 Oct, 2025
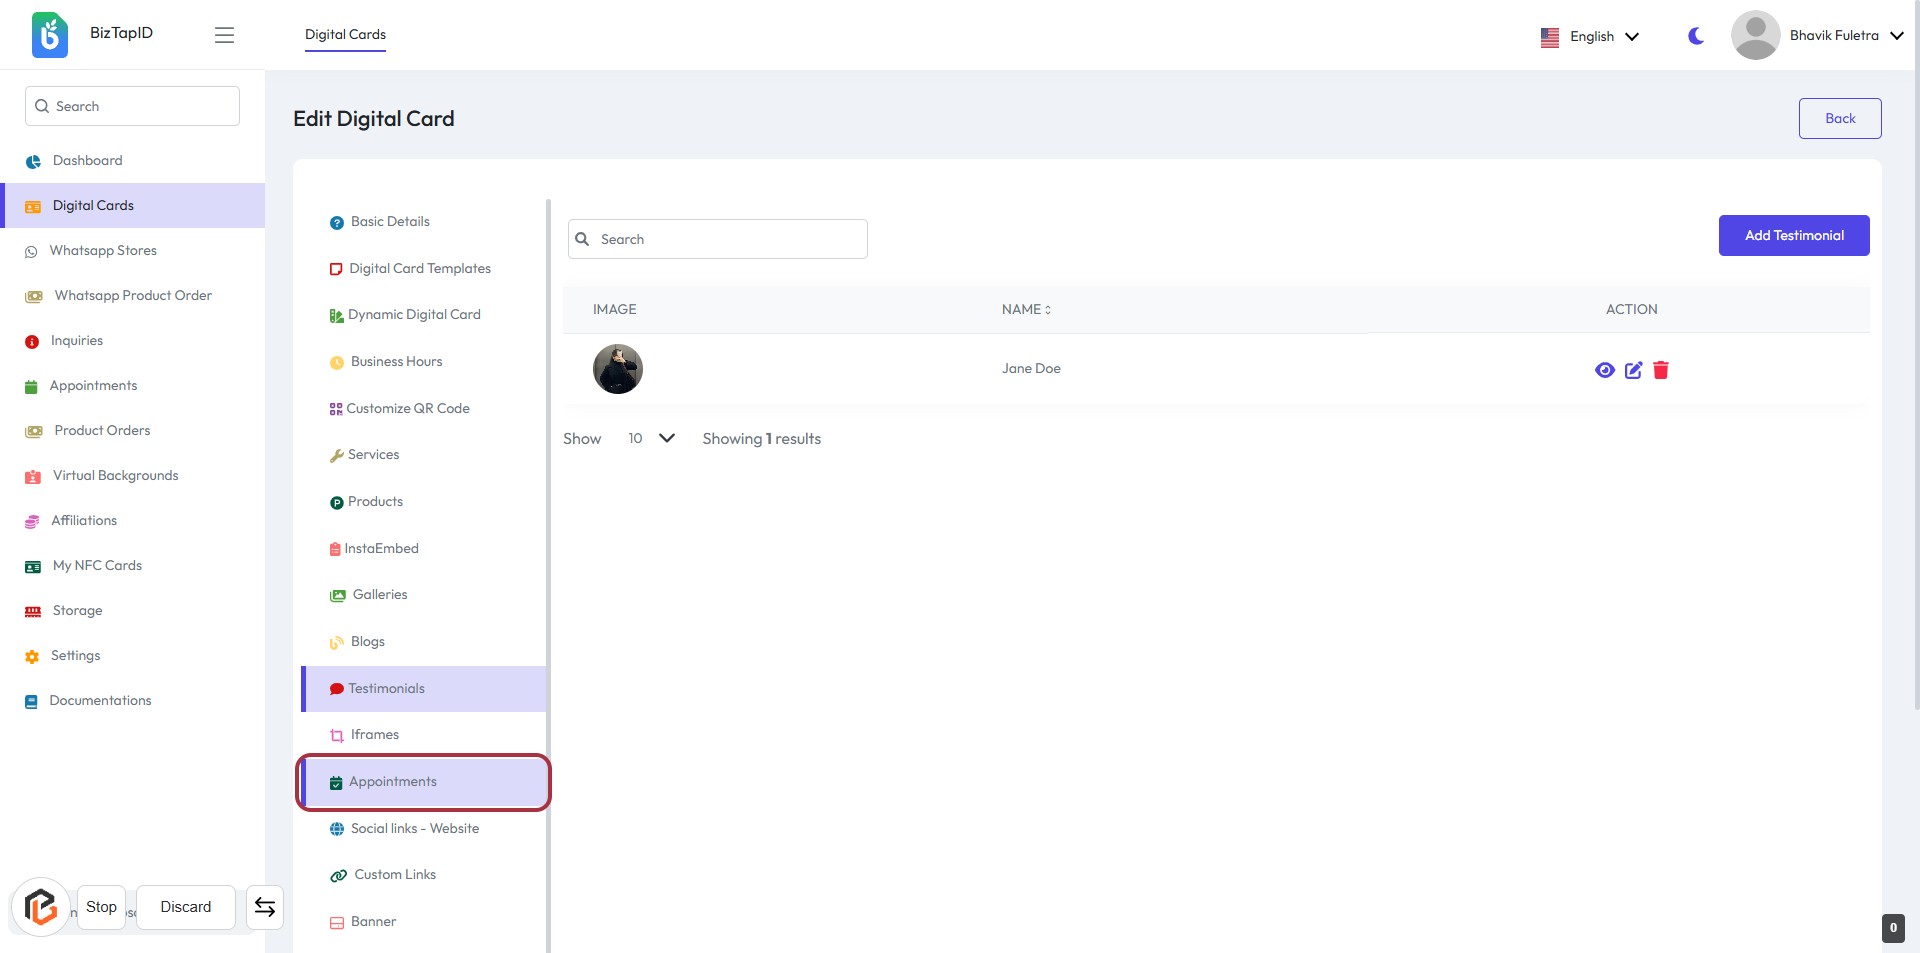
STEP 1: Click on "Appointments" to Access Appointment Settings
- Navigate to the sidebar menu on the left.
- Click on the Appointments link highlighted in the red border.
- This will take you to the appointment management section where you can manage your appointments.
- Ensure to check for any required fields marked with an asterisk (*) in the upcoming steps.
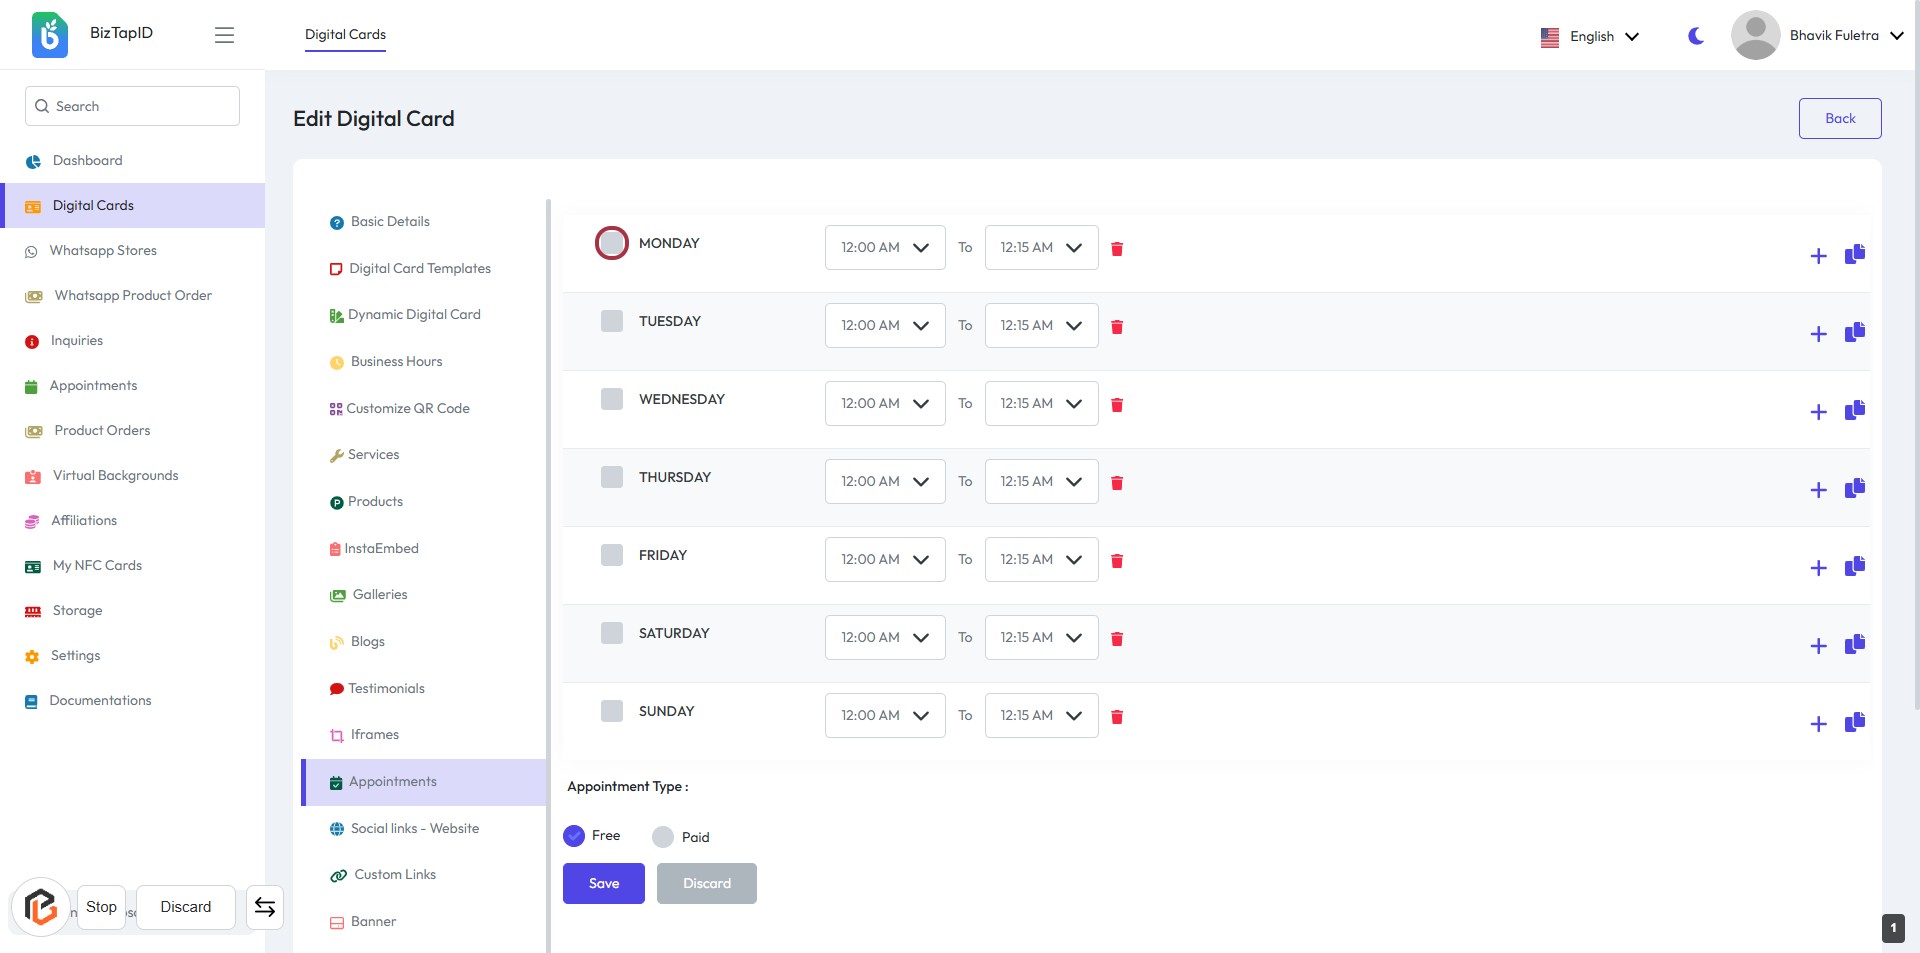
STEP 2: Click on "Day Checkbox"
- Navigate to the "Edit Digital Card" section.
- Locate the checkbox for "Monday" in the appointments table.
- Click on the checkbox to enable or select Monday for appointments.
- Ensure to fill in the appointment timings for the selected day.
- Proceed to the next step by selecting "Start Timing."
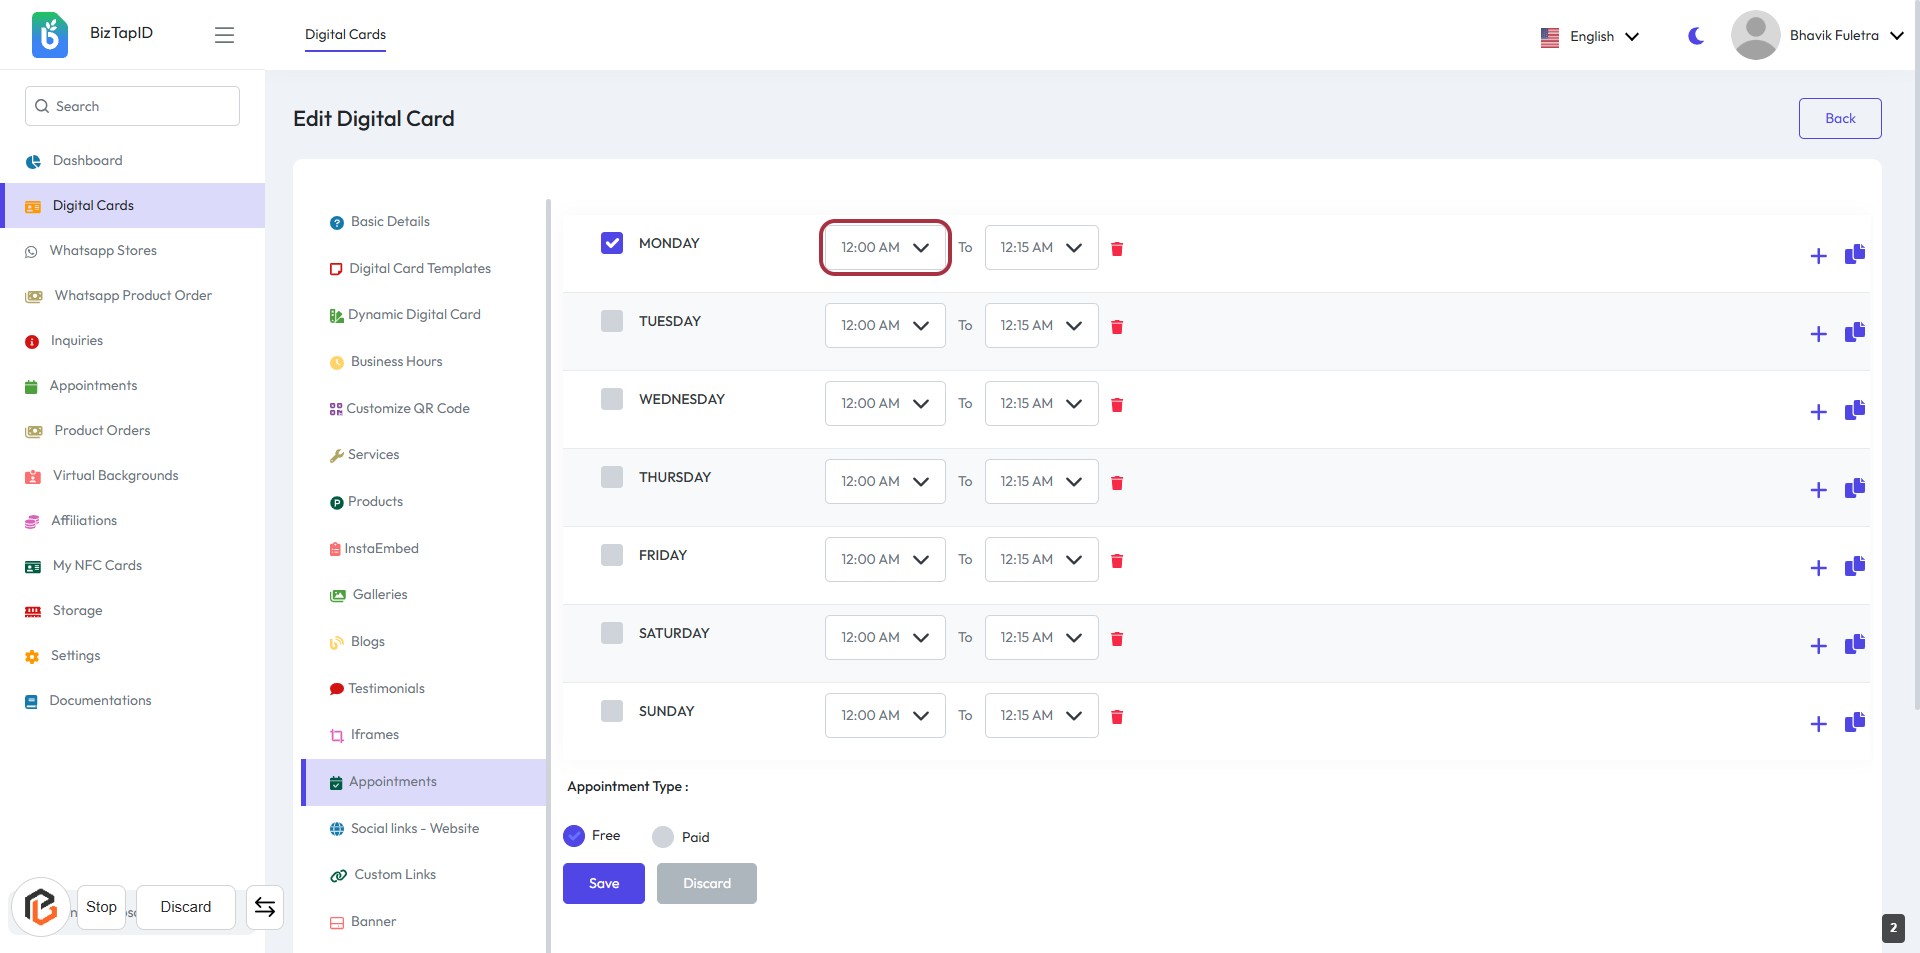
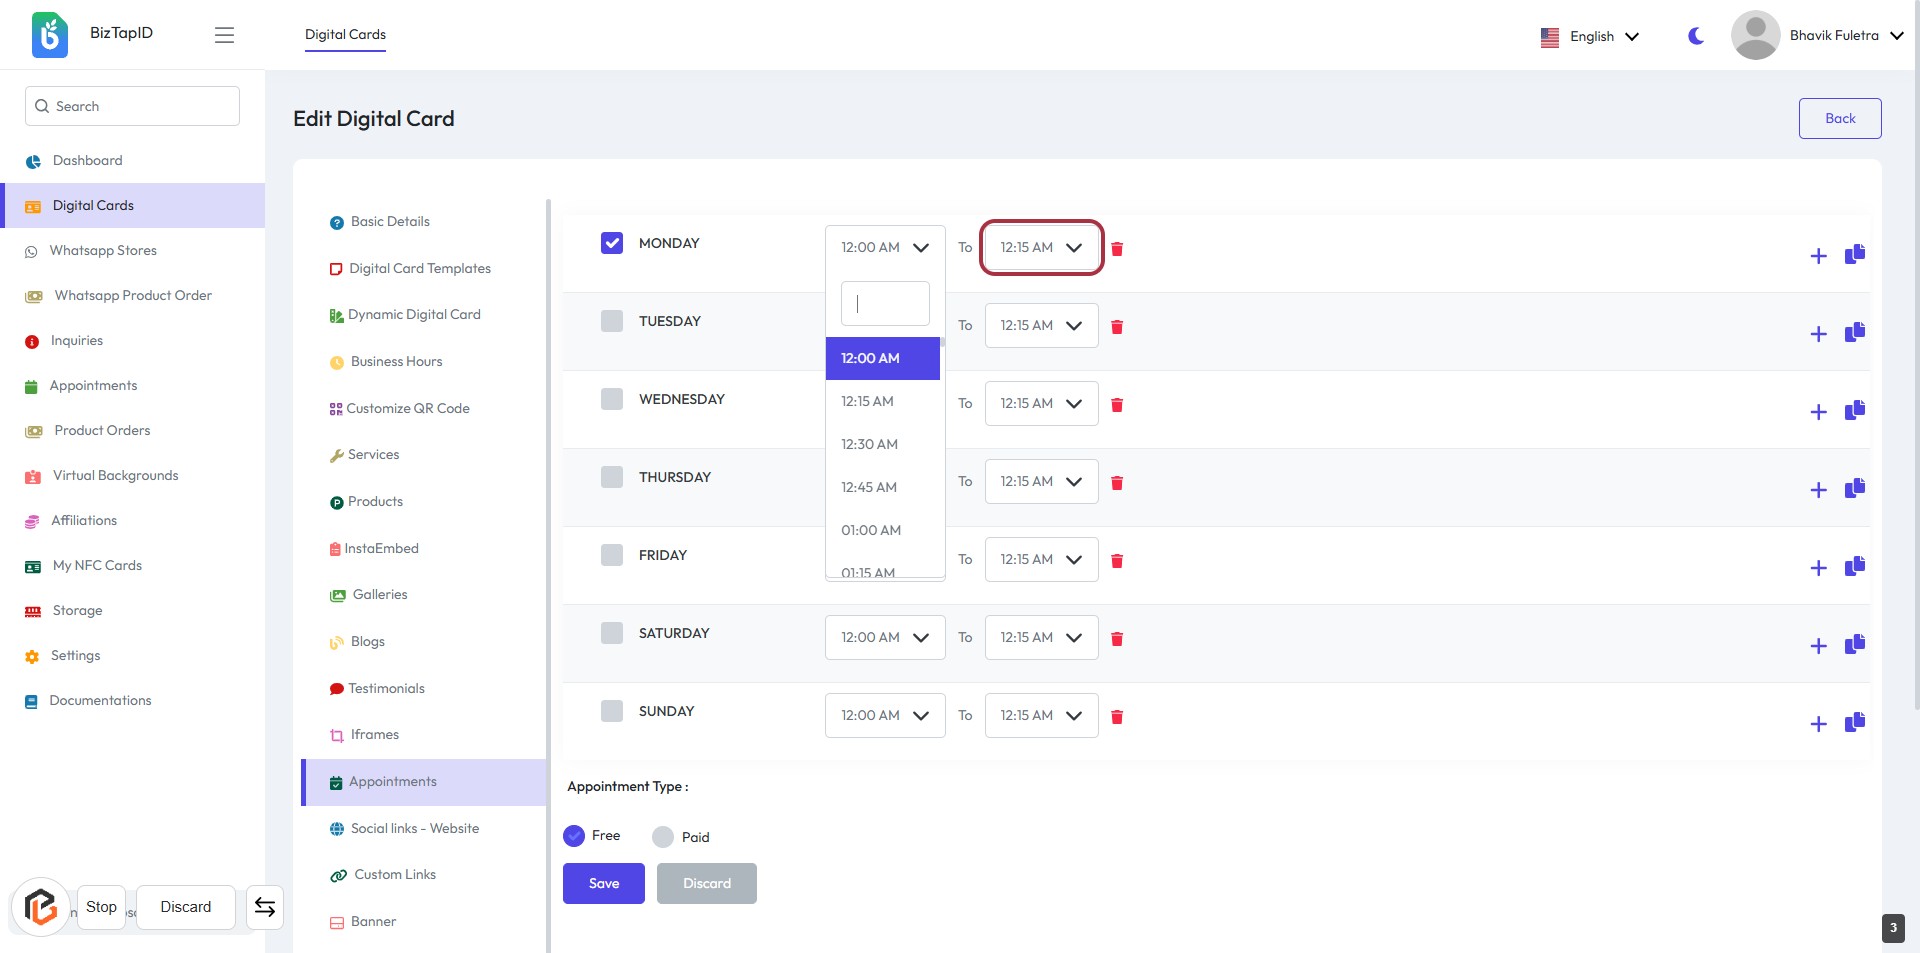
STEP 3: Select "Start Timing"
- Click on the highlighted area displaying "12:00 AM" to set the start time for the selected day.
- Ensure that the time is correctly set as it will affect appointment scheduling.
- Review other time slots for the week to ensure consistency.
- Proceed to the next step to select the "End Timing."
STEP 4: Select "End Timing"
- Click on the highlighted time "12:15 AM" in the appointment schedule.
- Ensure the time is correctly set for the selected day.
- Review other days to confirm their timings if necessary.
- Proceed to the next step to select the "Appointment Type."
STEP 5: Select "Free" for Appointment Type
- Click on the "Free" option in the Appointment Type section.
- Ensure the selection is highlighted to confirm your choice.
- You can also choose "Paid" if applicable.
- Proceed to the next step by clicking the "Save" button.
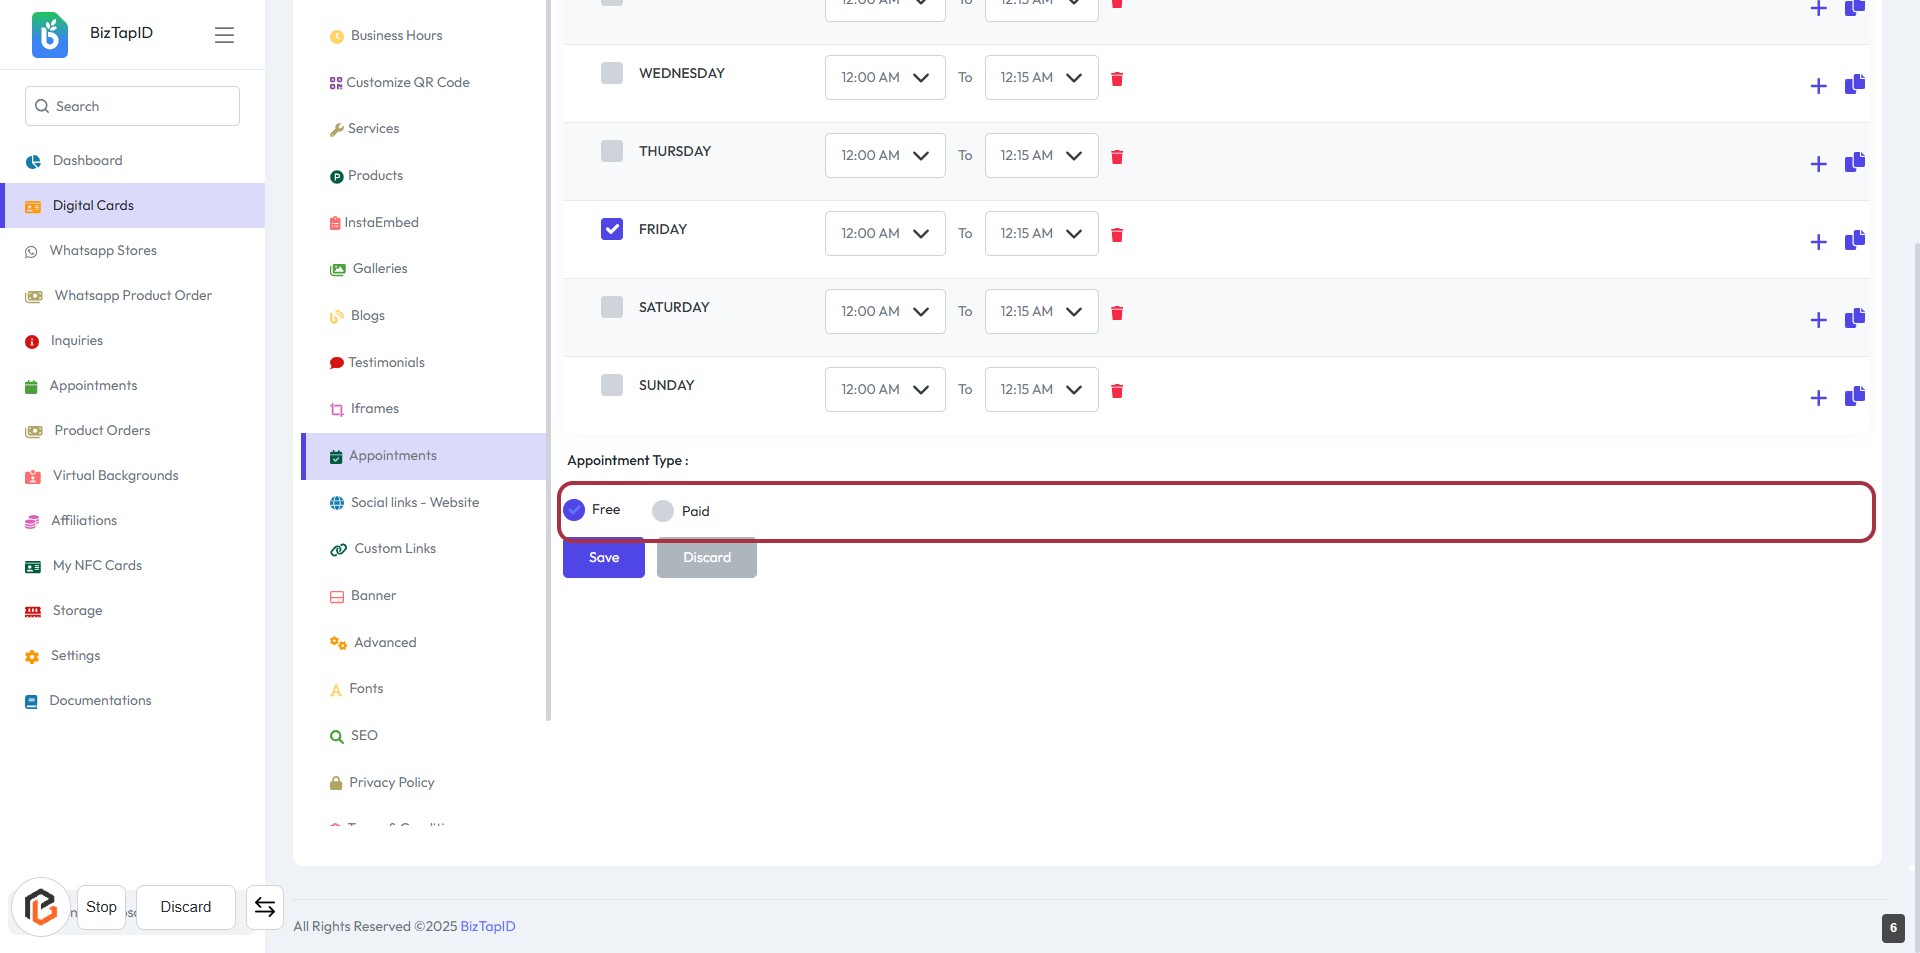
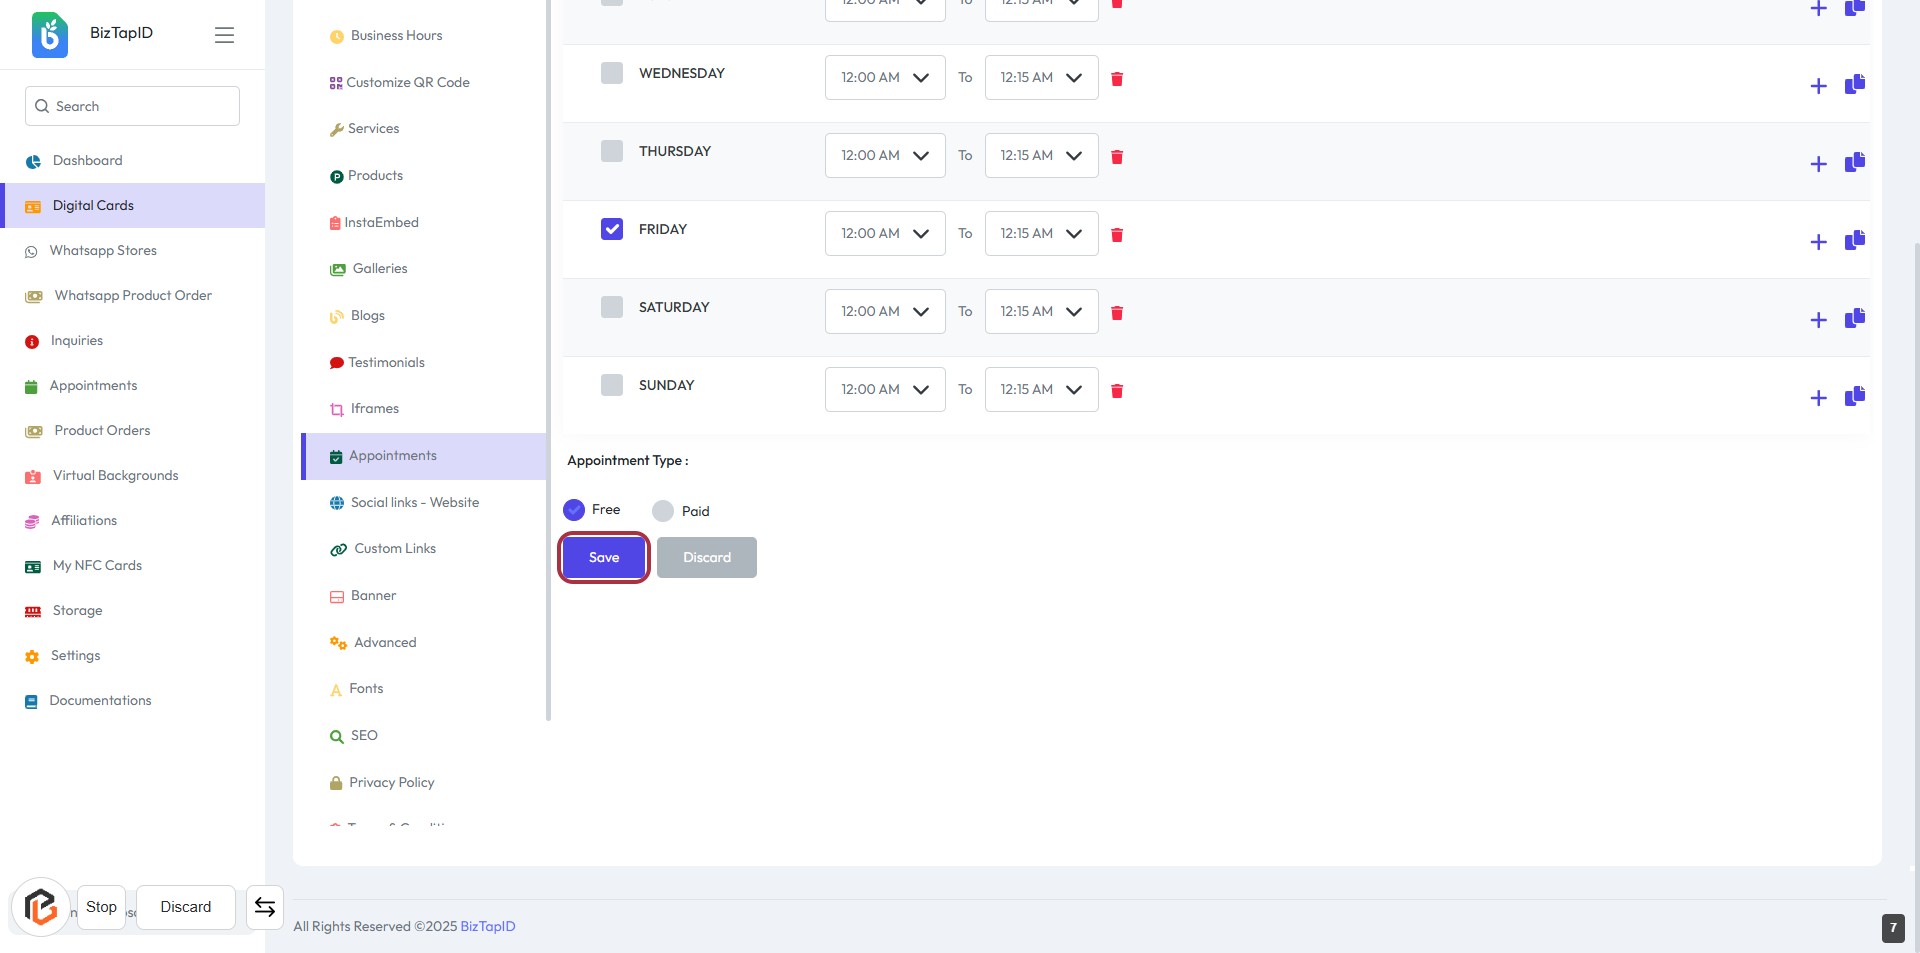
STEP 6: Click on "Save" Button
- Ensure all appointment details are filled in.
- Locate the "Save" button highlighted in blue.
- Click the "Save" button to confirm your changes.
- Review any confirmation messages that may appear after saving.