Step-by-Step Guide to Creating Your Digital Card: From Dashboard Navigation to Finalization
10 mins read · Updated 01 Oct, 2025
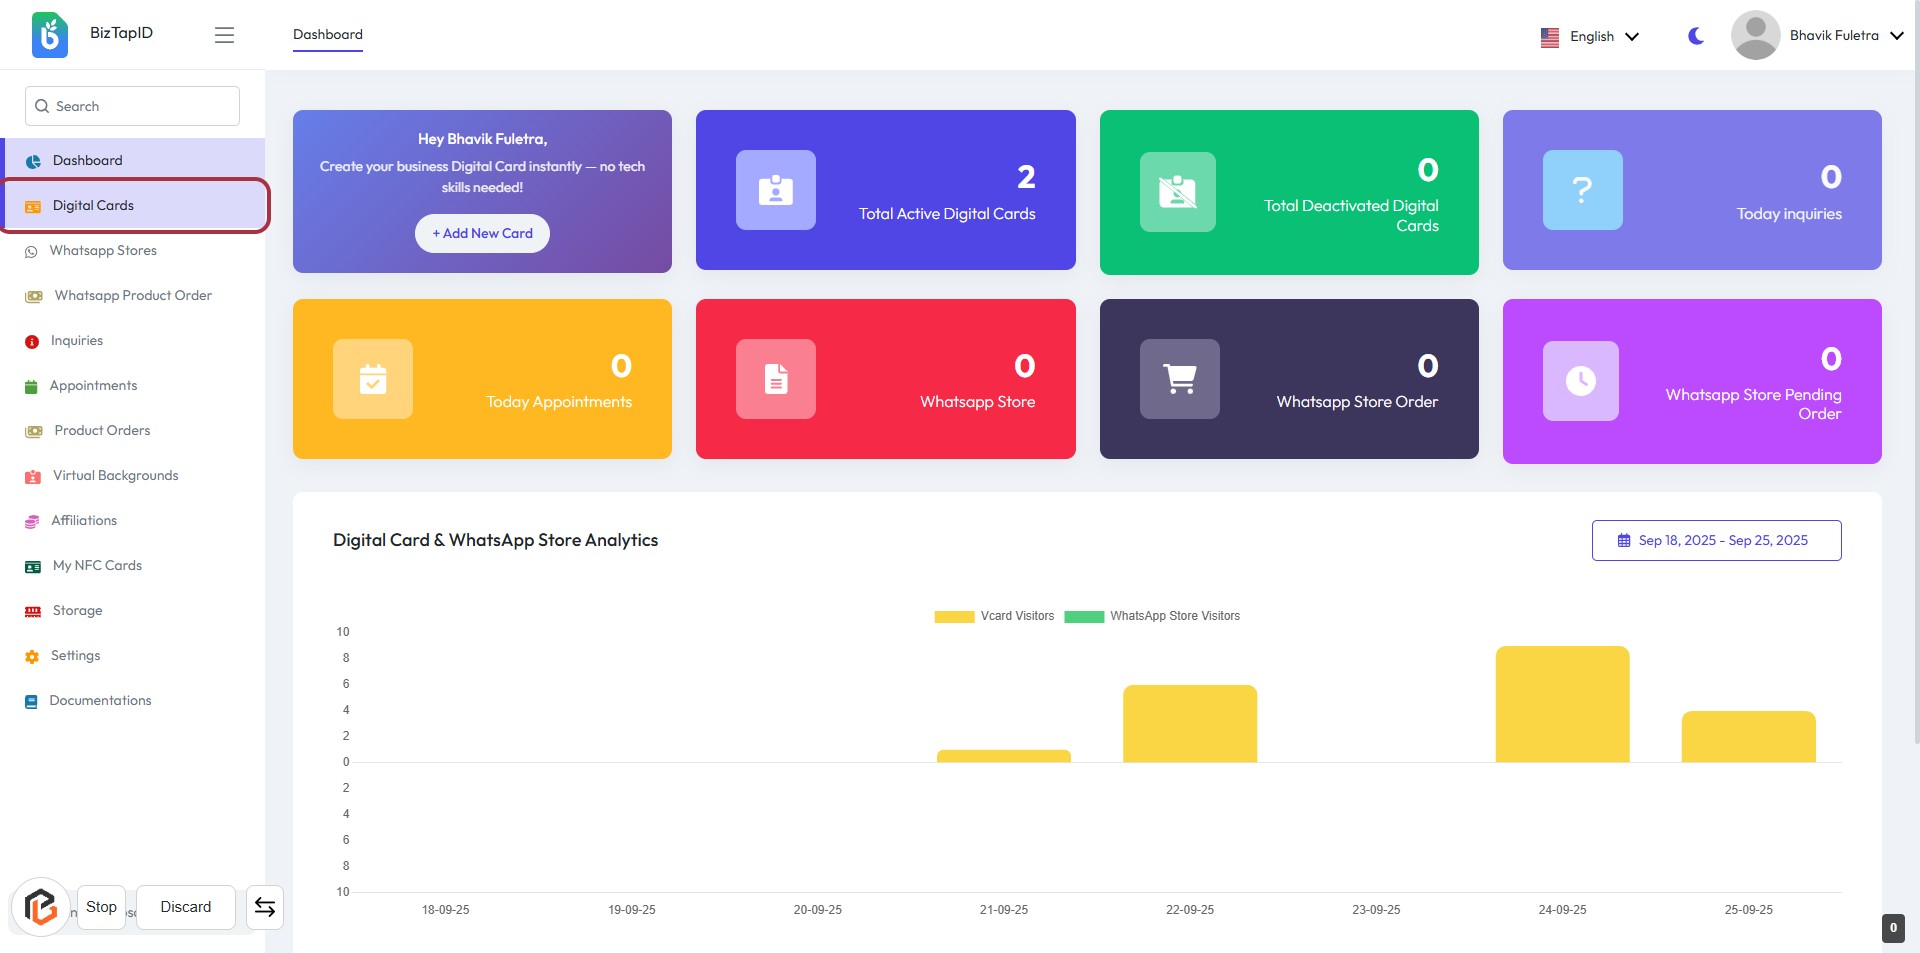
STEP 1: Click on "Digital Cards"
- Navigate to the sidebar menu on the left.
- Locate and click on the Digital Cards option.
- This will direct you to the Digital Cards dashboard.
- Ensure you see the analytics and options available for managing your digital cards.
- Proceed to the next step by clicking on New Digital Card.
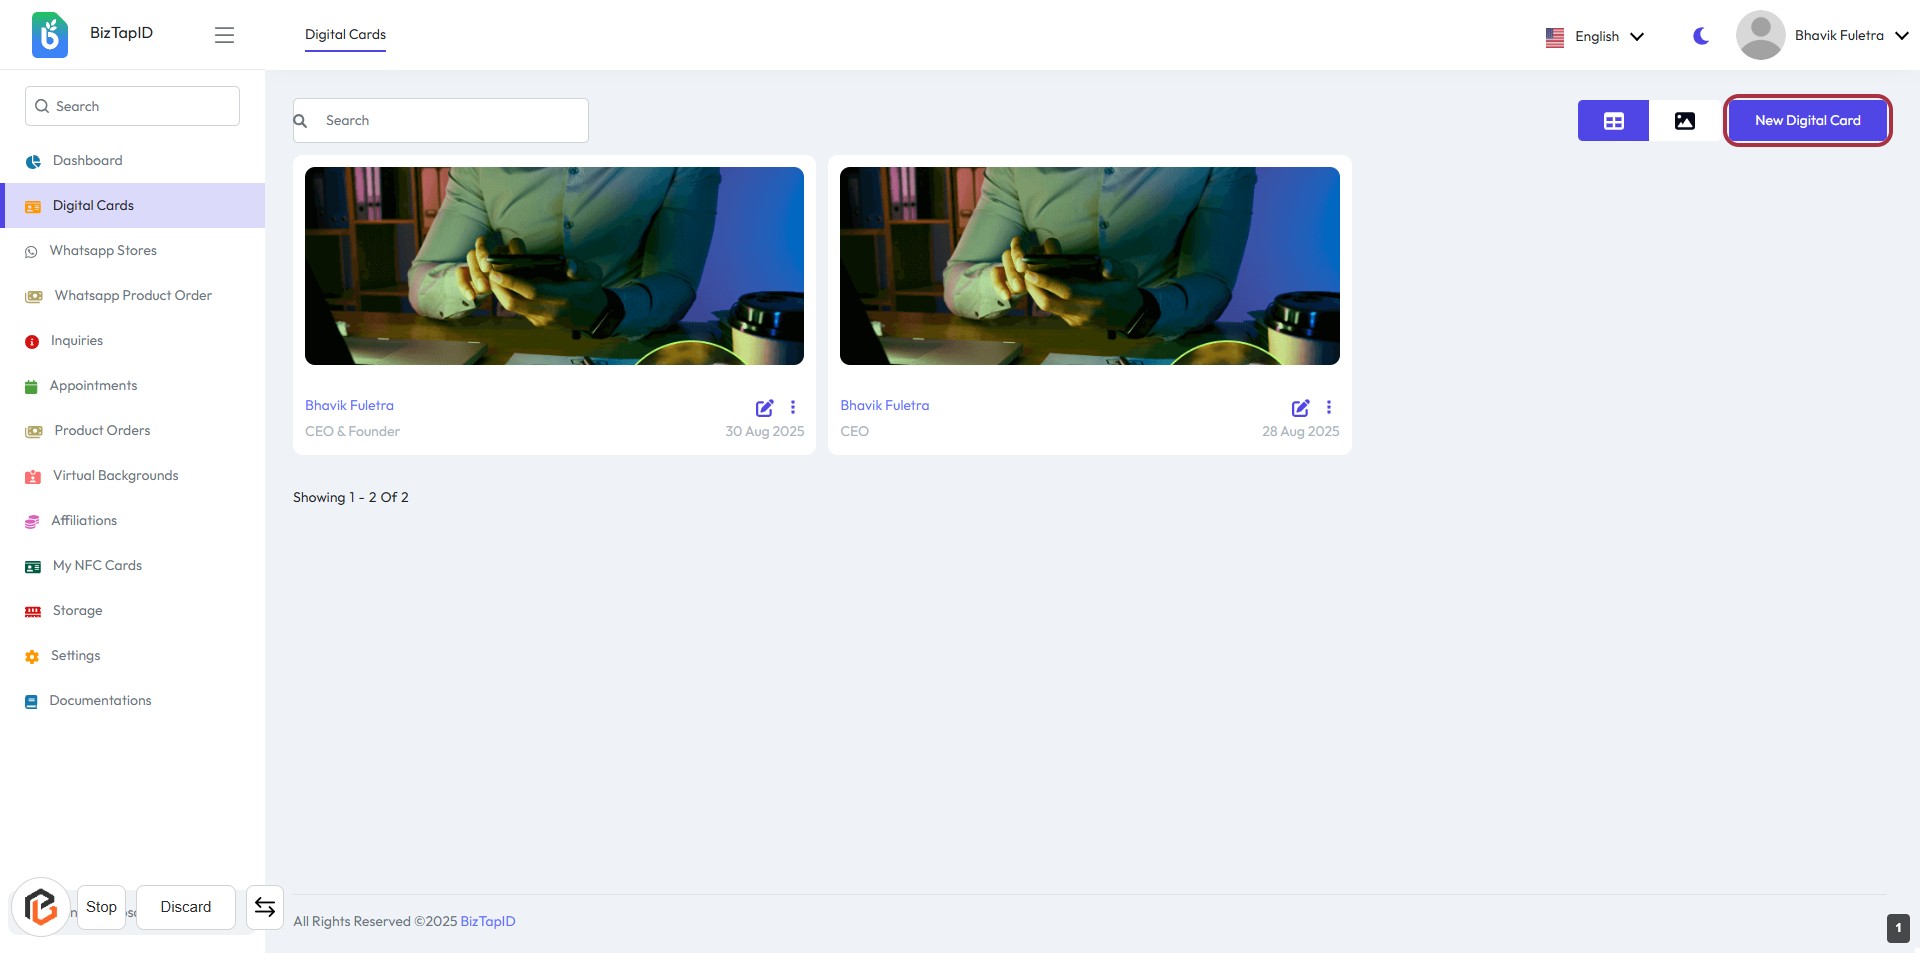
STEP 2: Click on "New Digital Card"
- Navigate to the "Digital Cards" section.
- Click on the "New Digital Card" button located at the top right corner.
- This action will initiate the process of creating a new digital card.
- Ensure all required fields marked with an asterisk (*) are filled in the next step.
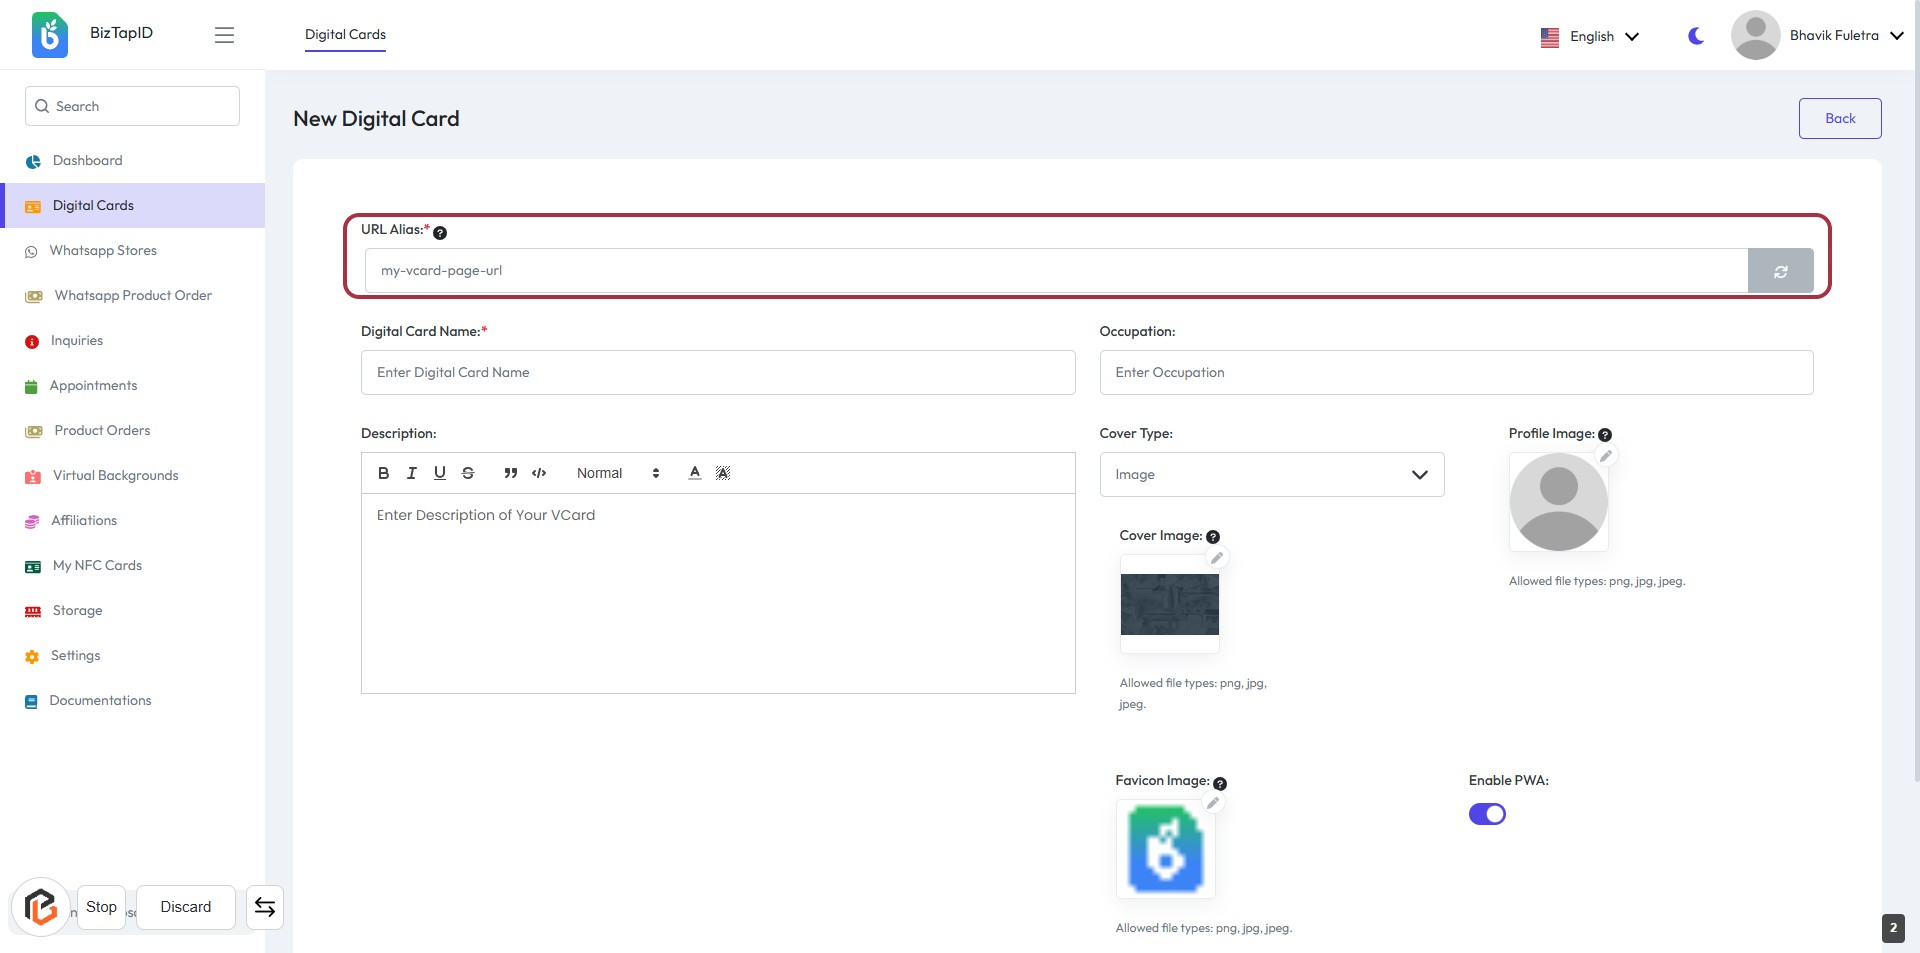
STEP 3: Enter URL Alias
- Click on the "URL Alias" field highlighted in red.
- Input a unique URL alias for your digital card (required).
- Ensure the alias is descriptive and relevant to your card.
- Proceed to the next step by entering the "Digital Card Name."
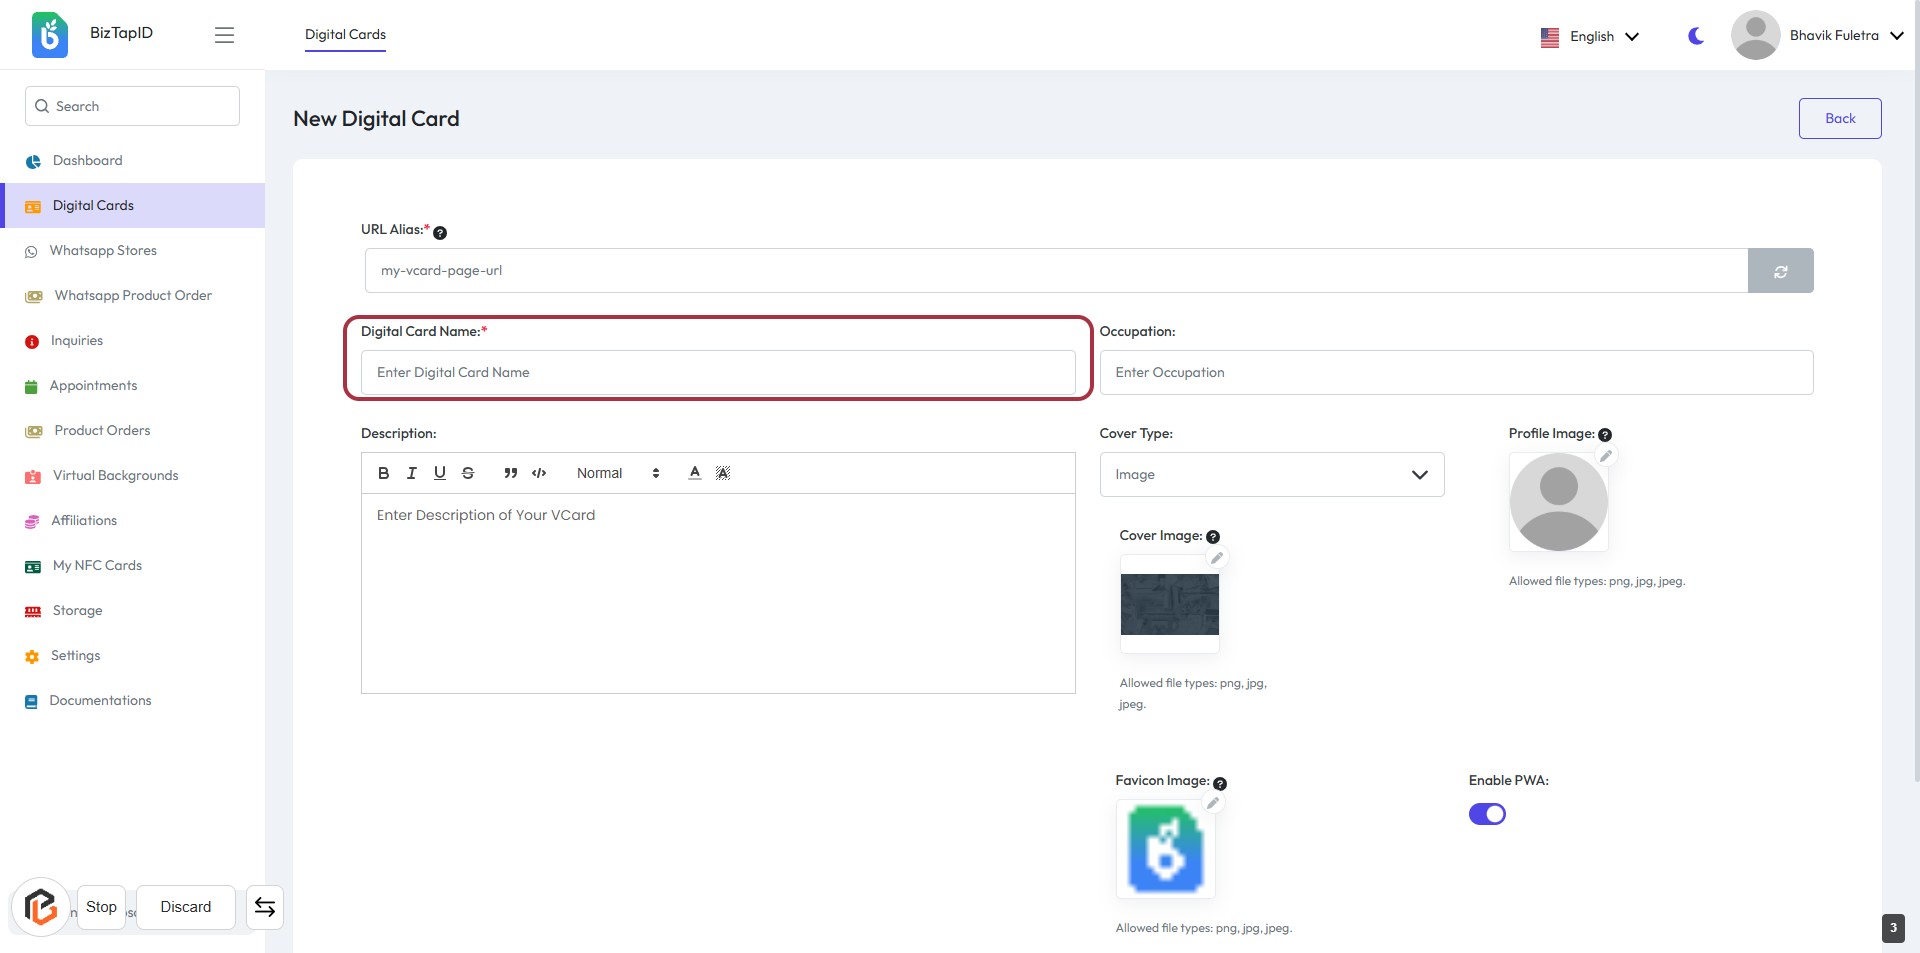
STEP 4: Enter "Digital Card Name"
- Click on the "Digital Card Name" field (marked with a red border).
- Enter the name for your digital card (this field is mandatory, indicated by the asterisk).
- Ensure the name is descriptive and relevant to your card's purpose.
- Proceed to the next step by entering your "Occupation."
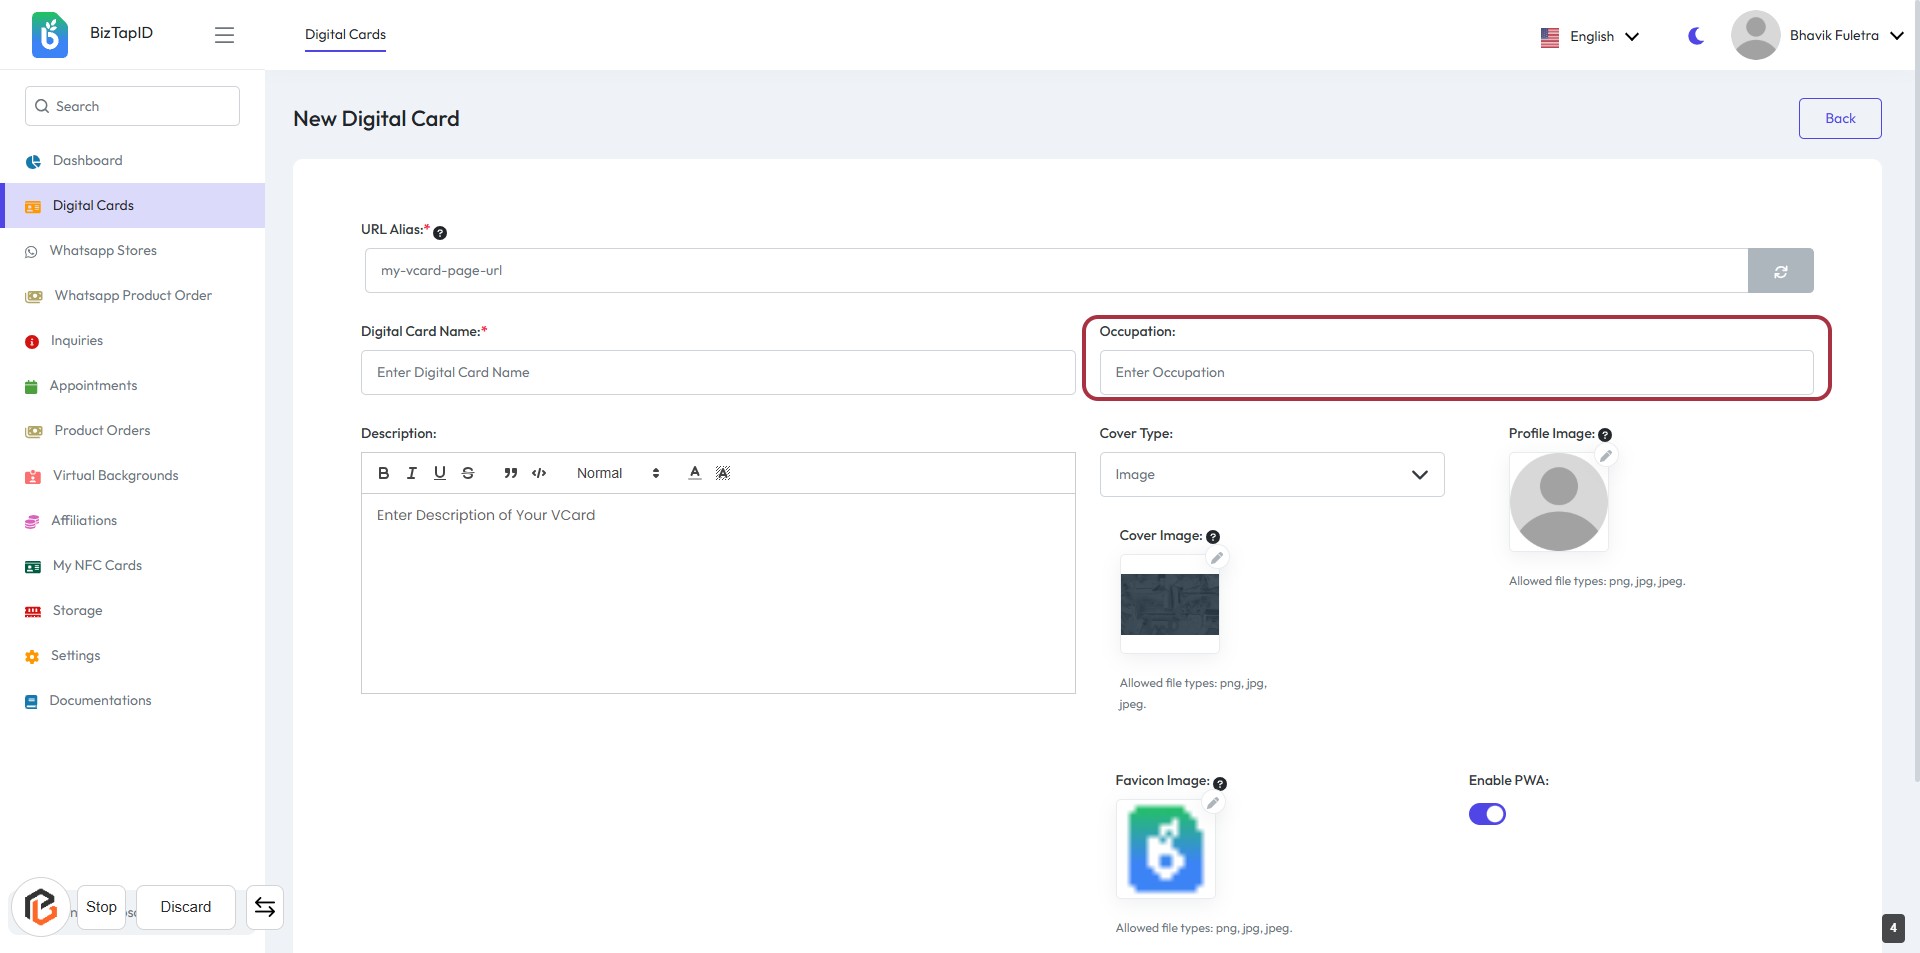
STEP 5: Enter "Occupation"
- Click on the "Occupation" field highlighted in red.
- Enter your occupation in the provided text box.
- Ensure to fill in any required fields marked with an asterisk (*).
- Review your input for accuracy before proceeding to the next step.
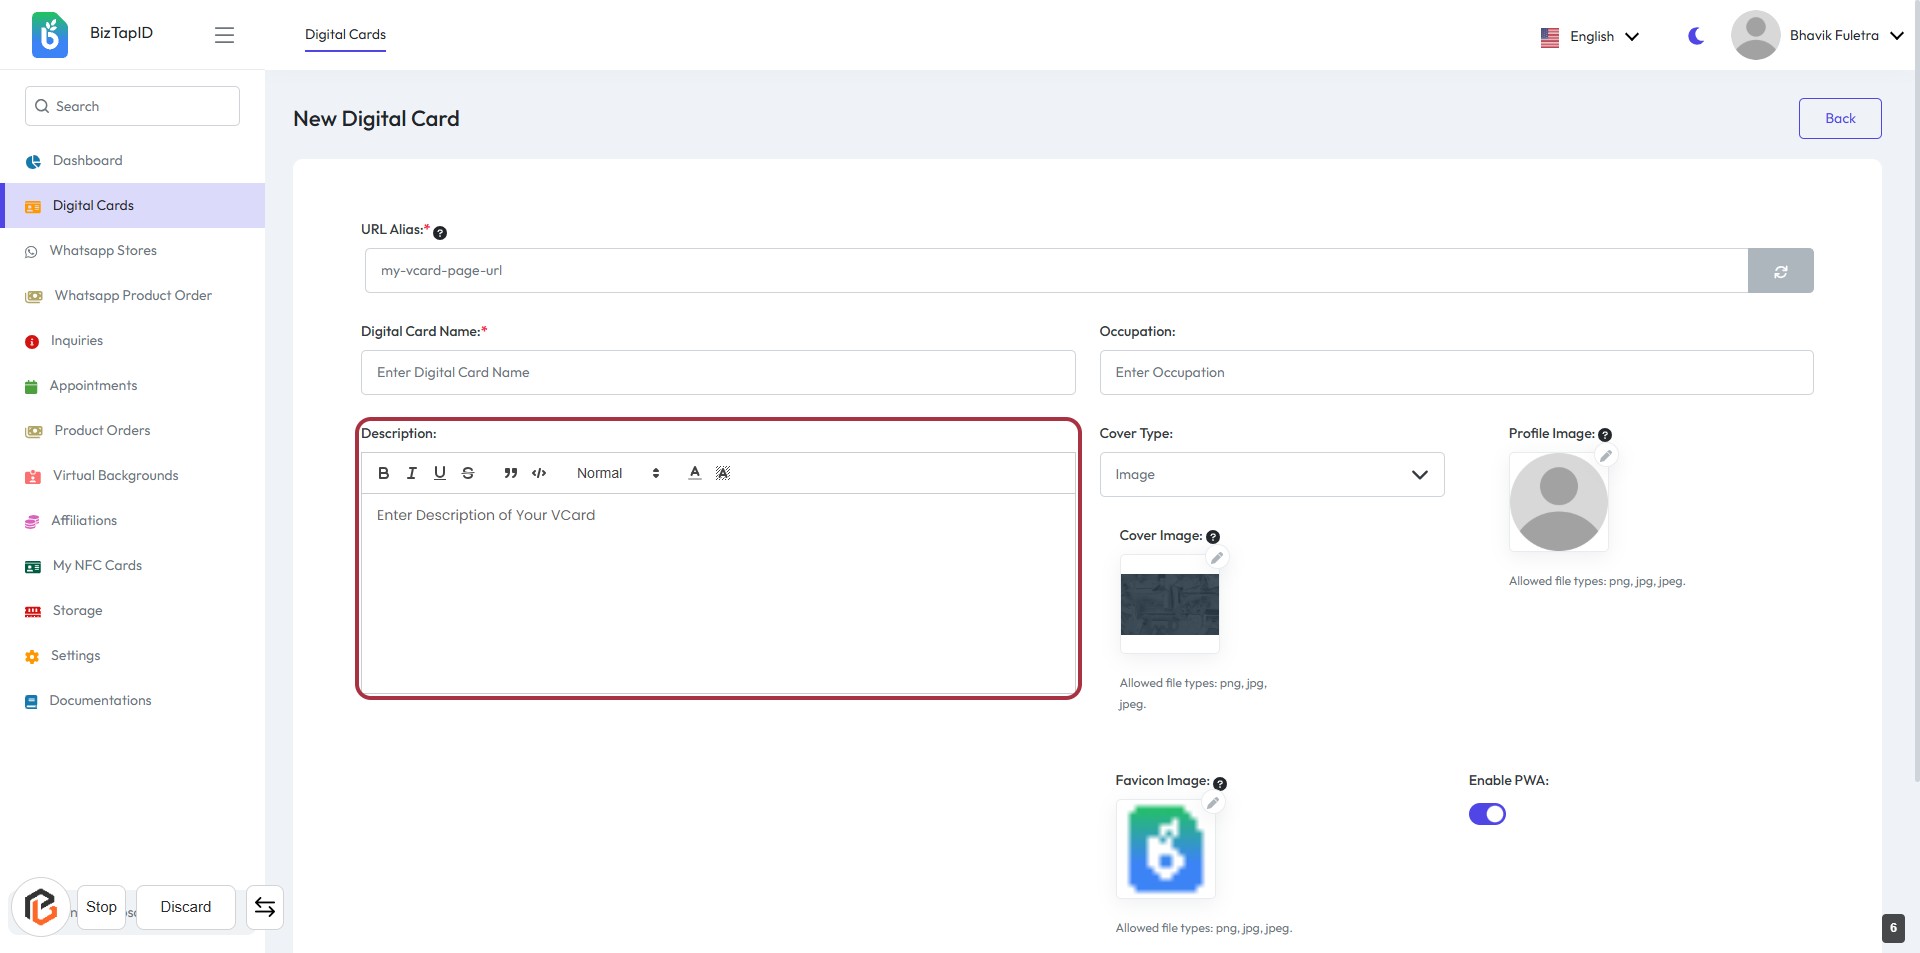
STEP 6: Click "Description" to Enter Details
- Click on the "Description" field to begin entering your VCard details.
- Ensure to provide a comprehensive description of your VCard.
- Use formatting options available (bold, italics, etc.) as needed.
- This field is mandatory; make sure to fill it out before proceeding.
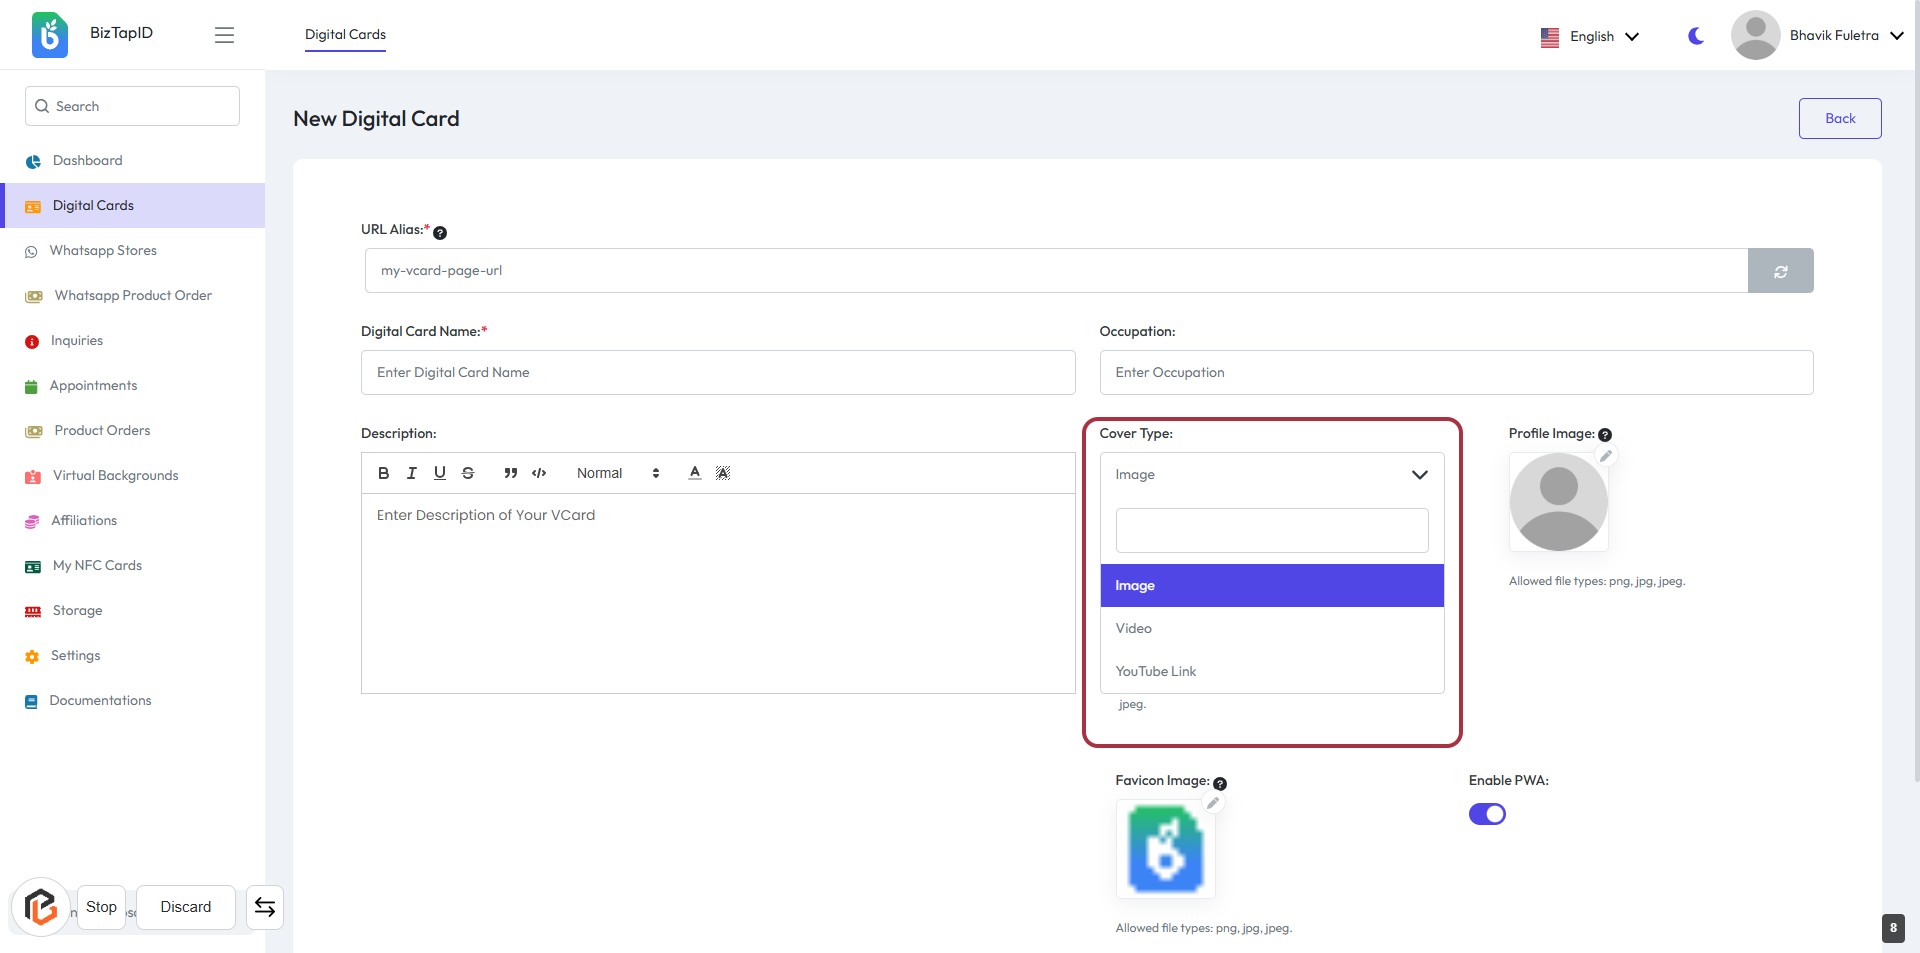
STEP 7: Select "Cover Type"
- Click on the "Cover Type" dropdown menu.
- Choose from the available options:
- Image
- Video
- YouTube Link
- Ensure to select the appropriate type for your digital card cover.
- Proceed to the next step to upload your "Profile Image".
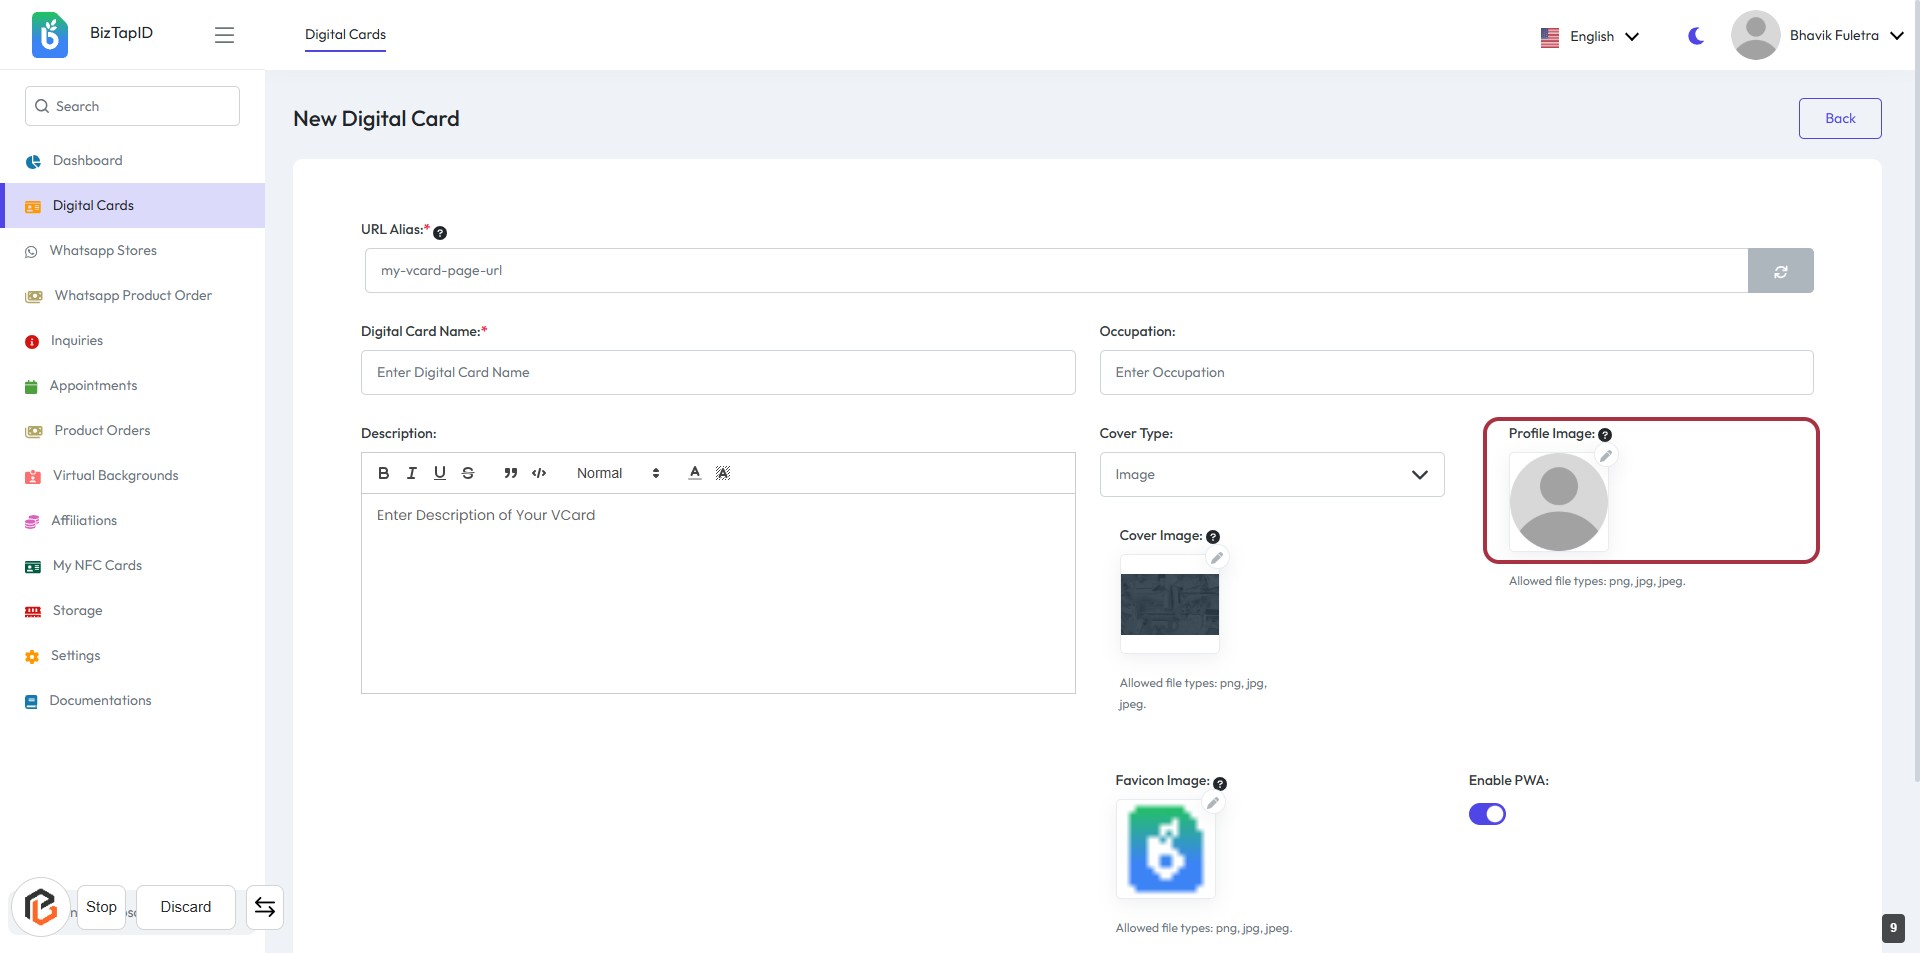
STEP 8: Upload Profile Image
- Click on the "Profile Image" area highlighted in red.
- A file dialog will open for you to select an image.
- Ensure the image format is either PNG, JPG, or JPEG.
- After selecting, the image will be displayed in the designated area.
- Proceed to the next step to upload the "Cover Image."
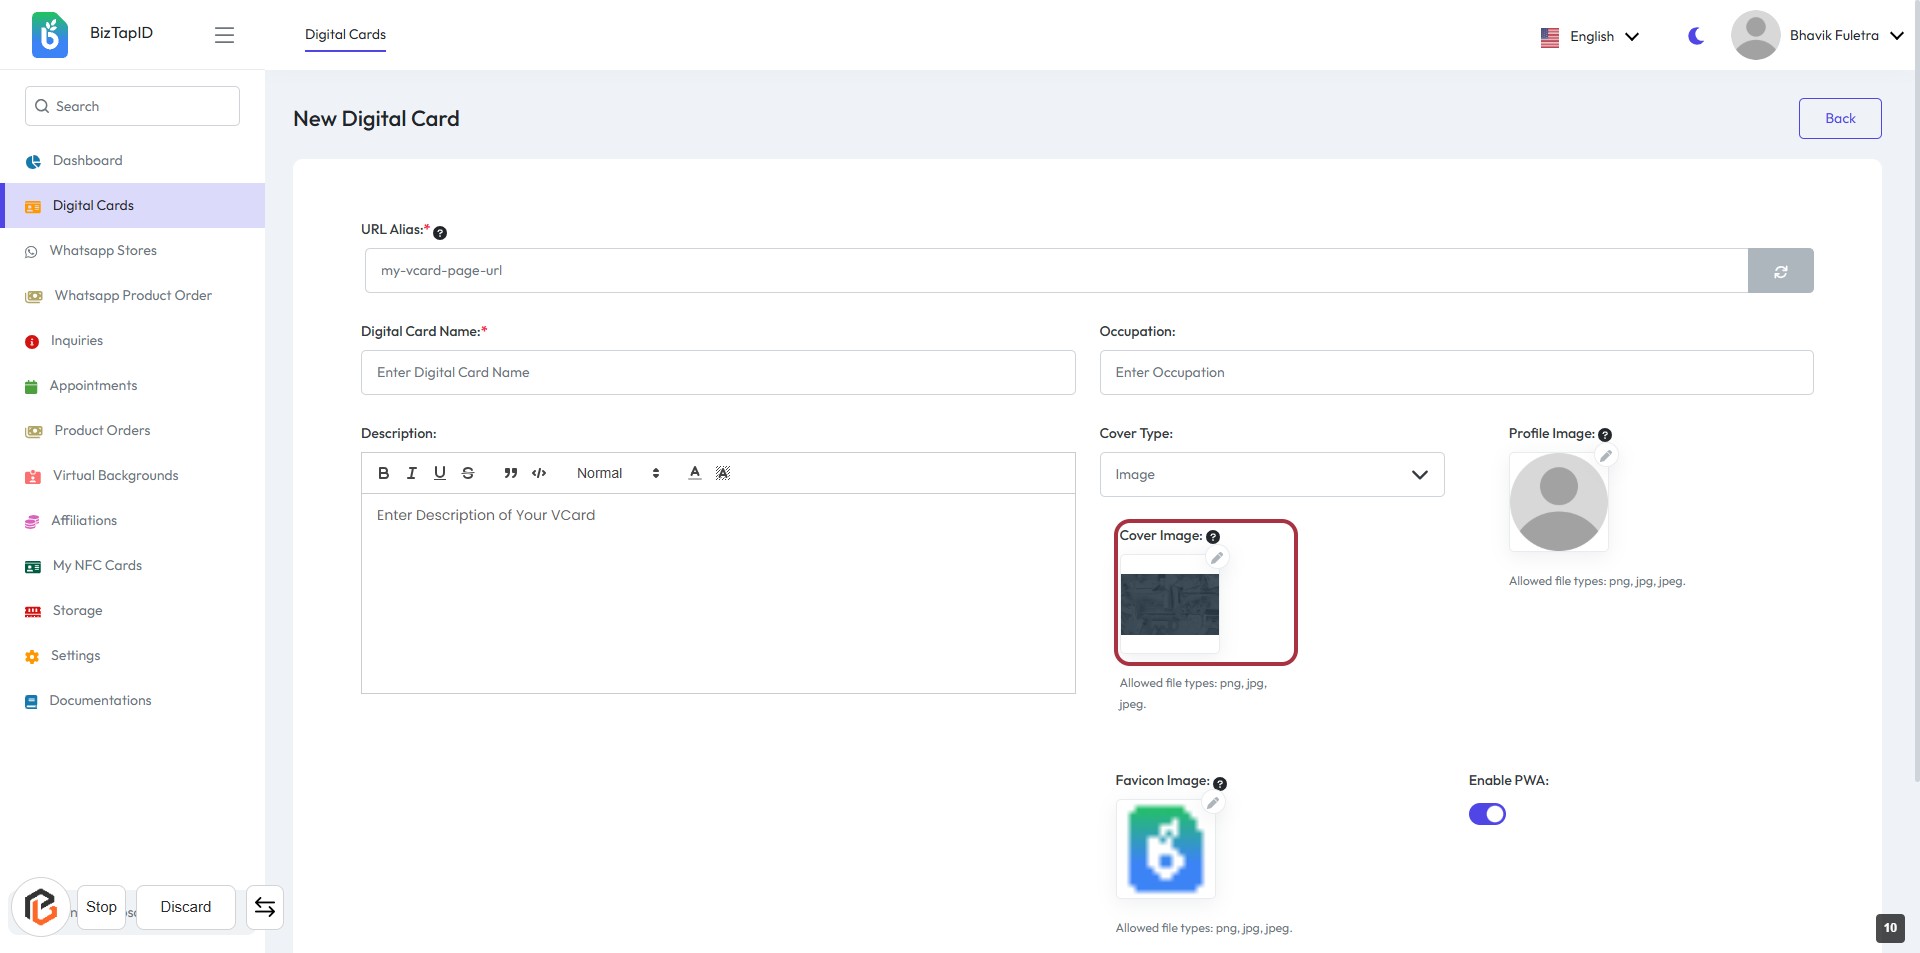
STEP 9: Upload Cover Image
- Click on the Cover Image area highlighted in red.
- Ensure the image meets the allowed file types: png, jpg, jpeg.
- Review other required fields above, such as Digital Card Name and Description.
- After uploading, proceed to the next step by clicking on the "Save & Next" button.
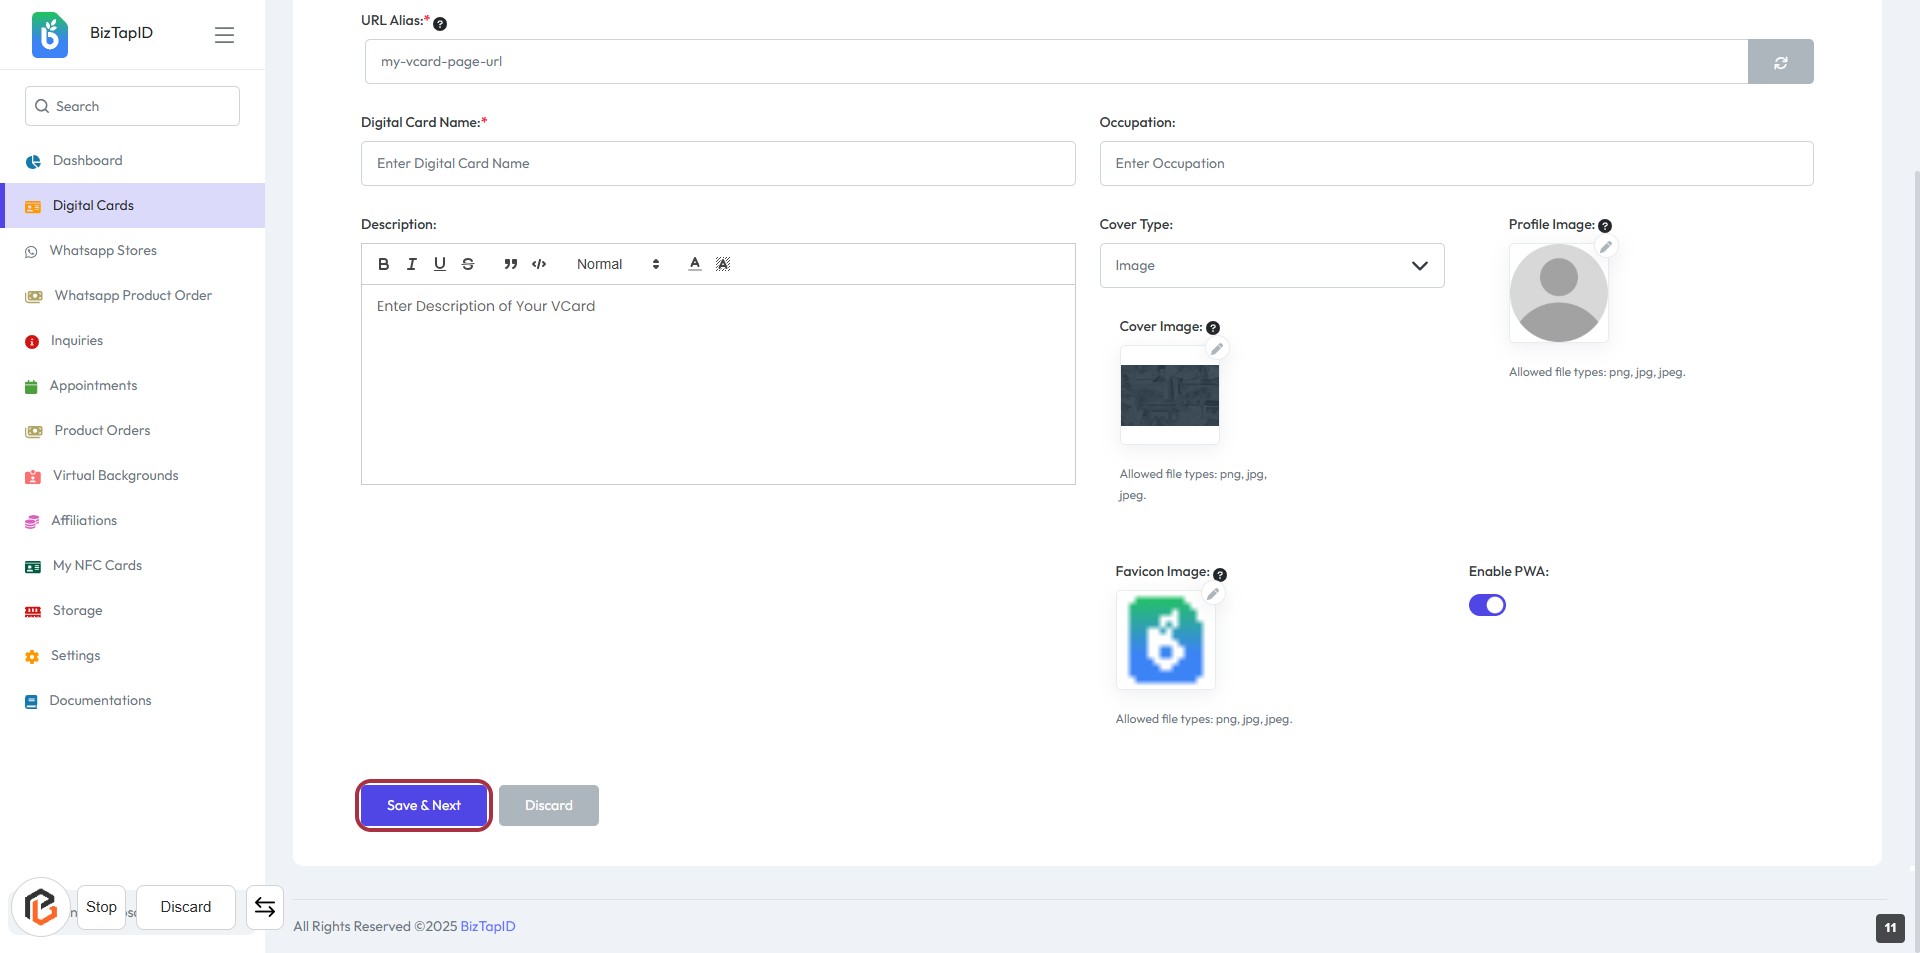
STEP 10: Click "Save & Next" to Complete Your VCard Setup
- Ensure all required fields are filled:
- URL Alias (*)
- Digital Card Name (*)
- Description
- Occupation
- Cover Type
- Cover Image (*)
- Profile Image (*)
- Favicon Image (*)
- Click the "Save & Next" button to proceed.