Step-by-Step Guide to Creating and Saving Your Digital Card Banner
7 mins read · Updated 01 Oct, 2025
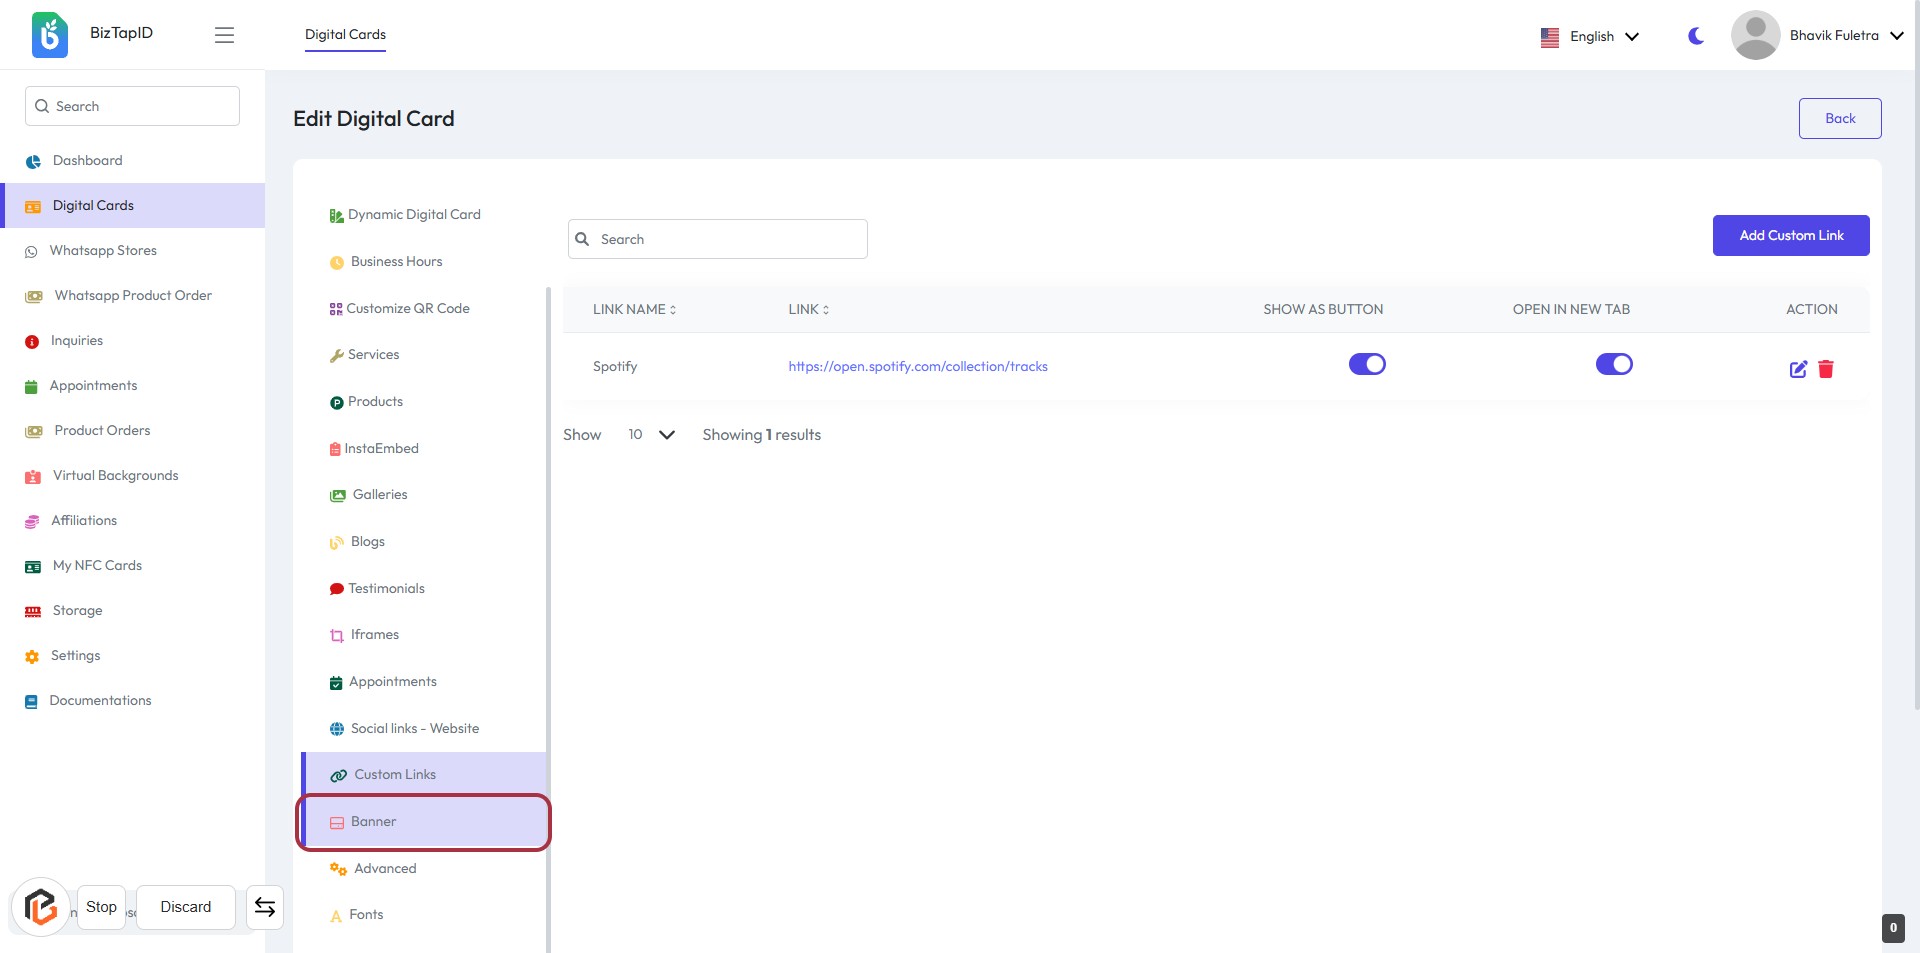
STEP 1: Click on "Banner" in the Digital Card Section
- Navigate to the Digital Cards section on the left sidebar.
- Locate and click on the "Banner" option highlighted in red.
- This action will direct you to the editing interface for the Banner settings.
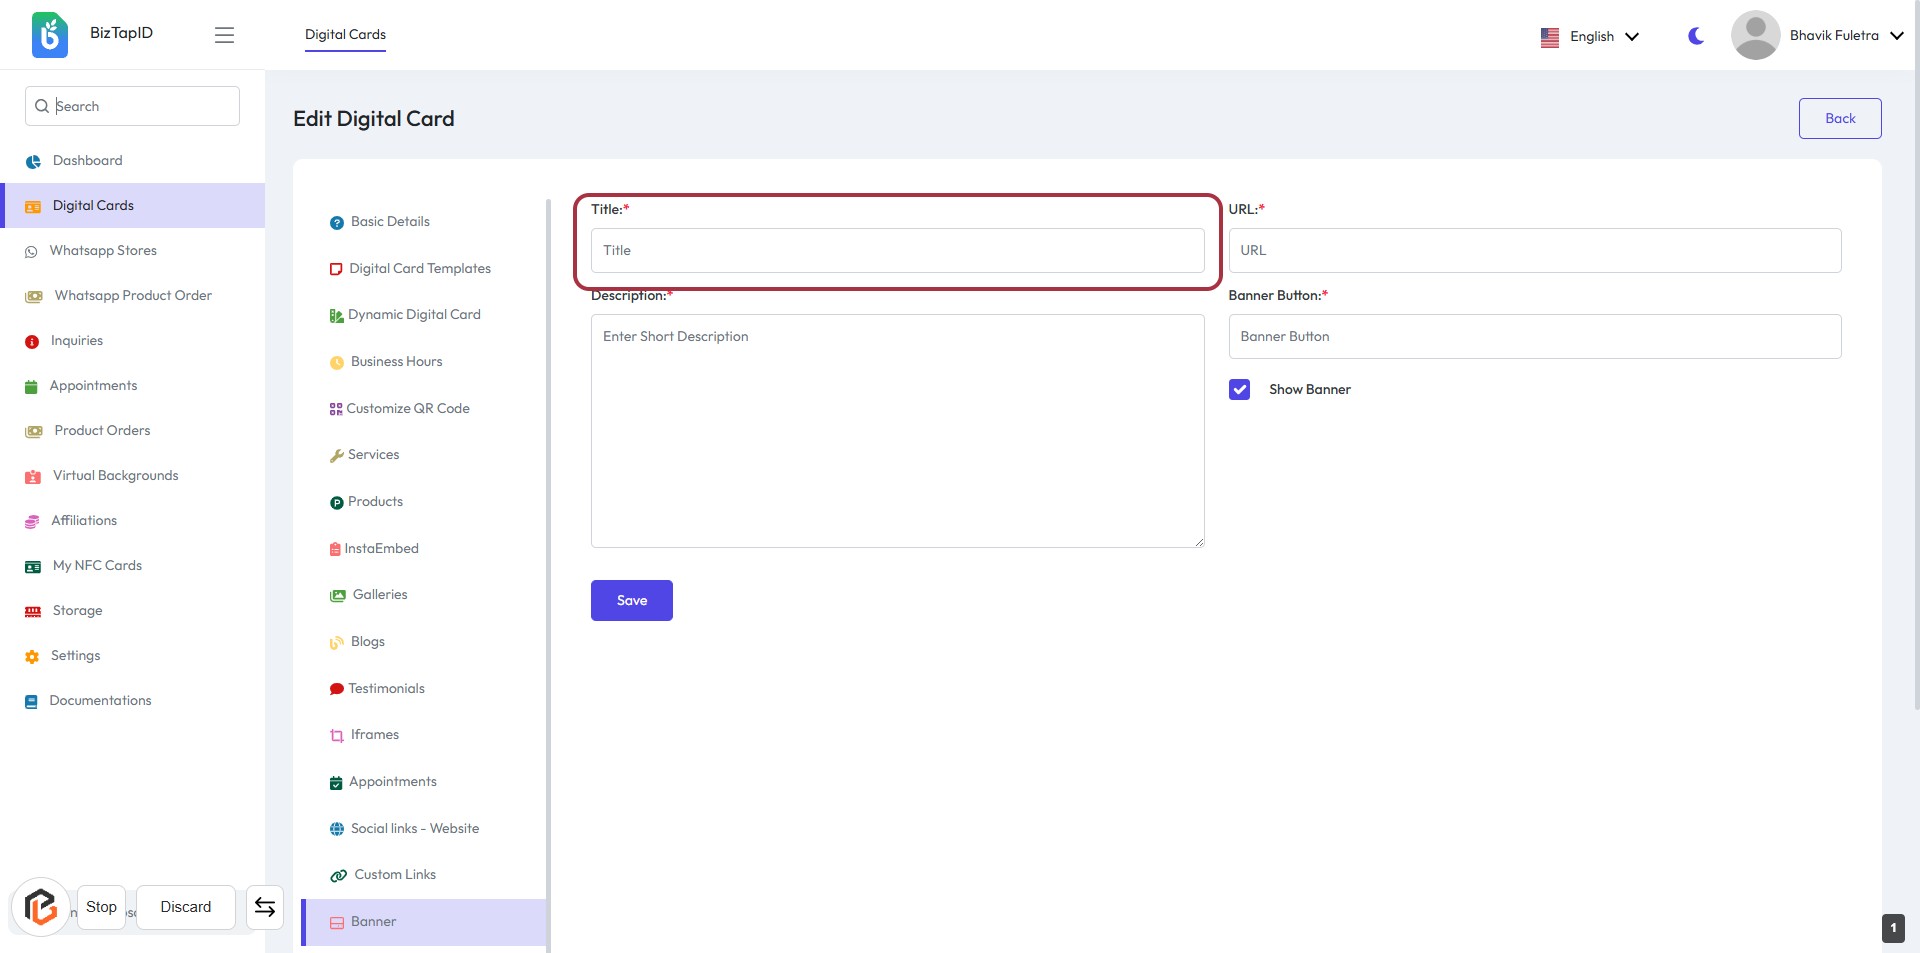
STEP 2: Enter Title for the Digital Card
- Click on the "Title" field highlighted in red.
- Enter the desired title for your digital card.
- Ensure the title is relevant and descriptive.
- This field is mandatory (indicated by the asterisk).
- Proceed to the next step to add the "URL".
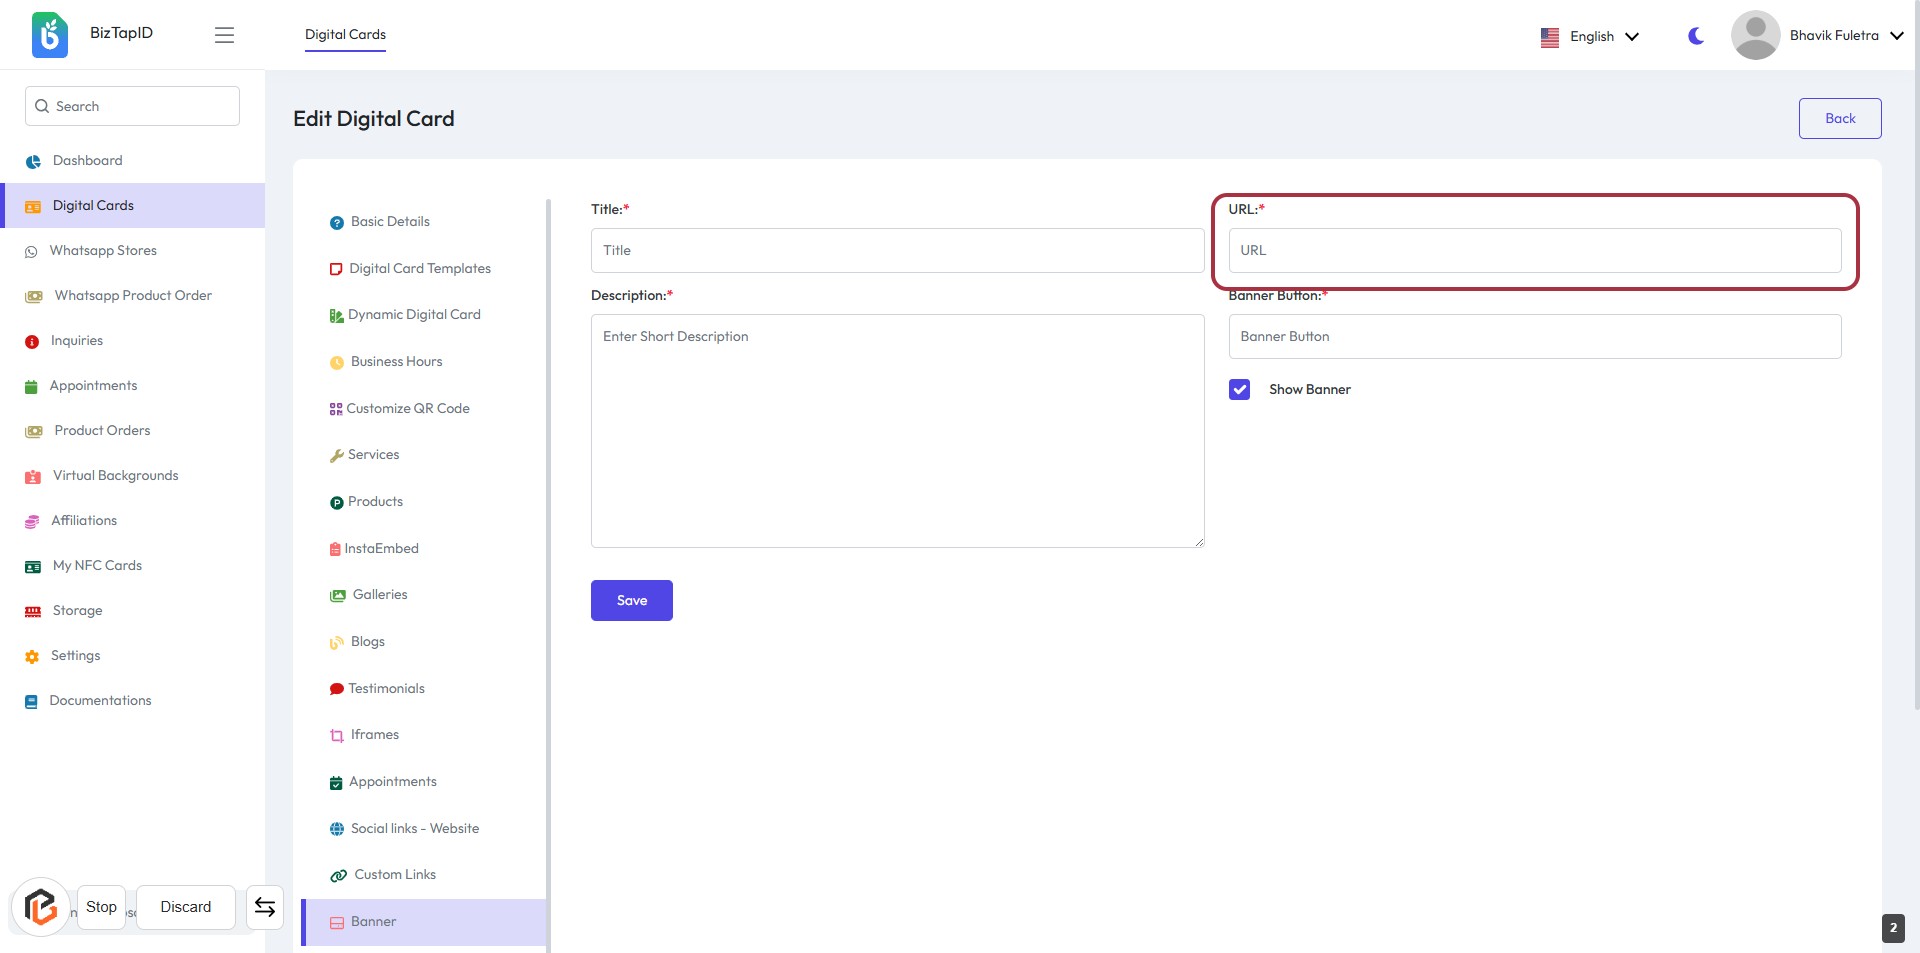
STEP 3: Add "URL"
- Click on the highlighted area labeled "URL" to input the relevant link.
- Ensure the URL field is filled as it is marked with an asterisk (*) indicating it is required.
- Review the other fields: Title and Description, which should be completed in the previous step.
- Proceed to the next step by clicking on "Save" after entering the URL.
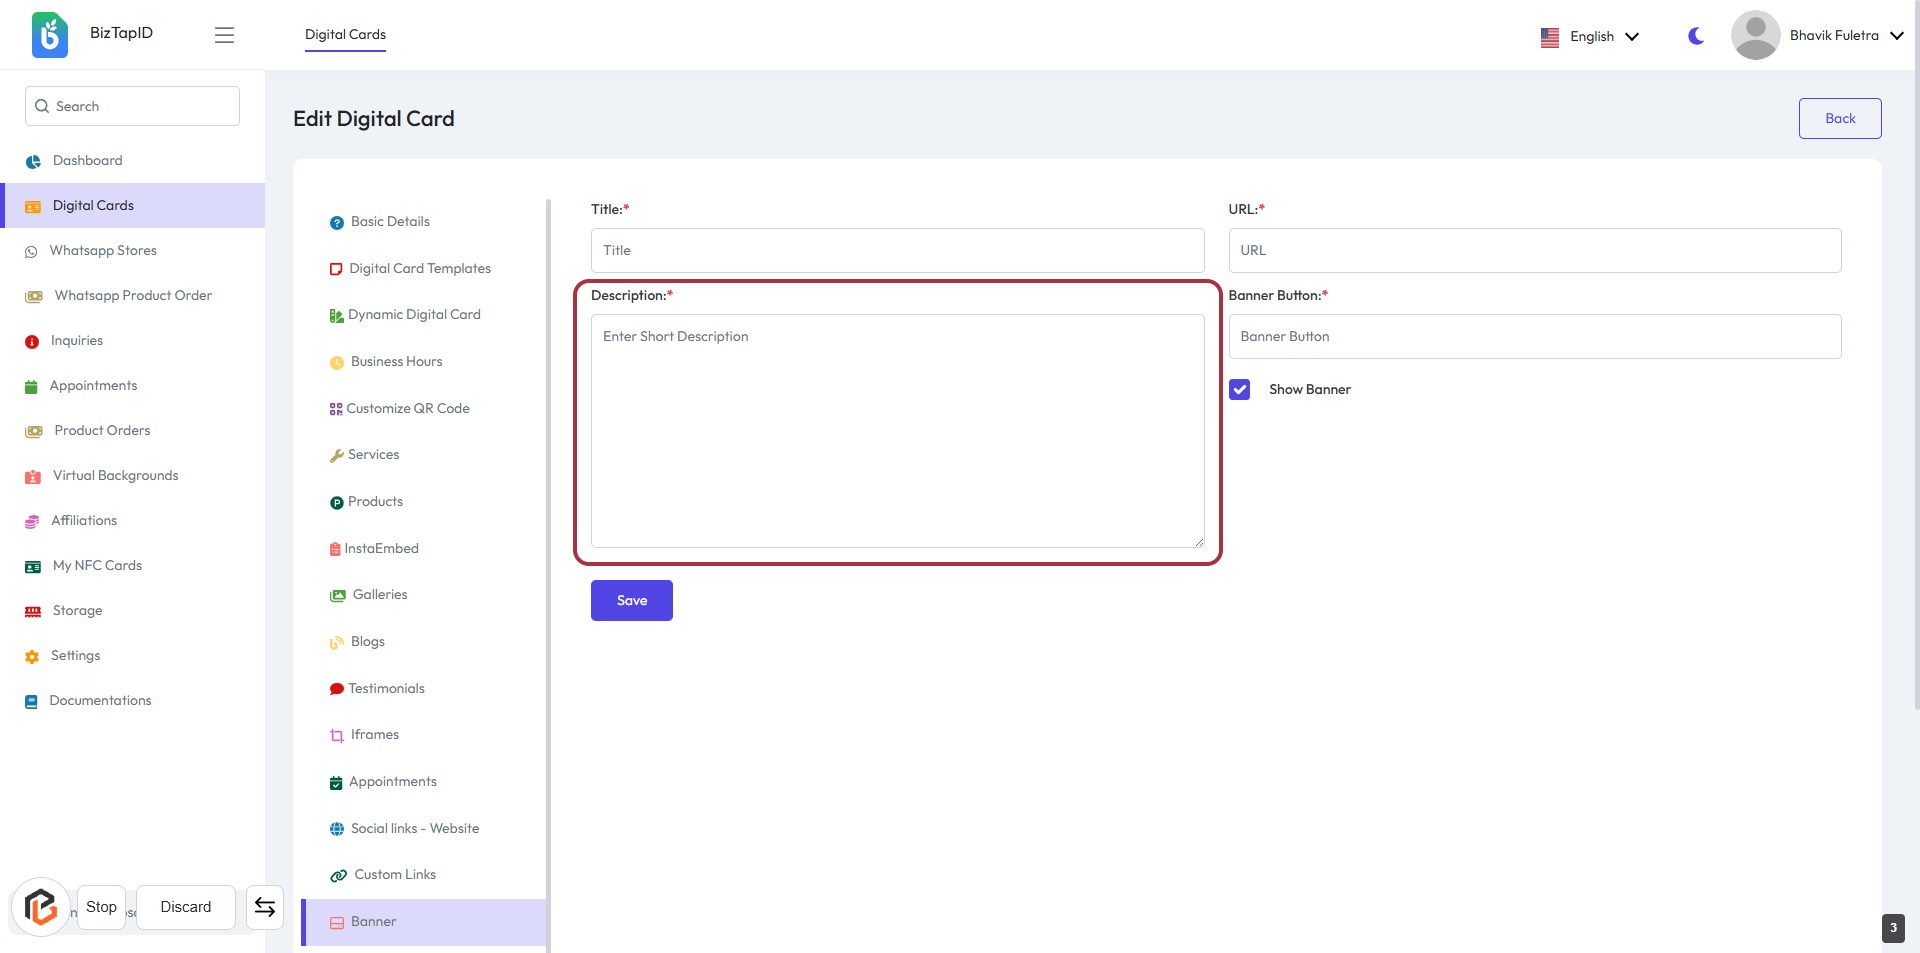
STEP 4: Fill "Description"
- Click on the "Description" field to enter a short description of your digital card.
- Ensure to provide relevant information as this field is marked with an asterisk (*), indicating it's required.
- After completing the description, proceed to the next step to select the "Banner Button."
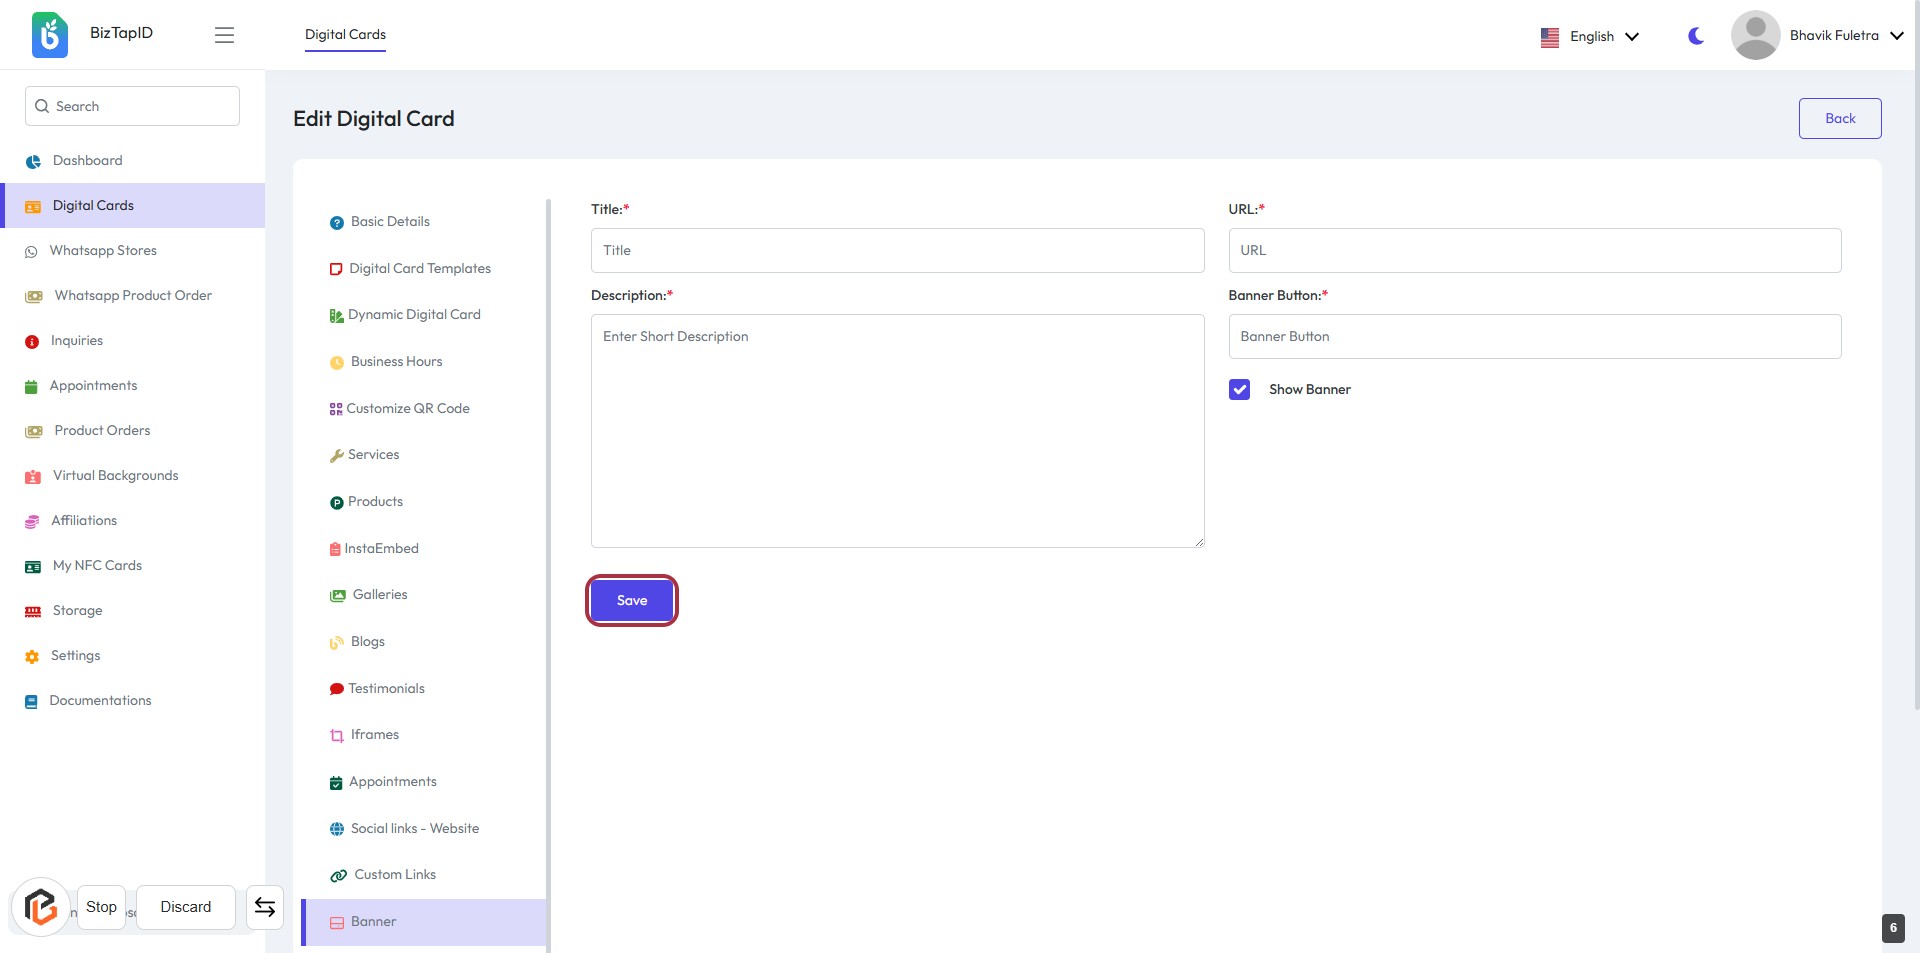
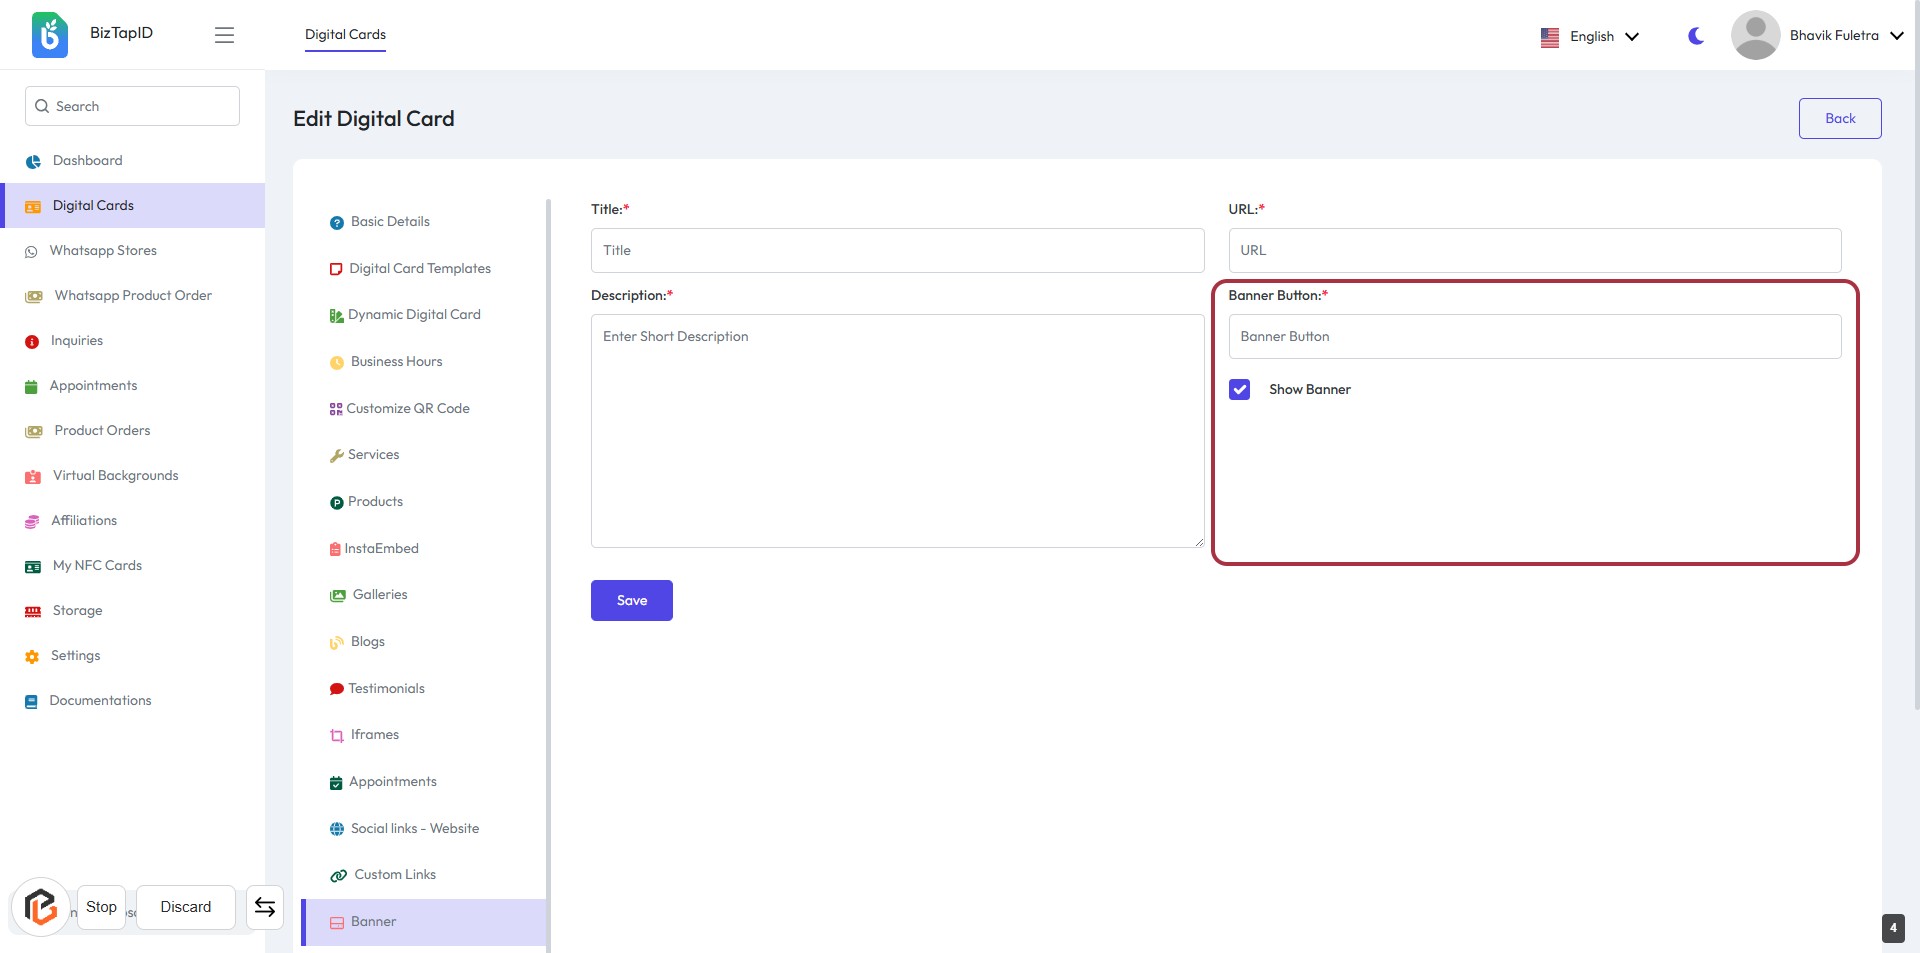
STEP 5: Select "Banner Button"
- Click on the "Banner Button" field to choose the desired option.
- Ensure that the "Show Banner" checkbox is checked if you want the banner to be displayed.
- Review the other fields: Title, URL, and Description, ensuring they are filled out correctly.
- Proceed to the next step by clicking on "Show Banner."
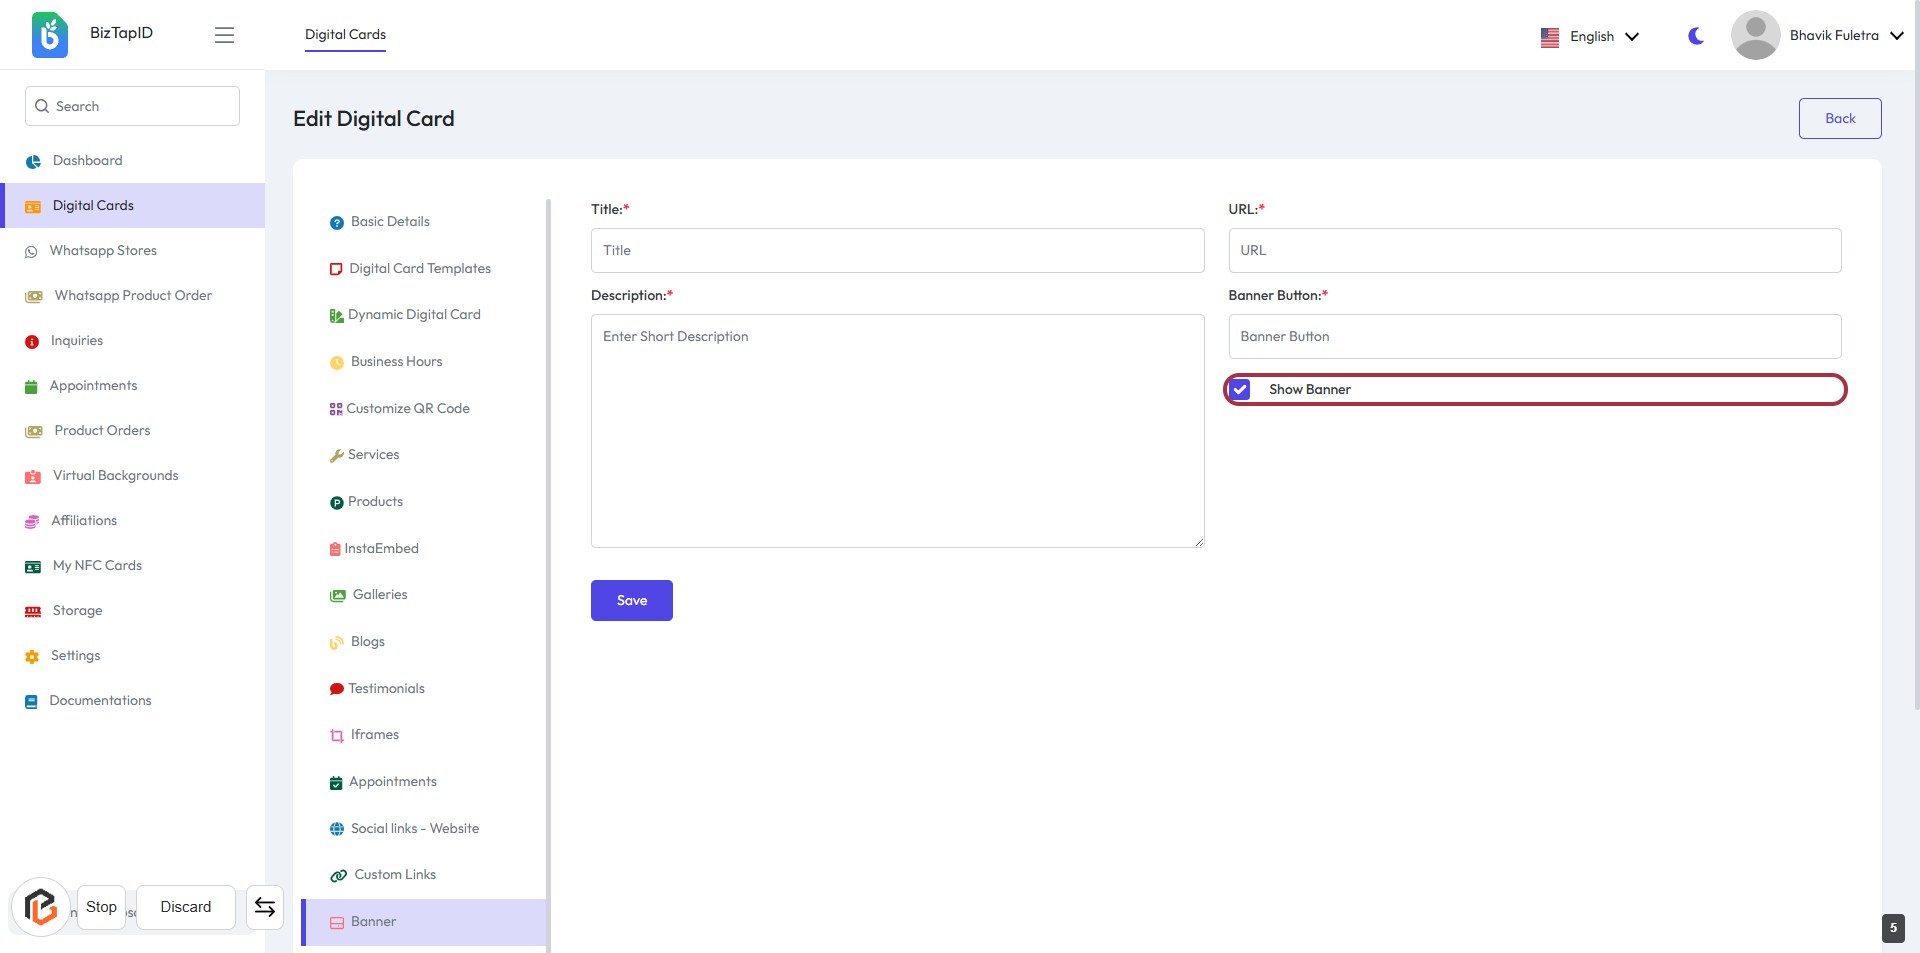
STEP 6: Click on "Show Banner"
- Locate the "Show Banner" option in the Banner Button section.
- Ensure the checkbox next to "Show Banner" is selected.
- Click on the highlighted "Show Banner" area to confirm your selection.
- Proceed to the next step by clicking the "Save" button.
STEP 7: Click on "Save" Button
- Ensure all required fields (Title, Description, URL, Banner Button) are filled in.
- Review your entries for accuracy.
- Click the Save button located at the bottom of the form to save your changes.
- Confirm that a success message appears to indicate the changes have been saved.