Step-by-Step Guide to Creating and Managing Your Blog Entries
6 mins read · Updated 01 Oct, 2025
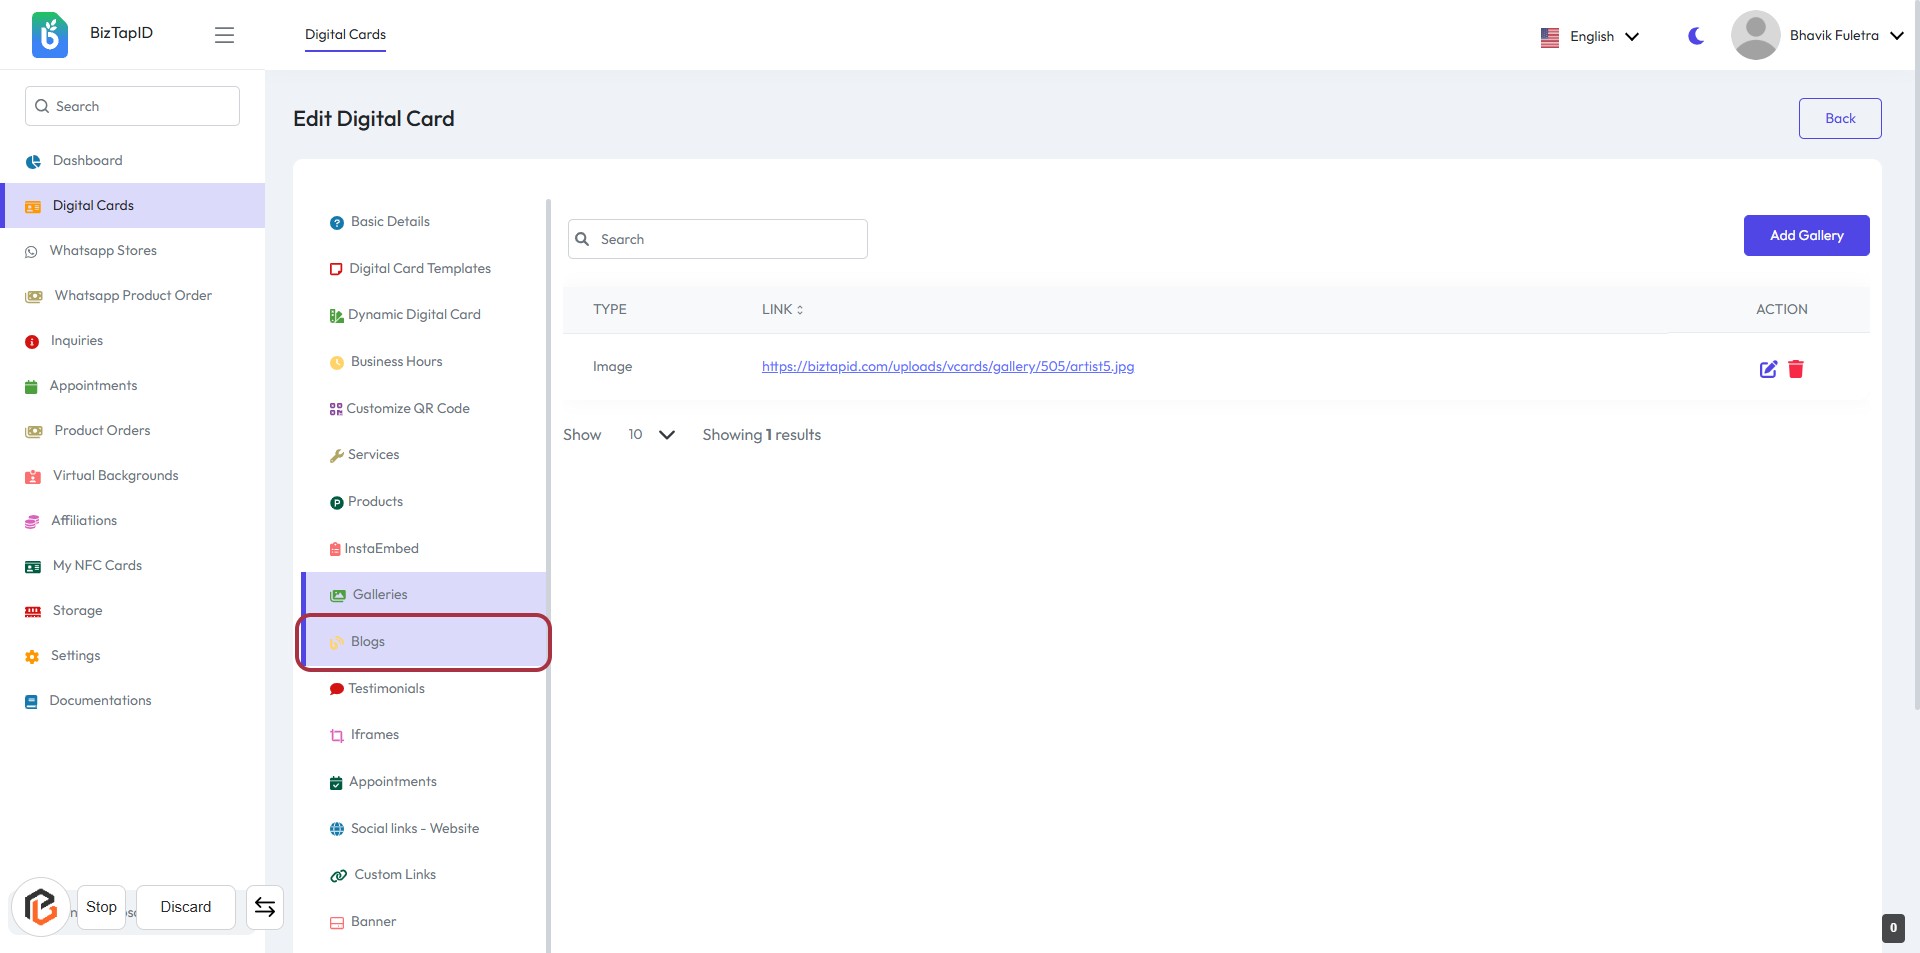
STEP 1: Click on "Blogs" in the Sidebar Menu
- Navigate to the sidebar menu on the left.
- Locate and click on the "Blogs" option highlighted in red.
- This will direct you to the Blogs management section where you can manage your blog entries.
- Ensure to check for any required fields marked with an asterisk (*) in the next steps.
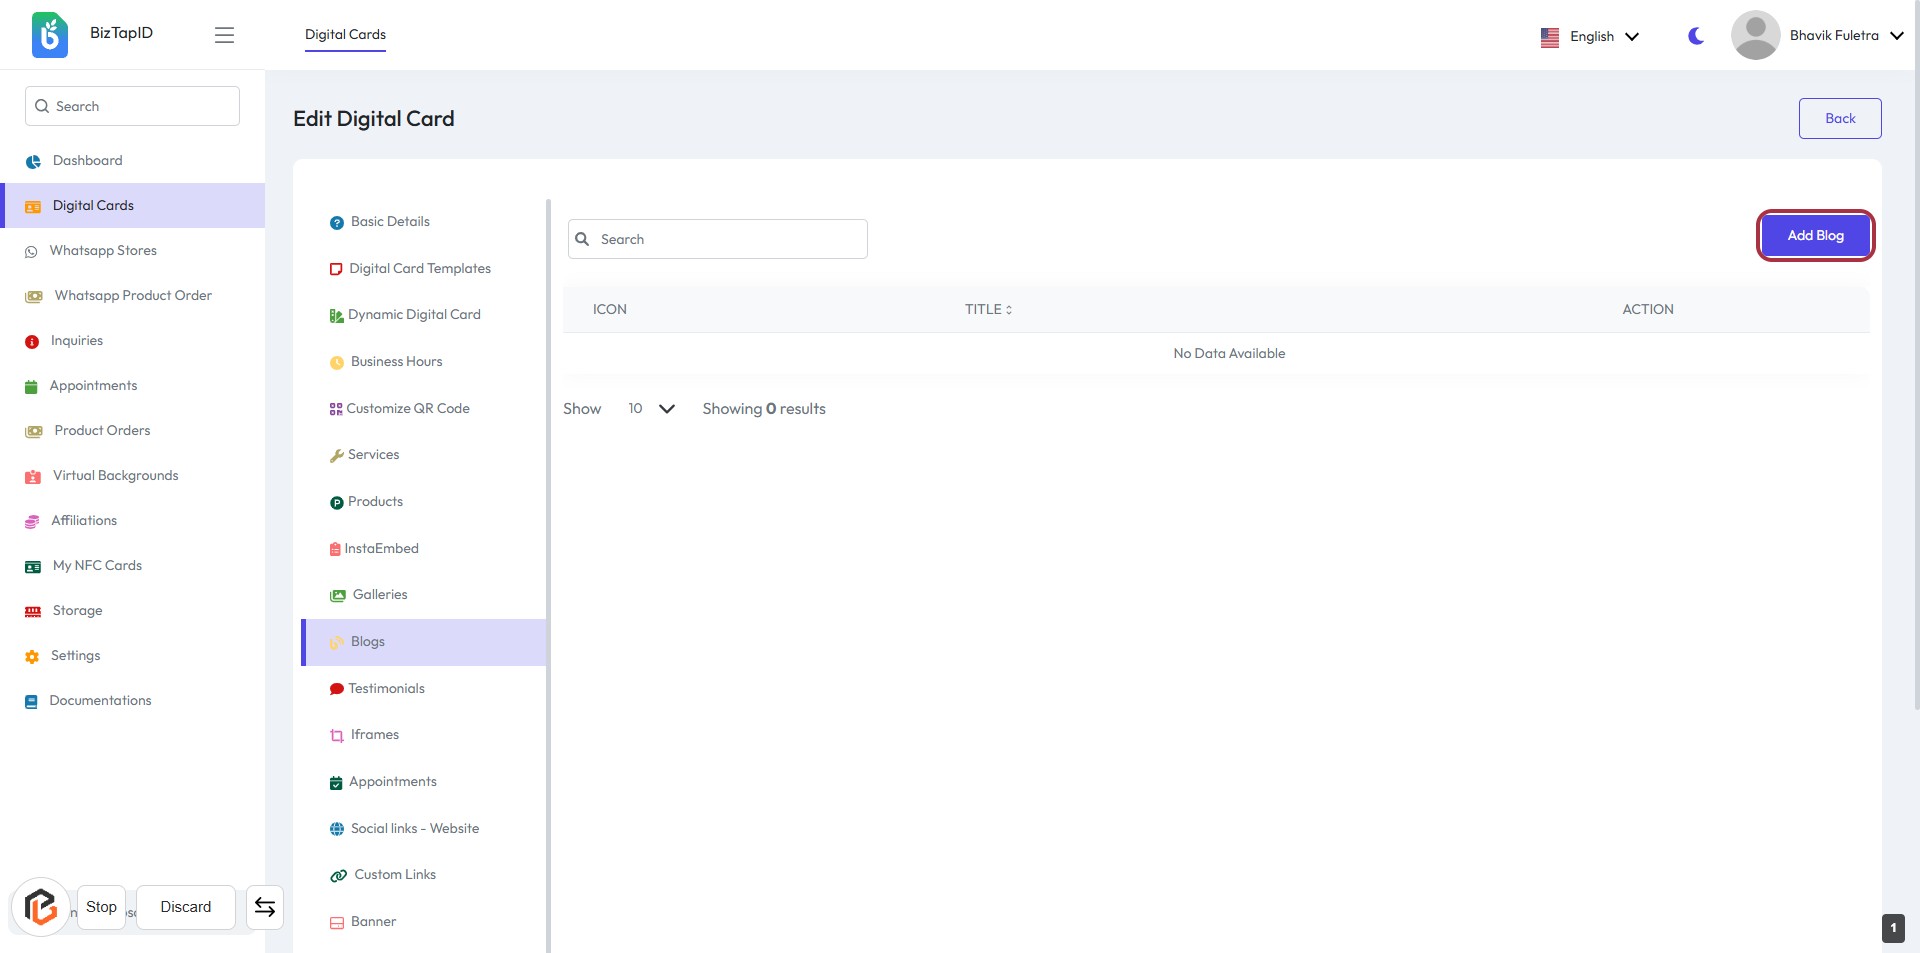
STEP 2: Click on "Add Blog"
- Navigate to the "Blogs" section.
- Locate the "Add Blog" button highlighted in red.
- Click on the "Add Blog" button to proceed.
- Ensure you are ready to enter the blog title in the next step.
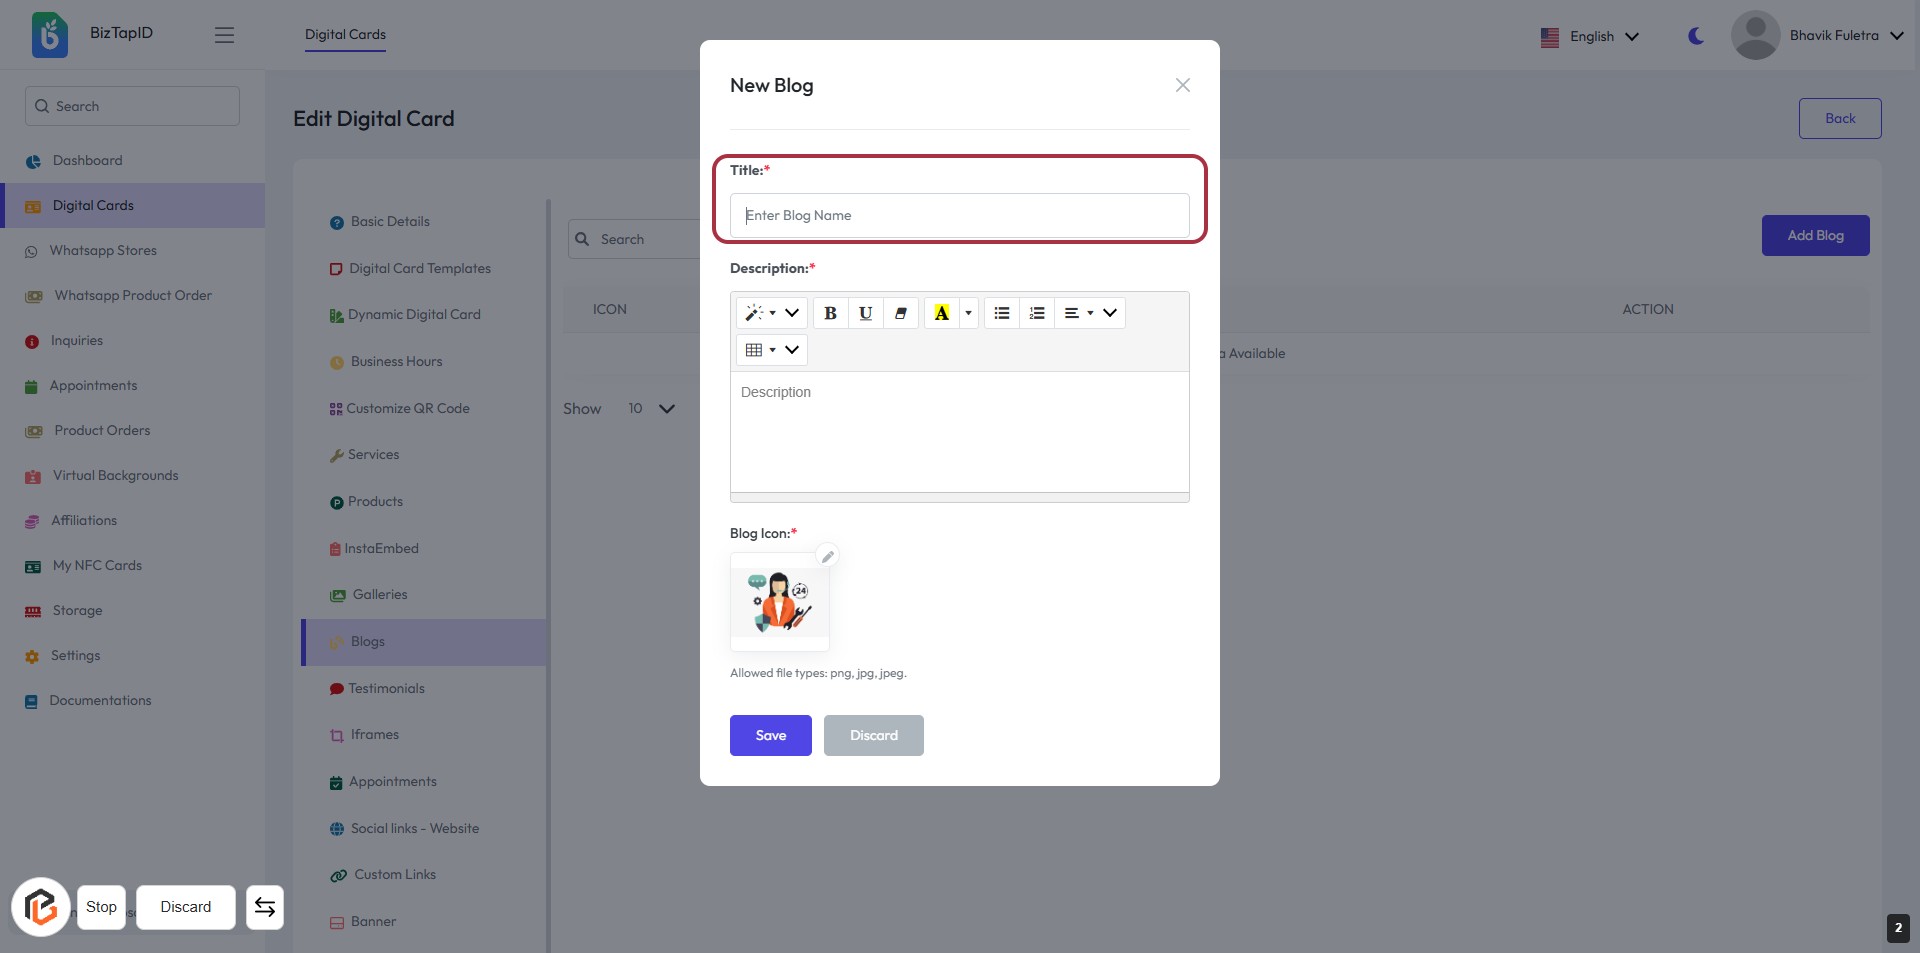
STEP 3: Enter Title for the New Blog
- Click on the highlighted area labeled "Title:*".
- Input the blog title in the provided text box.
- Ensure the title is relevant and descriptive.
- The title field is mandatory (indicated by the asterisk *).
- Proceed to the next step to write the "Description".
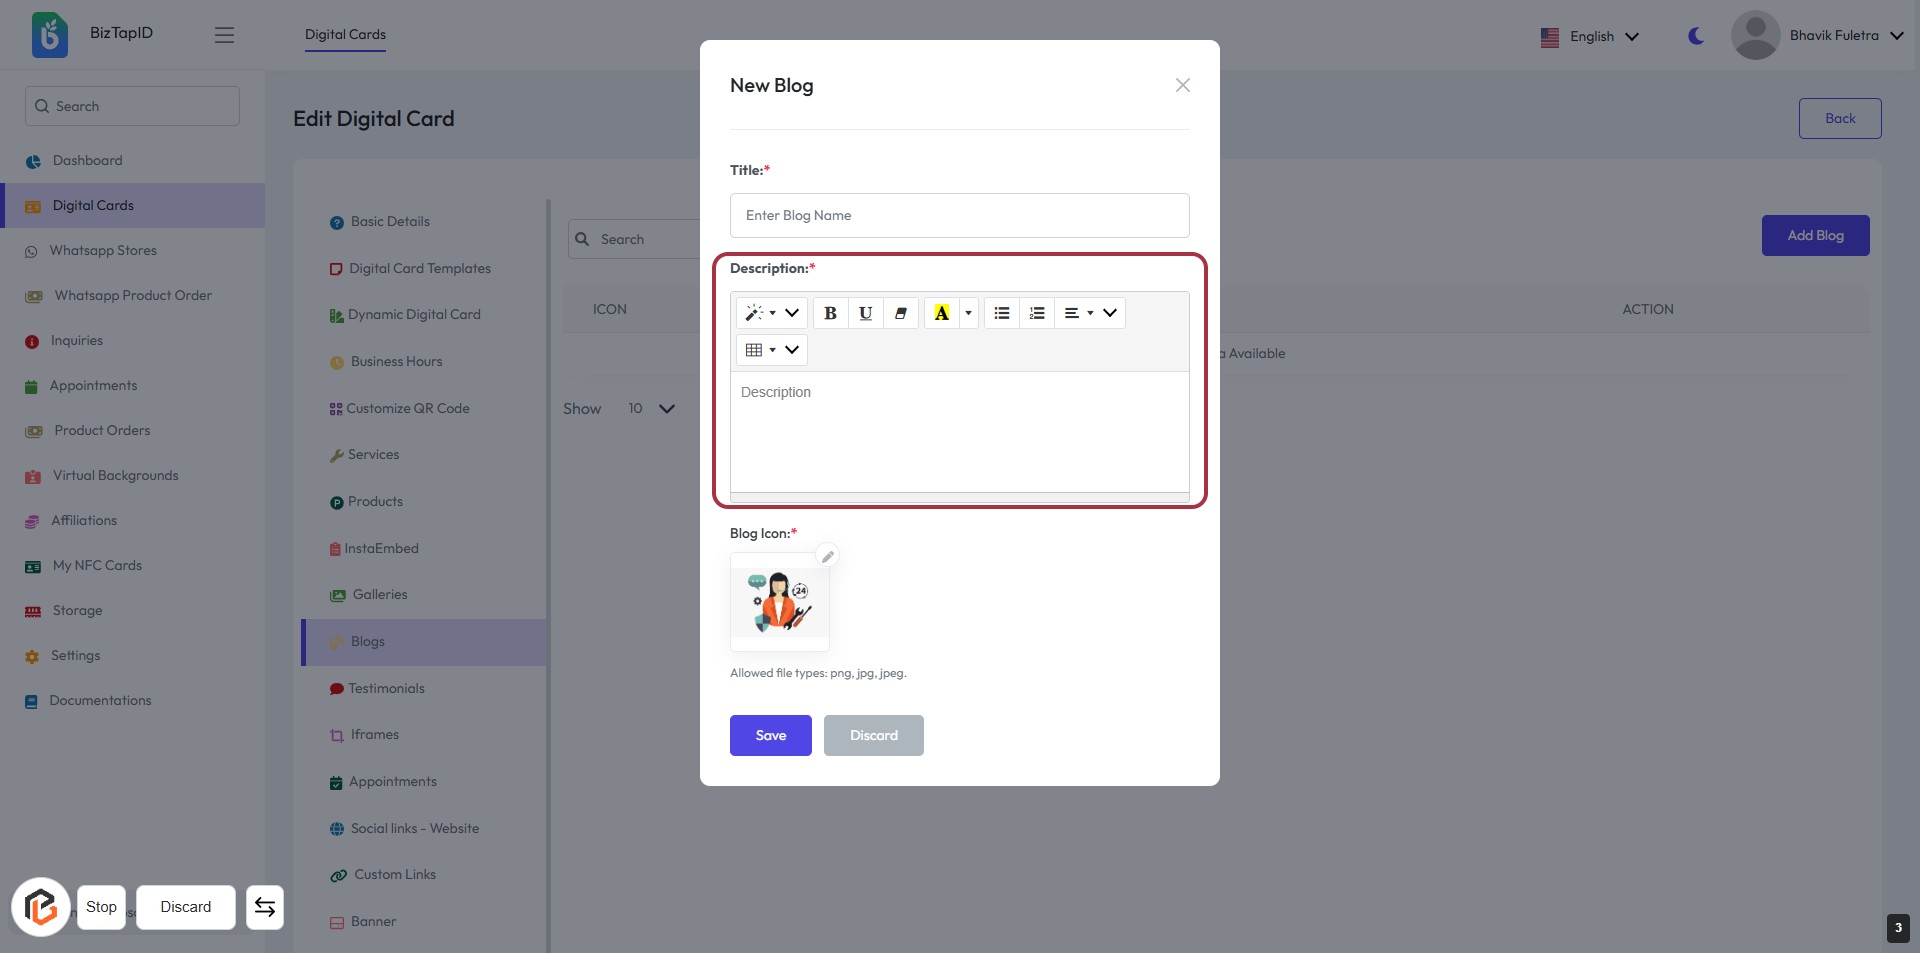
STEP 4: Click to Enter Blog Description
- Click on the "Description" field to start writing your blog content.
- Ensure to format your text using the available tools (bold, italics, lists, etc.).
- The description field is mandatory, indicated by the asterisk (*).
- After entering the description, proceed to the next step to upload the blog icon.
STEP 5: Upload Blog Icon
- Click on the Blog Icon area to upload your desired image.
- Ensure the image file type is either png, jpg, or jpeg.
- The icon is a required field, indicated by the asterisk (*).
- After uploading, proceed to the next step by clicking the Save button.

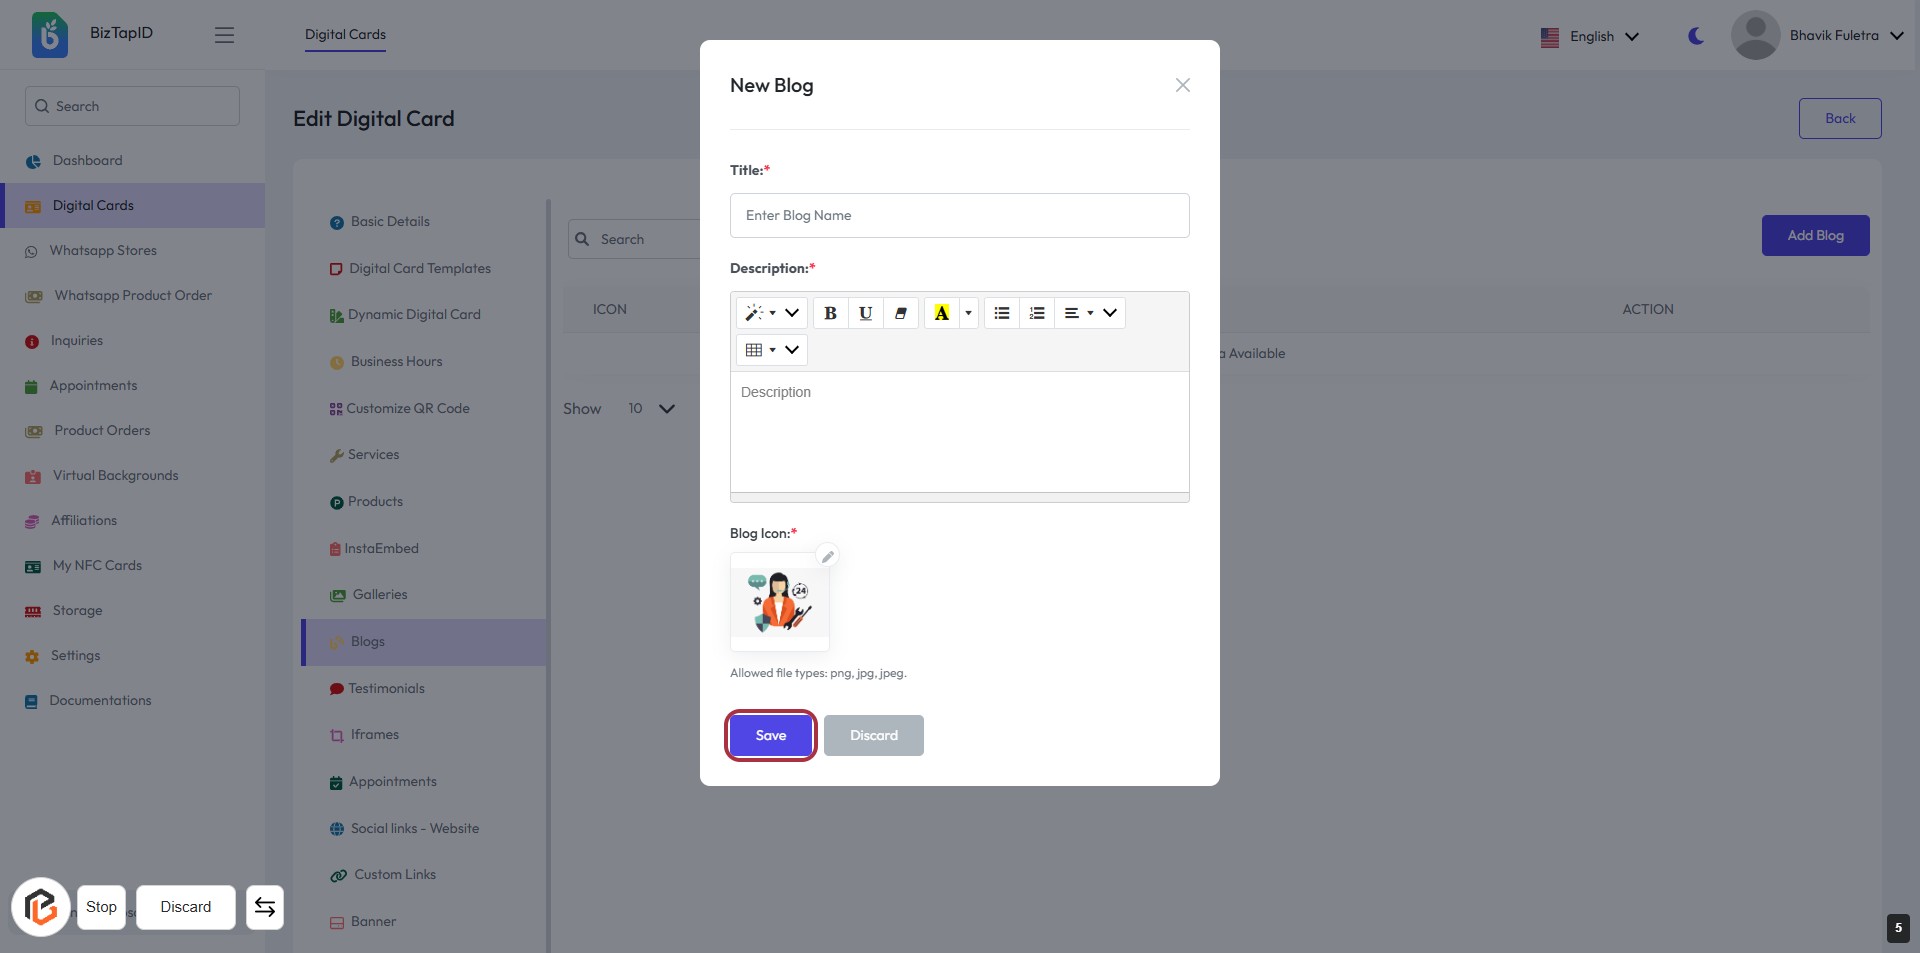
STEP 6: Click on "Save" Button to Finalize Blog Entry
- Ensure all required fields (Title, Description, Blog Icon) are filled out.
- Review your entries for accuracy.
- Click the Save button to save your blog post.
- If you need to discard changes, click the Discard button instead.