Step-by-Step Guide to Creating a Gallery: From Selection to Finalization
5 mins read · Updated 01 Oct, 2025
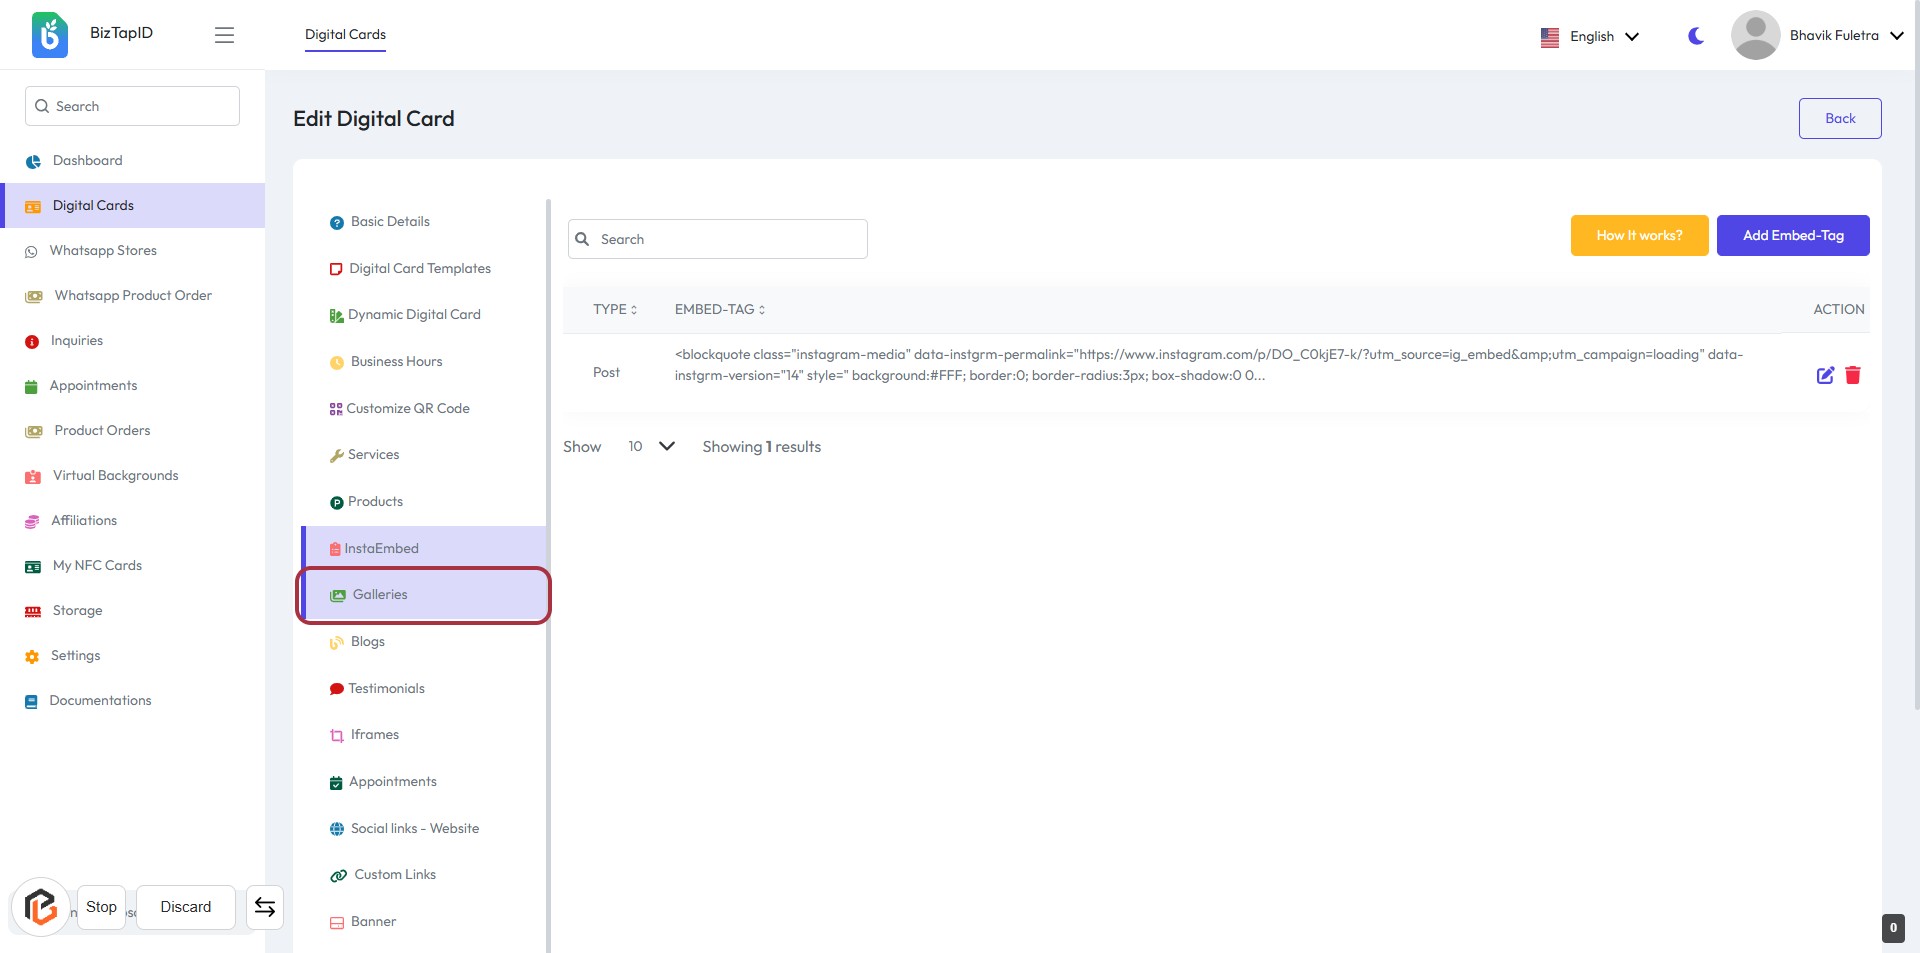
STEP 1: Click on "Galleries" to Access Gallery Options
- Navigate to the Galleries section in the sidebar.
- Click on the Galleries link to view existing galleries.
- Ensure you are on the Edit Digital Card page.
- Look for the Add Gallery button for the next action.
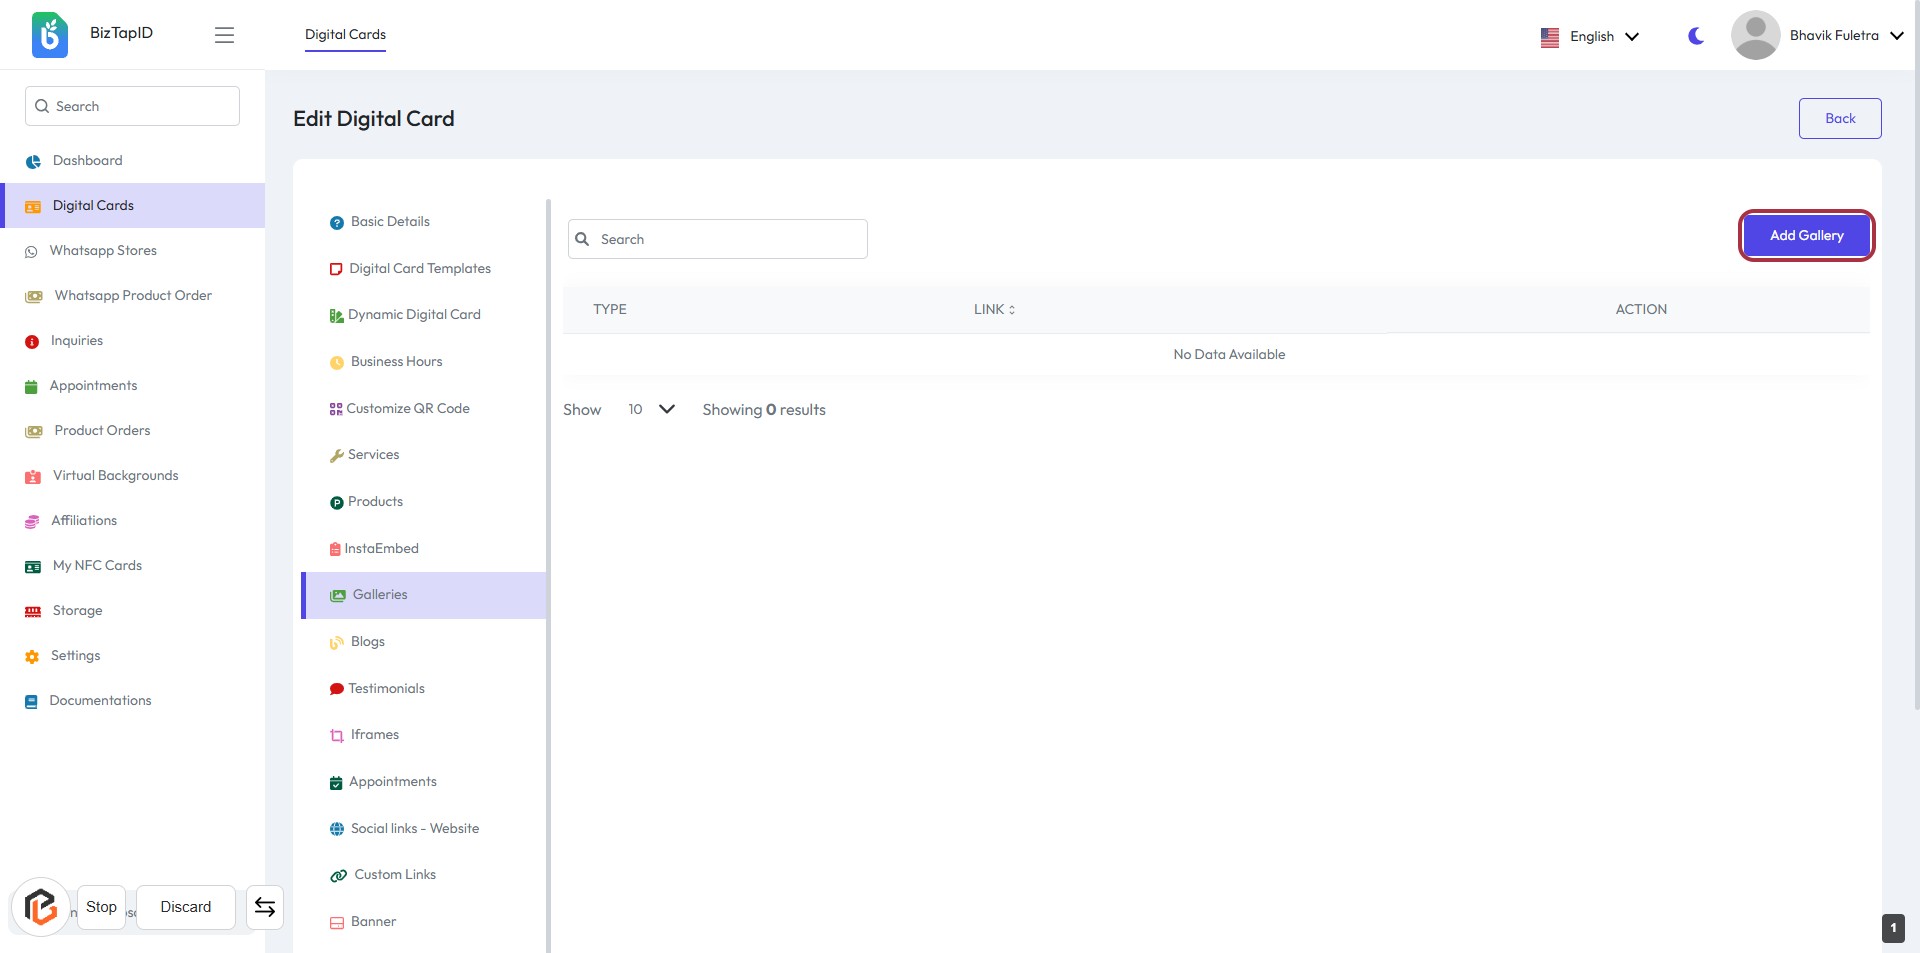
STEP 2: Click on "Add Gallery"
- Navigate to the "Galleries" section.
- Click on the "Add Gallery" button located on the right side of the screen.
- This action will allow you to proceed to the next step where you can select the gallery type.
- Ensure all required fields marked with an asterisk (*) are filled out in the subsequent form.
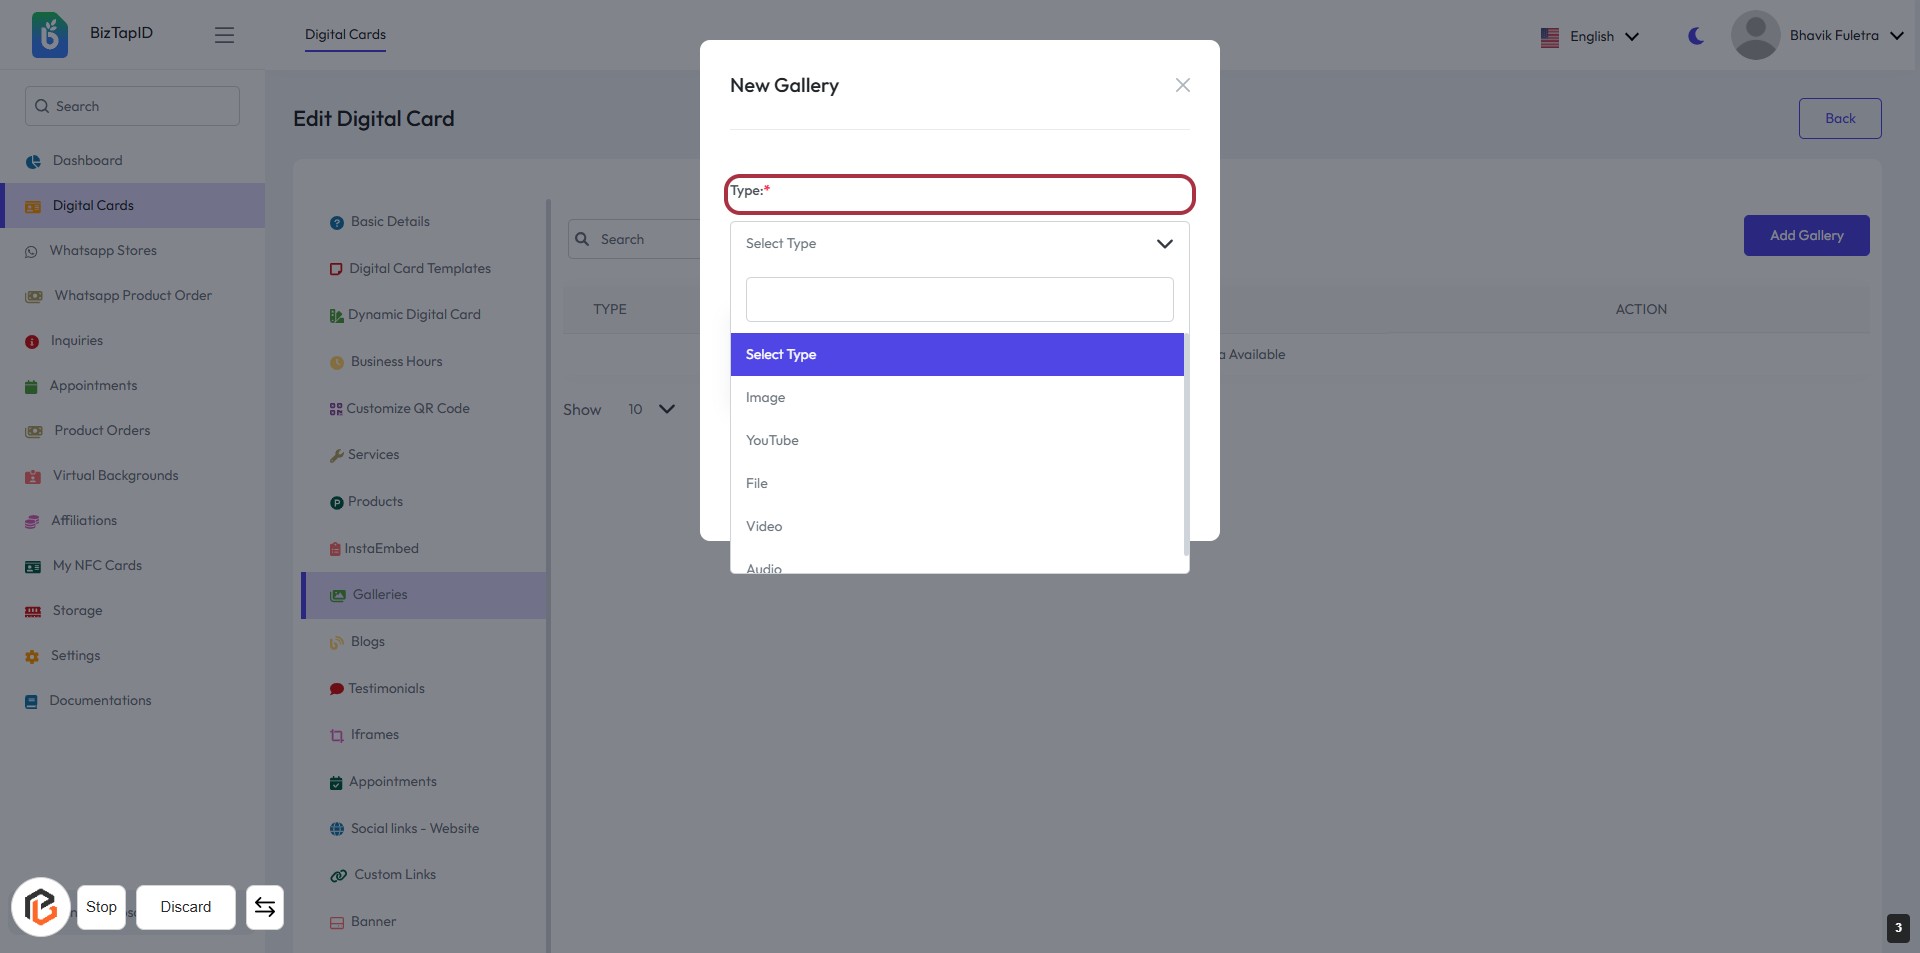
STEP 3: Select "Type"
- Click on the "Type" field to open the dropdown menu.
- Choose the appropriate type from the options: Image, YouTube, File, Video, or Audio.
- Ensure that you select a type marked with an asterisk (*) as it is required.
- Proceed to the next step to add images to your gallery.
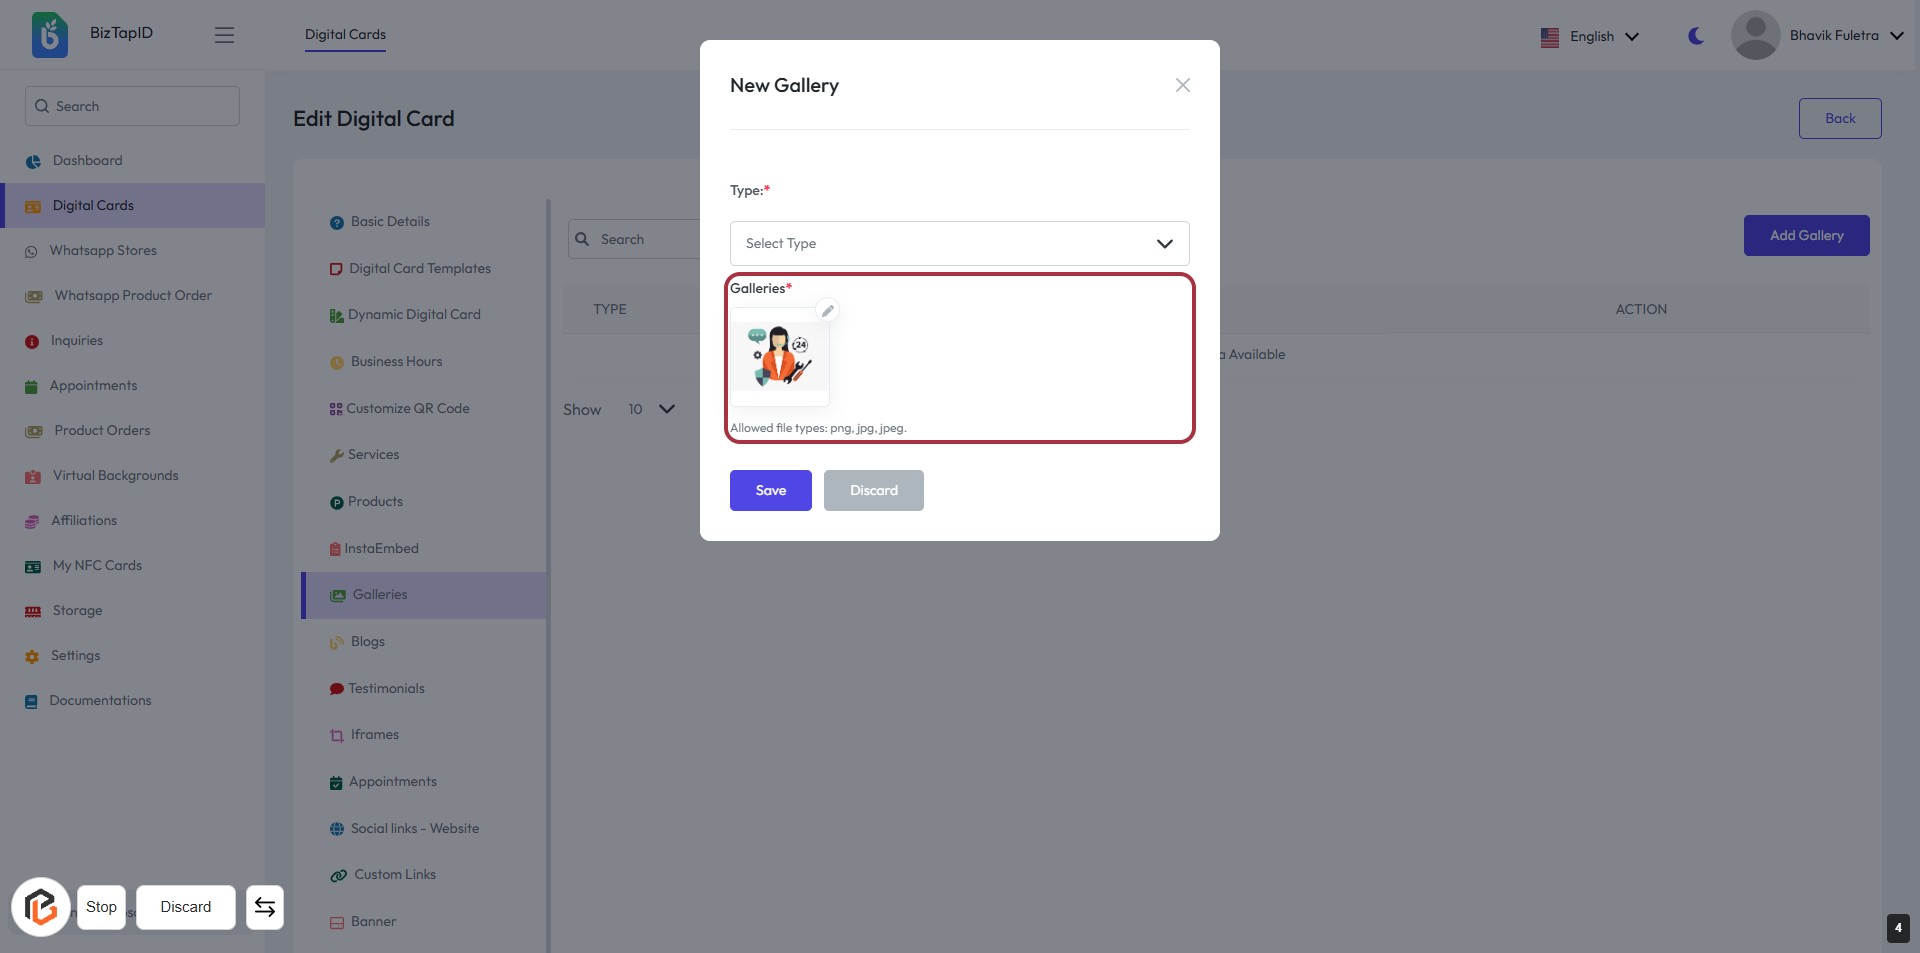
STEP 4: Click on "Galleries" to Add Images
- Click on the "Galleries" section to open the New Gallery form.
- Ensure to select the appropriate type from the "Type" dropdown (marked with *).
- Upload images by dragging and dropping or selecting files (allowed formats: png, jpg, jpeg).
- Review your selections before proceeding to the next step.
STEP 5: Click on "Save" to Finalize Your Gallery
- Ensure all required fields are filled out, including the "Type" and "Galleries" sections marked with an asterisk (*).
- Review your selections before proceeding.
- Click the Save button to finalize your gallery creation.
- If you wish to discard changes, click the Discard button instead.
