Step-by-Step Guide to Configuring BizTapID: Password Setup, Custom CSS & JS, and Branding Preferences
6 mins read · Updated 01 Oct, 2025
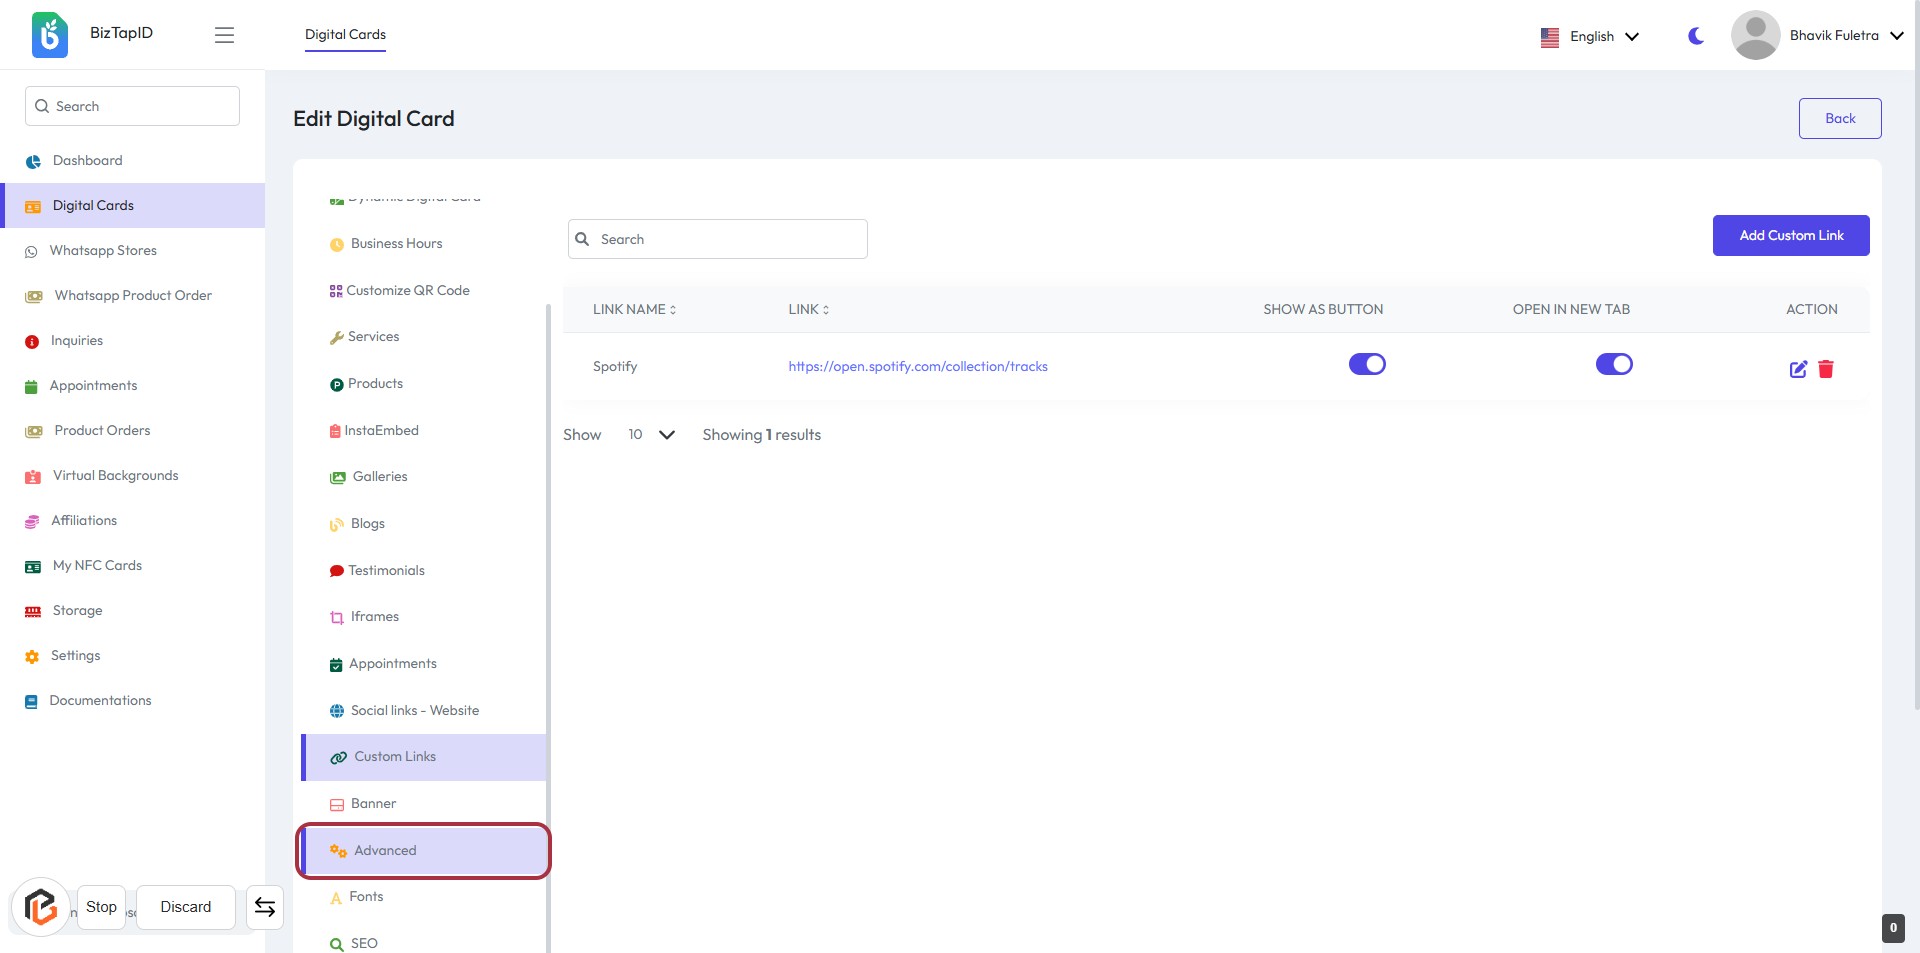
STEP 1: Click on "Advanced" in BizTapID
- Navigate to the BizTapID website.
- Locate the "Advanced" option in the sidebar.
- Click on "Advanced" to access additional settings.
- Ensure you are ready to enter the required "Password" in the next step.
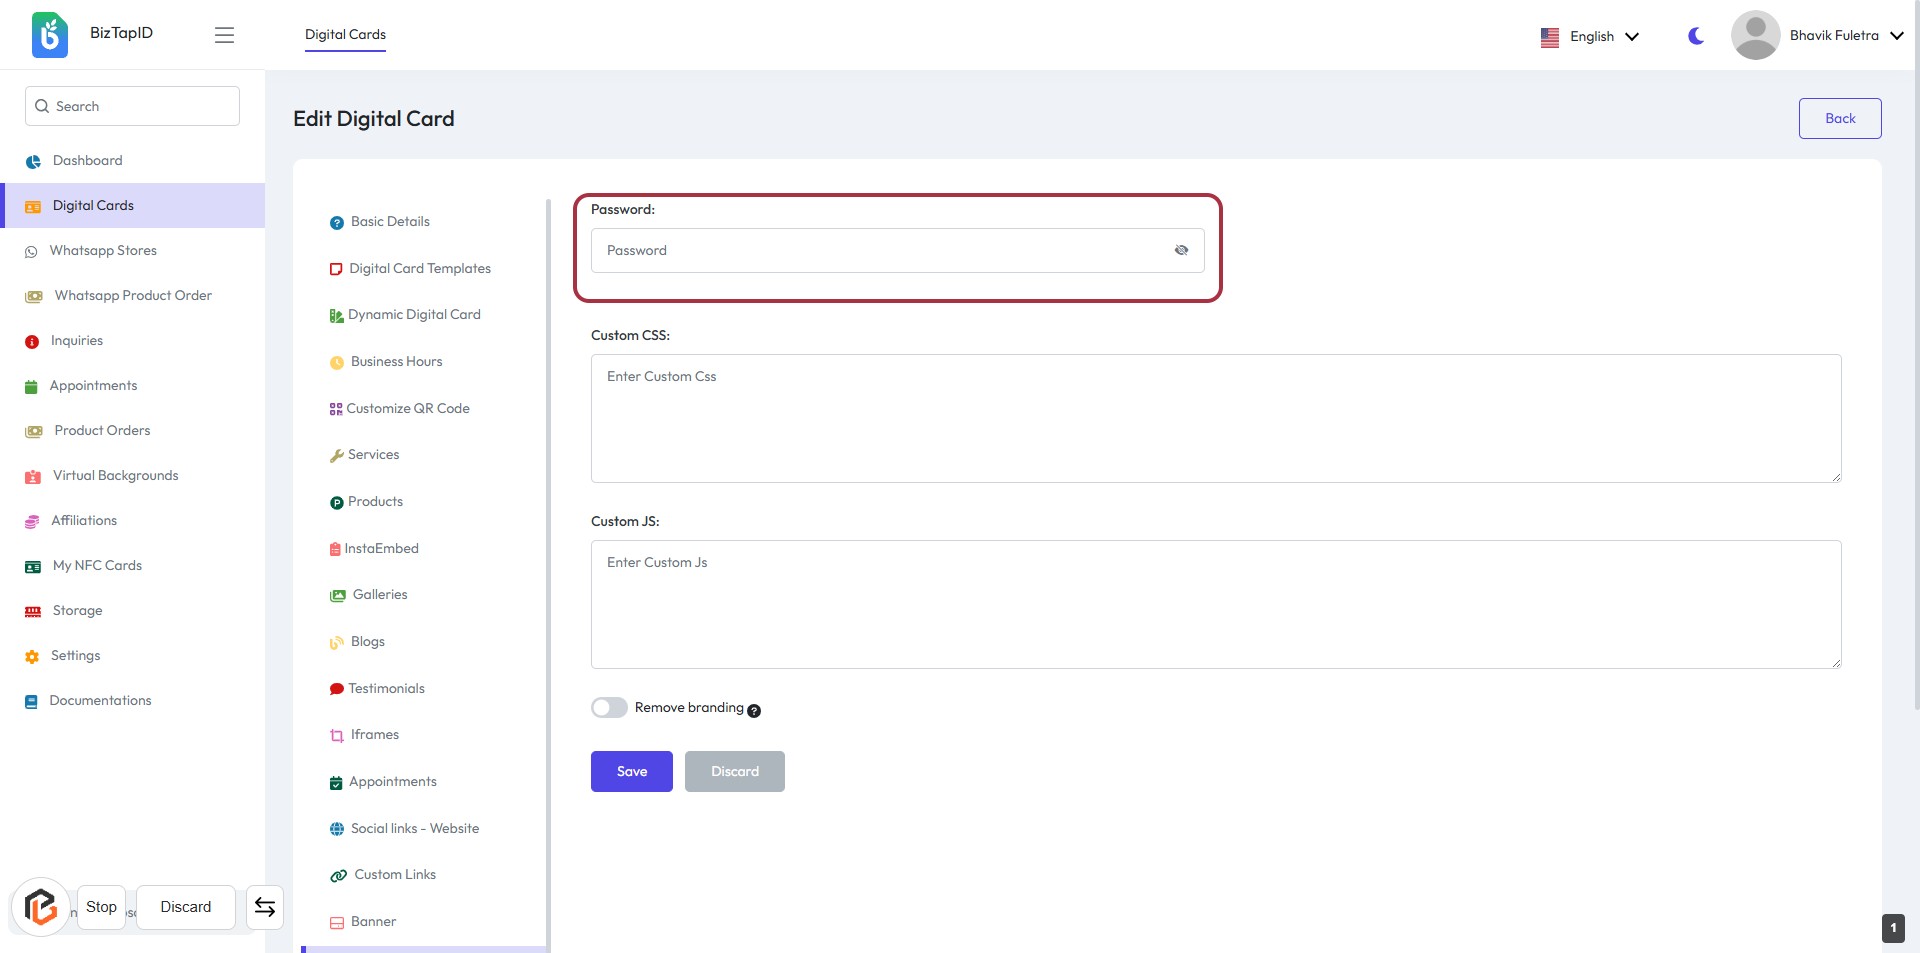
STEP 2: Enter Password
- Click on the "Password:" field to input your desired password.
- Ensure the password meets any specified criteria (e.g., length, complexity).
- The field may have a visibility toggle for checking the entered password.
- Proceed to the next step by adding "Custom CSS" after entering the password.
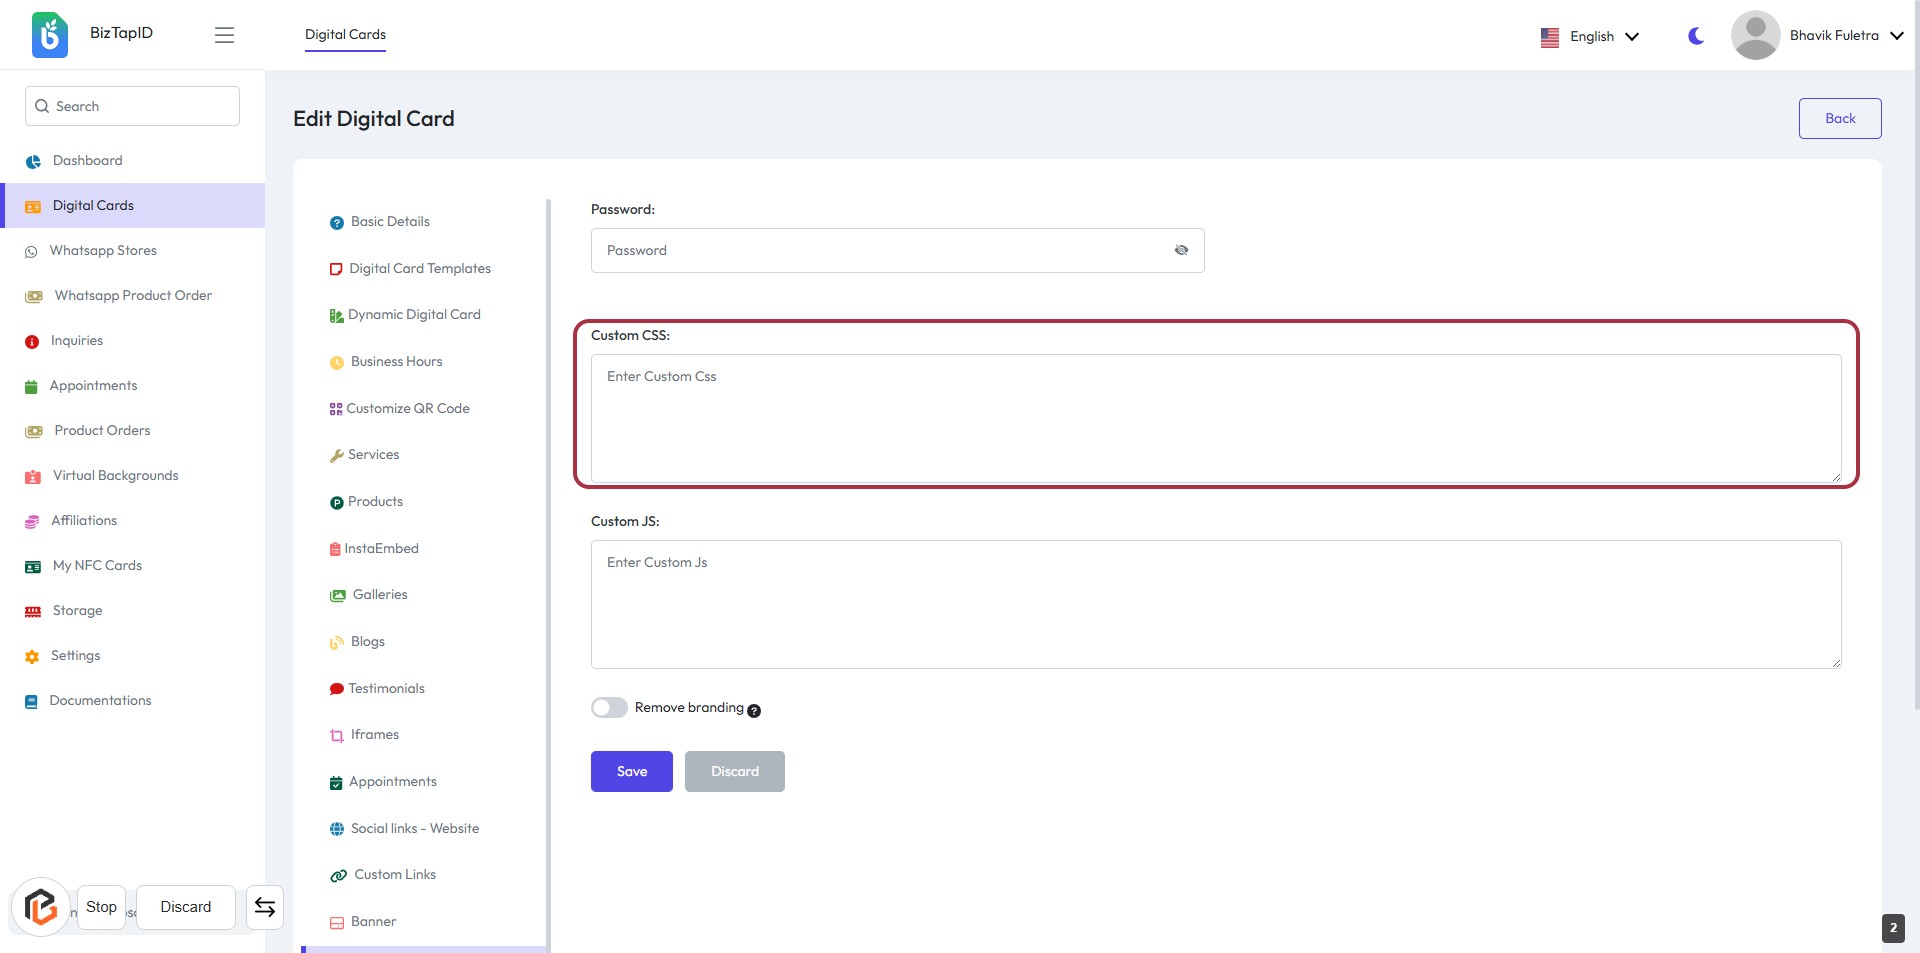
STEP 3: Click to Add Custom CSS
- Click on the "Custom CSS" section highlighted in red.
- Enter your custom CSS code in the provided text area.
- Ensure that the field is filled out as needed; it may not be mandatory.
- Proceed to the next step by clicking on the "Custom JS" section.
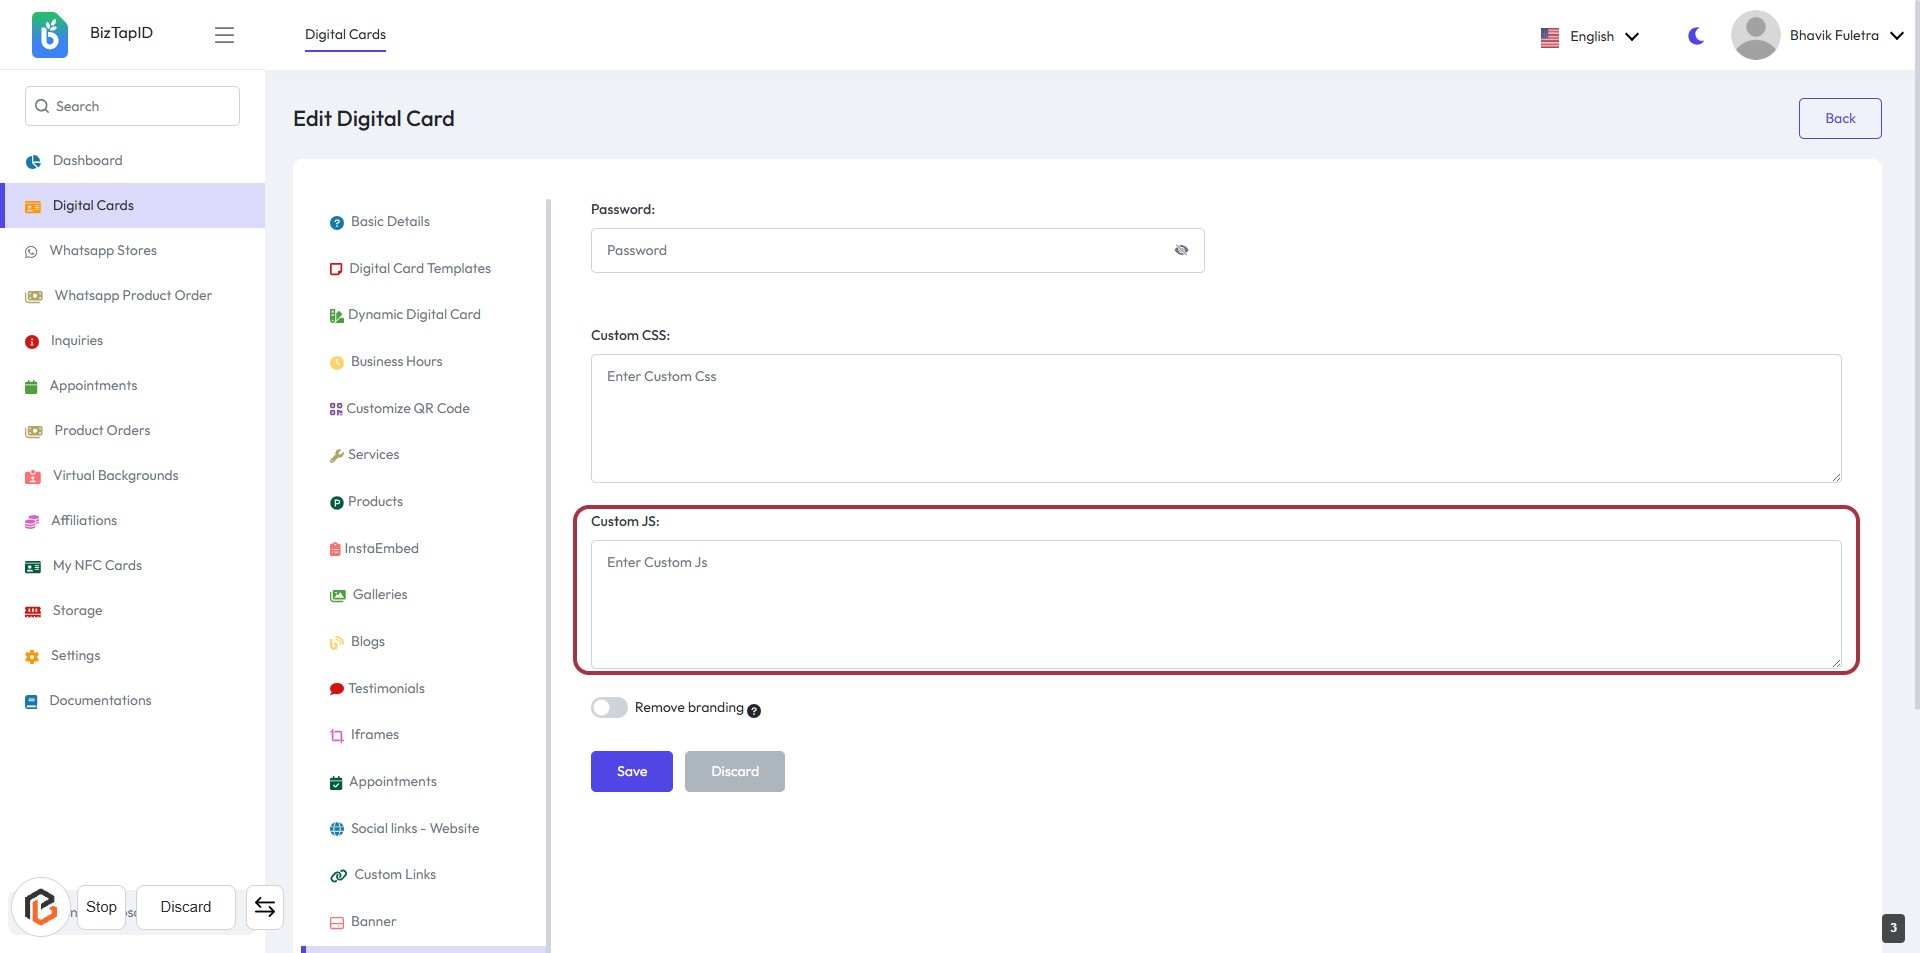
STEP 4: Click to Add Custom JS
- Click on the Custom JS section to enter your JavaScript code.
- Ensure the input field is active for text entry.
- Review any existing code if applicable.
- After entering your code, proceed to the next step to manage branding preferences.
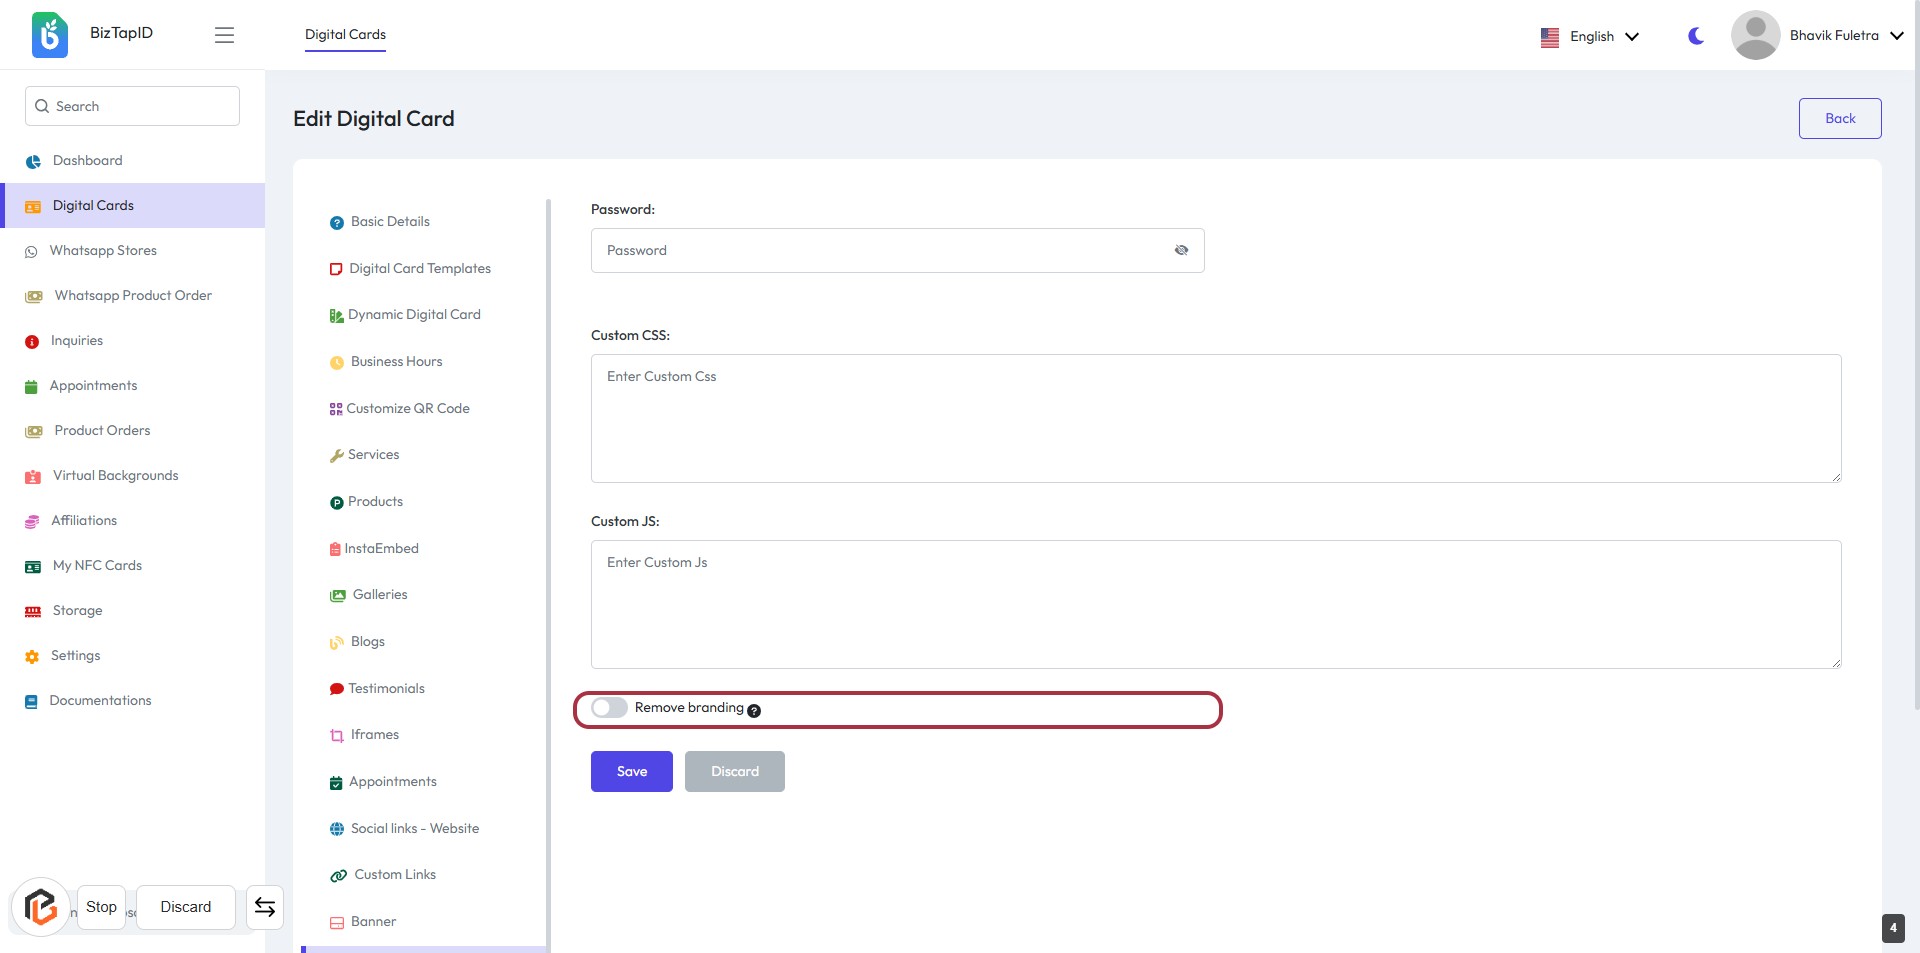
STEP 5: Click to Turn On "Remove Branding"
- Locate the "Remove branding" toggle in the form.
- Click on the toggle to enable or disable the branding removal feature.
- Ensure the toggle reflects your preference (on/off).
- Review other input fields for any required information marked with an asterisk (*).
- Proceed to the next step by clicking the "Save" button.
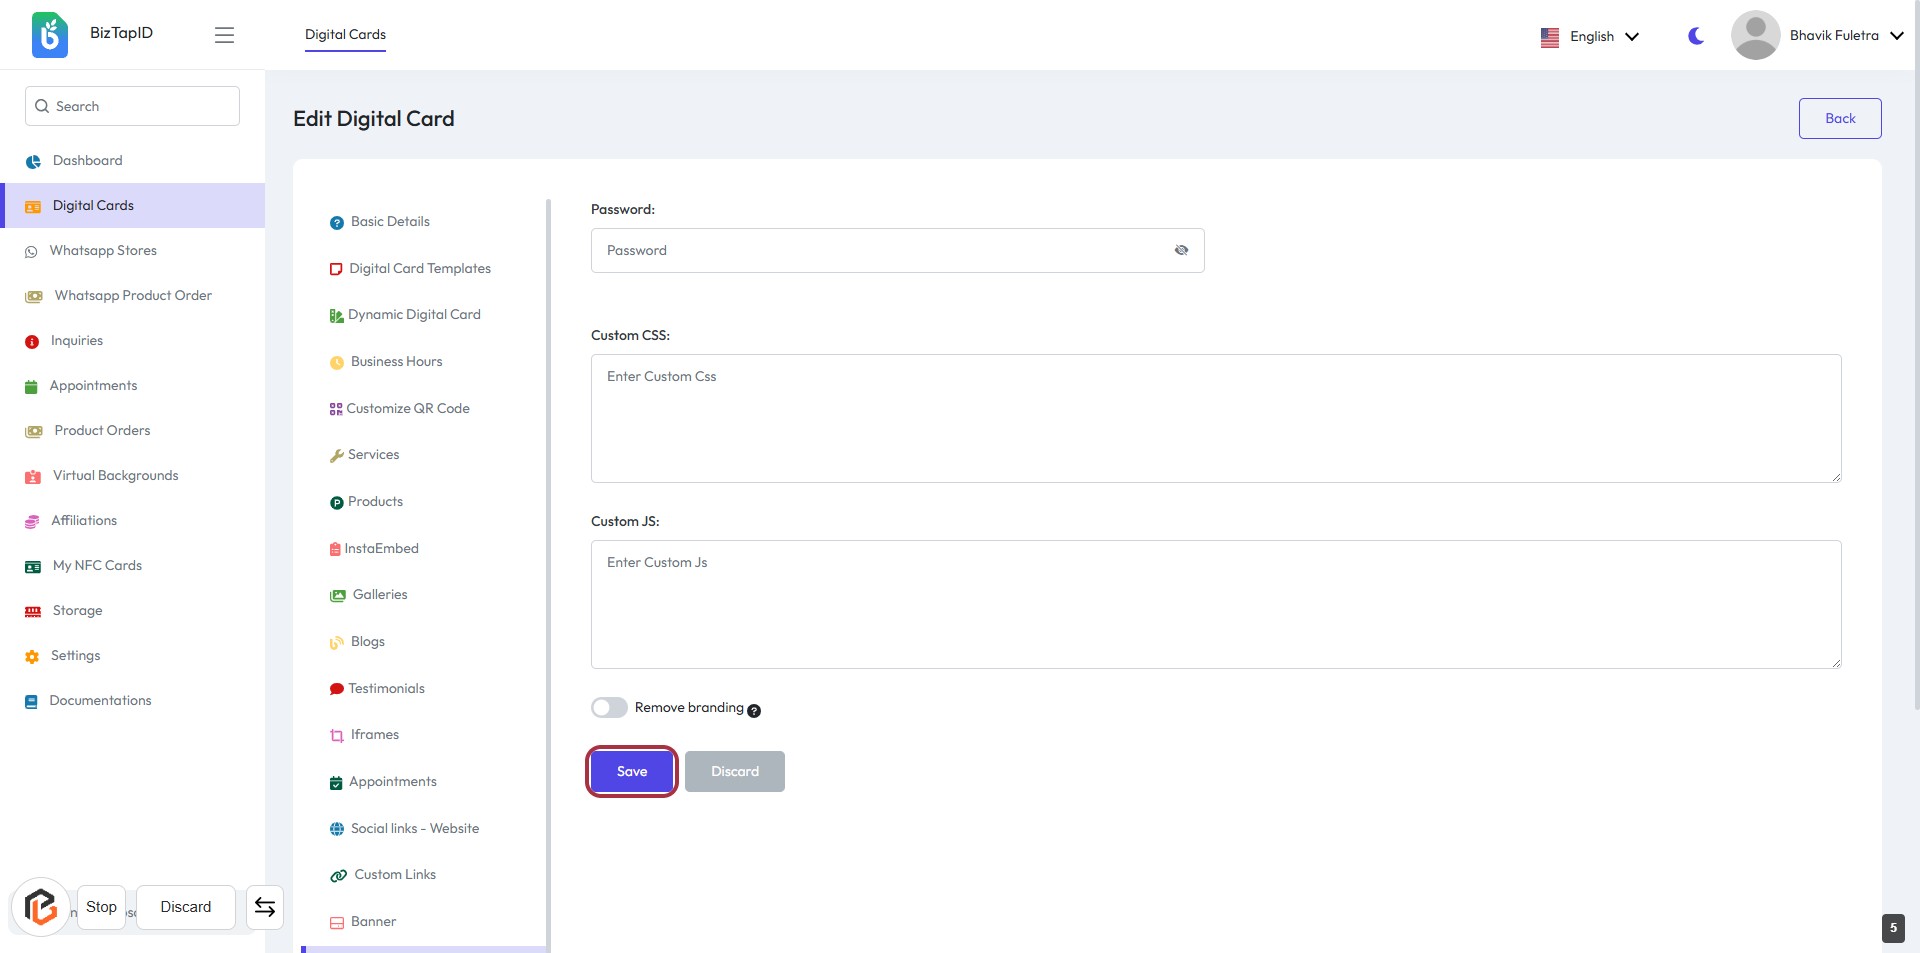
STEP 6: Click on "Save" Button
- Ensure all required fields are filled out (indicated by '*').
- Review the "Password," "Custom CSS," and "Custom JS" sections for accuracy.
- Click the Save button at the bottom of the form to save your changes.
- Confirm that the "Remove branding" option is set as desired before saving.