Step-by-Step Guide to Completing Your Digital Card Profile: Essential Fields and Navigation Instructions
16 mins read · Updated 01 Oct, 2025
STEP 1: Click on "Personal Details" to Access Basic Information
- Navigate to the "Personal Details" section.
- Fill in the required fields marked with an asterisk (*):
- URL Alias: Unique identifier for the digital card.
- Digital Card Name: The name displayed on the card.
- Optionally, provide additional information in the Description field.
- Ensure to save your changes before proceeding.

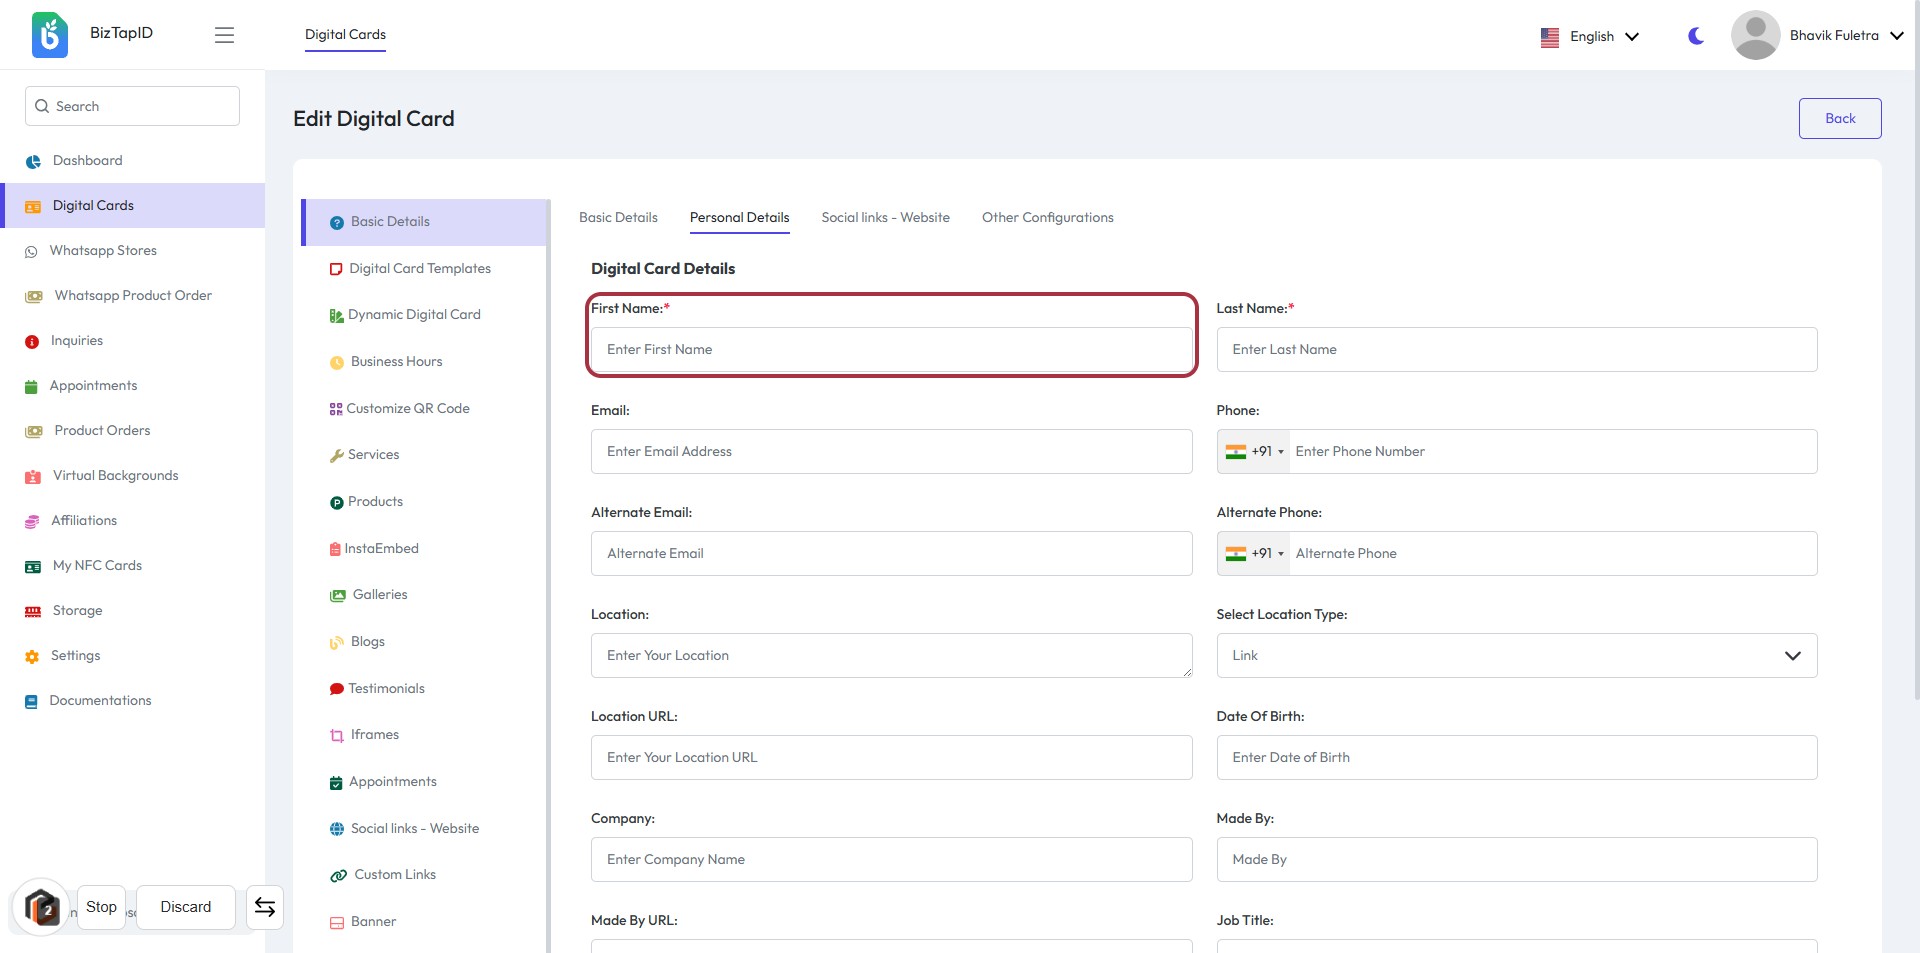
STEP 2: Enter First Name in Digital Card Details
- Click on the First Name field highlighted in red.
- Enter your first name in the provided text box (indicated by "Enter First Name").
- Ensure that the field marked with an asterisk (*) is filled, as it is required.
- Proceed to the next step by entering your Last Name.
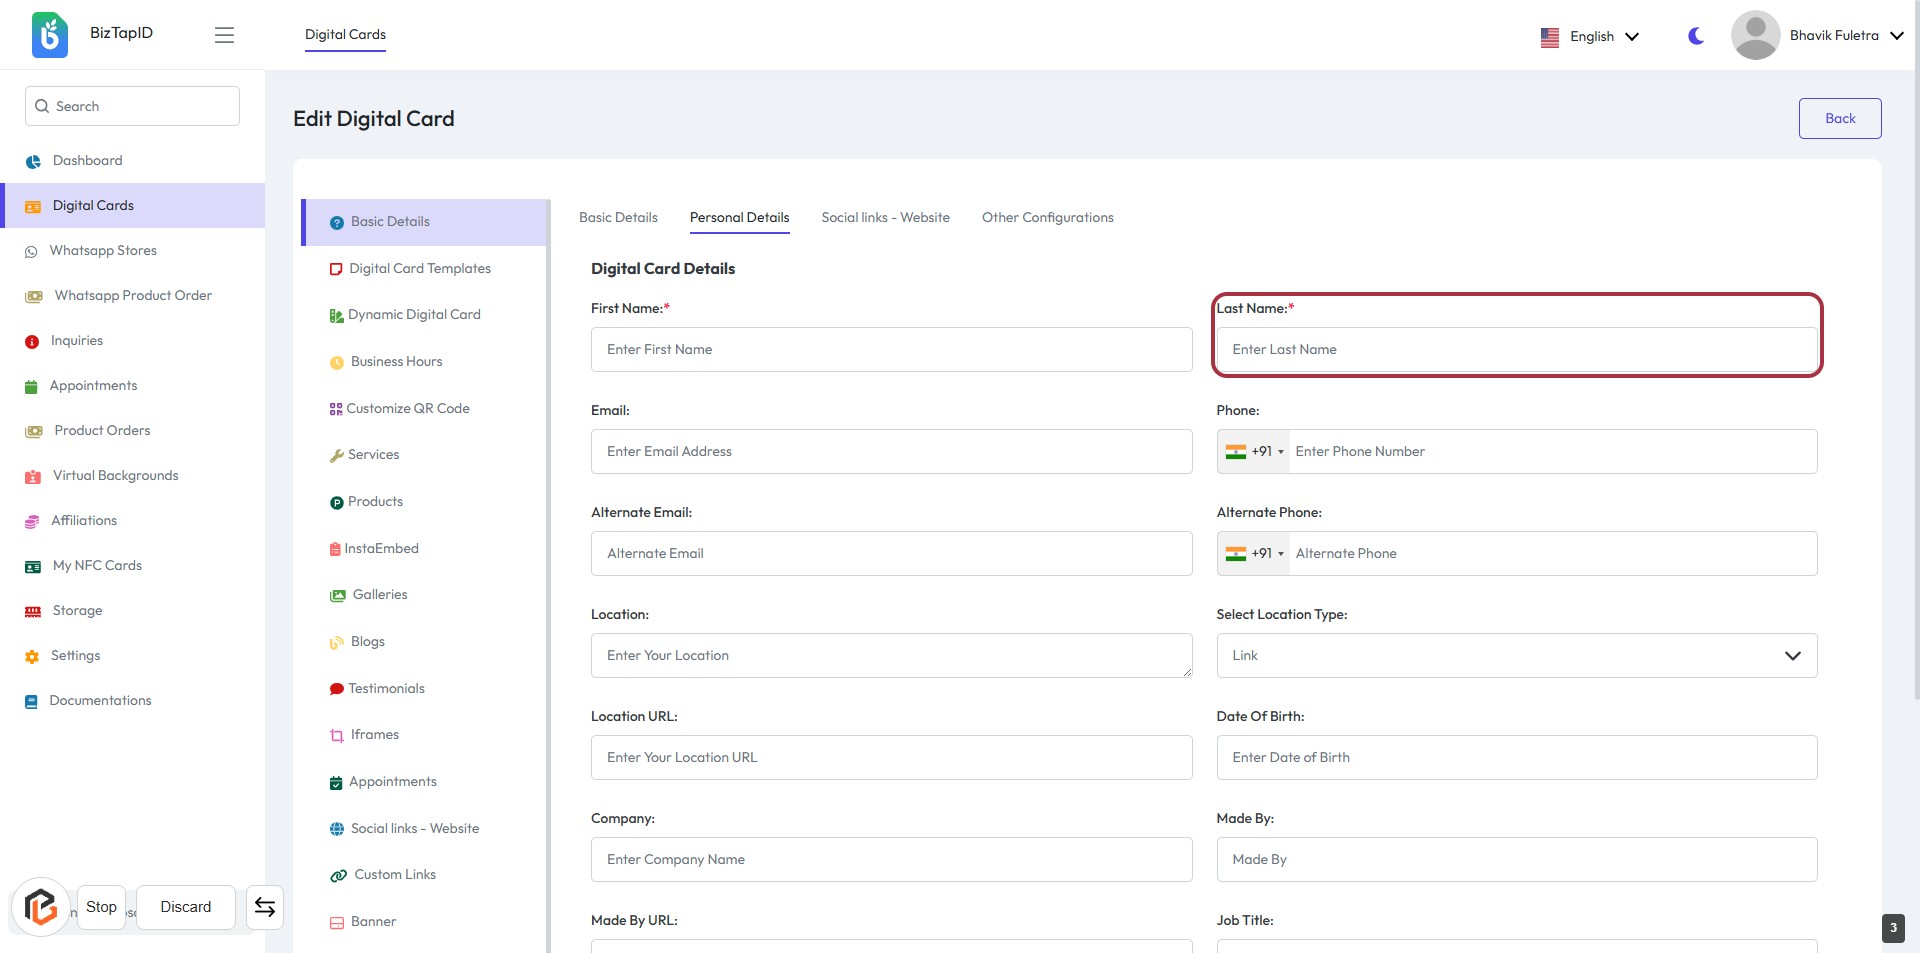
STEP 3: Enter Last Name
- Click on the "Last Name" field.
- Fill in the required information.
- Ensure to enter your last name accurately.
- Look for the asterisk (*) indicating required fields.
- Proceed to the next step by entering your email.
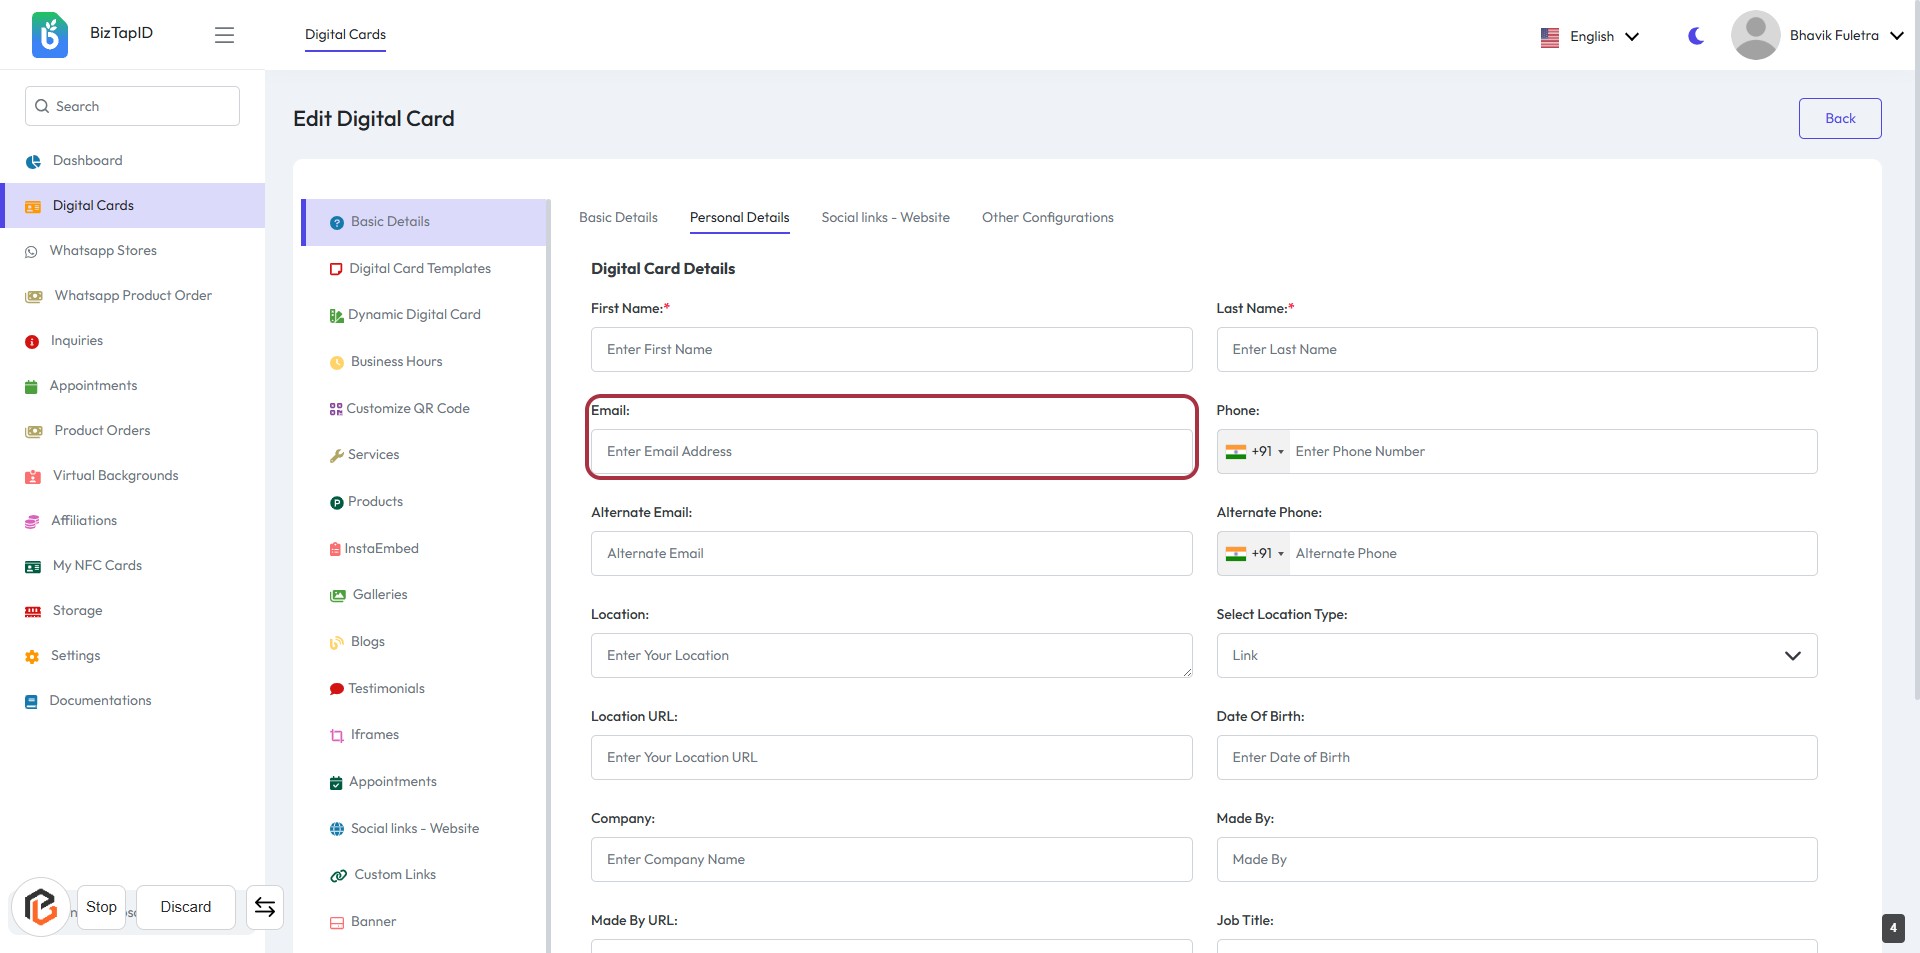
STEP 4: Enter Email Address
- Click on the "Email" field highlighted in red.
- Input your email address in the provided space.
- Ensure the email format is correct (e.g., name@example.com).
- This field is mandatory, as indicated by the asterisk (*).
- Proceed to the next step by entering your phone number.
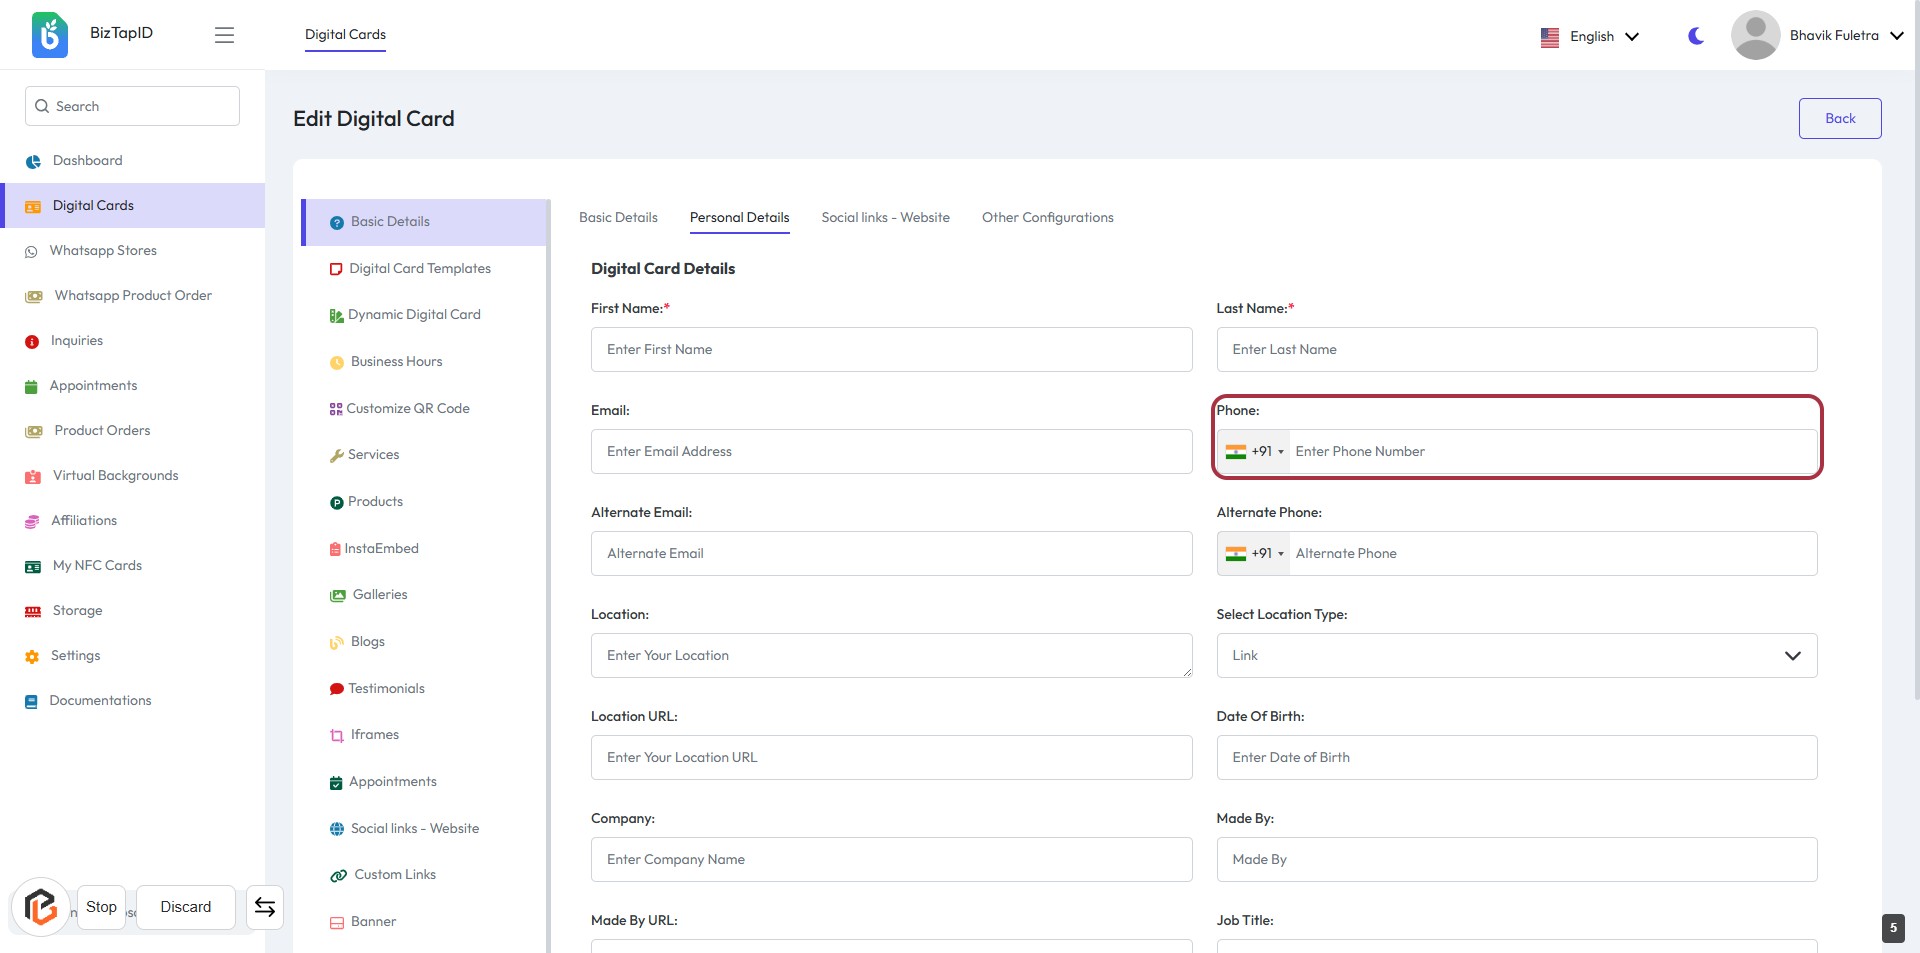
STEP 5: Enter Phone Number
- Click on the "Phone" field highlighted in red.
- Enter your phone number, ensuring to include the country code (+91).
- The field is mandatory, indicated by the absence of an asterisk (*).
- Review the entered number for accuracy before proceeding to the next step.
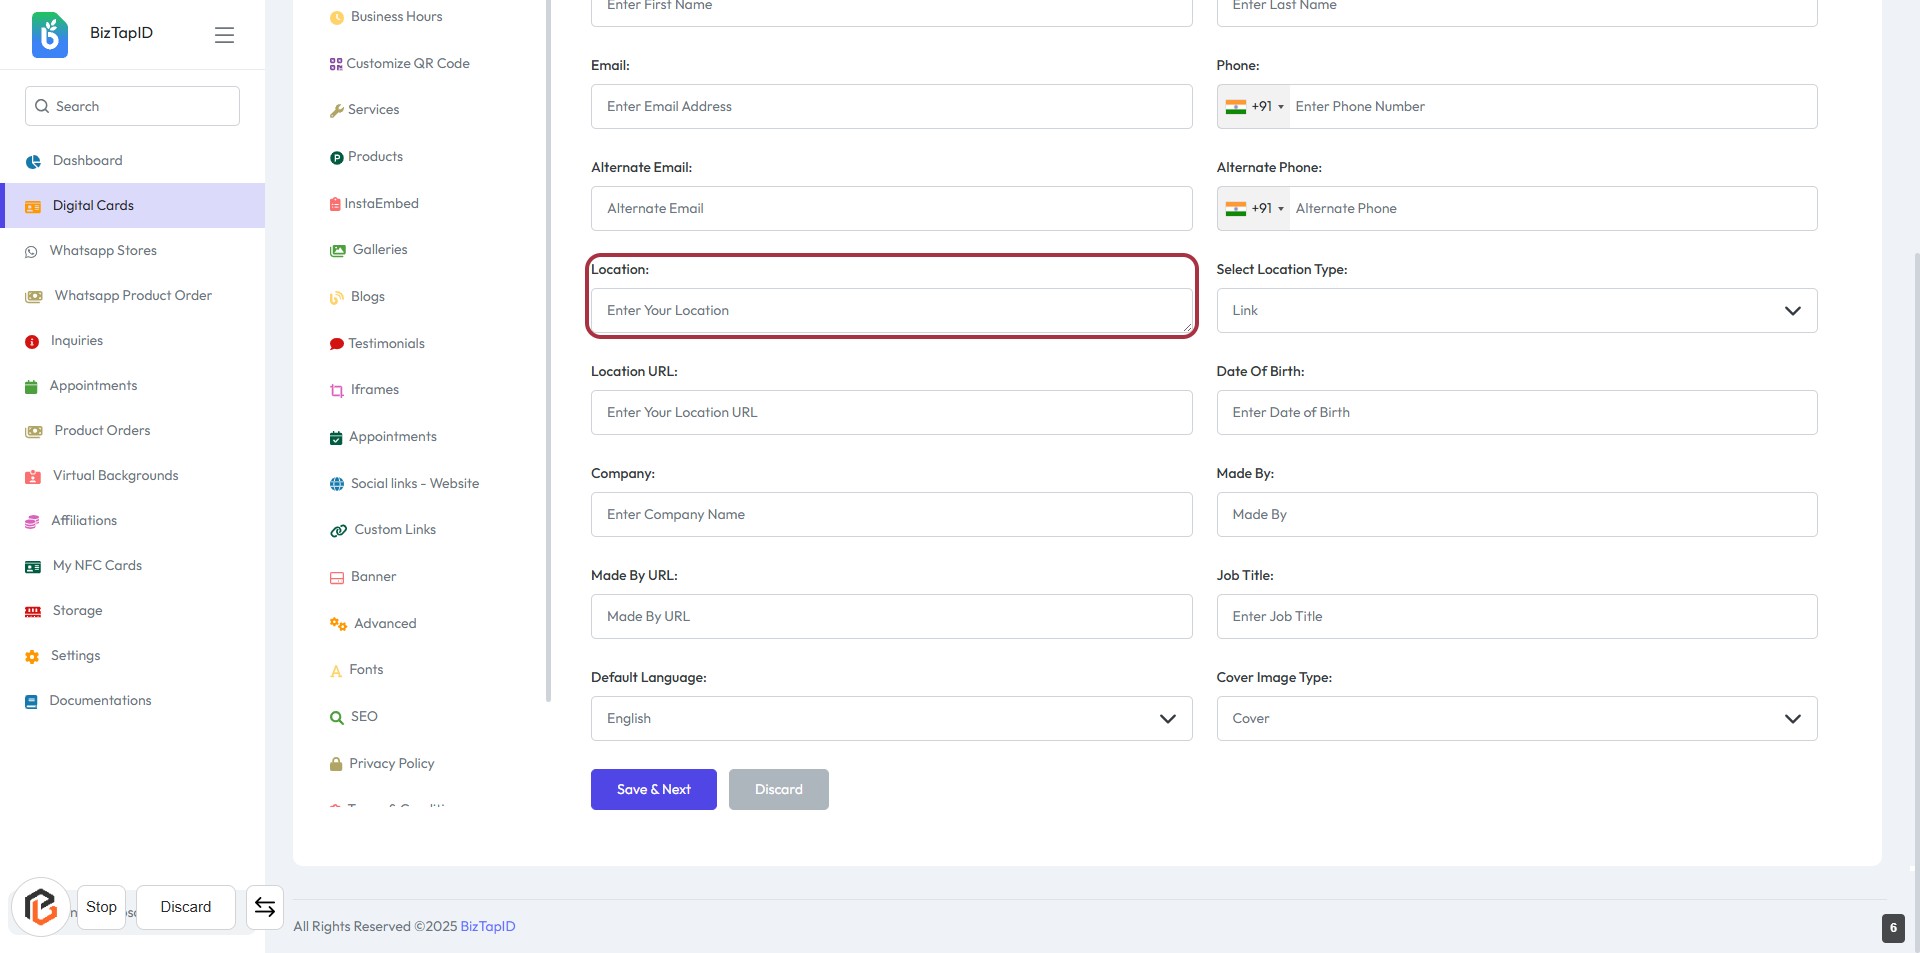
STEP 6: Enter Location Information
- Click on the "Location" field to input your location.
- Fill in the required field labeled "Enter Your Location."
- Ensure to provide accurate information for better context.
- After entering, proceed to the next step to select the "Location Type."
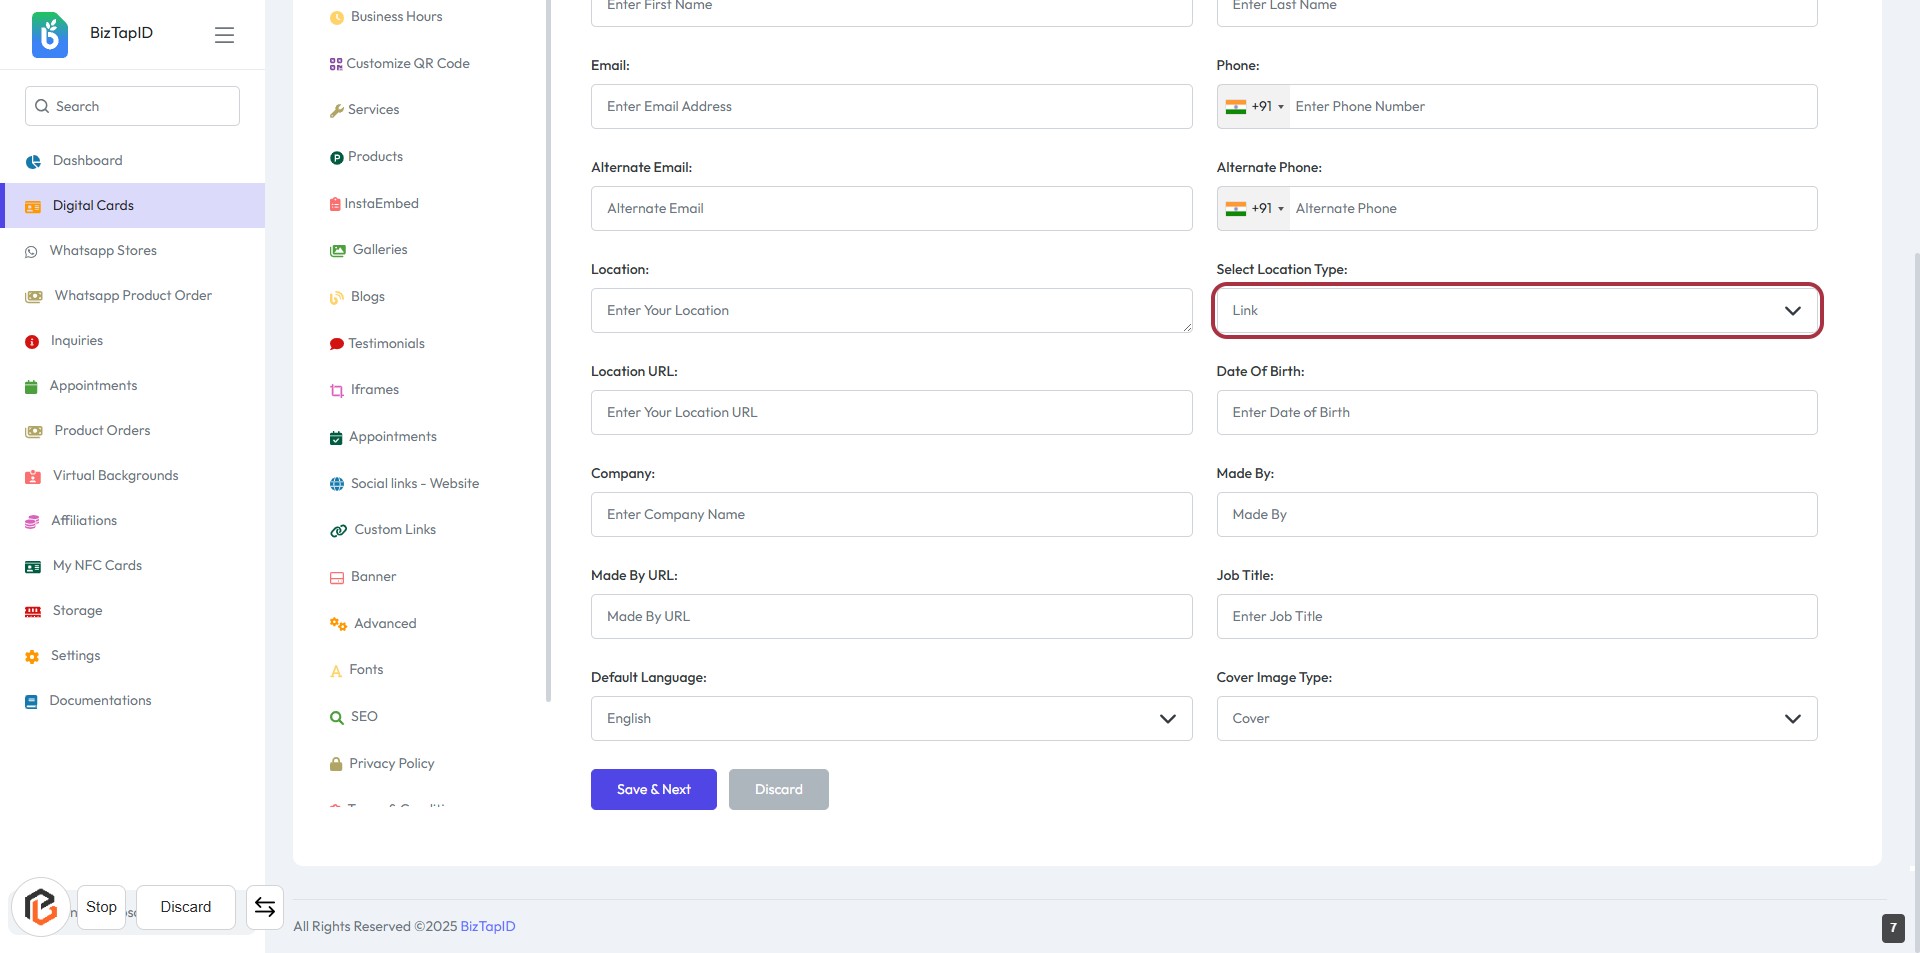
STEP 7: Select Location Type
- Click on the "Select Location Type" dropdown.
- Choose the appropriate option from the list (e.g., Link).
- Ensure all required fields marked with an asterisk (*) are filled out.
- Review your selections before proceeding to the next step.
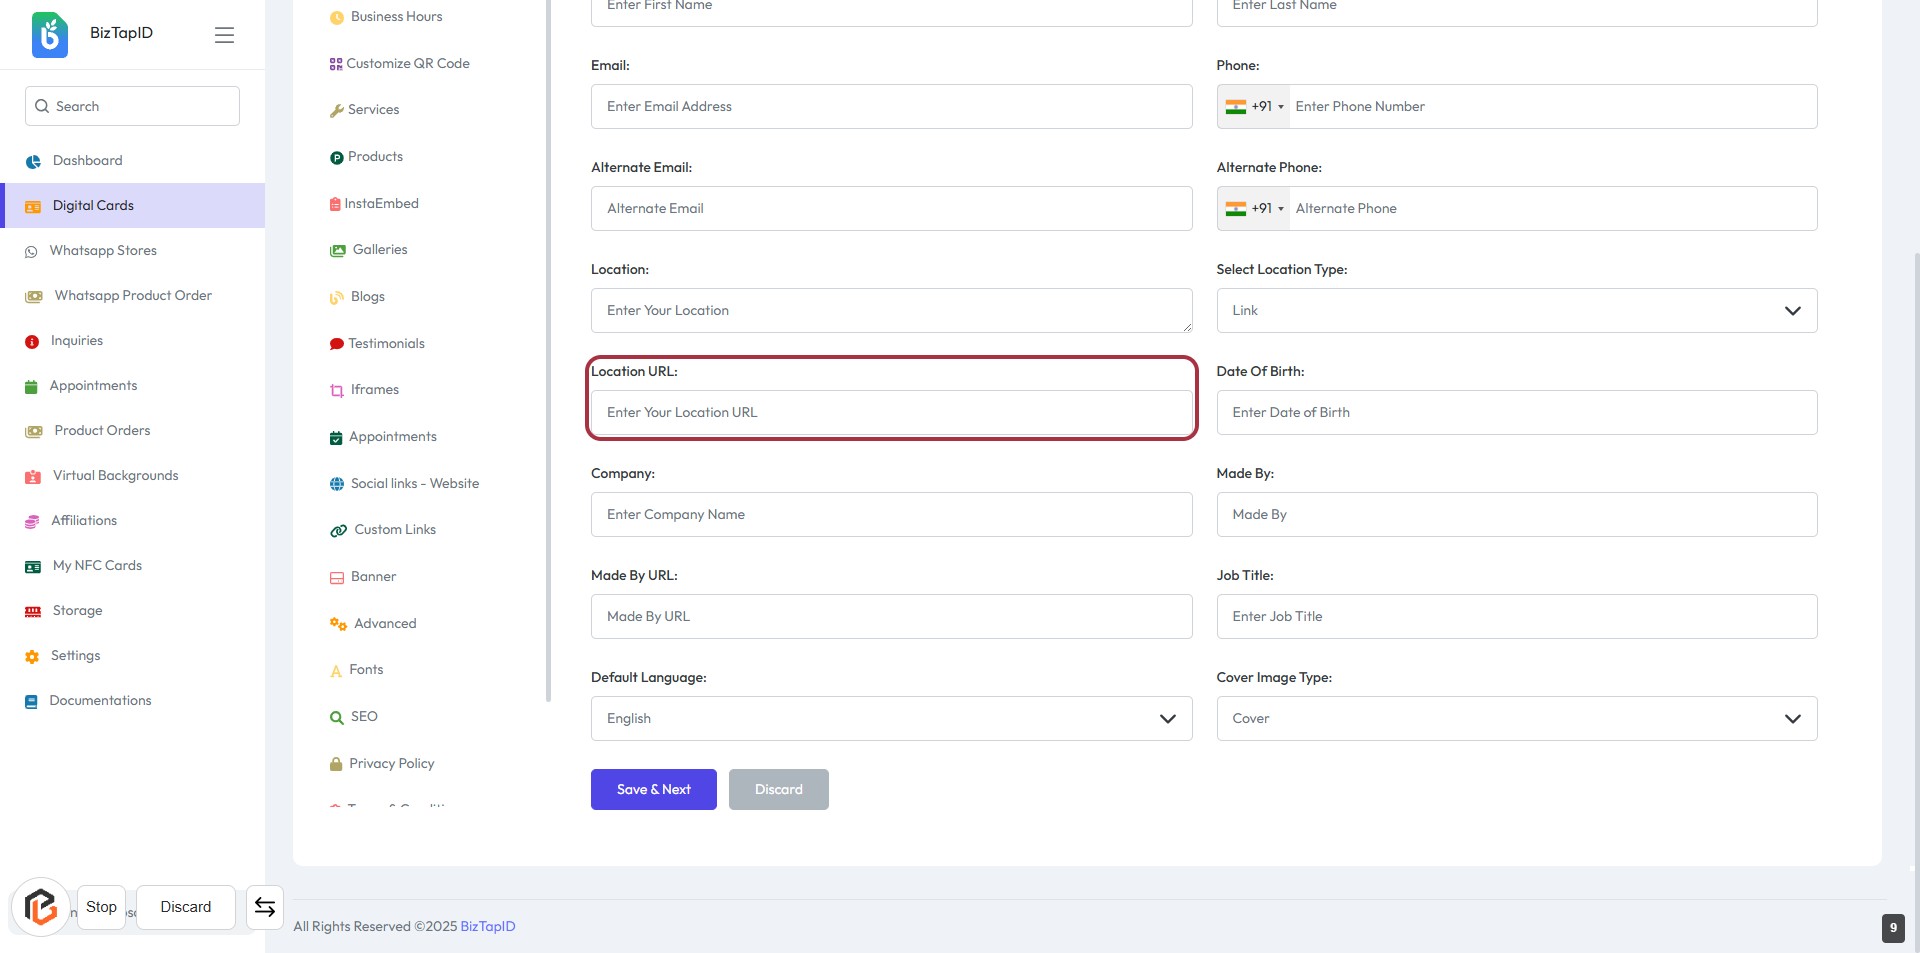
STEP 8: Enter "Location URL"
- Click on the "Location URL" field to input the URL for your location.
- Ensure the field is filled correctly as it may be required for further steps.
- Review other fields like "Company" and "Made By" for additional information you might need to provide.
- After entering the URL, proceed to the next step by clicking "Save & Next."
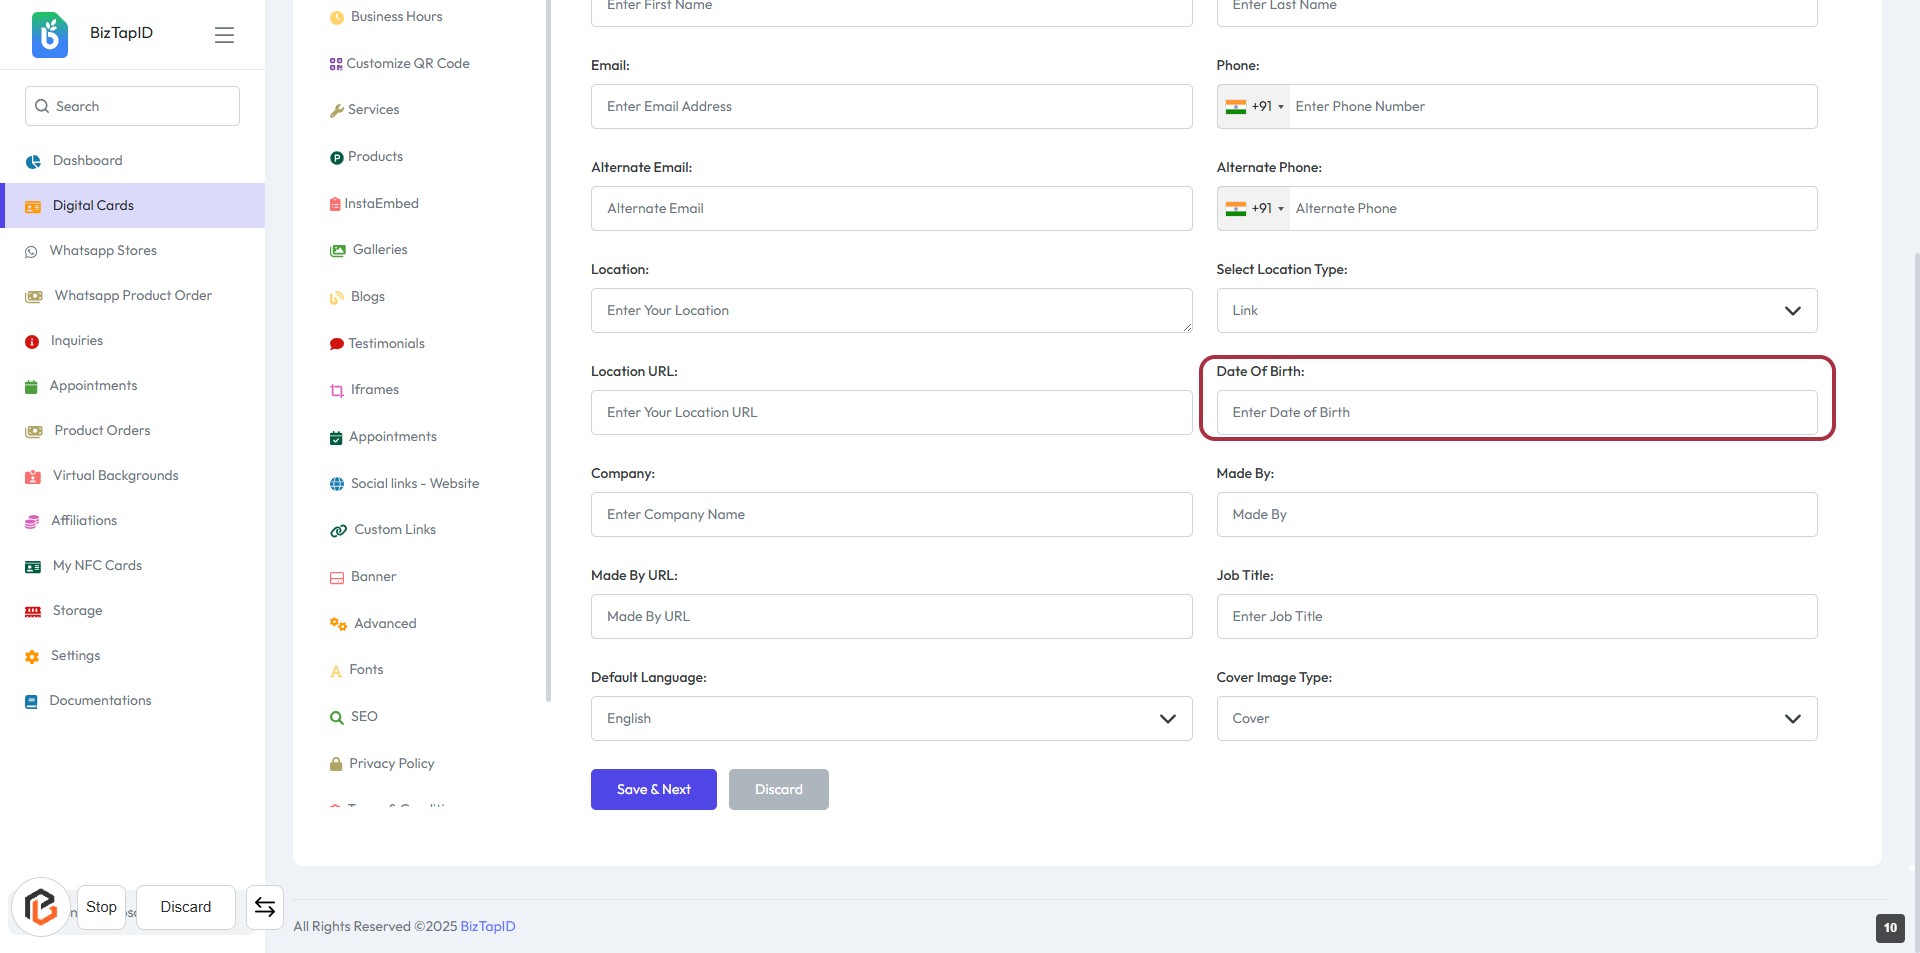
STEP 9: Enter "Date Of Birth"
- Click on the "Date Of Birth" field highlighted in red.
- Enter your date of birth in the format specified (if applicable).
- Ensure all required fields marked with an asterisk (*) are filled out.
- Review your entry for accuracy before proceeding to the next step.
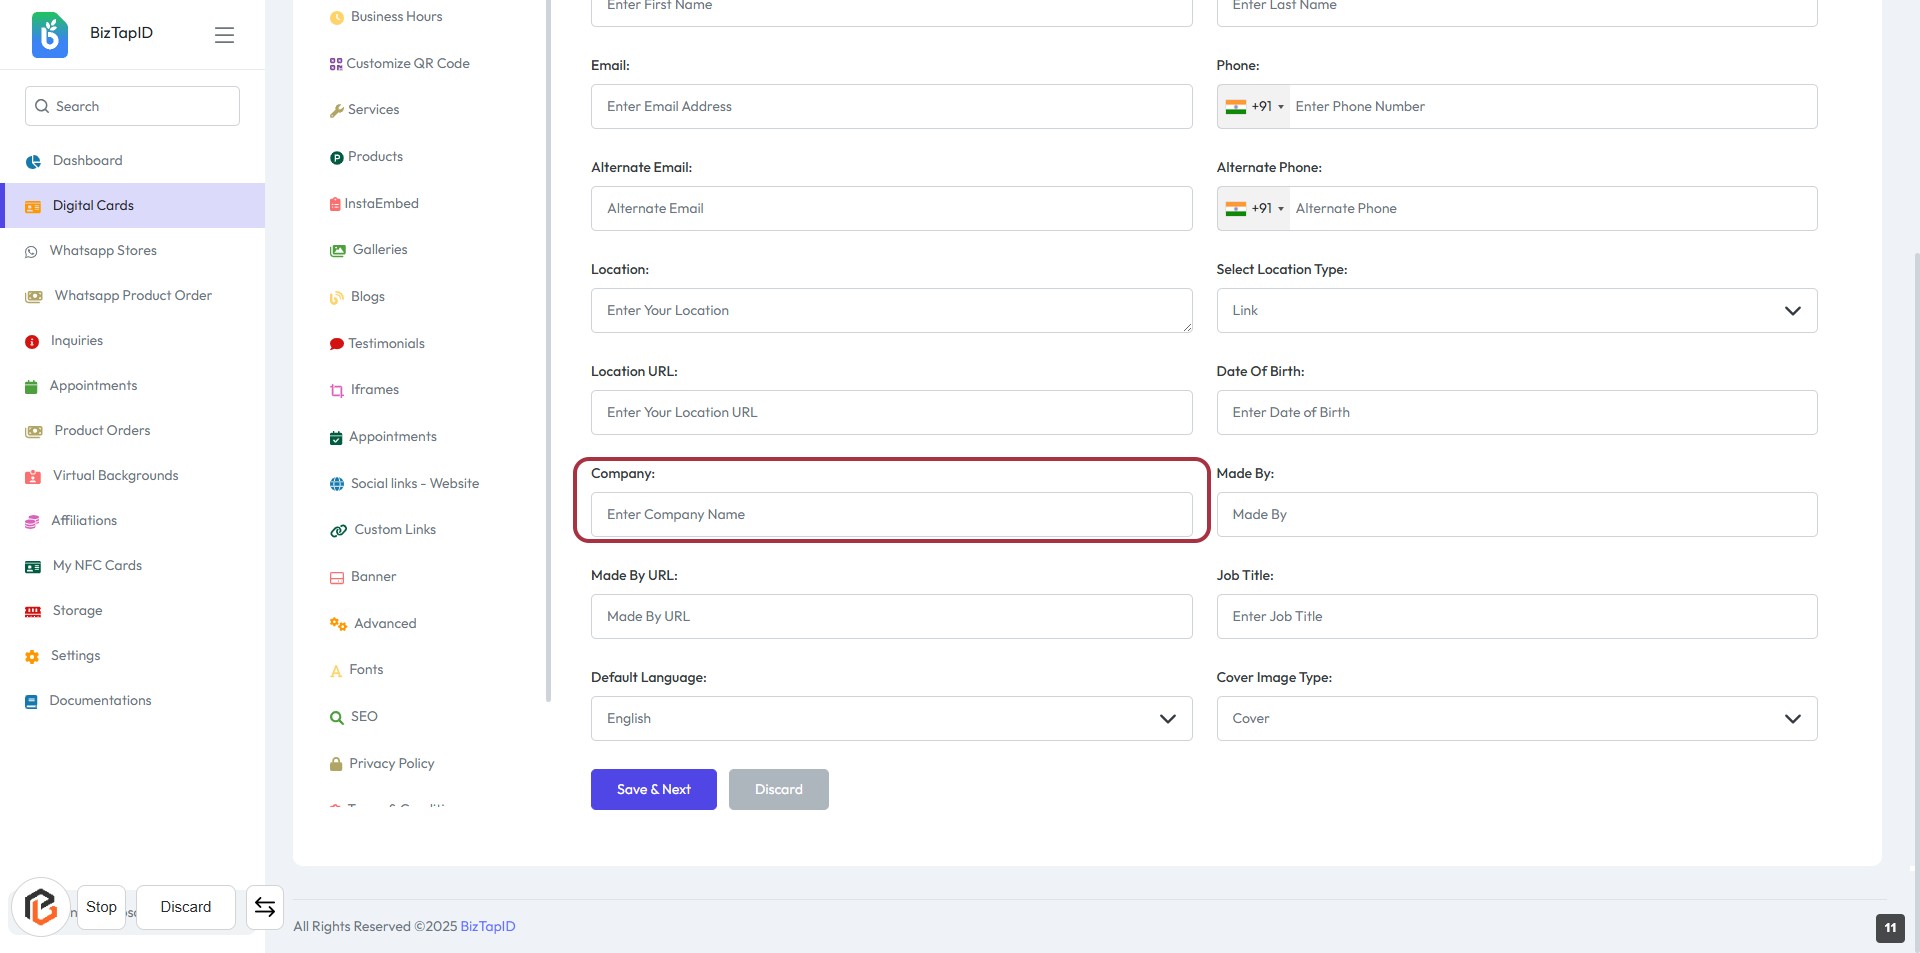
STEP 10: Enter "Company" Information
- Click on the "Company" field to input your company name.
- Ensure to fill in the required field marked with an asterisk (*) if applicable.
- Review other fields for completeness, such as Email and Location.
- Proceed to the next step by clicking "Save & Next" after entering the information.
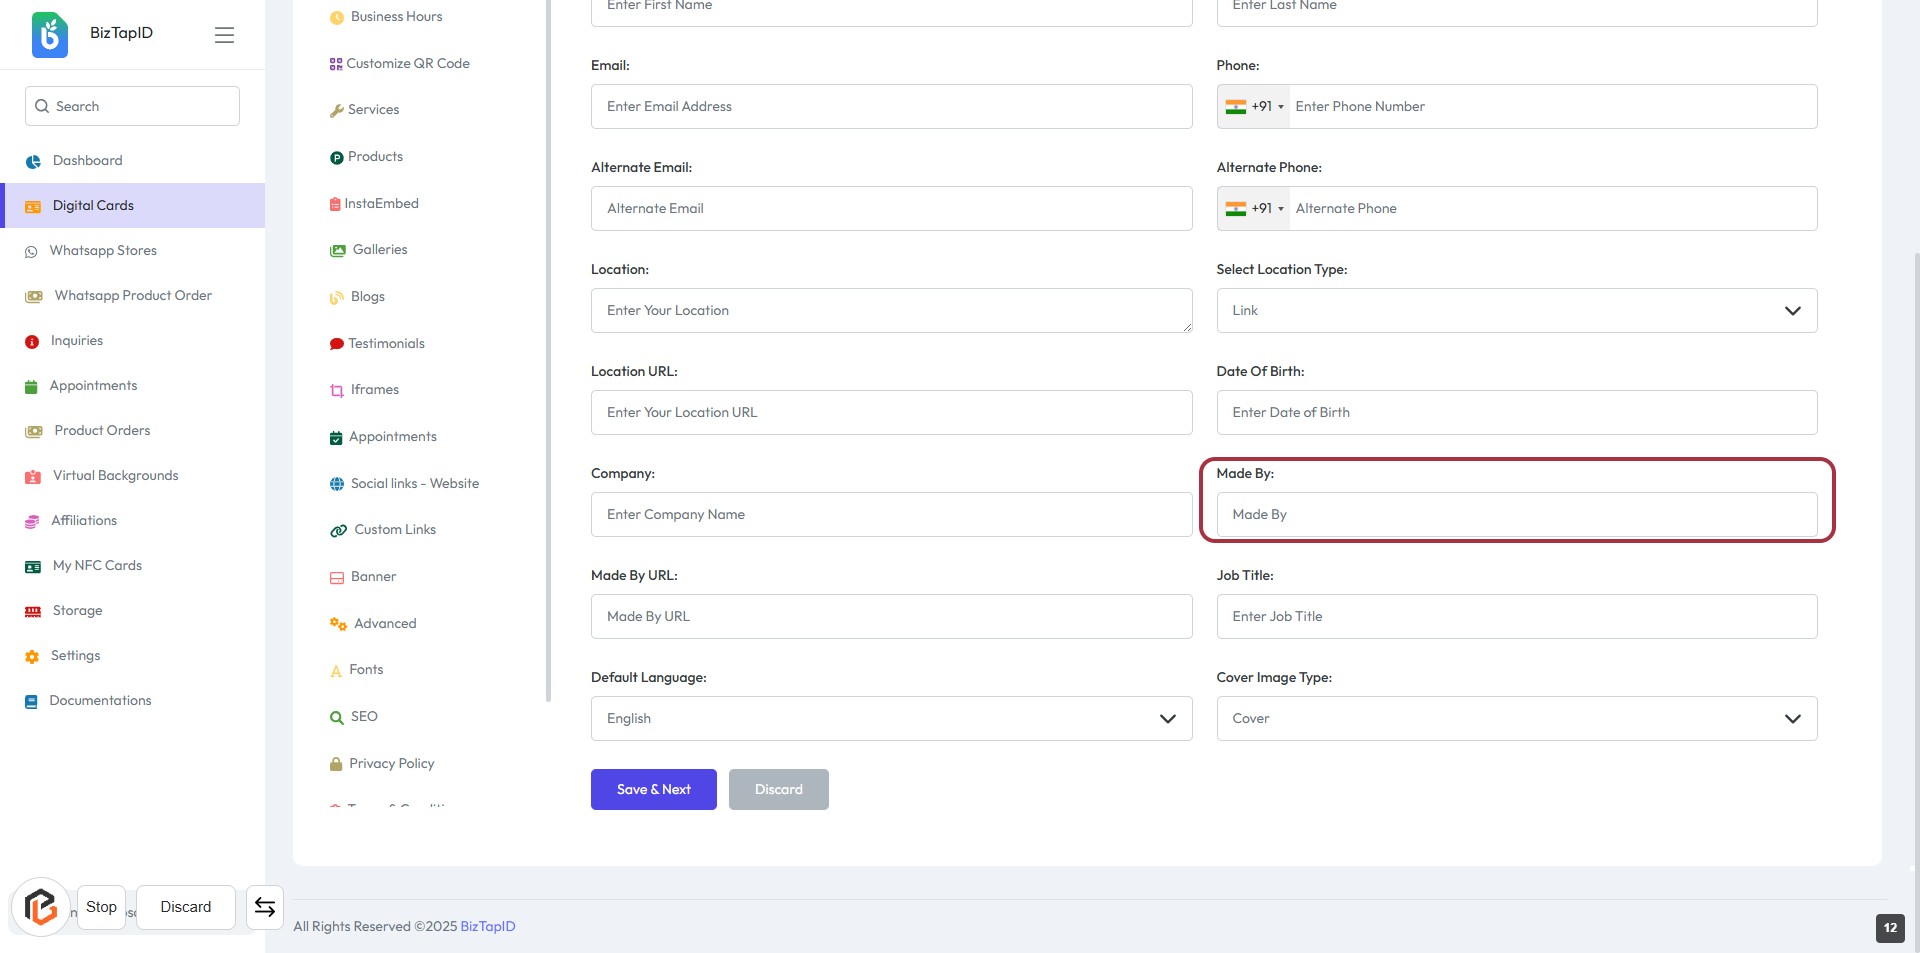
STEP 11: Enter "Made By"
- Click on the "Made By" field to input the creator's name.
- Ensure the field is filled as it may be required.
- Review other fields for completeness, such as "Company" and "Job Title."
- Proceed to the next step by clicking "Save & Next" after entering the information.
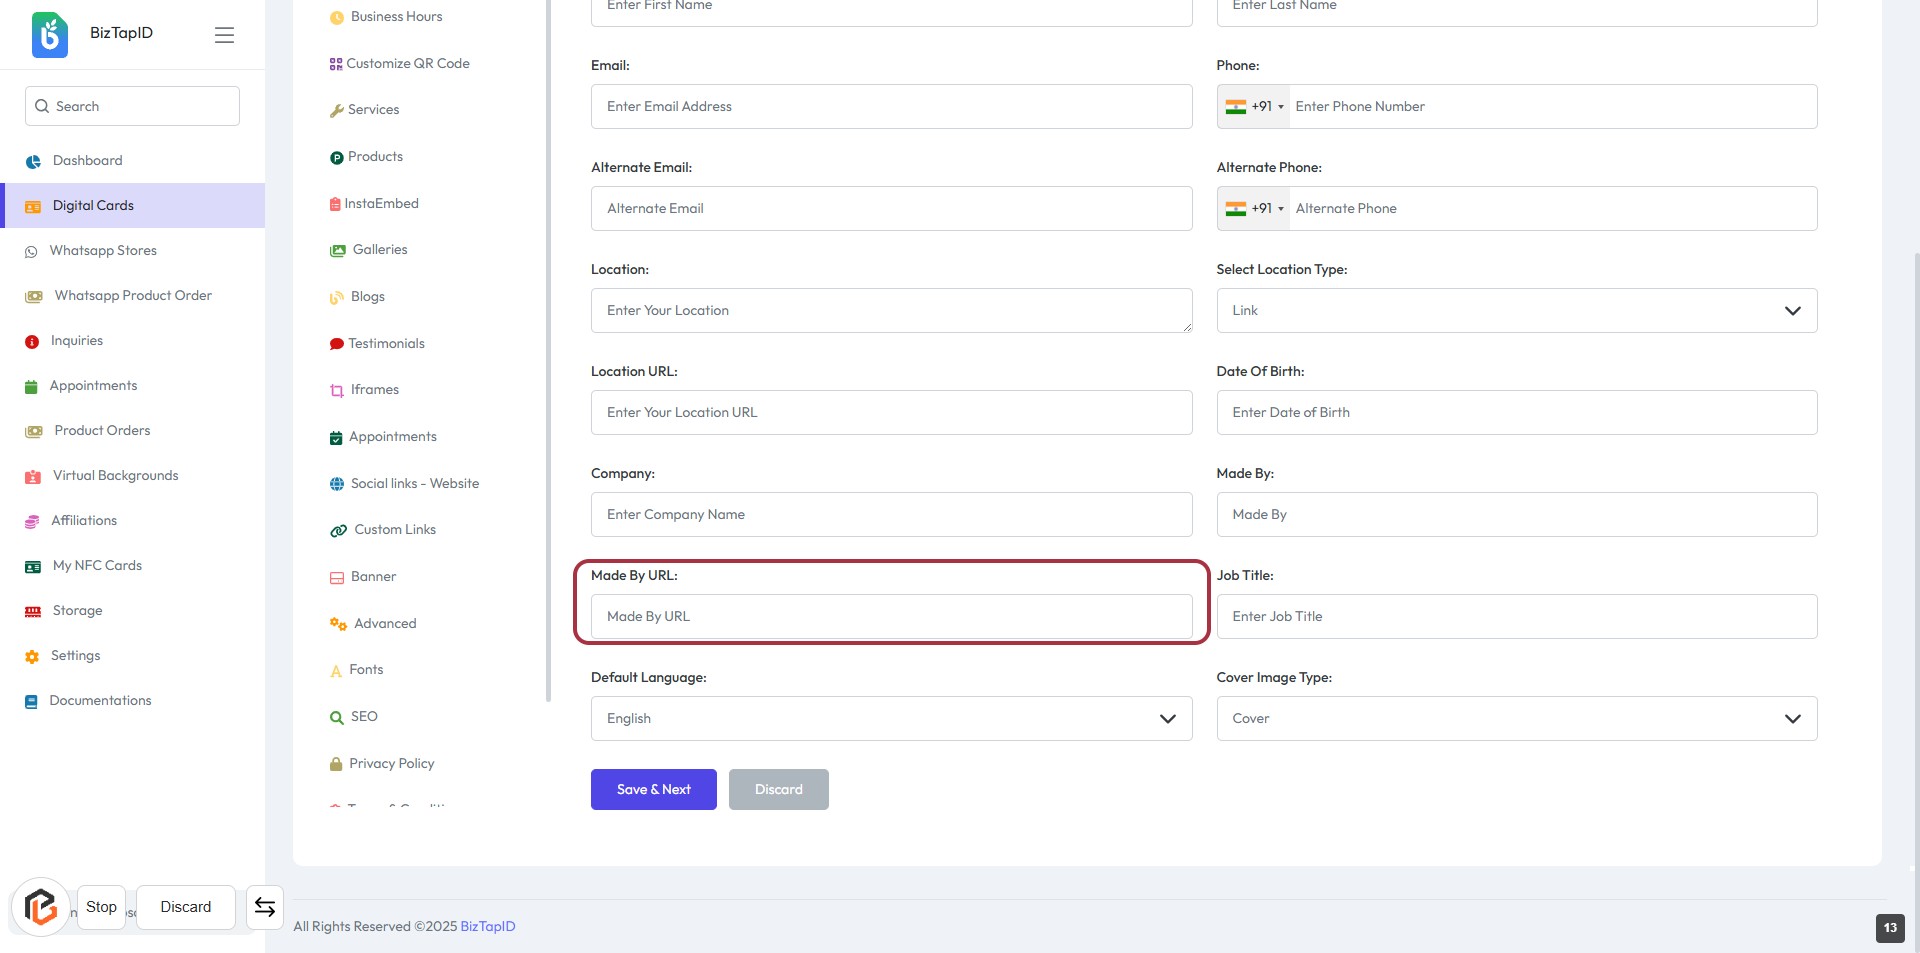
STEP 12: Click on "Made By URL"
- Locate the "Made By URL:" field in the form.
- Click on the field to activate it.
- Enter the relevant URL associated with the "Made By" information.
- Ensure all required fields marked with '*' are filled out.
- Proceed to the next step by clicking "Save & Next."
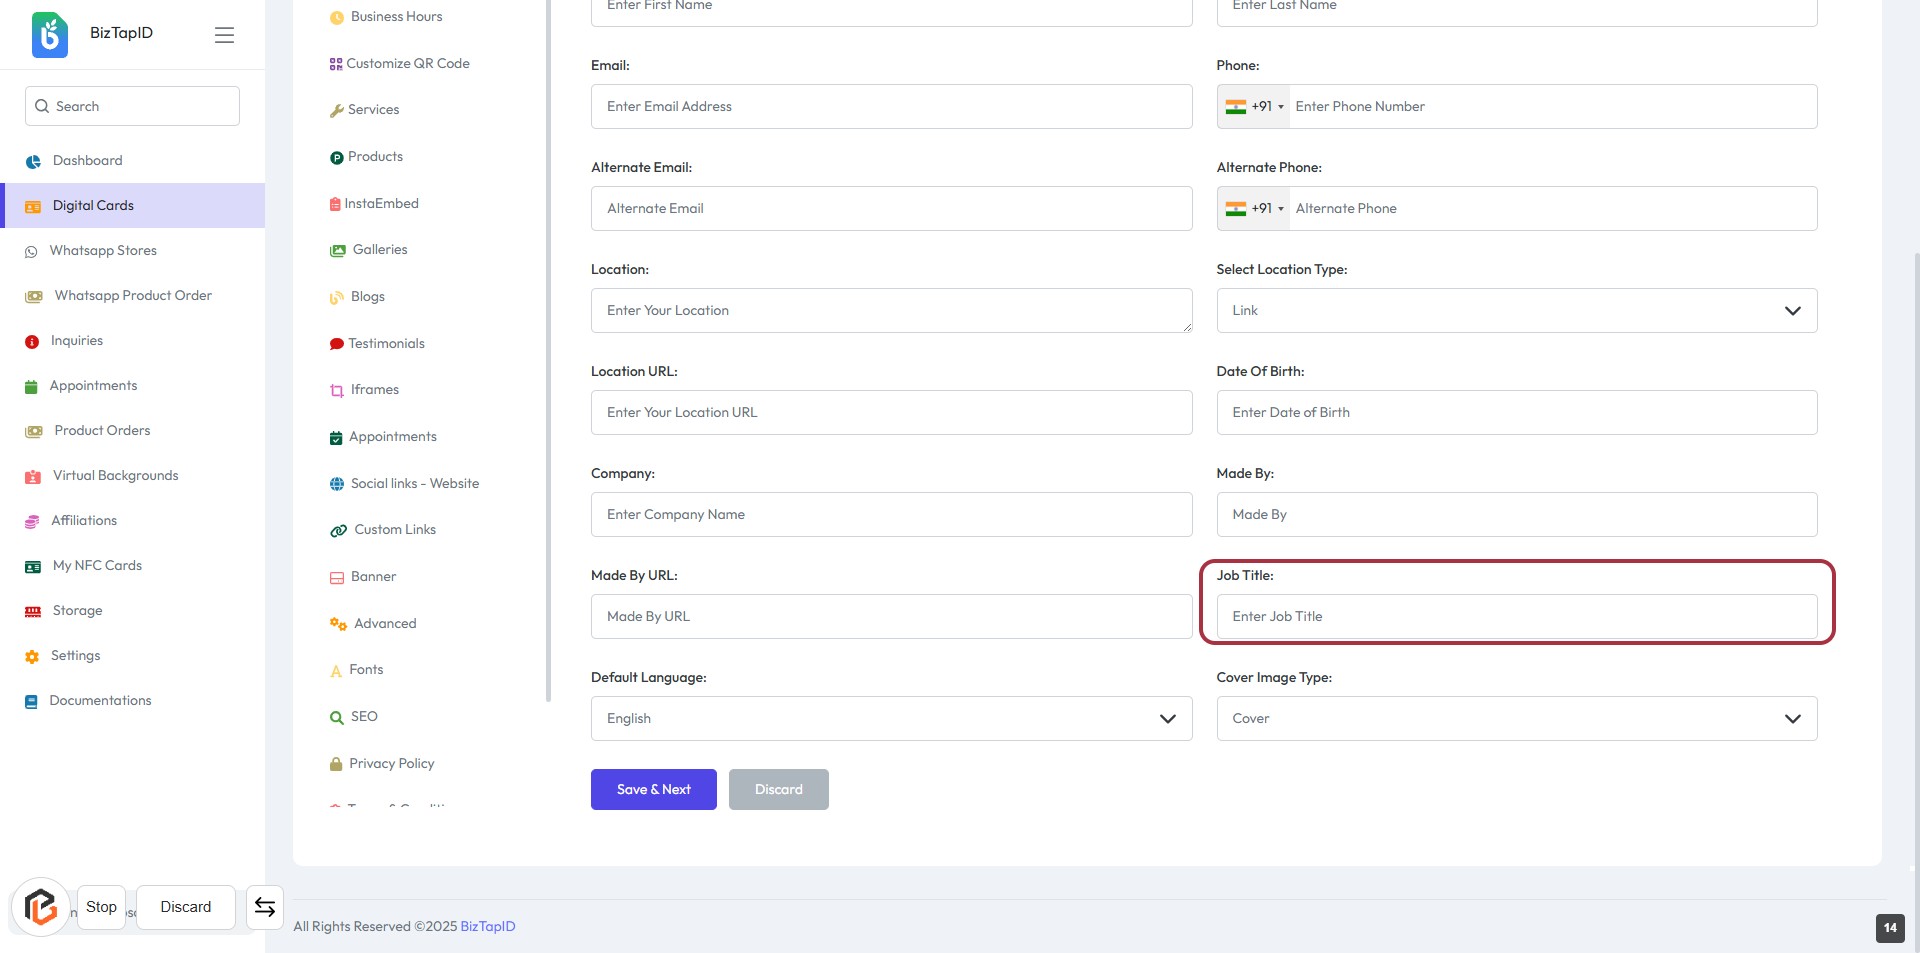
STEP 13: Enter Job Title
- Click on the "Job Title" field.
- Input your desired job title in the provided space.
- Ensure the field is filled as it may be required for context.
- Review other fields like Email, Phone, and Location for completeness.
- Proceed to the next step by selecting "Default Language."
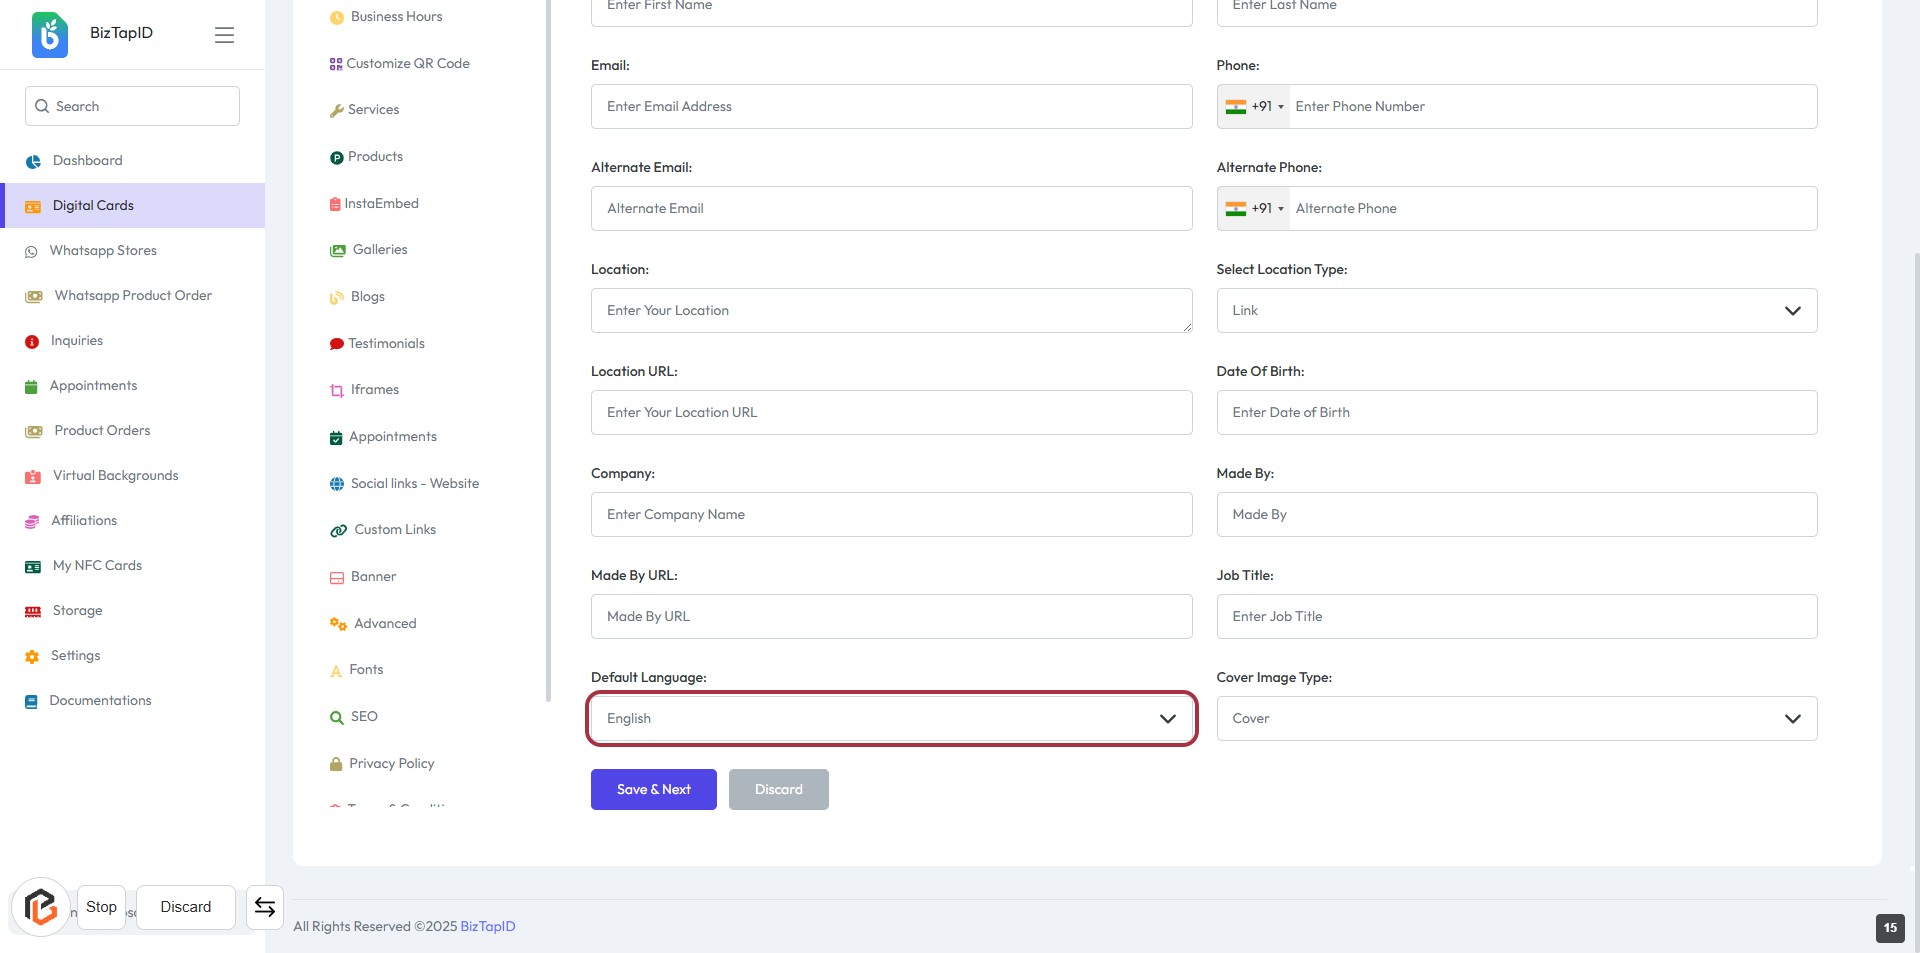
STEP 14: Select Default Language
- Click on the "Default Language" field highlighted in red.
- Choose your preferred language from the dropdown options.
- Ensure the selection is appropriate for your audience.
- Proceed to the next step by selecting "Cover Image Type."
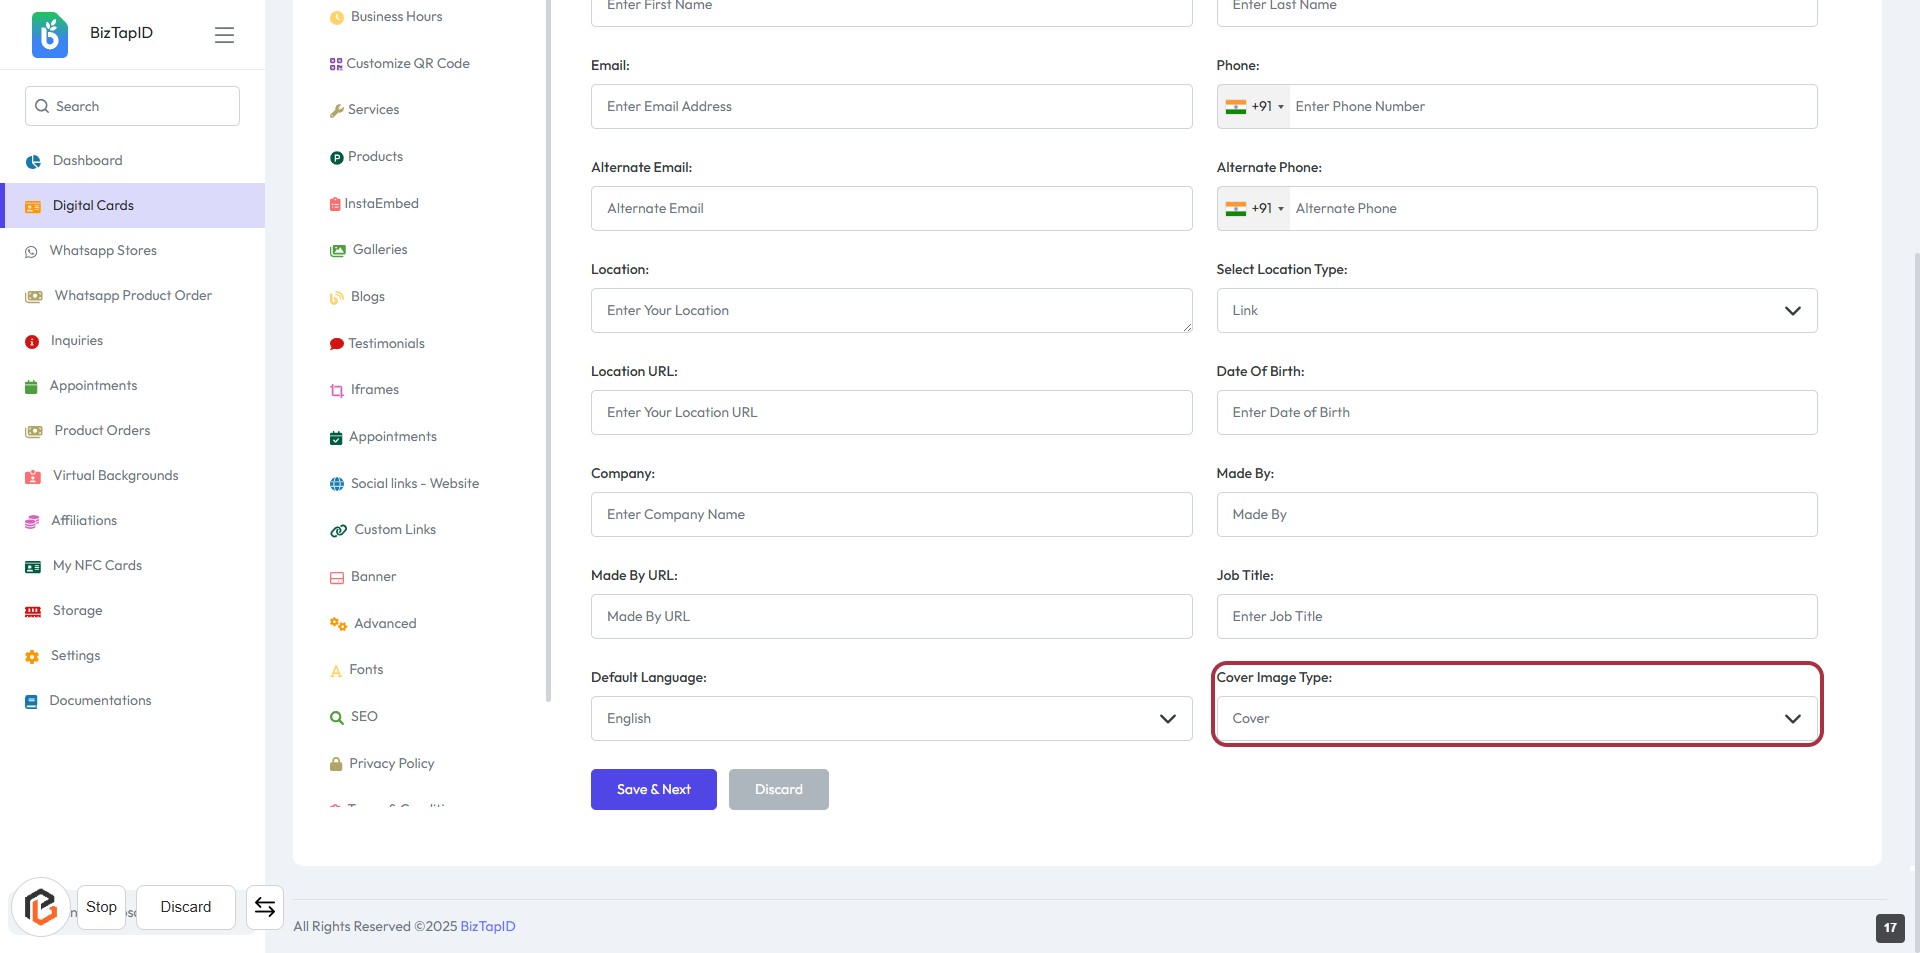
STEP 15: Select "Cover Image Type"
- Click on the "Cover Image Type" dropdown.
- Choose the appropriate cover image type from the options available.
- Ensure all required fields marked with an asterisk (*) are filled out.
- Review your selections before proceeding to the next step.
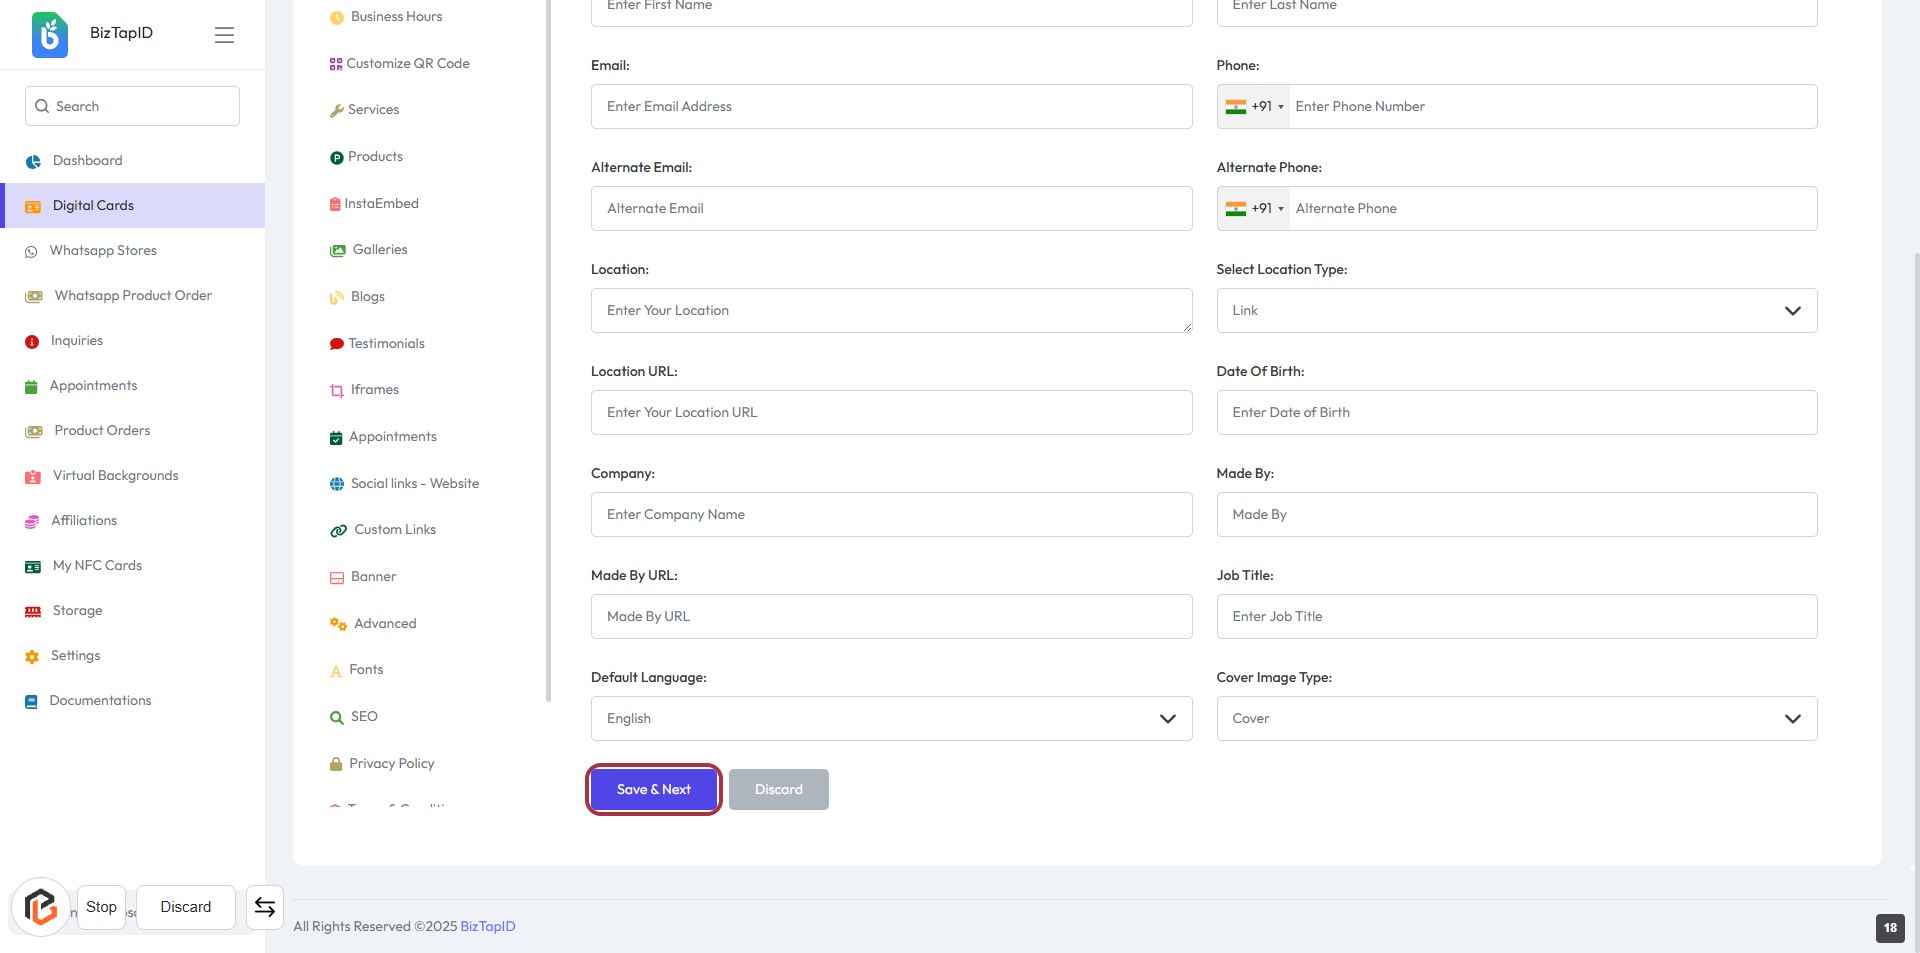
STEP 16: Click on "Save & Next" Button
- Ensure all required fields are filled (marked with *).
- Review your entries for accuracy.
- Click the "Save & Next" button to proceed.
- If you wish to discard changes, click the "Discard" button instead.