Step-by-Step Guide to Adding Embed Tags to Your Digital Card Using InstaEmbed
5 mins read · Updated 01 Oct, 2025
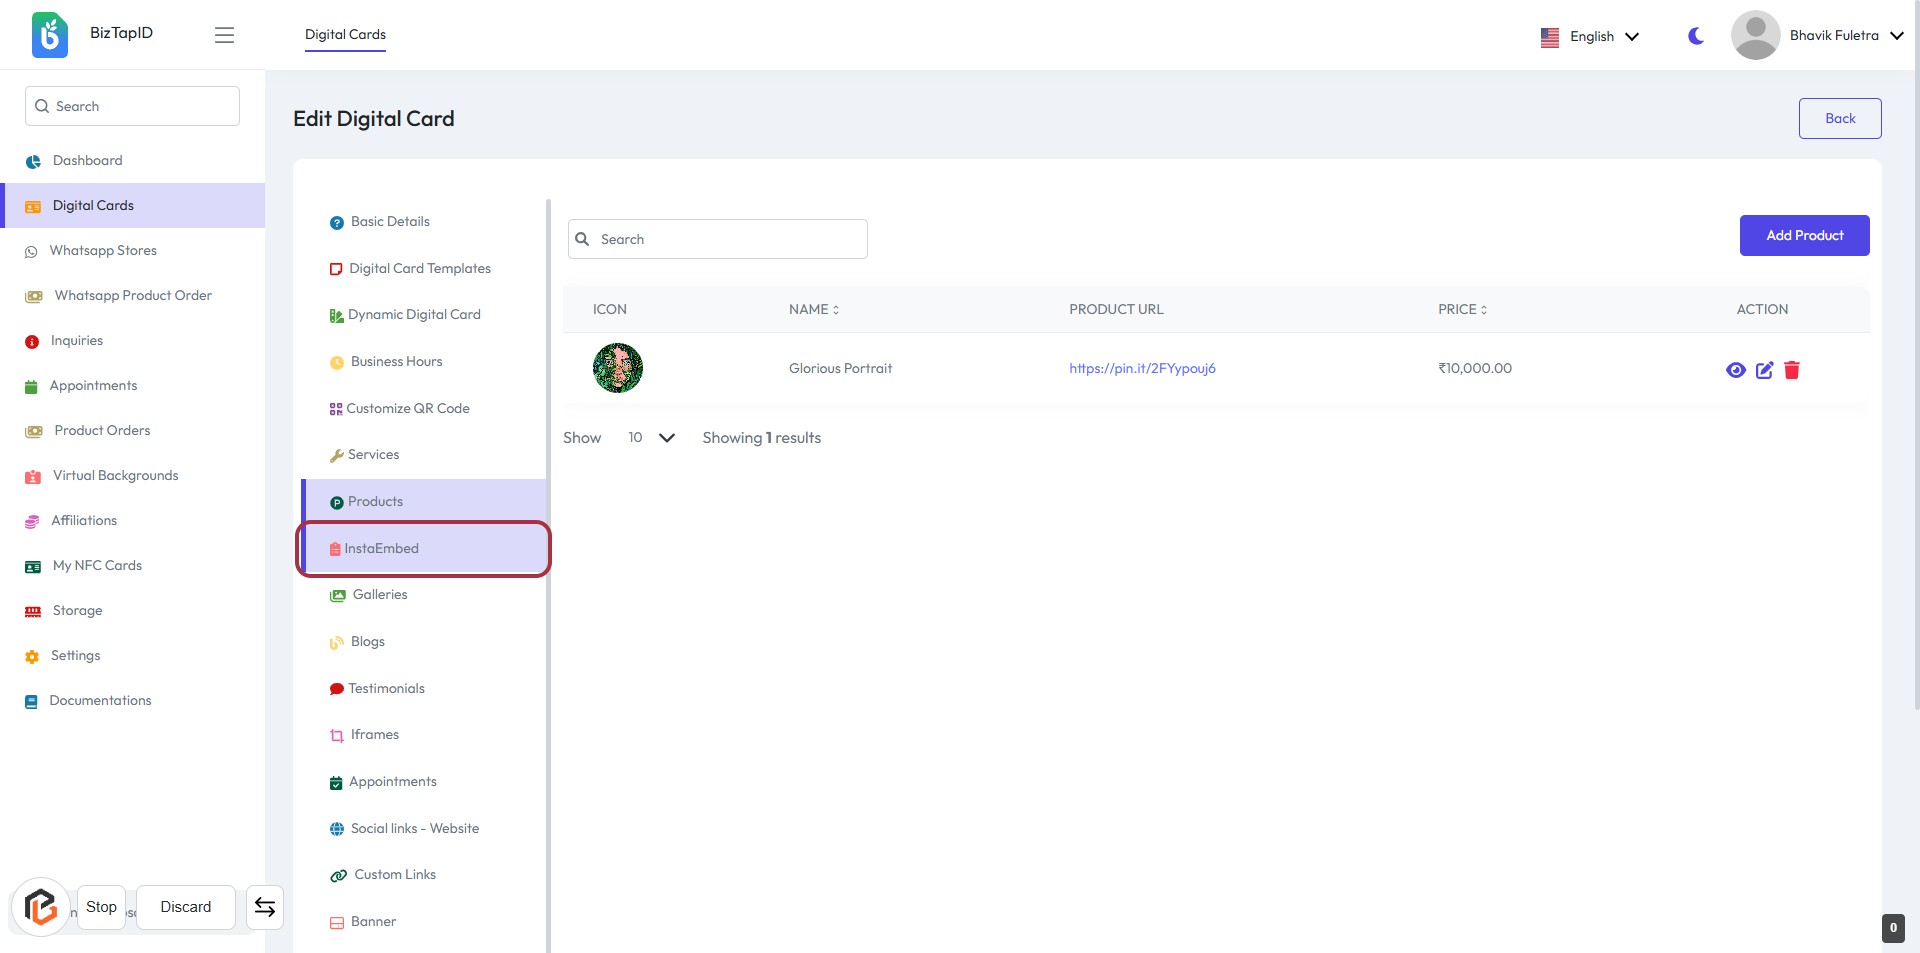
STEP 1: Click on "InstaEmbed" to Access Embed Options
- Navigate to the sidebar menu on the left.
- Locate and click on the "InstaEmbed" option highlighted in red.
- This will direct you to the section where you can manage embed tags for your digital card.
- Ensure to review any additional options available in this section for further customization.
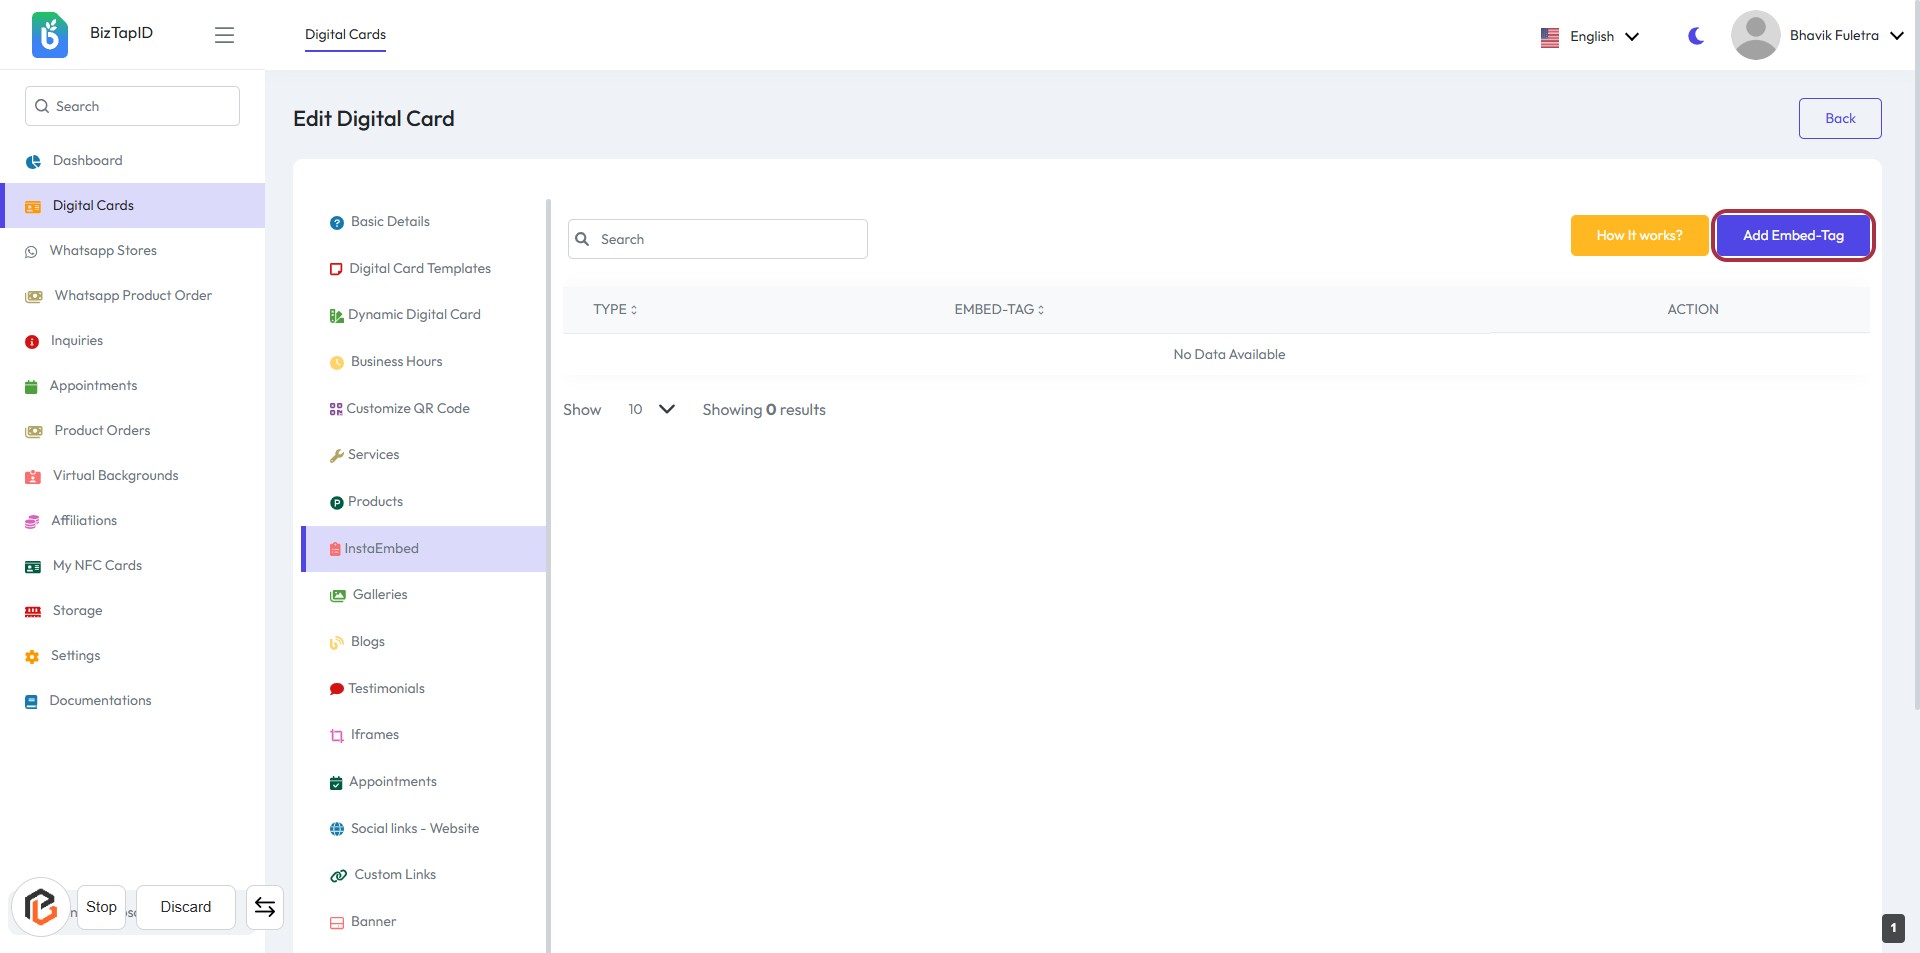
STEP 2: CLICK on "Add Embed-Tag"
- Navigate to the "Edit Digital Card" page.
- Locate the button labeled "Add Embed-Tag" in the highlighted area.
- Click on this button to initiate the process of adding an embed tag.
- Ensure you have the necessary information ready for the next step, which involves selecting the "Type."
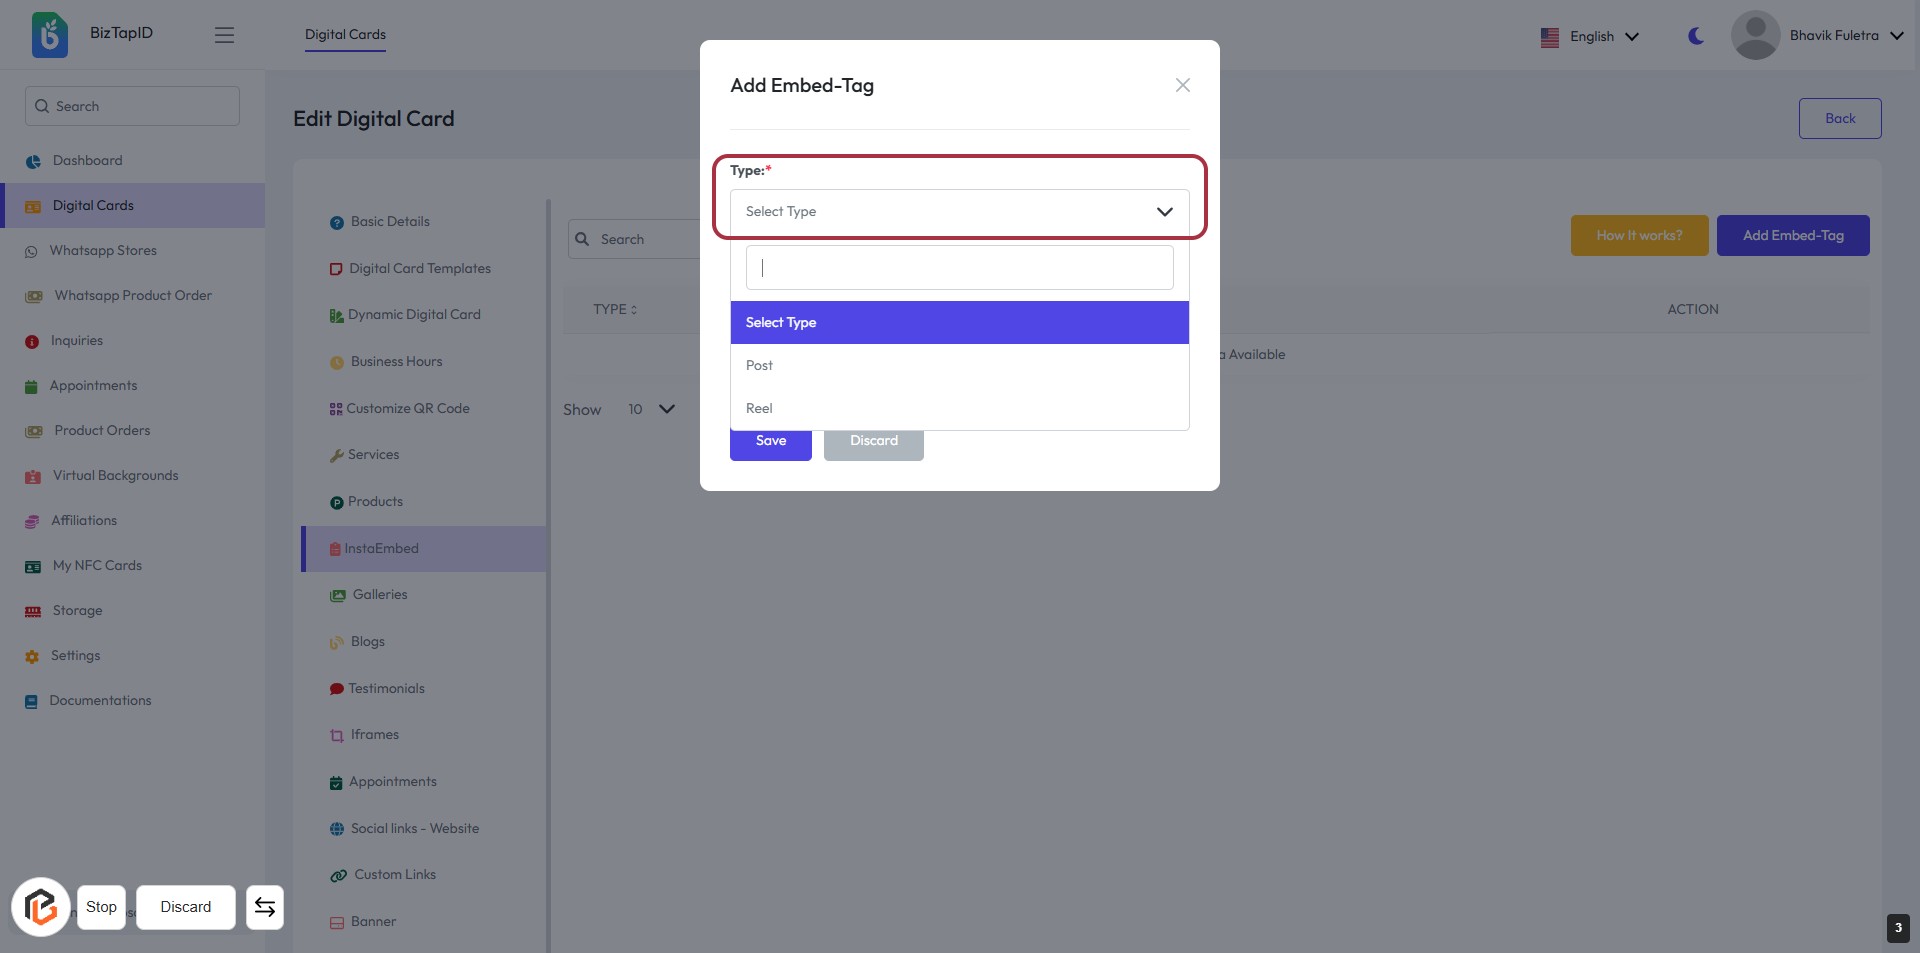
STEP 3: Select "Type"
- Click on the "Type" dropdown menu.
- Choose between the options: Post or Reel.
- Ensure to select an option marked with an asterisk (*) as it is required.
- After selection, proceed to the next step to add the "Embed-Tag".
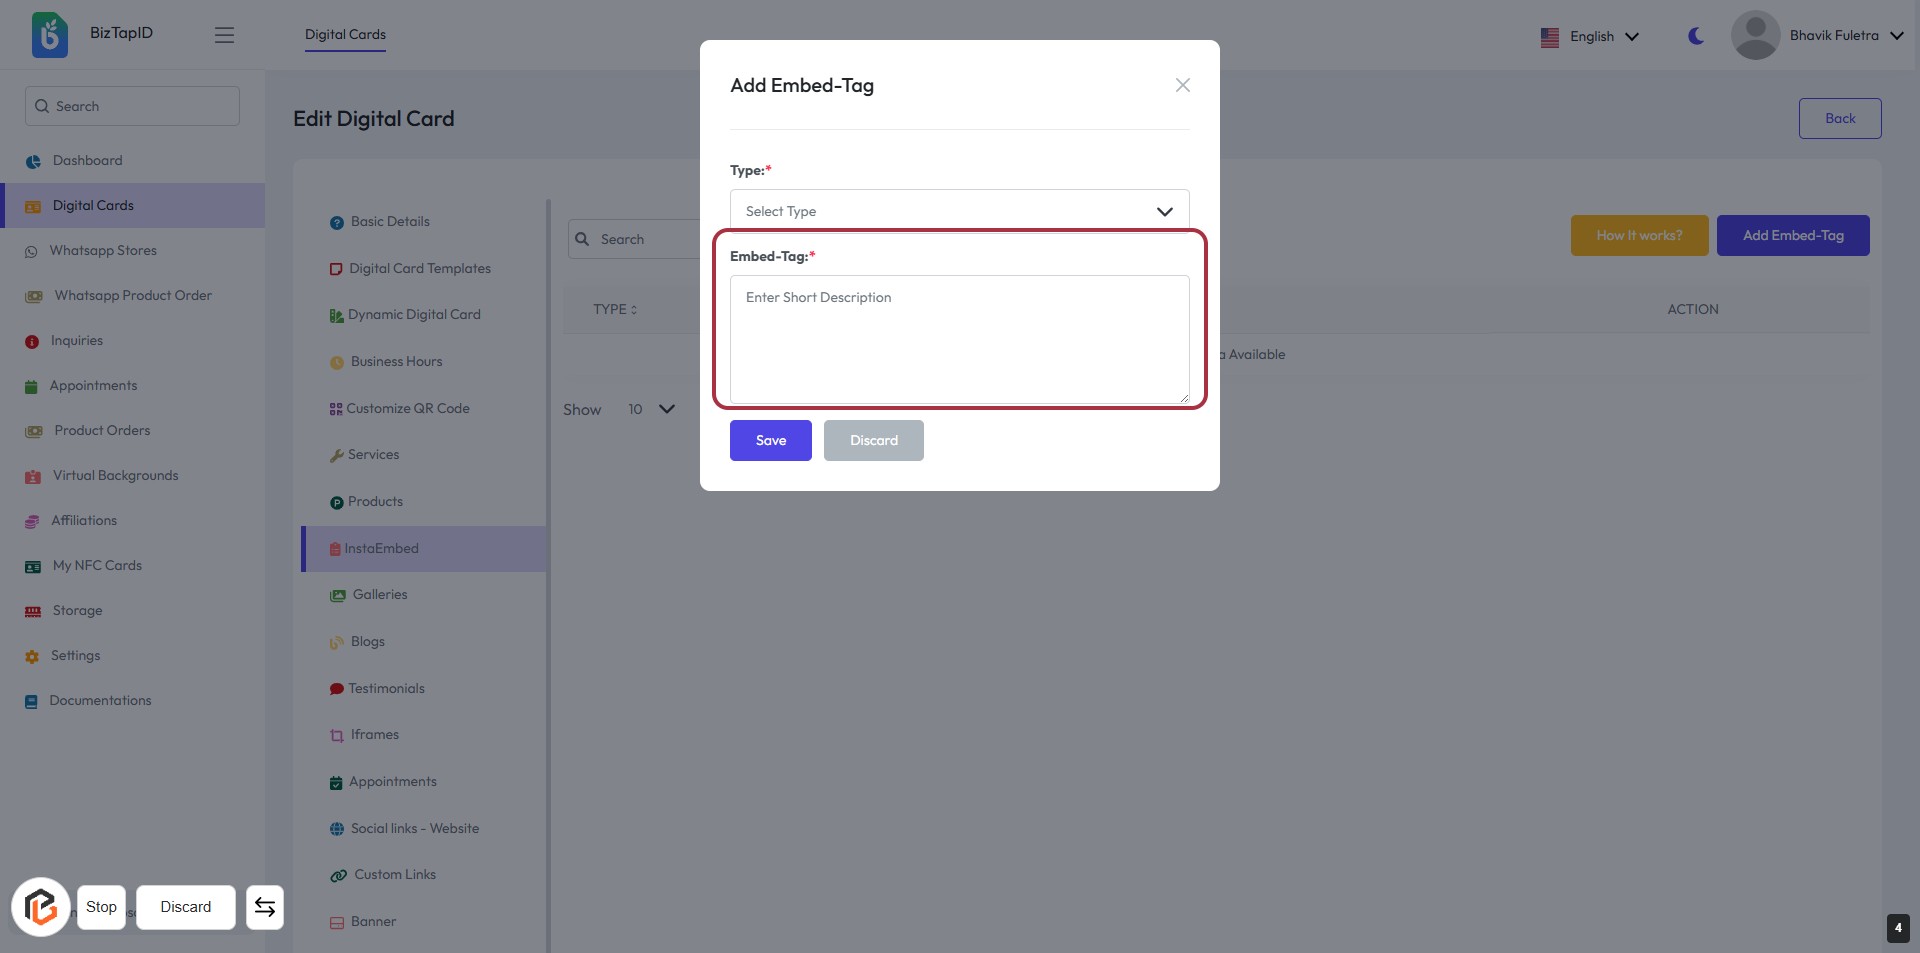
STEP 4: Click "Add Embed-Tag"
- Navigate to the "Add Embed-Tag" dialog.
- Required Fields:
- Type: Select the appropriate type from the dropdown (marked with *).
- Embed-Tag: Enter a short description (marked with *).
- After filling in the necessary information, proceed to the next step by clicking the "Save" button.
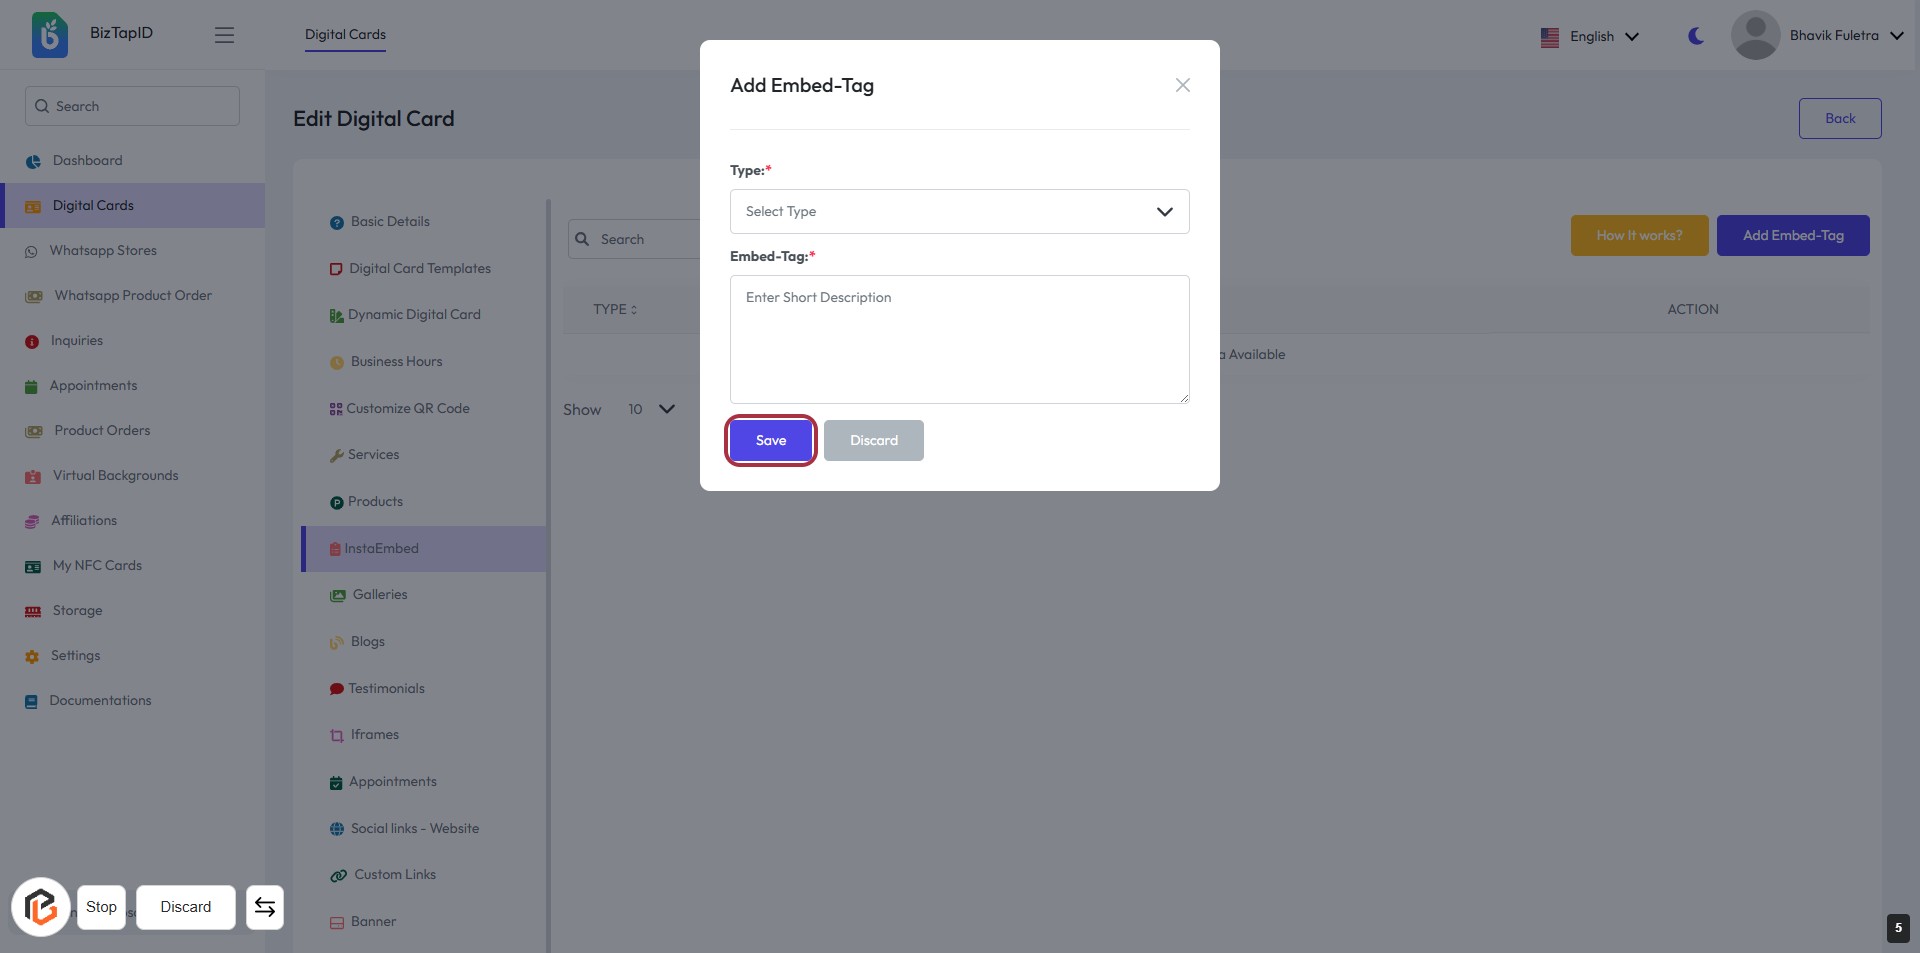
STEP 5: Click "Save" to Confirm Your Embed-Tag
- Ensure all required fields are filled:
- Type: Select the appropriate type from the dropdown.
- Embed-Tag: Enter a short description.
- Click the Save button to finalize your changes.
- Review the information before saving to avoid errors.