Step-by-Step Guide to Adding and Managing Social Links on Your Website
5 mins read · Updated 01 Oct, 2025
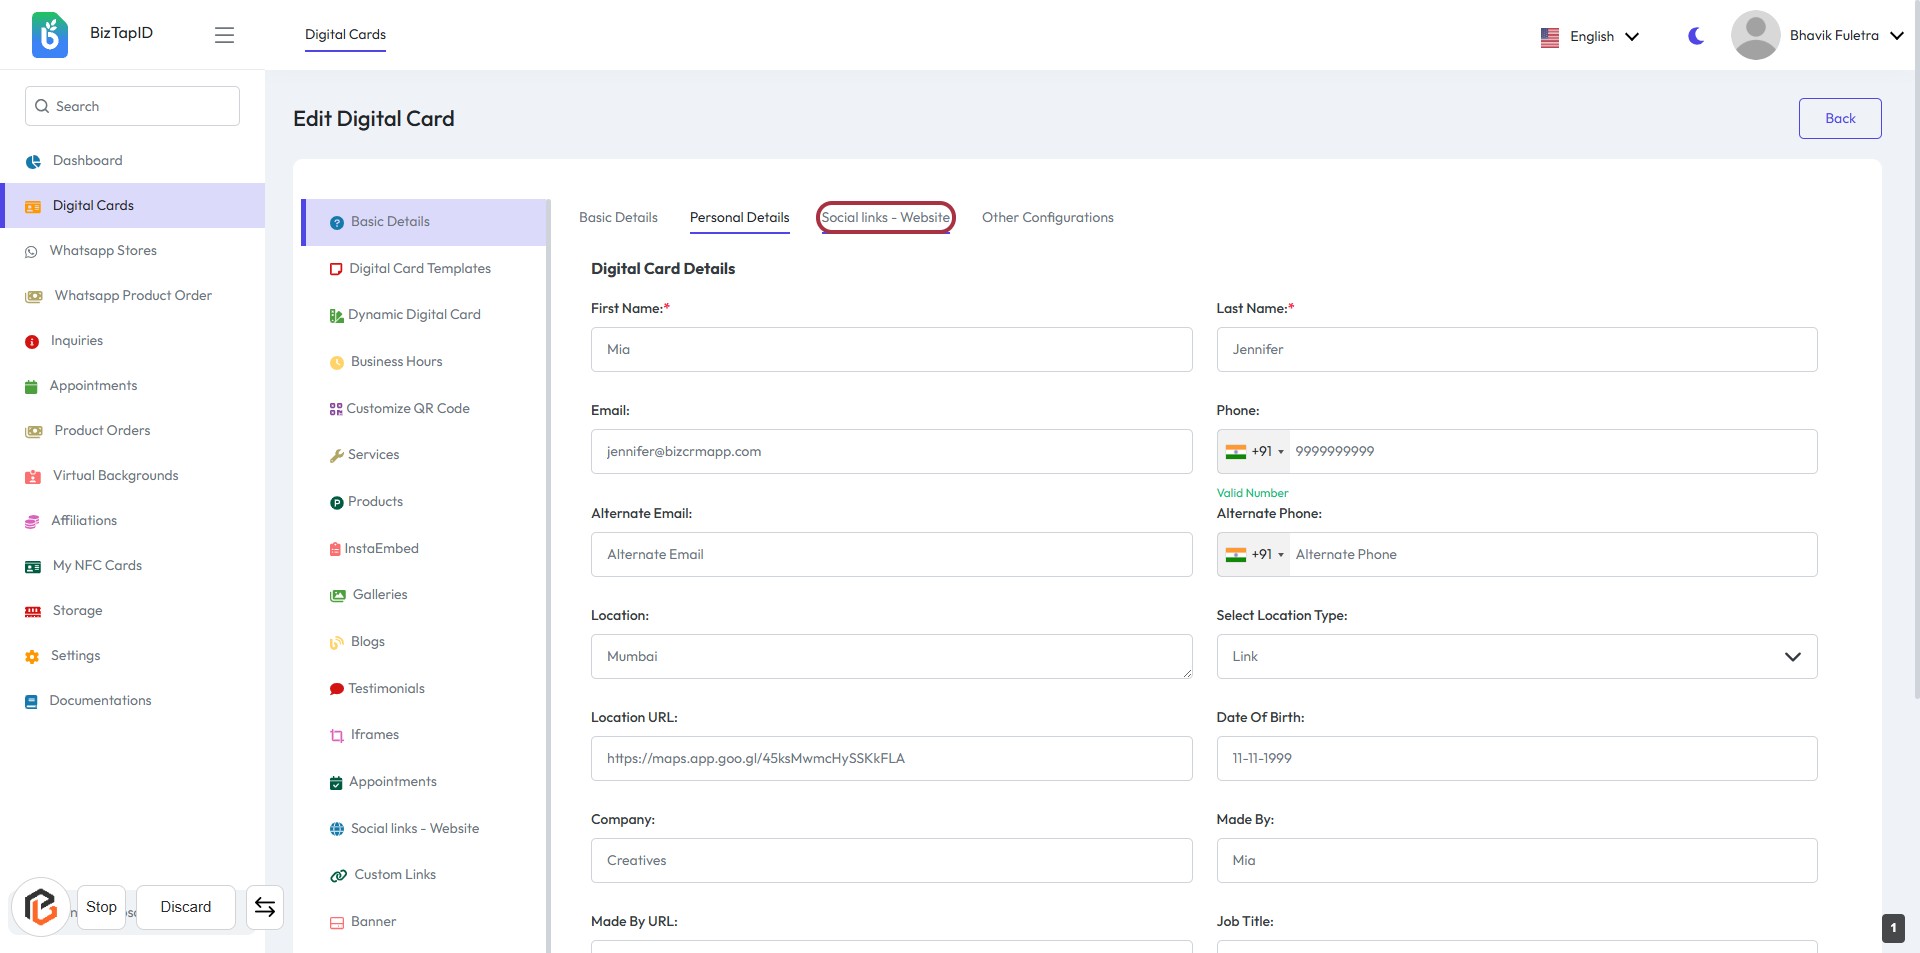
STEP 1: Click on "Social links - Website"
- Navigate to the "Social links - Website" section.
- Click on the highlighted area to access the relevant options.
- Ensure all required fields marked with an asterisk (*) are filled out.
- Review any optional fields for additional information you may want to provide.
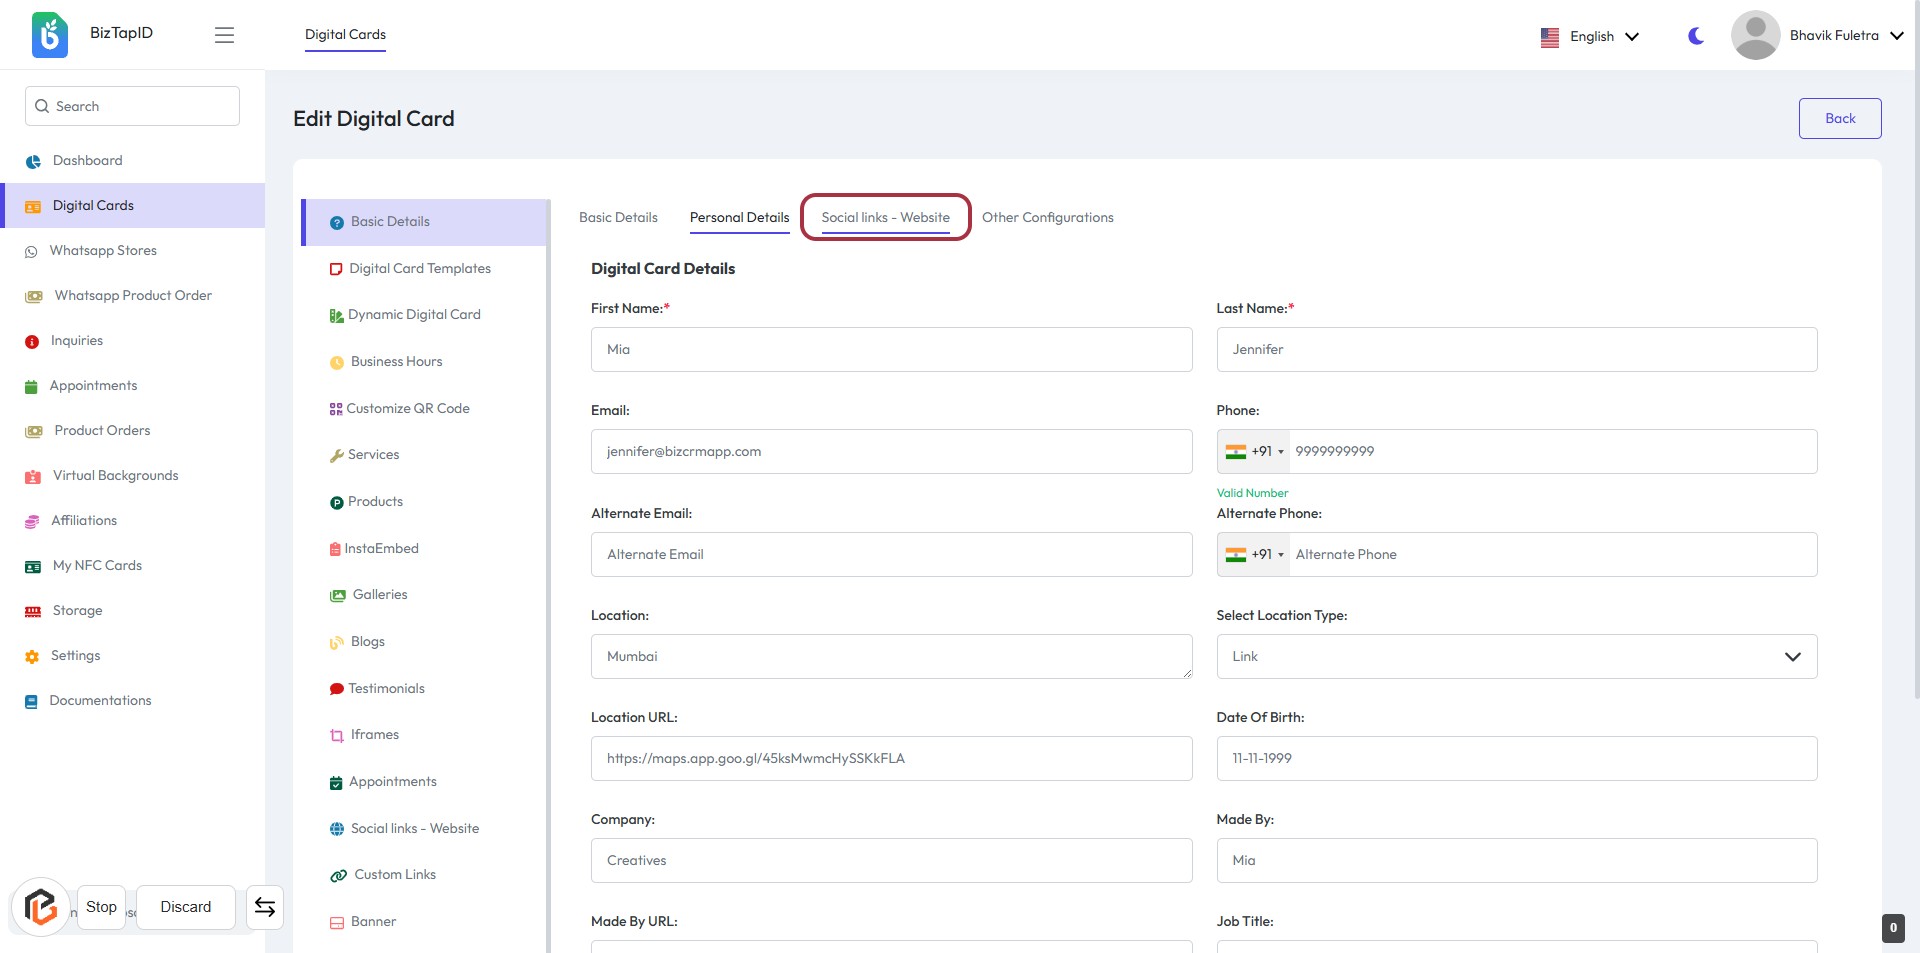
STEP 2: Click on "Social links - Website"
- Navigate to the Personal Details section.
- Click on Social links - Website to access the relevant form.
- Fill in the required fields marked with an asterisk (*).
- Ensure all information is accurate before proceeding to the next step.
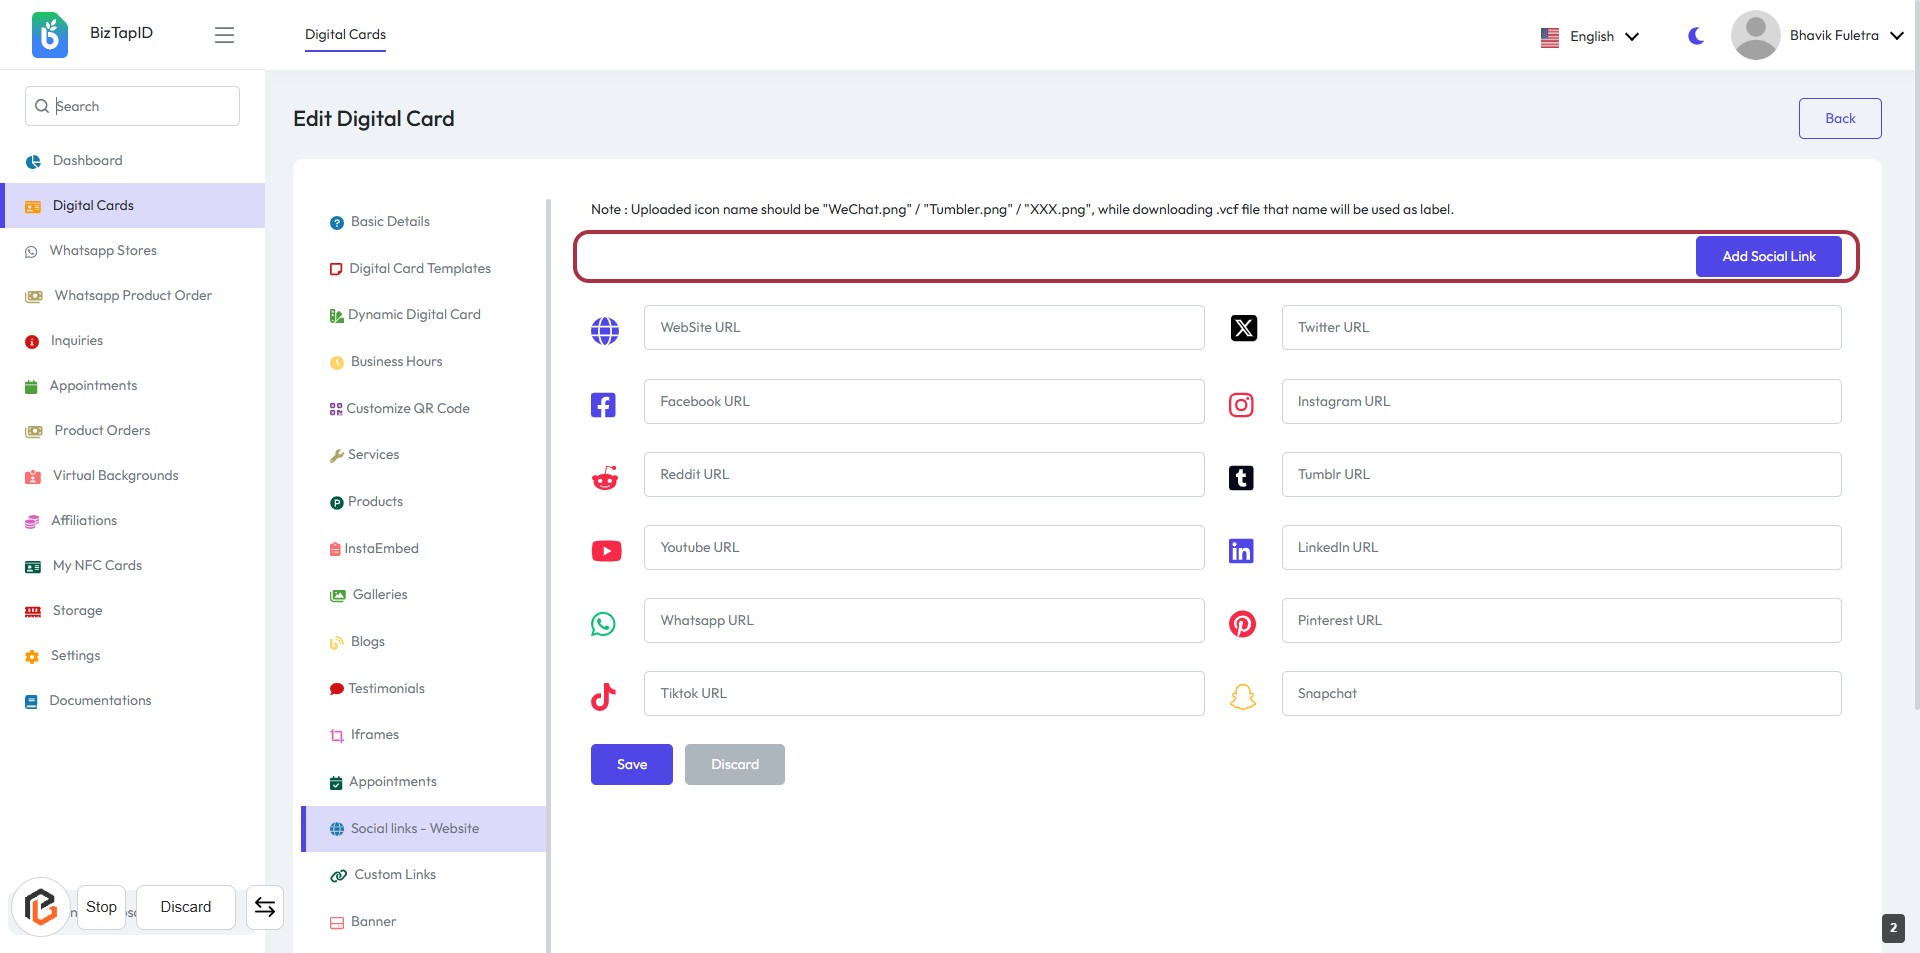
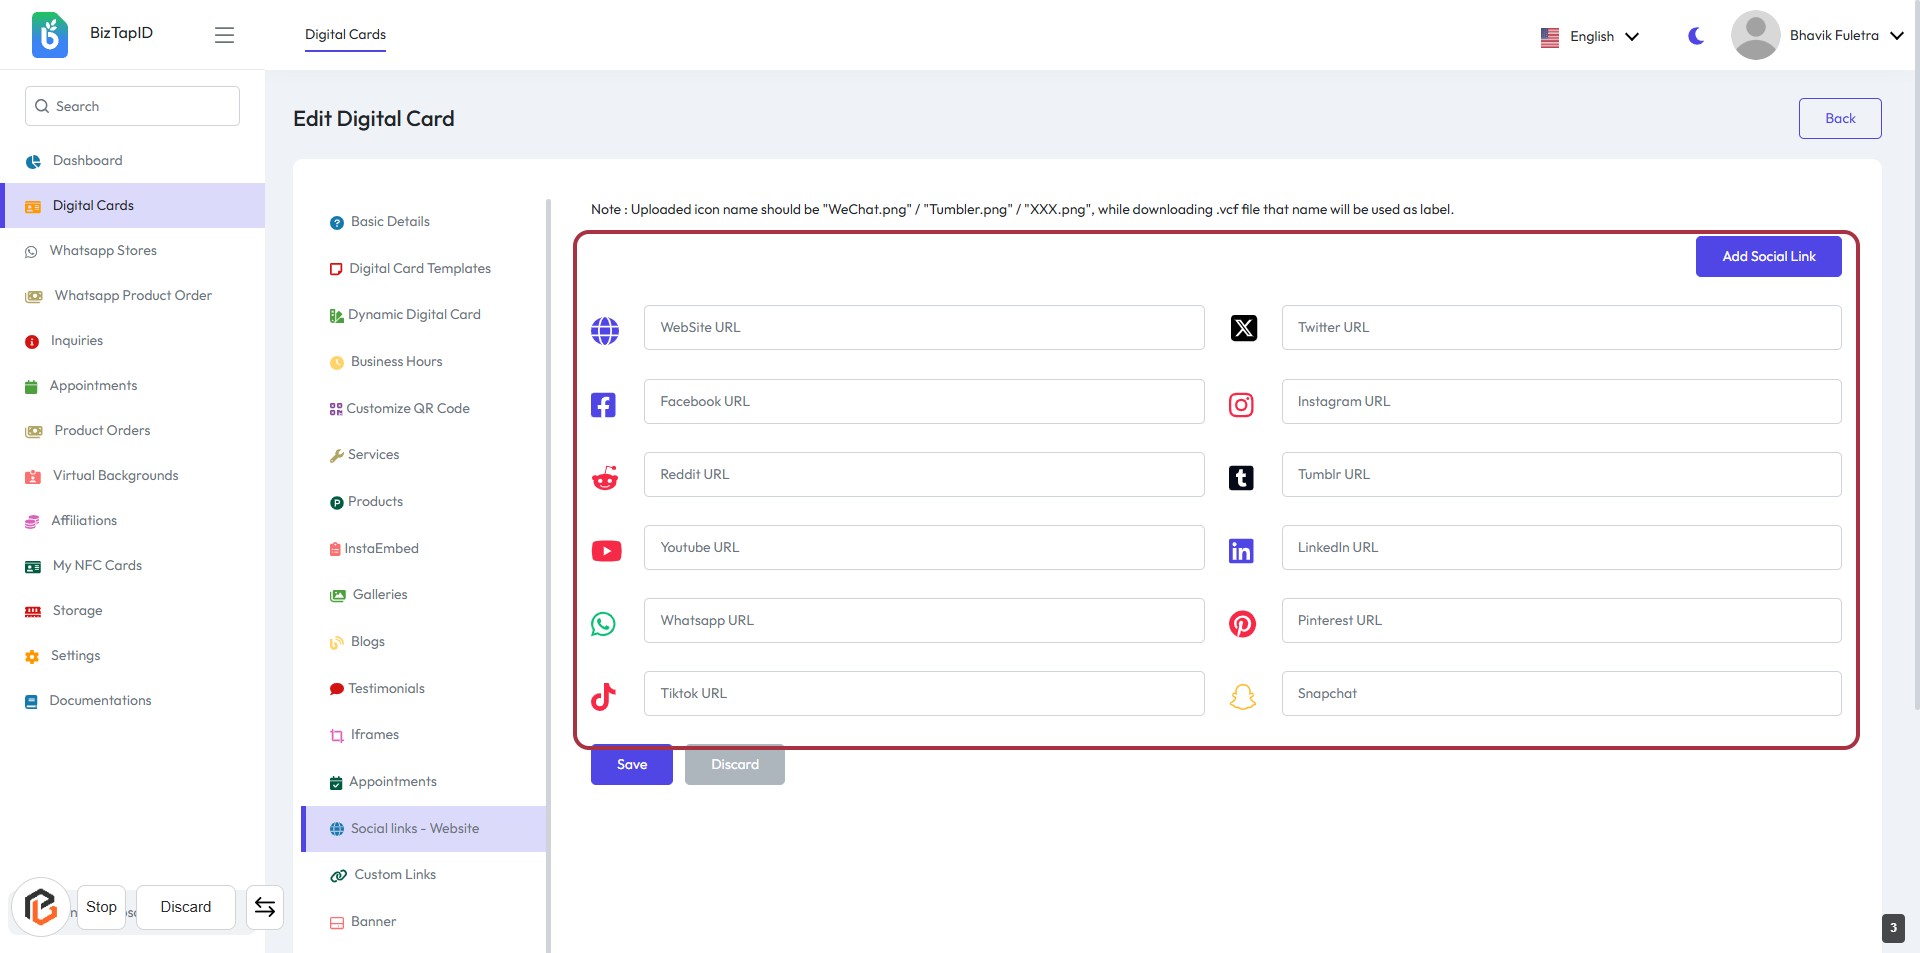
STEP 3: Click "Add Social Link" to Include a New Social Media URL
- Navigate to the highlighted area marked with a red border.
- Click on the "Add Social Link" button to initiate the process.
- Fill in the required fields for the new social link.
- Ensure to check for any fields marked with an asterisk (*) for mandatory inputs.
- Proceed to add additional social links as needed.
STEP 4: Click "Add Social Link" to Include a New Social Media URL
- Locate the highlighted area with the "Add Social Link" button.
- Click on the "Add Social Link" button to add a new social media URL.
- Ensure to fill in the required fields for each social media platform (indicated by *).
- Review the existing social links for accuracy before proceeding.
- After adding, click on the "Save" button to finalize your changes.
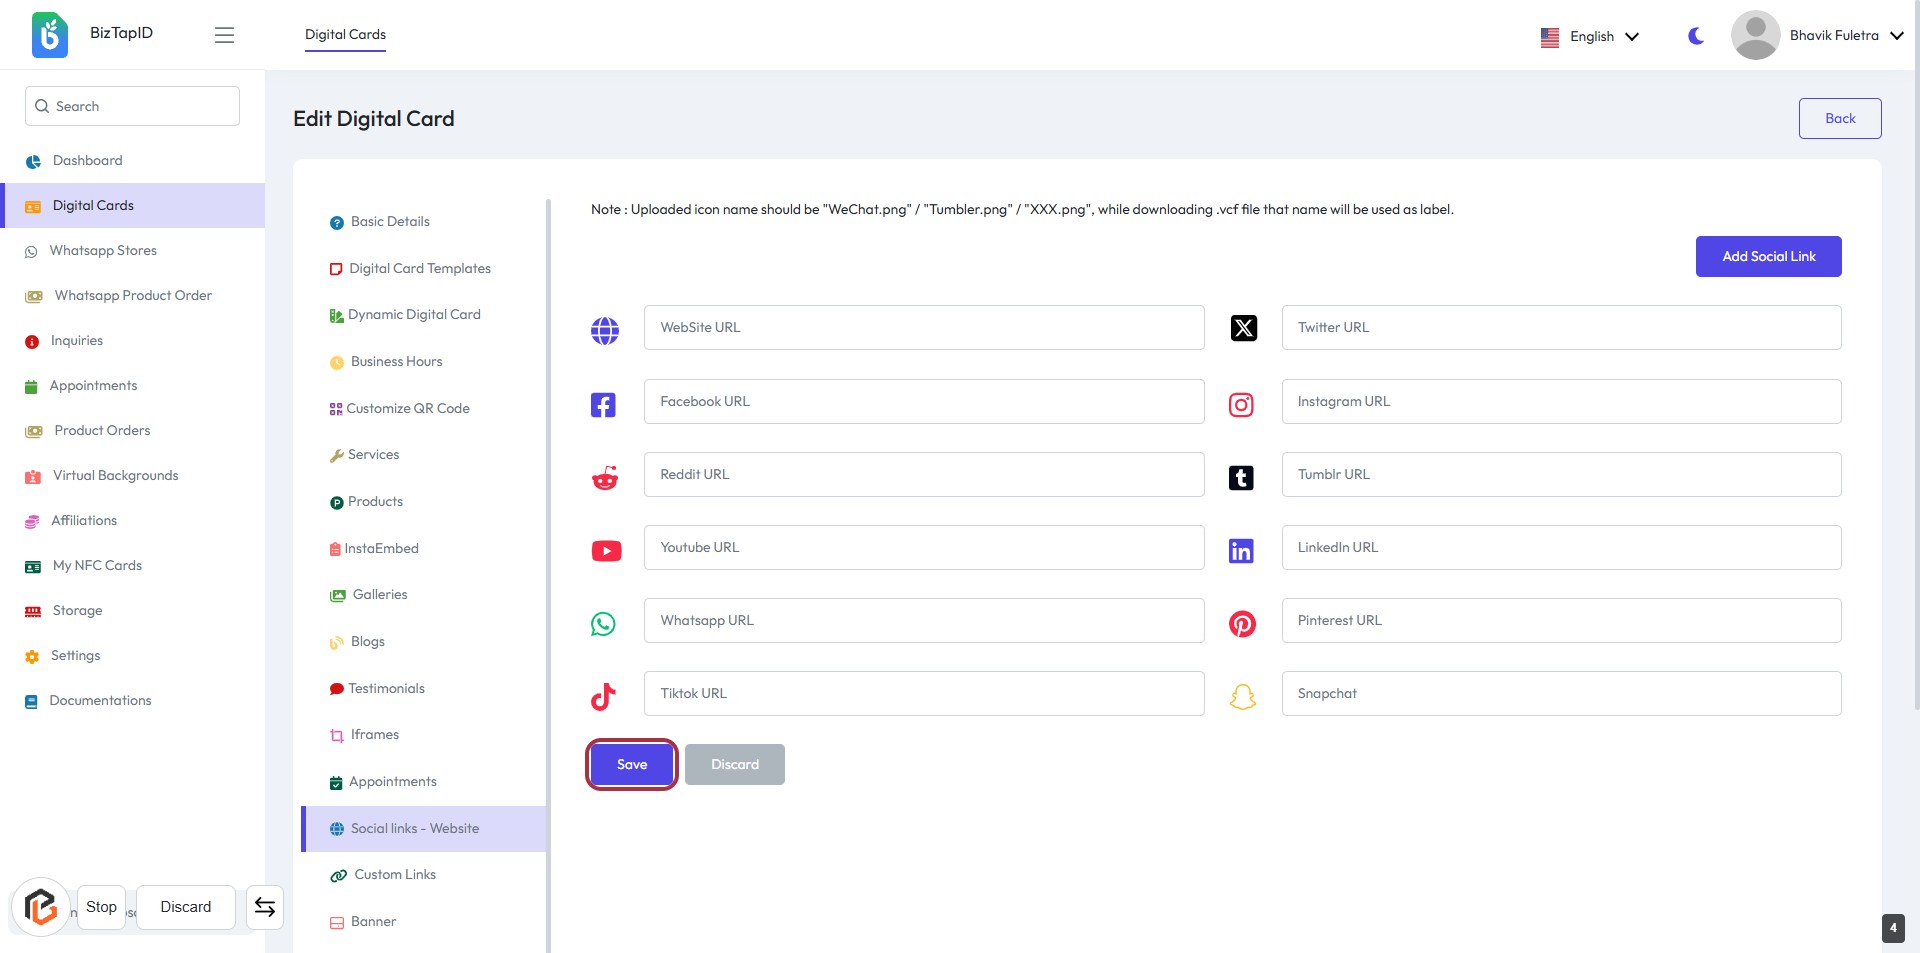
STEP 5: Click "Save" to Finalize Your Social Links
- Ensure all social media URLs are entered in the respective fields.
- Click the "Save" button at the bottom of the form to save your changes.
- Review the information for accuracy before saving.
- If needed, you can click "Discard" to cancel any changes.