Step-by-Step Guide to Adding and Configuring Services in the Digital Card Editor
8 mins read · Updated 01 Oct, 2025
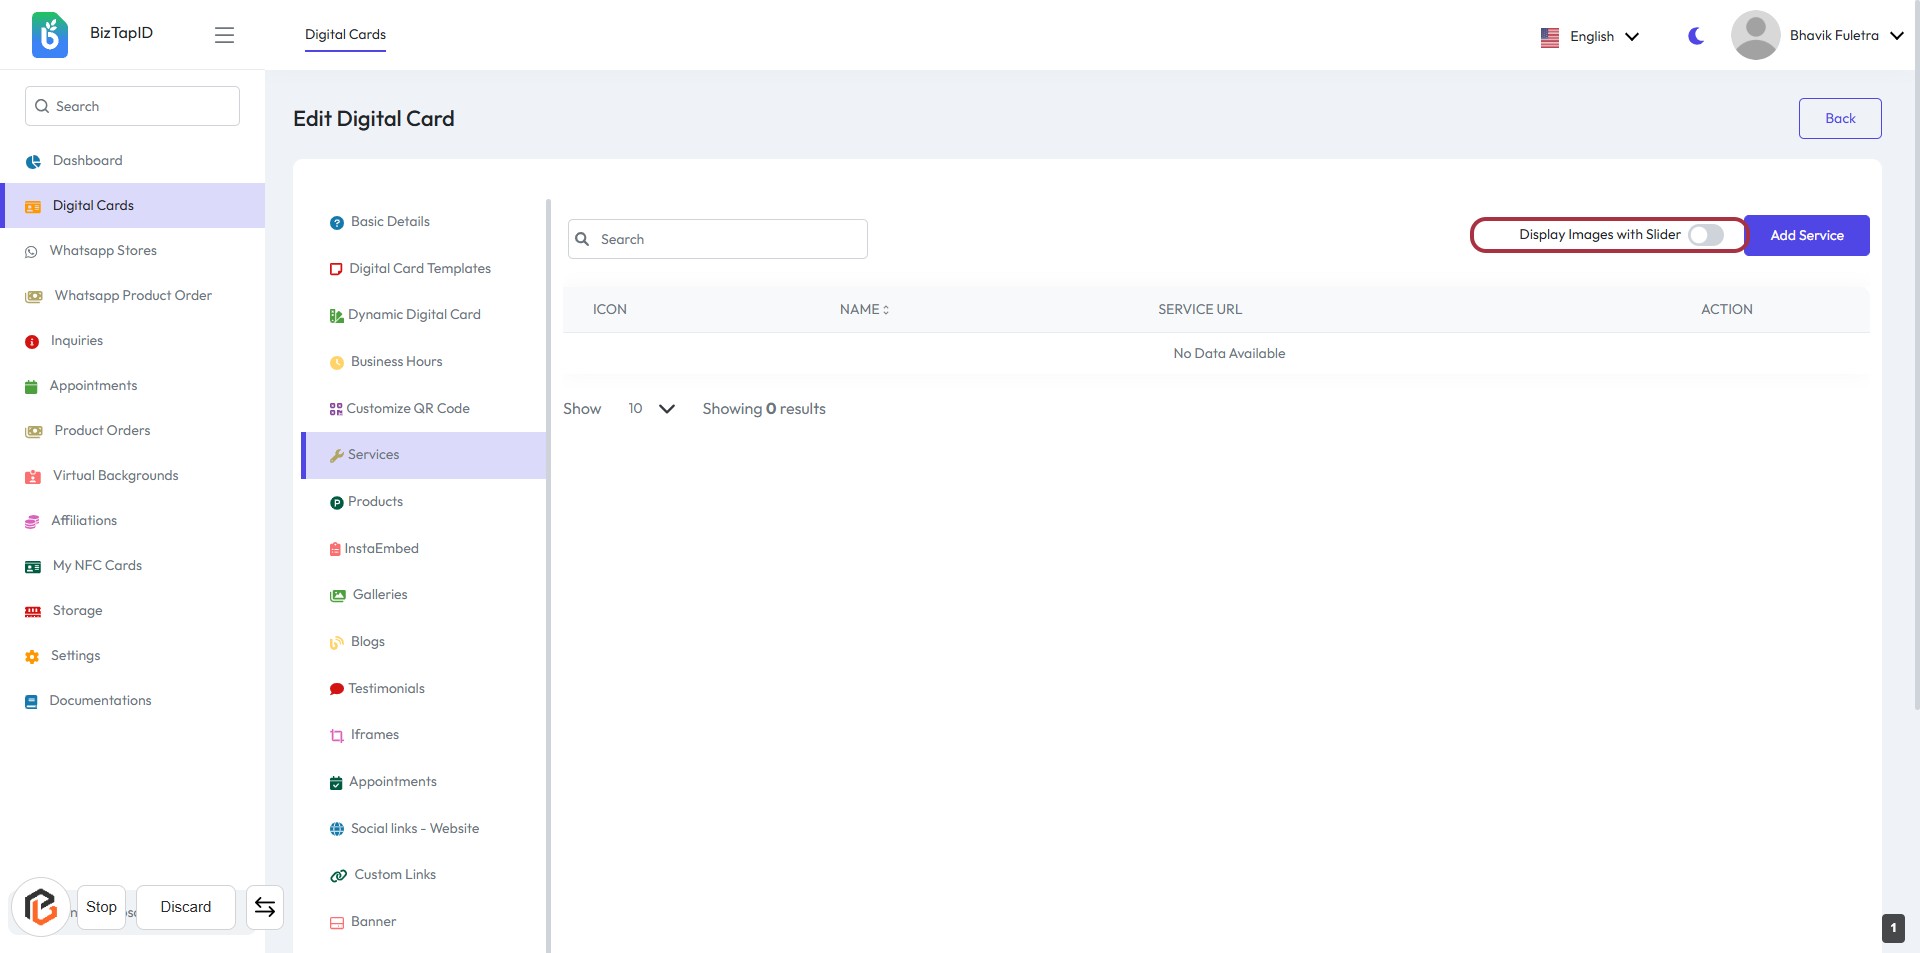
STEP 1: Click on "Services" in the Digital Card Editor
- Navigate to the left sidebar of the Digital Card Editor.
- Click on the highlighted "Services" option to access service settings.
- Ensure to review the available options for managing your services.
- After making your selections, proceed to the next step to turn on "Display Images with Slider."
STEP 2: Click on "Display Images with Slider"
- Locate the "Display Images with Slider" toggle in the Digital Card Editor.
- Click on the toggle to enable or disable the image slider feature.
- Ensure the toggle reflects your desired setting before proceeding.
- Next, you can click on "Add Service" to continue.
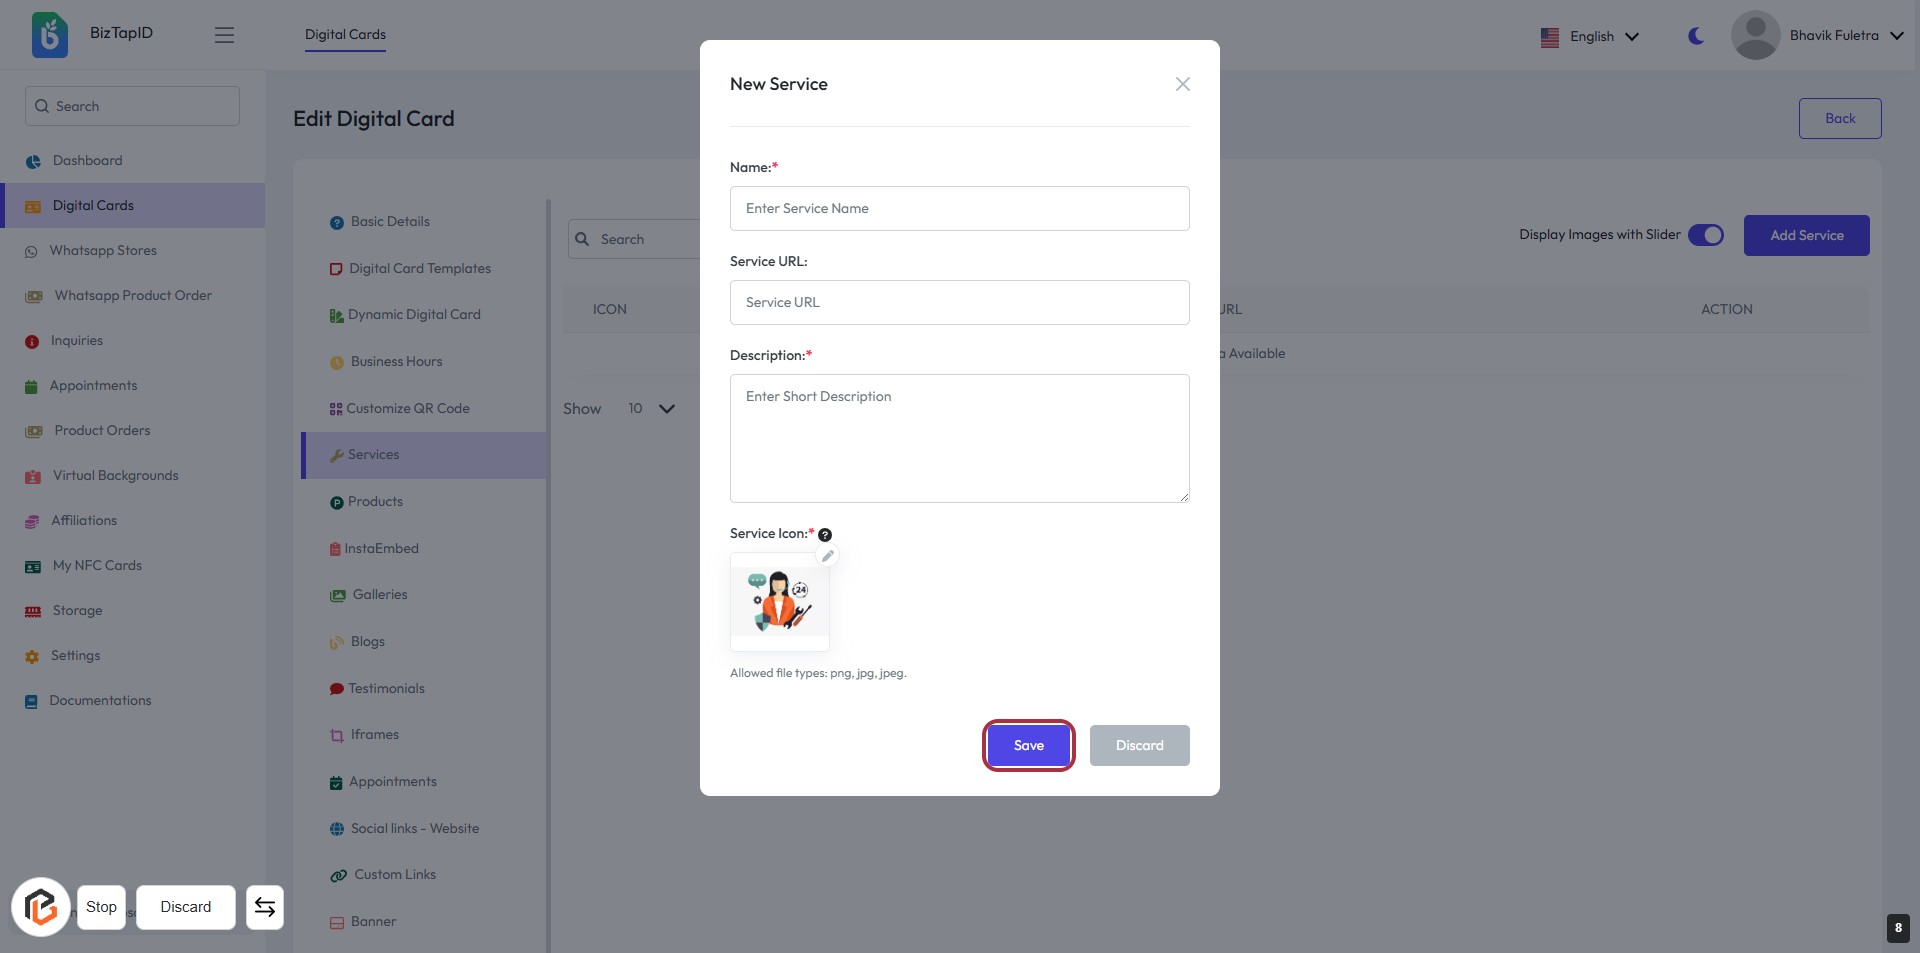
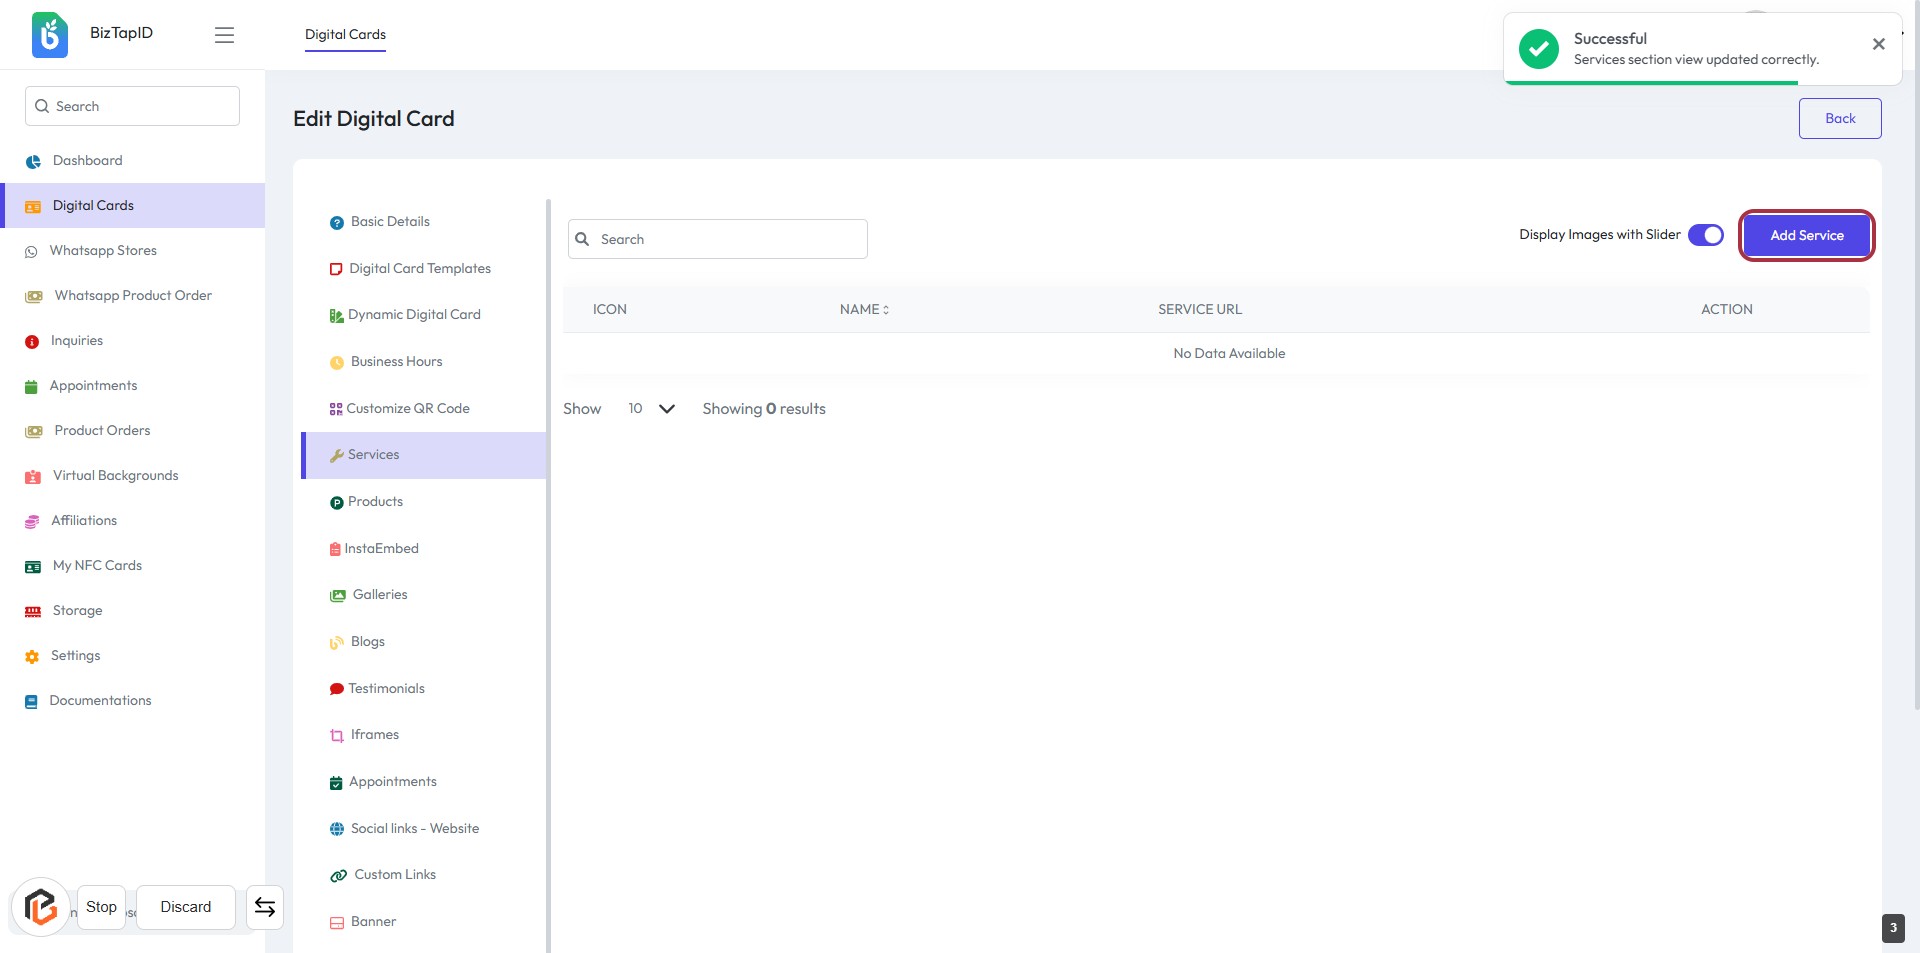
STEP 3: CLICK on "Add Service"
- Navigate to the "Services" section of the Digital Card.
- Locate the "Add Service" button highlighted in the interface.
- Click on the "Add Service" button to proceed.
- Ensure you have completed the previous step of displaying images with a slider.
- After clicking, you will be directed to a form to enter service details.
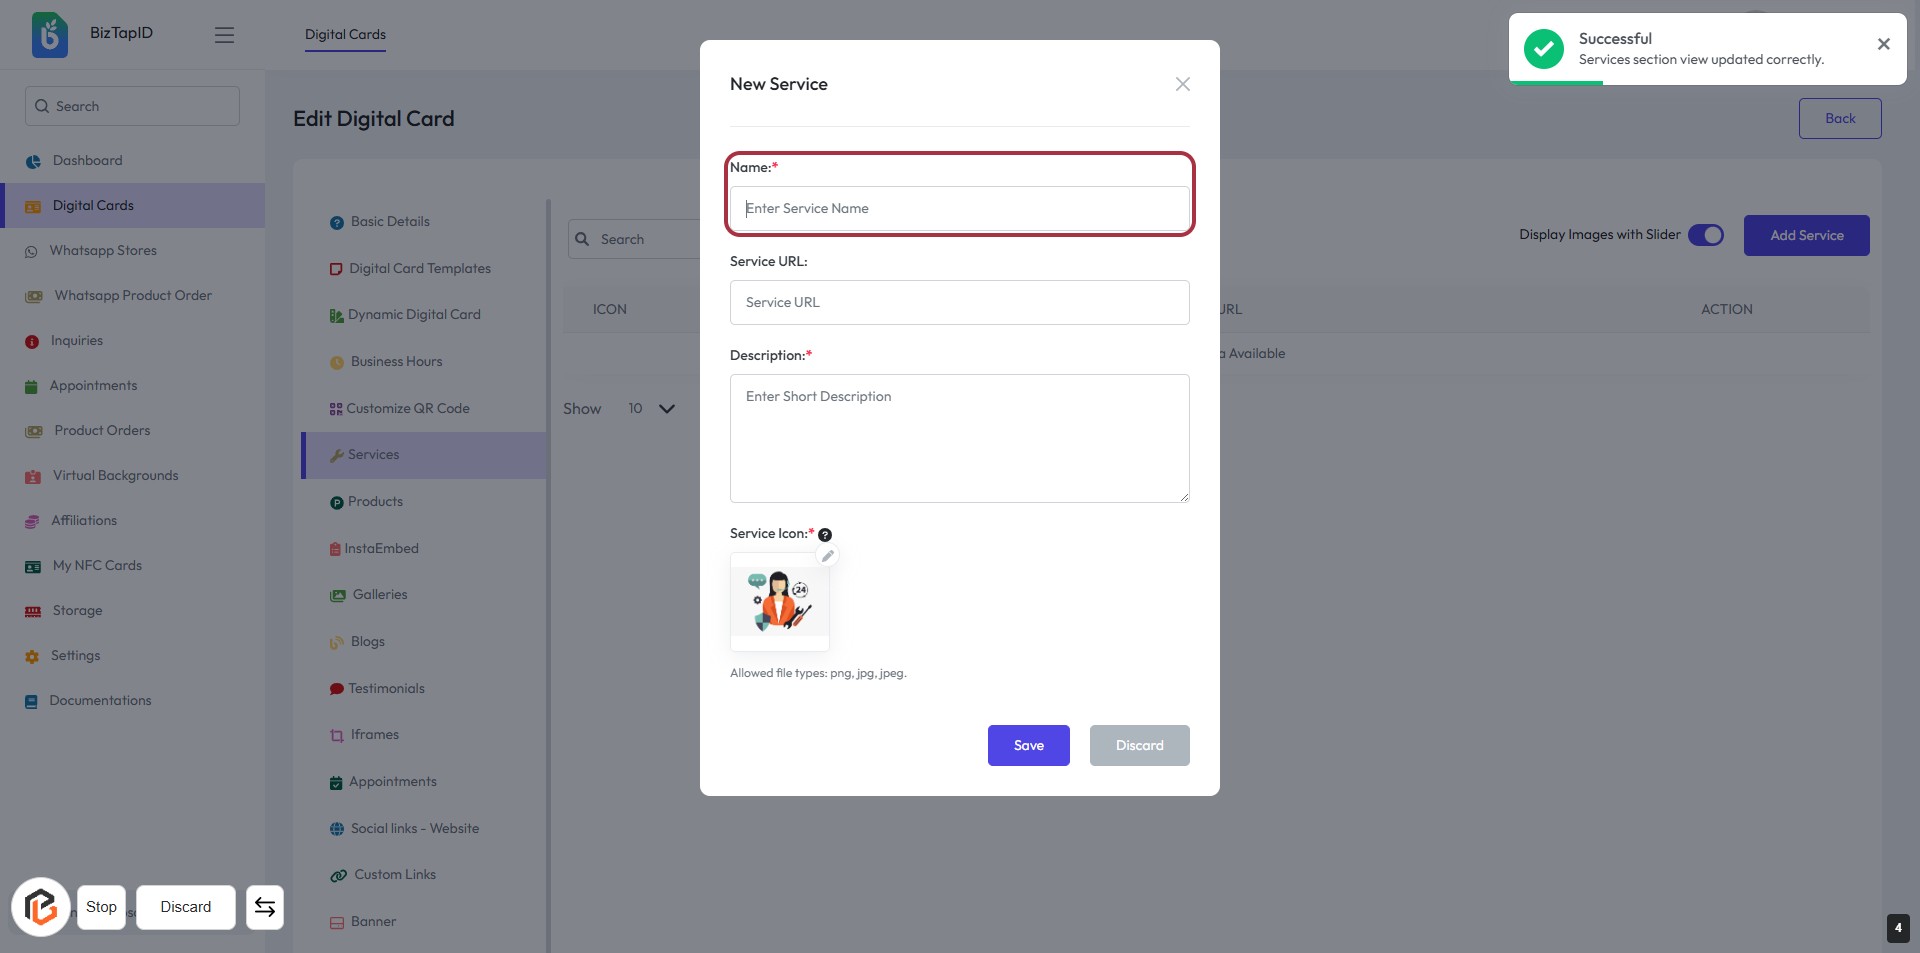
STEP 4: Enter "Name" for the New Service
- Click on the "Name" field in the form.
- Enter the name of the service you wish to add (required).
- Ensure the name is descriptive and relevant to the service.
- Look for the asterisk (*) indicating that this field is mandatory.
- Proceed to the next step by entering the "Service URL".
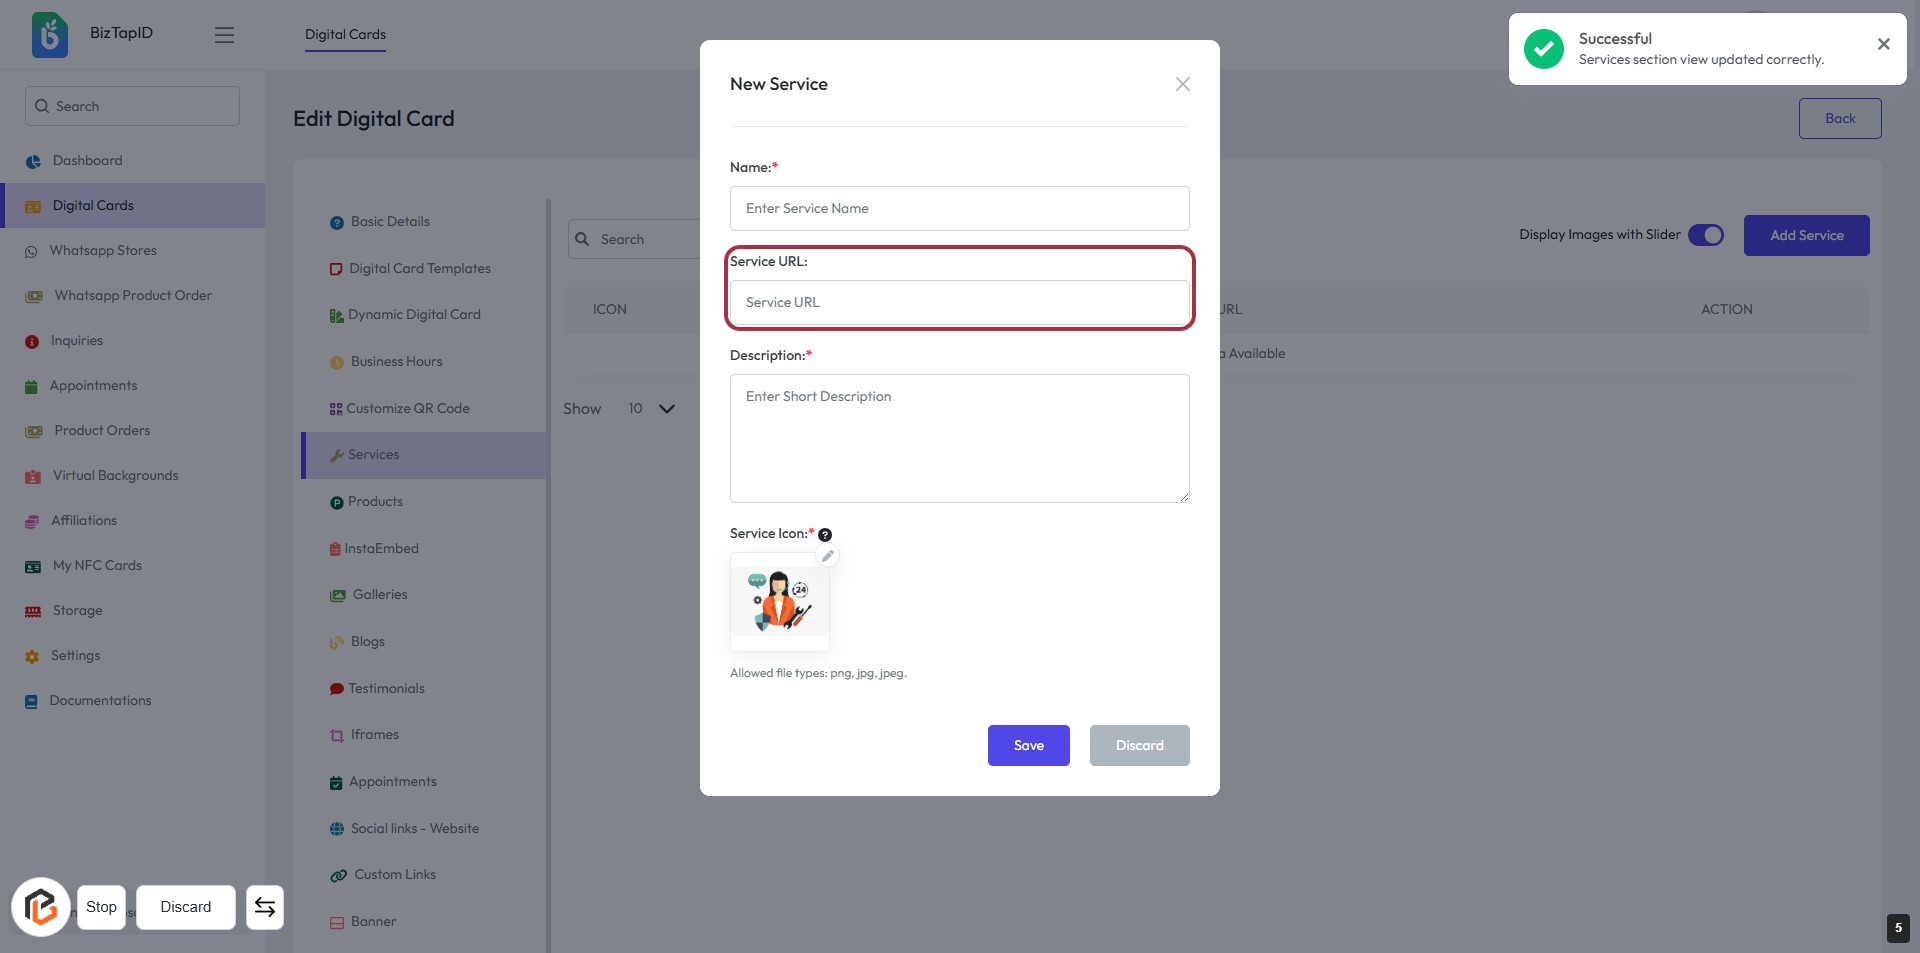
STEP 5: Enter "Service URL"
- Click on the highlighted area labeled "Service URL."
- Input the URL for the service you are adding.
- Ensure the URL is correct and follows the required format.
- Fields marked with an asterisk (*) are mandatory.
- Proceed to the next step by writing the "Description."
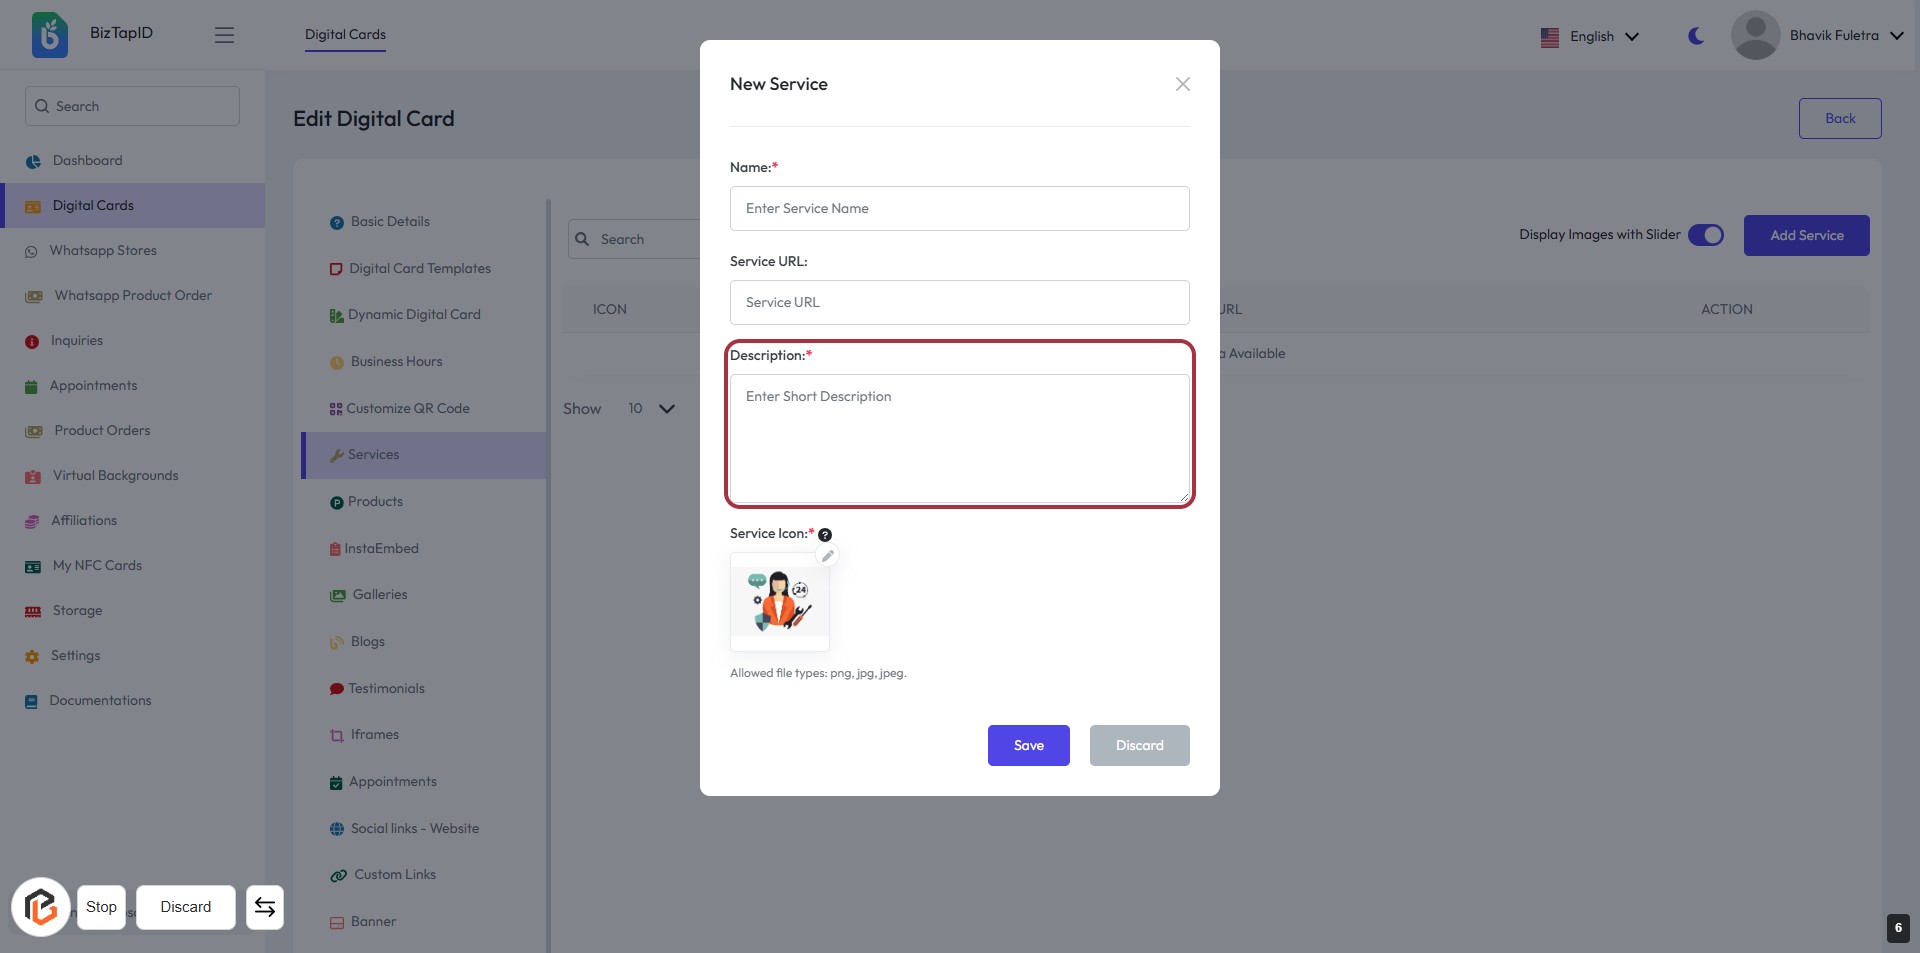
STEP 6: Click "Description" to Add Service Details
- Click on the highlighted area labeled "Description:" to enter a brief overview of the service.
- Ensure to provide a concise description as this field is mandatory (indicated by the asterisk).
- Review your input for clarity and relevance before proceeding to the next step.
STEP 7: Upload "Service Icon"
- Click on the Service Icon area to upload an image.
- Ensure the image format is either png, jpg, or jpeg.
- This step is mandatory as indicated by the asterisk (*).
- After uploading, proceed to the next step by clicking the Save button.

STEP 8: CLICK on "Save" Button