Step-by-Step Guide to Adding a Product on Biztapid
9 mins read · Updated 01 Oct, 2025
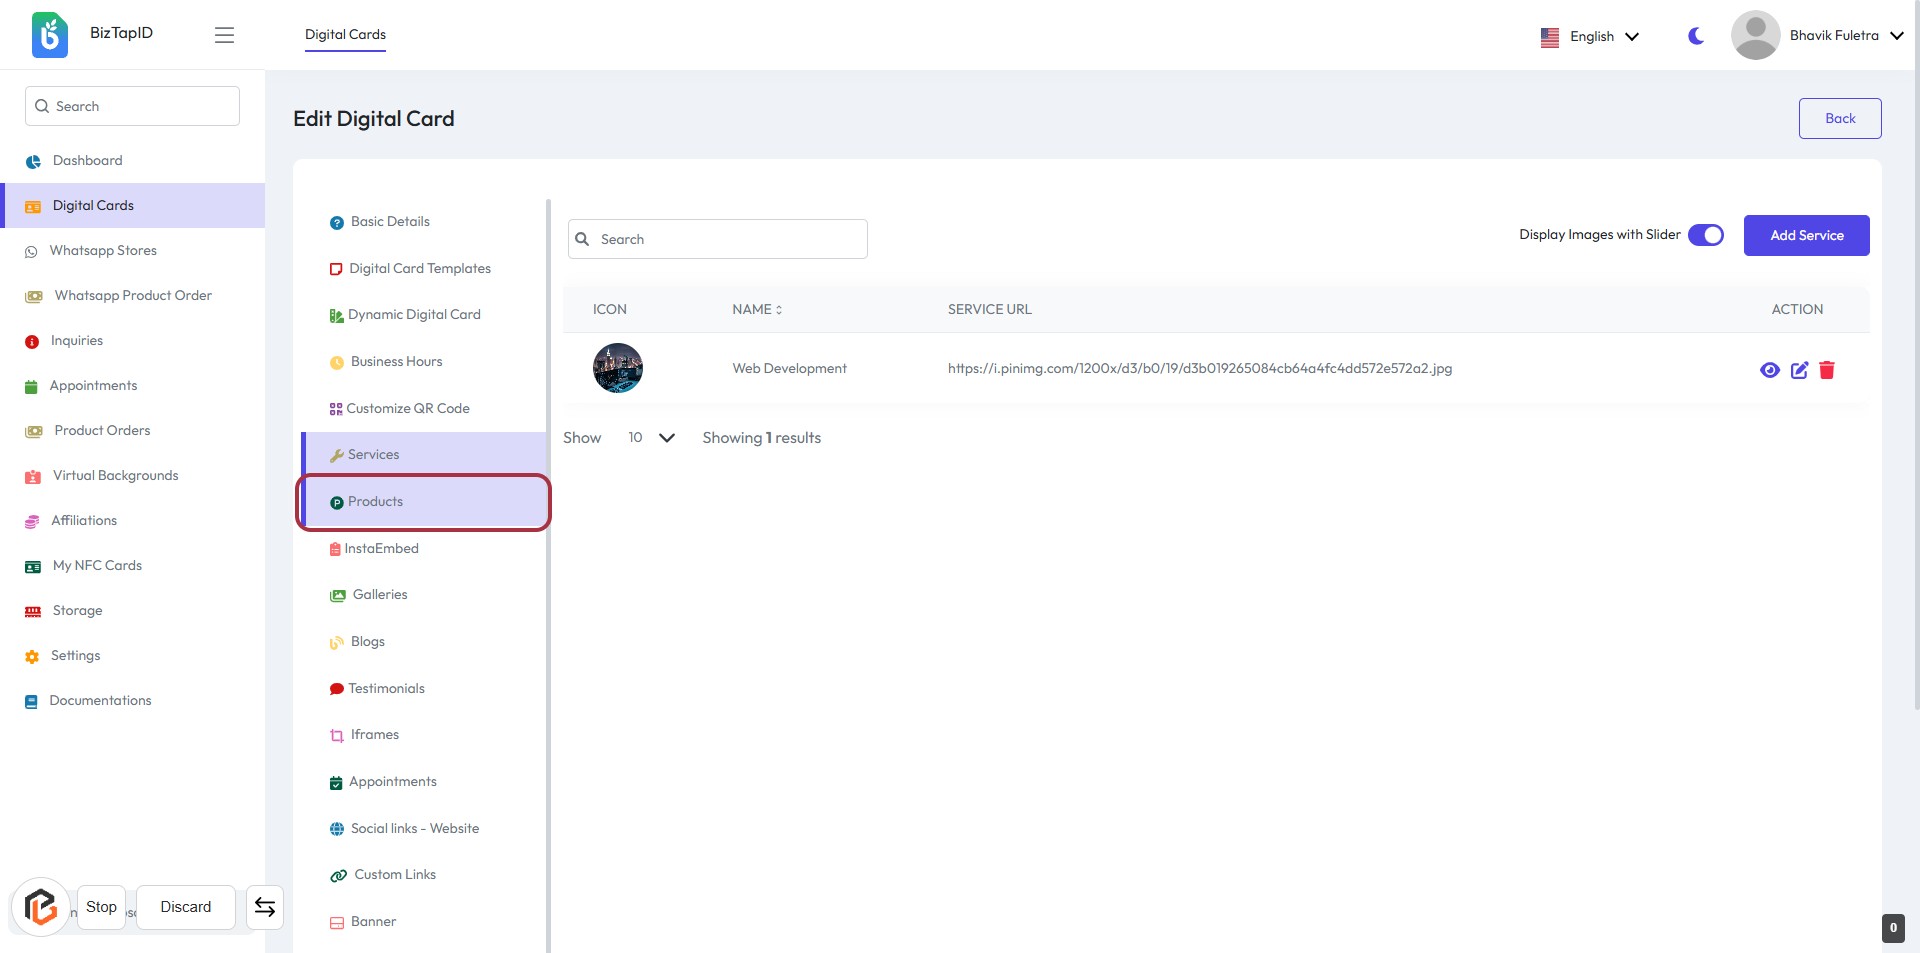
STEP 1: Click on "Products" to Access Product Management
- Navigate to biztapid.com and click on Products in the sidebar.
- This will direct you to the Edit Digital Card section.
- Ensure you see the Products option highlighted.
- Proceed to the next step by clicking on Add Product.
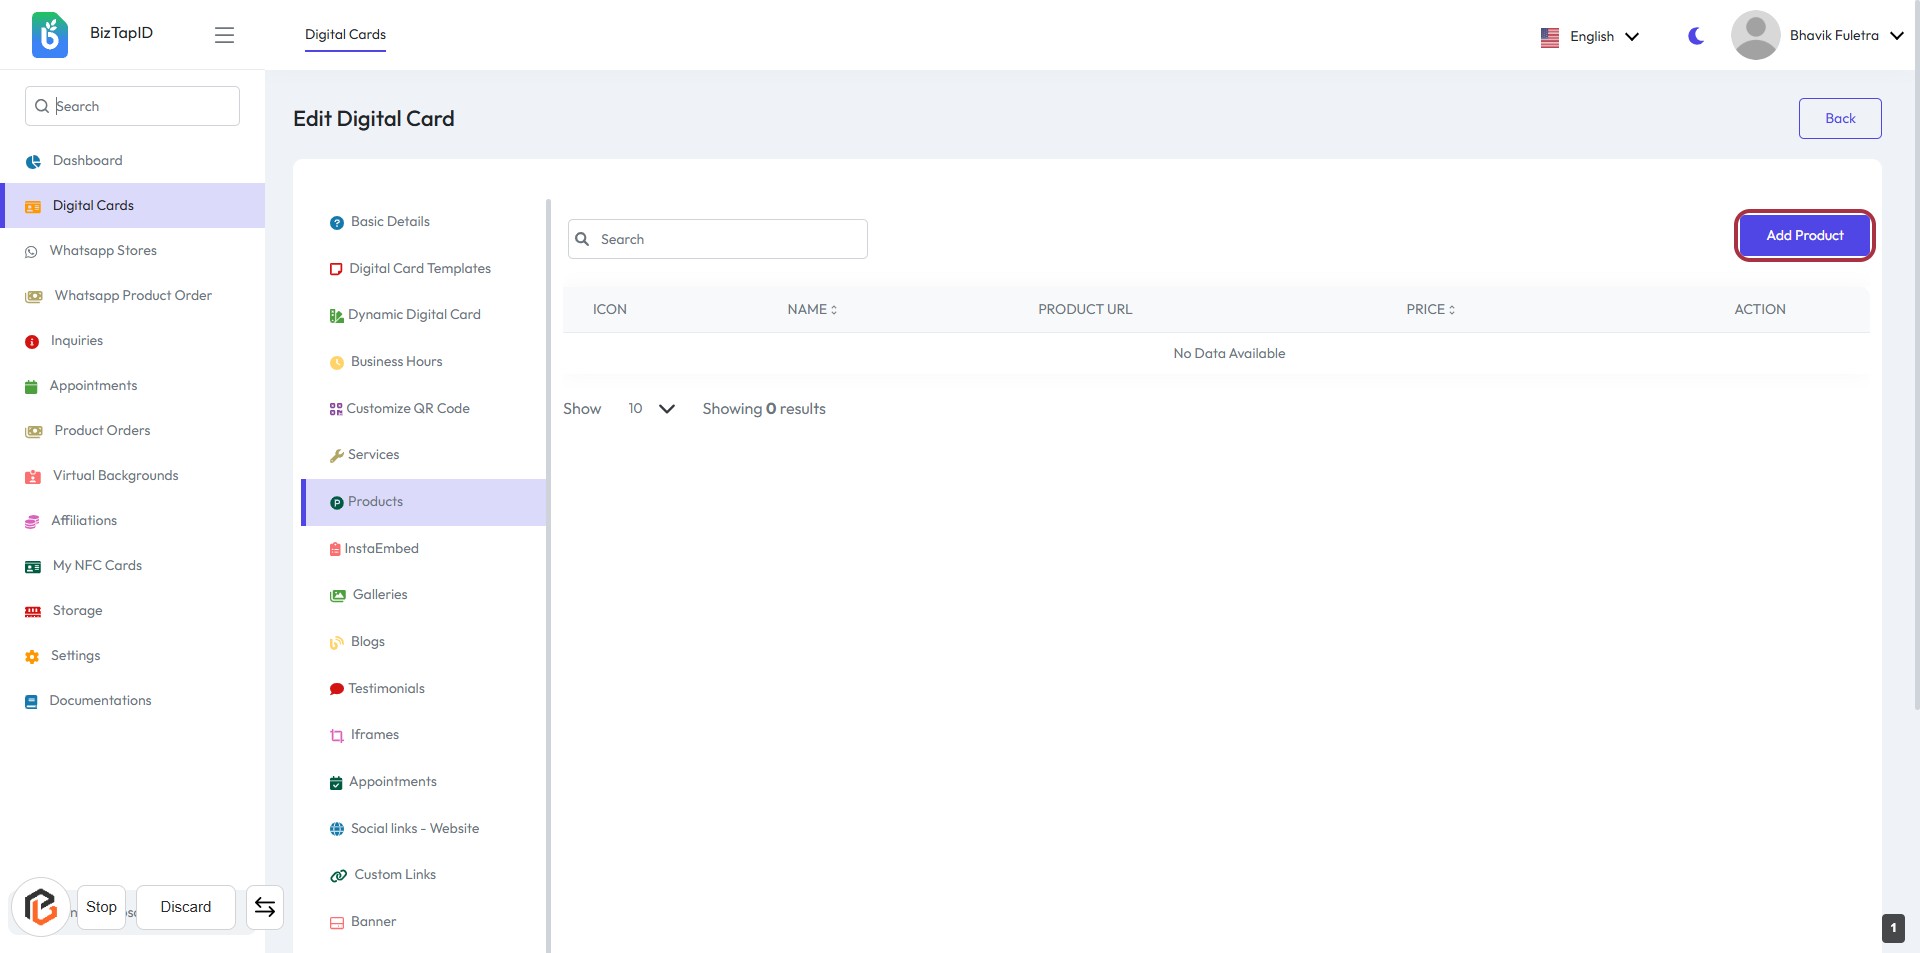
STEP 2: Click on "Add Product"
- Navigate to the "Products" section.
- Click on the Add Product button located in the upper right corner.
- This action will take you to the product entry form.
- Ensure all required fields marked with an asterisk (*) are filled out in the next step.
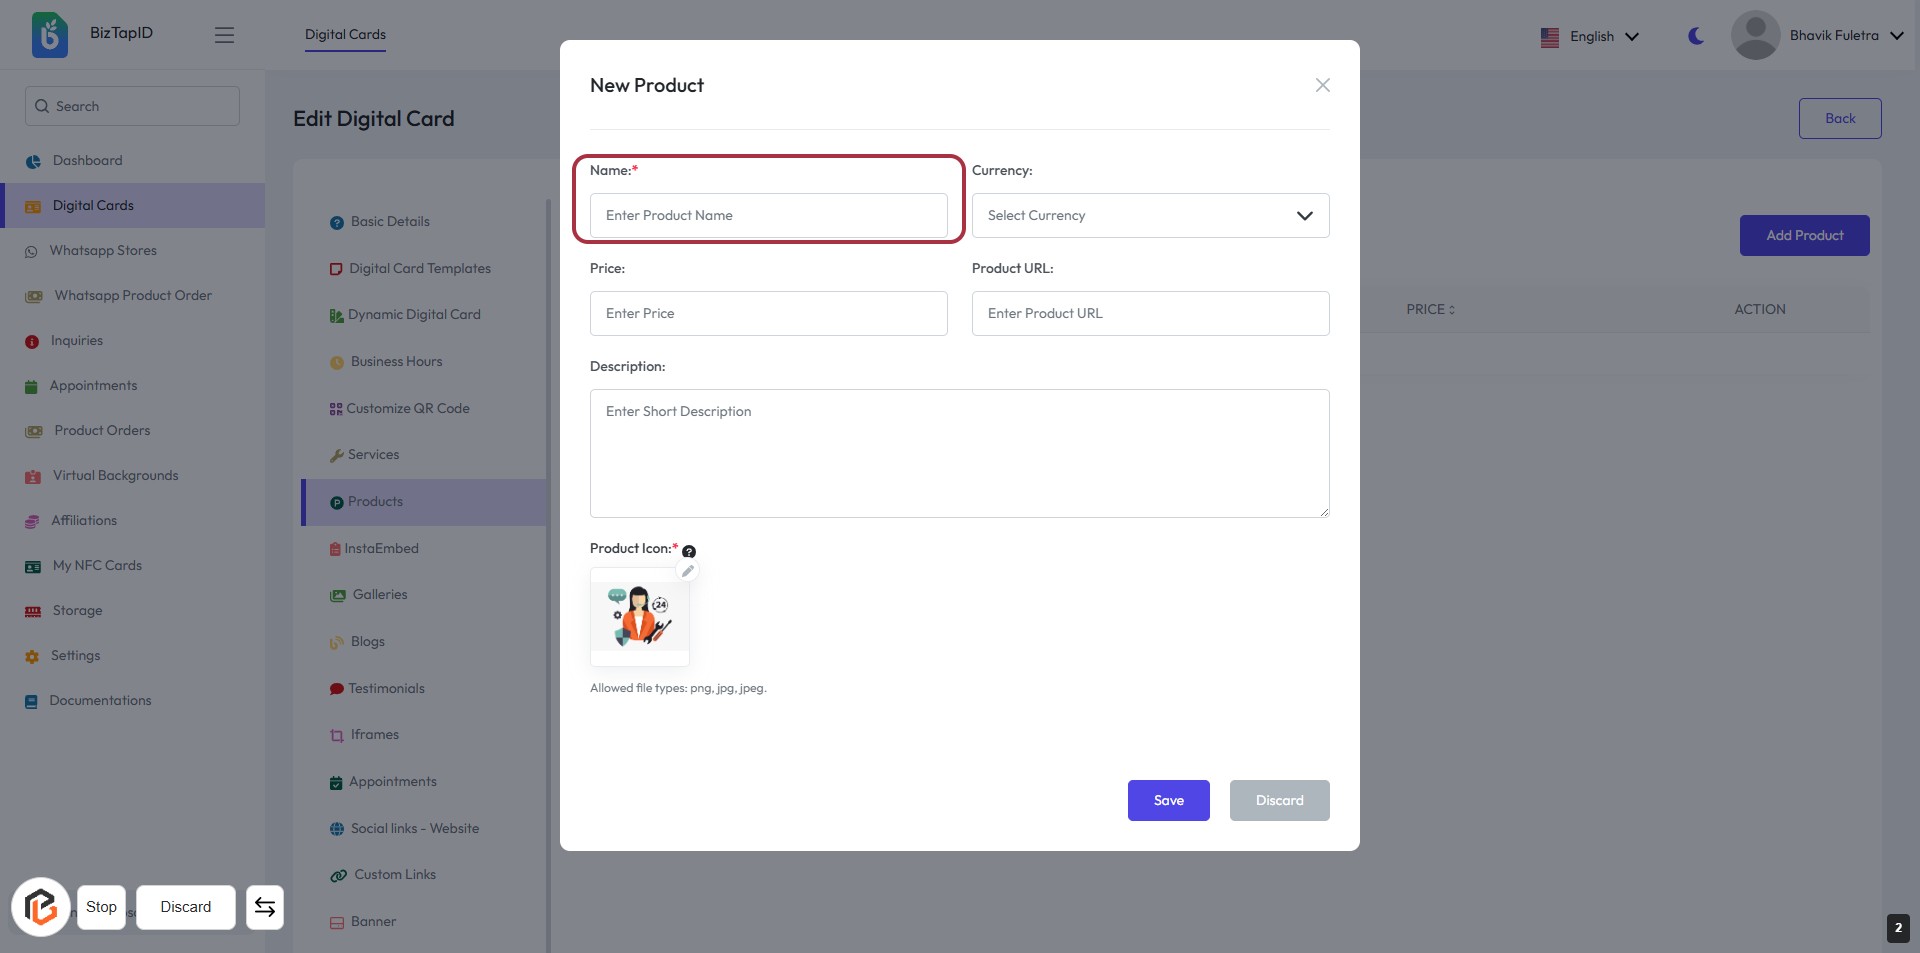
STEP 3: Enter Product Name
- Click on the "Name" field to input the product name.
- Ensure to fill this field as it is marked with an asterisk (*), indicating it is required.
- After entering the name, proceed to the next step to select the currency.
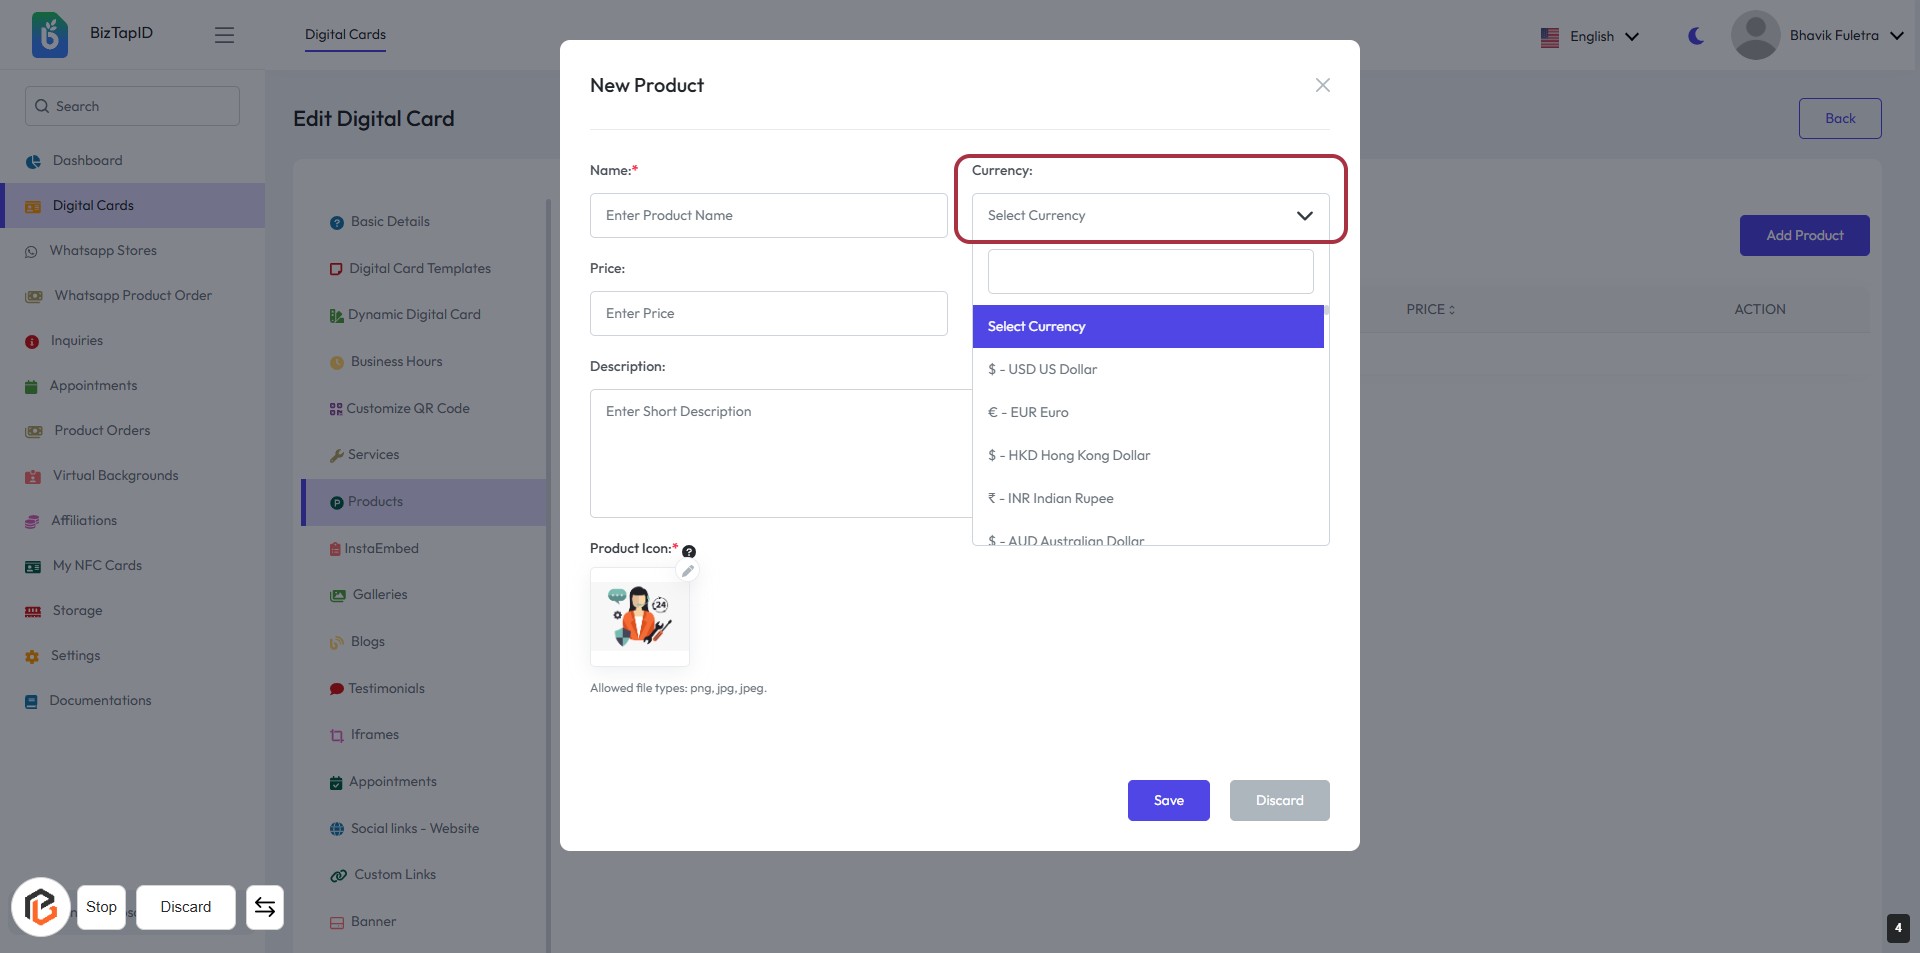
STEP 4: Select Currency
- Click on the "Select Currency" dropdown.
- Choose your desired currency from the list (e.g., USD, EUR, HKD, INR, AUD).
- Ensure the selected currency is displayed in the field.
- Proceed to the next step by entering the price.
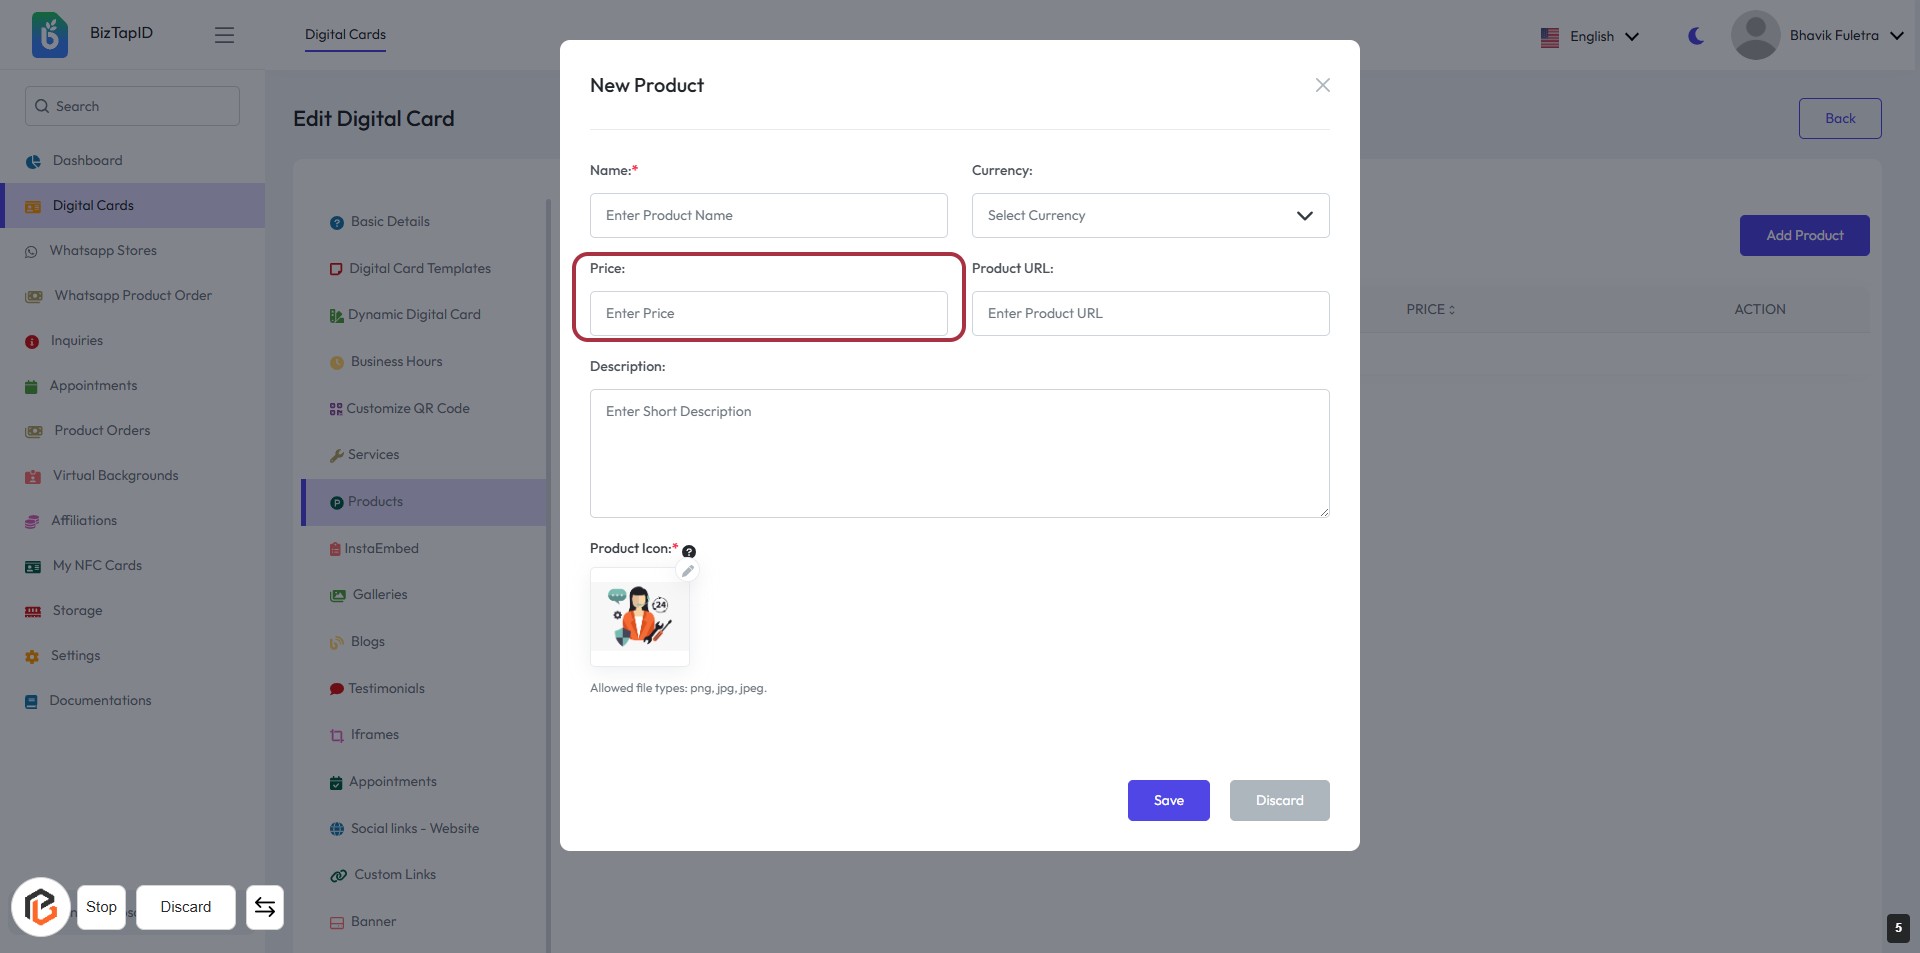
STEP 5: Enter Price for the Product
- Click on the "Price" field in the form.
- Enter the desired price for the product.
- Ensure the field is filled as it is required (indicated by the asterisk).
- Review other fields like "Name," "Currency," and "Product URL" for completeness before proceeding.
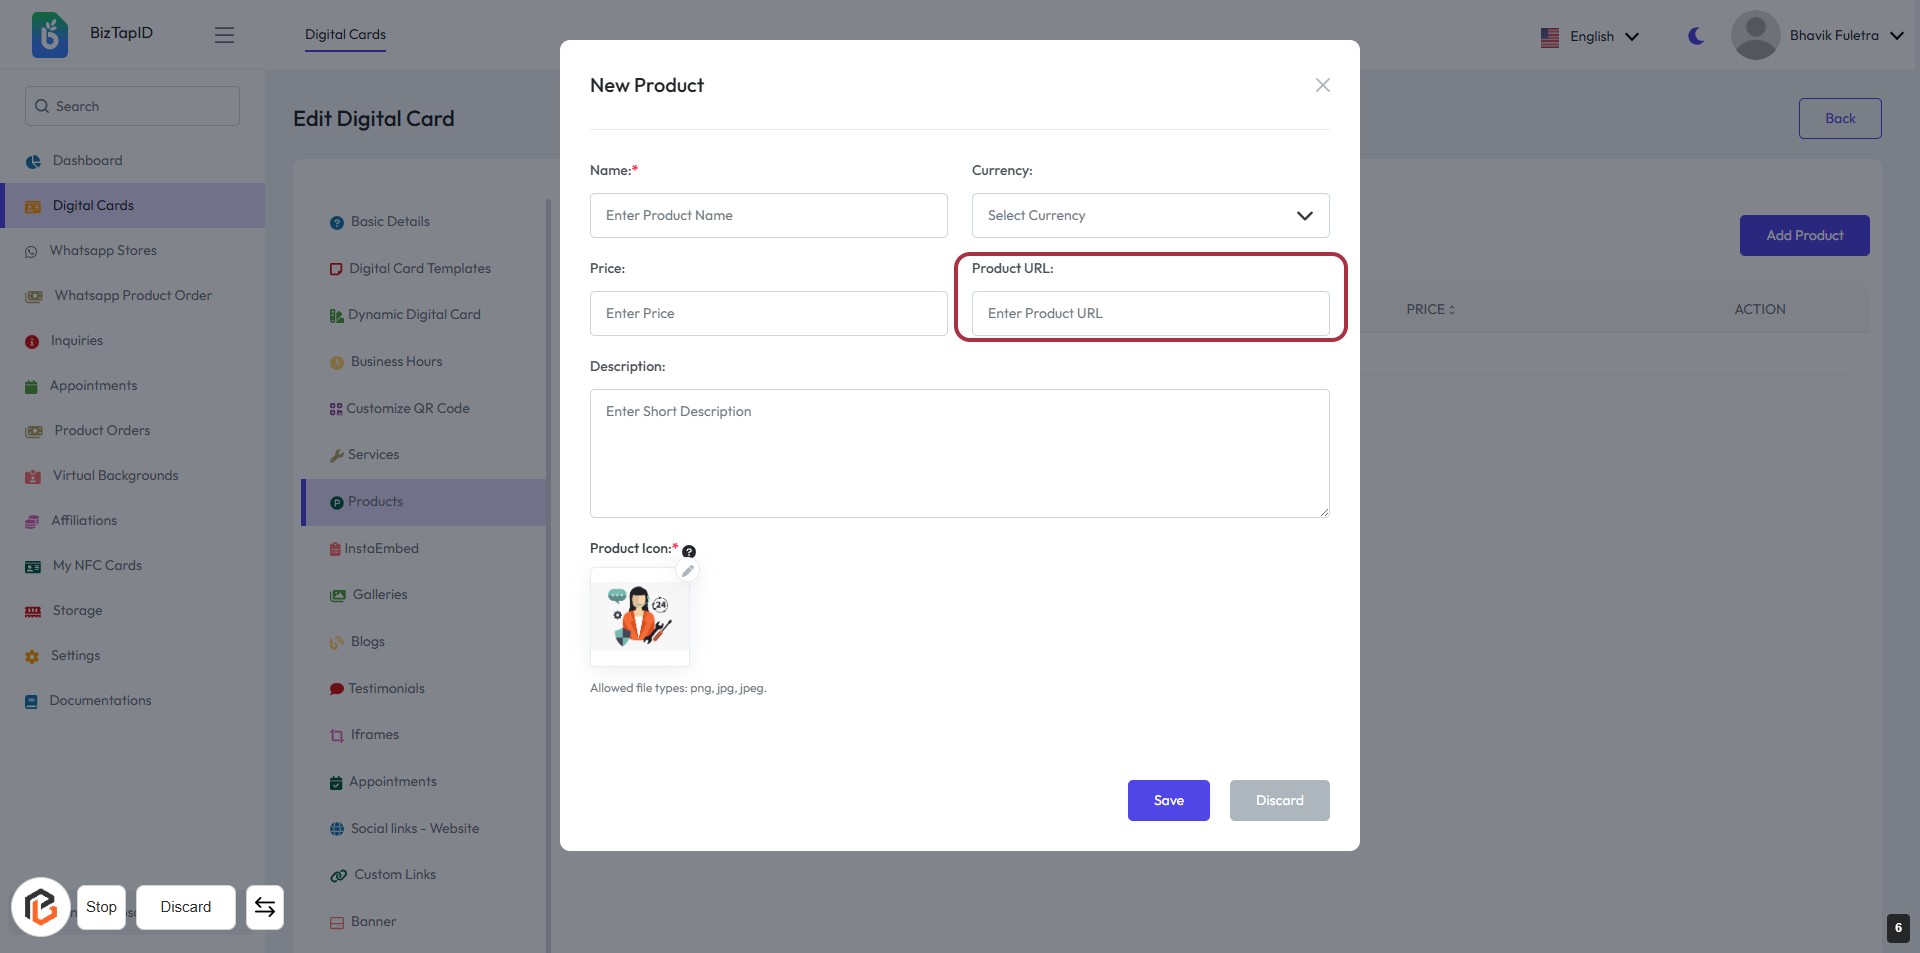
STEP 6: Enter Product URL
- Click on the "Product URL" field highlighted in red.
- Enter the URL where the product can be found.
- Ensure the URL is valid and accessible.
- Proceed to the next step by filling in the "Description" field.
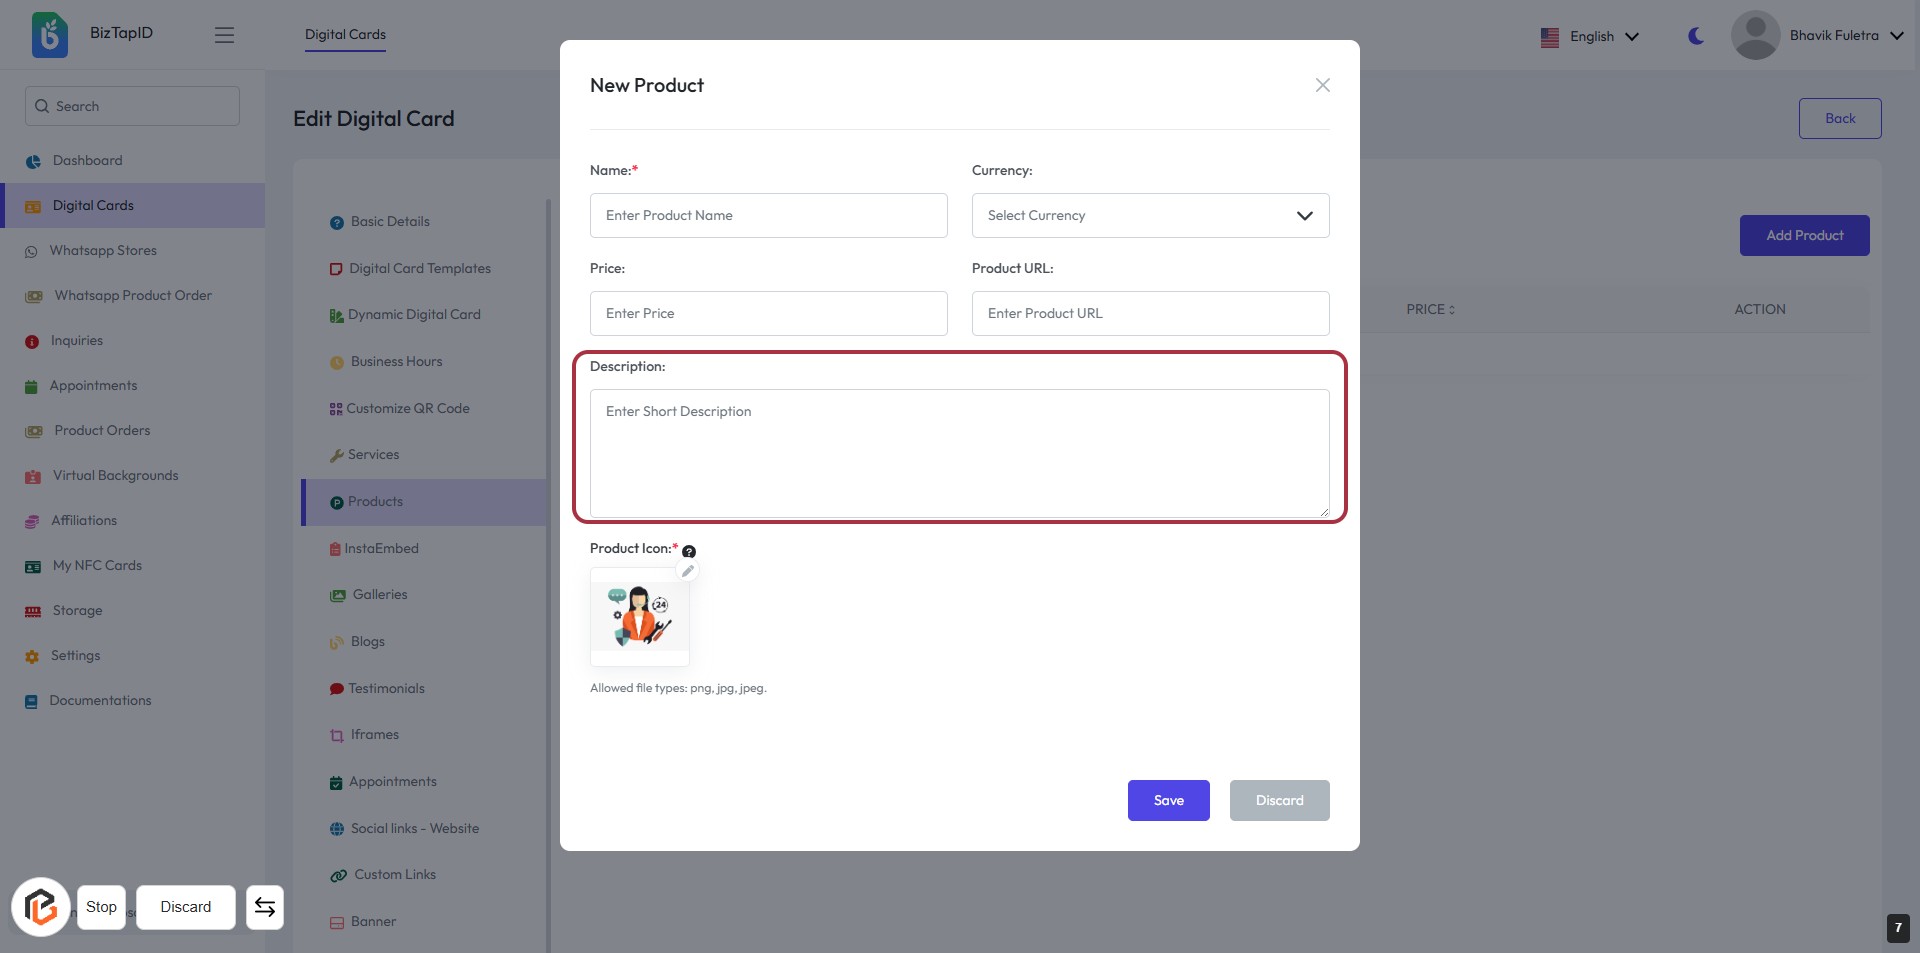
STEP 7: Click "Description" to Enter Product Details
- Click on the Description field to provide a short description of the product.
- Ensure to fill in any required fields marked with an asterisk (*).
- Review the information for accuracy before proceeding to the next step.
- After entering the description, you will move on to upload the Product Icon.
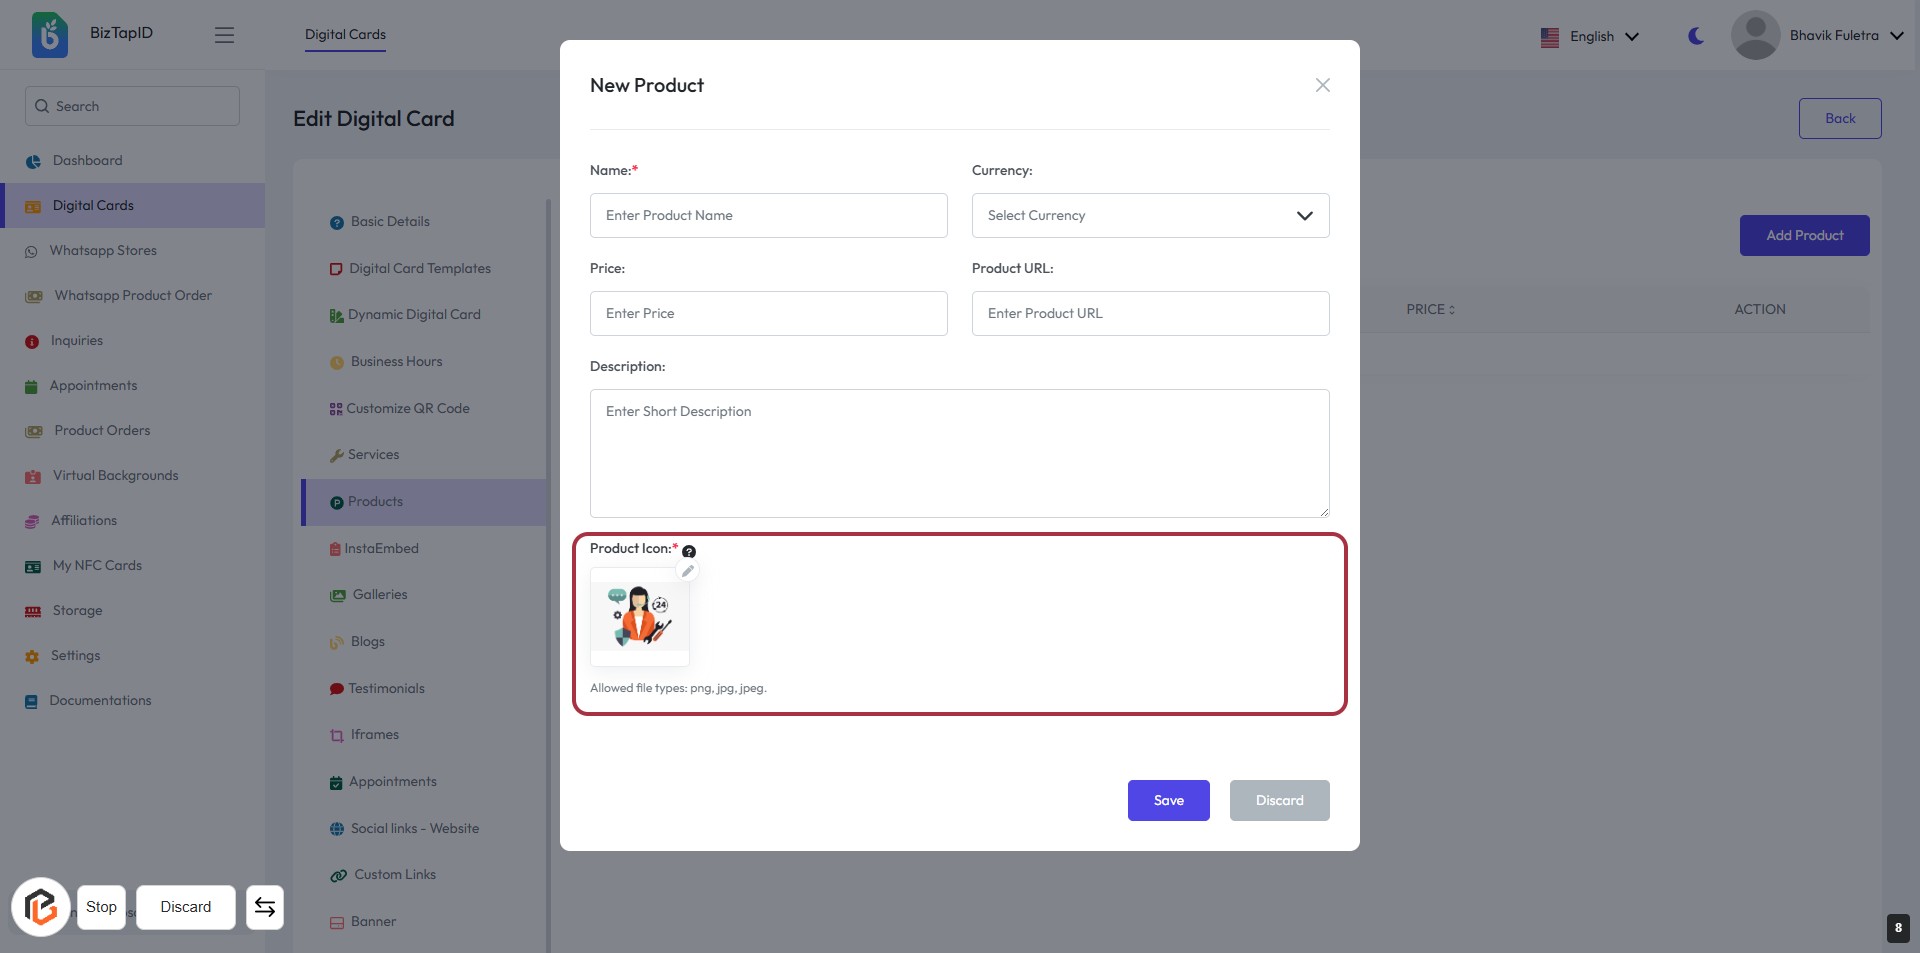
STEP 8: Upload Product Icon
- Click on the Product Icon area to upload an image.
- Ensure the image file is in one of the allowed formats: png, jpg, jpeg.
- This field is mandatory, indicated by the asterisk (*).
- After uploading, verify the image appears correctly before proceeding.
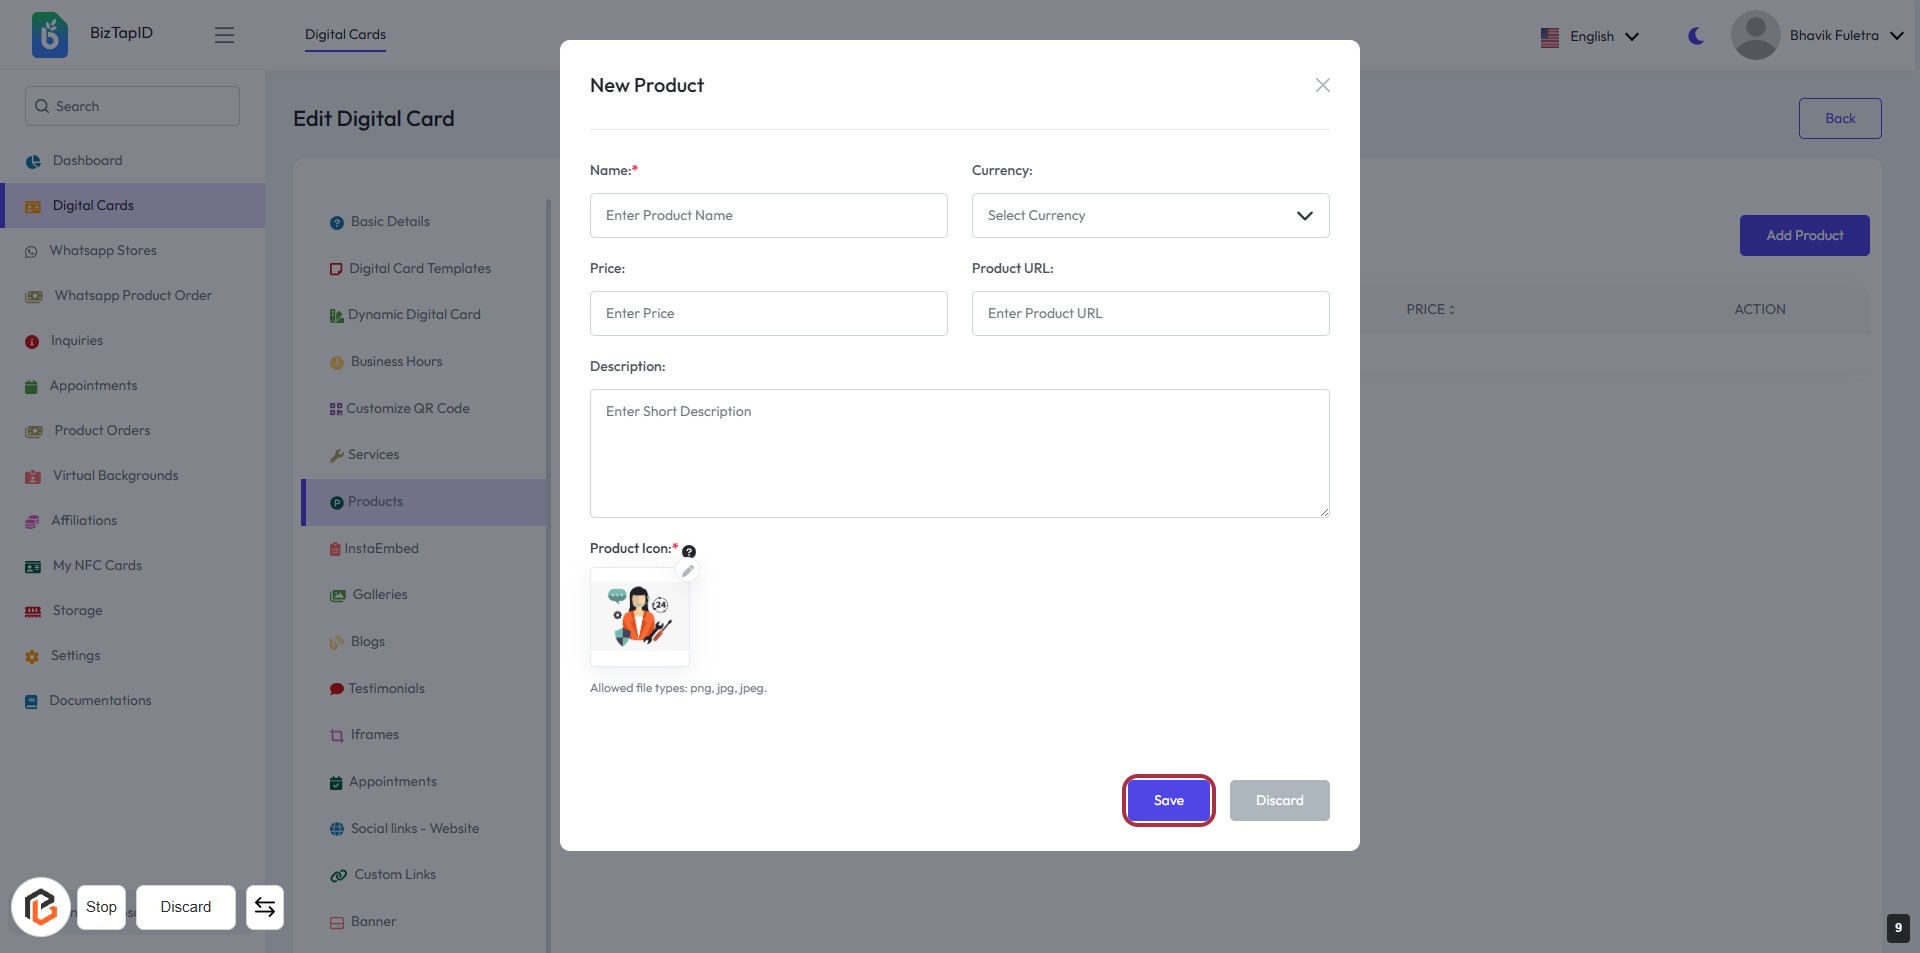
STEP 9: CLICK on "Save" Button
- Ensure all required fields (marked with *) are filled:
- Name
- Currency
- Price
- Product URL
- Product Icon
- Review your entries for accuracy.
- Click the Save button to finalize the product addition.
- If needed, you can discard changes by clicking the Discard button.