Comprehensive Guide to Adding and Customizing Social Links on Your Digital Card
13 mins read · Updated 01 Oct, 2025
STEP 1: Click on "Social links - Website"
- Navigate to the "Social links - Website" section on the left sidebar.
- Click on the highlighted link to access the relevant settings.
- Ensure you are on the "Edit Digital Card" page.
- Prepare to add any social links as per your requirements.
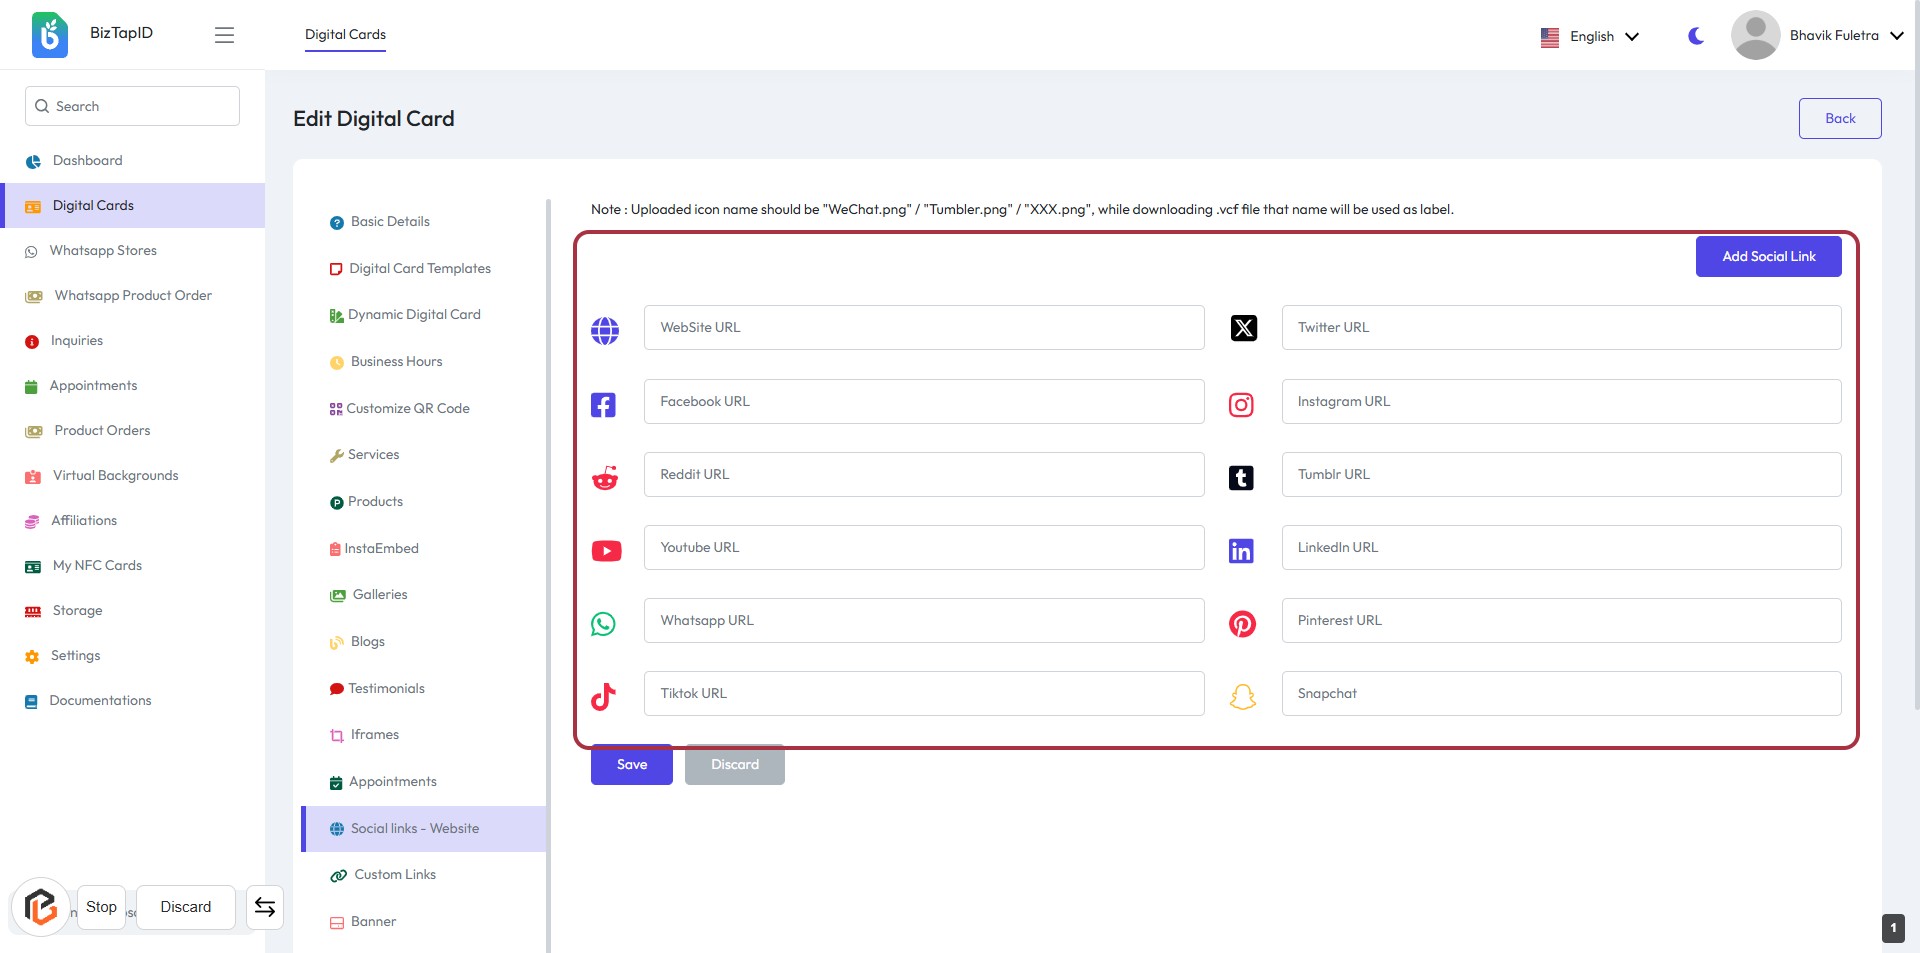
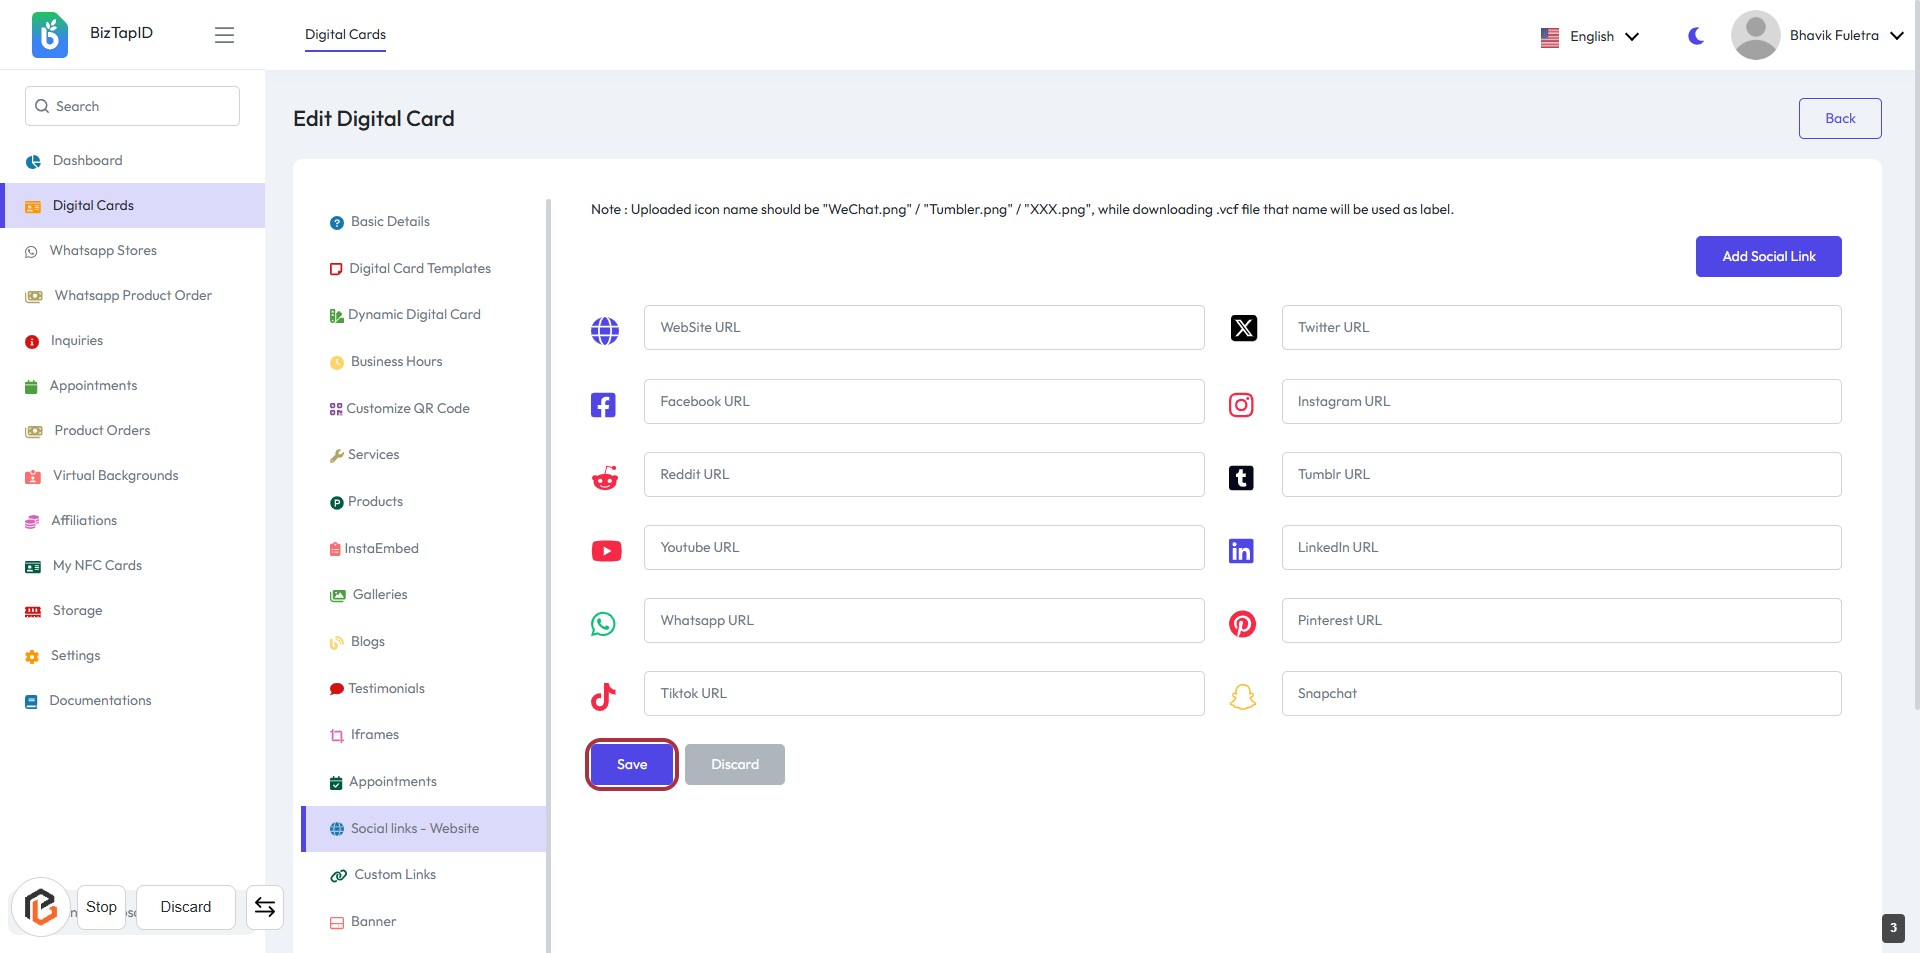
STEP 2: Click "Add Social Link" to Include Your Social Media URLs
- Navigate to the highlighted area in the form.
- Click on the "Add Social Link" button to initiate adding a new social media link.
- Fill in the required fields for each social media platform (e.g., Website URL, Facebook URL, etc.).
- Ensure to check for any fields marked with an asterisk (*) for mandatory inputs.
- After entering the links, proceed to save your changes.
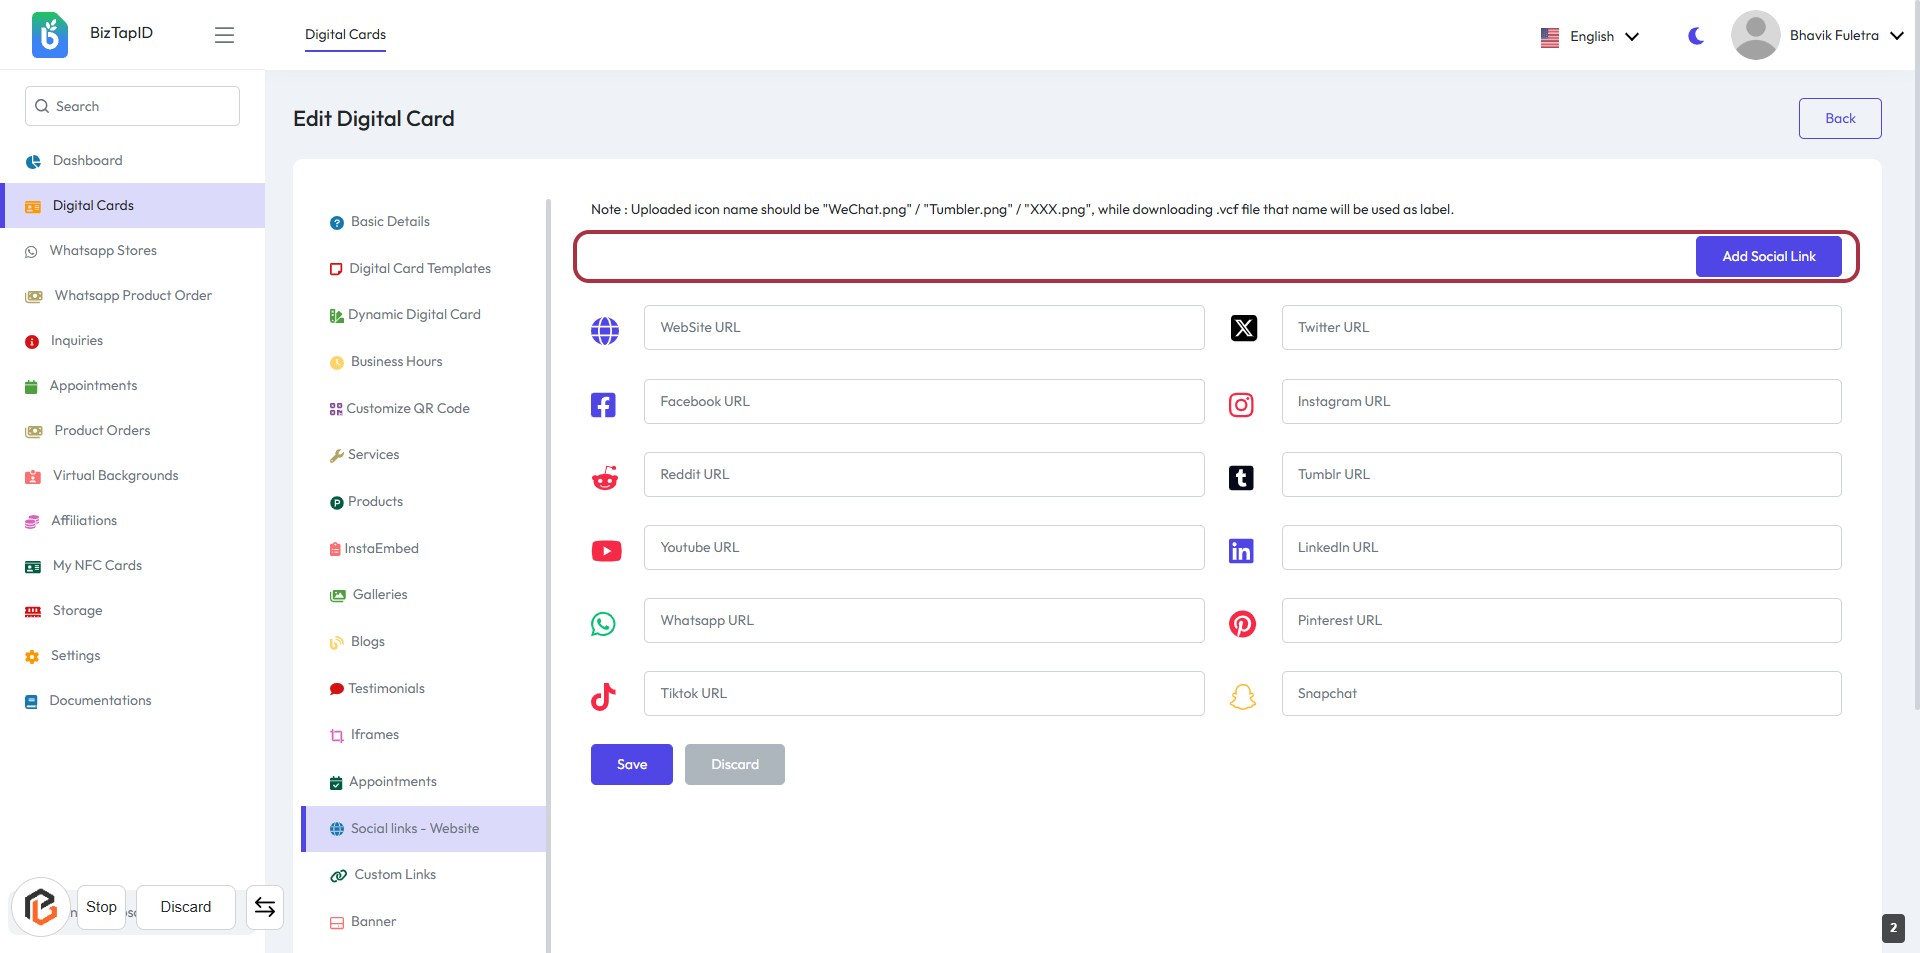
STEP 3: Click "Add Social Link" to Include Your Social Media URLs
- Locate the highlighted area at the top of the form.
- Click on the "Add Social Link" button to add a new social media URL.
- Ensure to fill in the required fields for each social media link.
- Look for labels with an asterisk (*) to identify mandatory inputs.
- Proceed to the next step by clicking the "Save" button after entering your links.
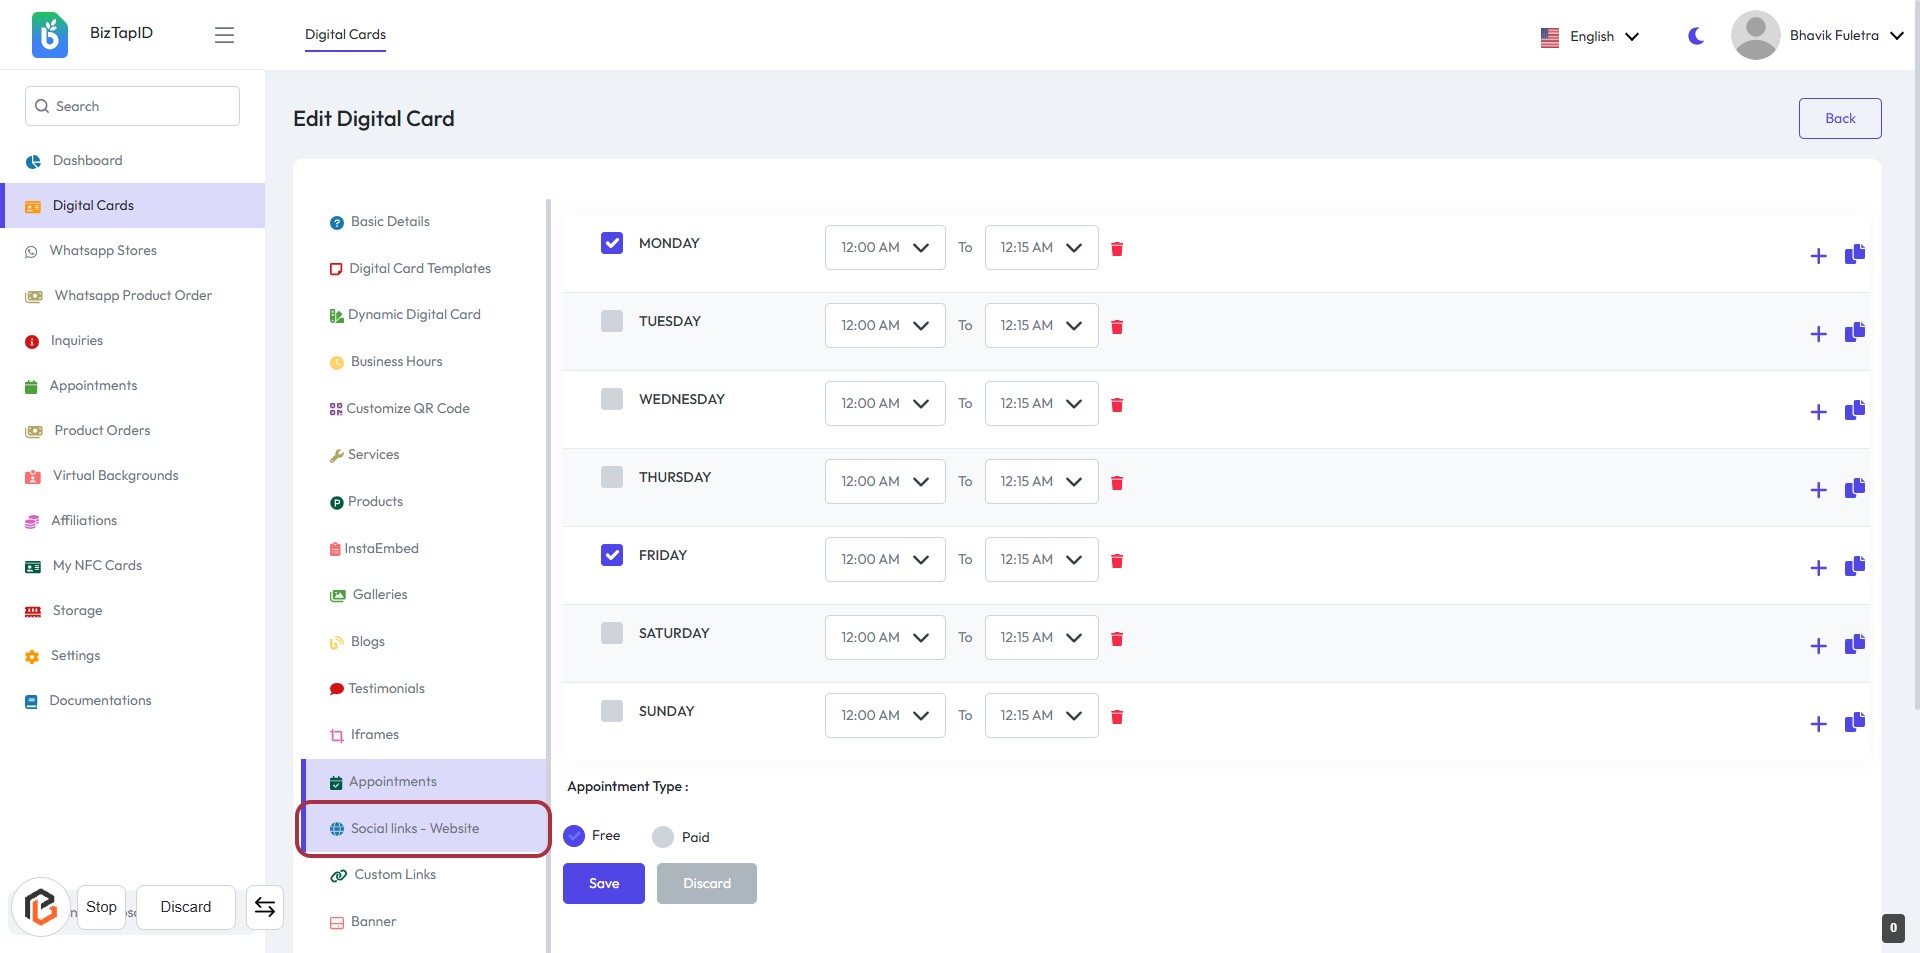
STEP 4: Click on "Save" to Finalize Your Social Links
- Ensure all social media URLs are filled in the provided fields.
- Review the entered information for accuracy.
- Click the Save button located at the bottom of the form to save your changes.
- If needed, you can also click Discard to cancel any changes made.
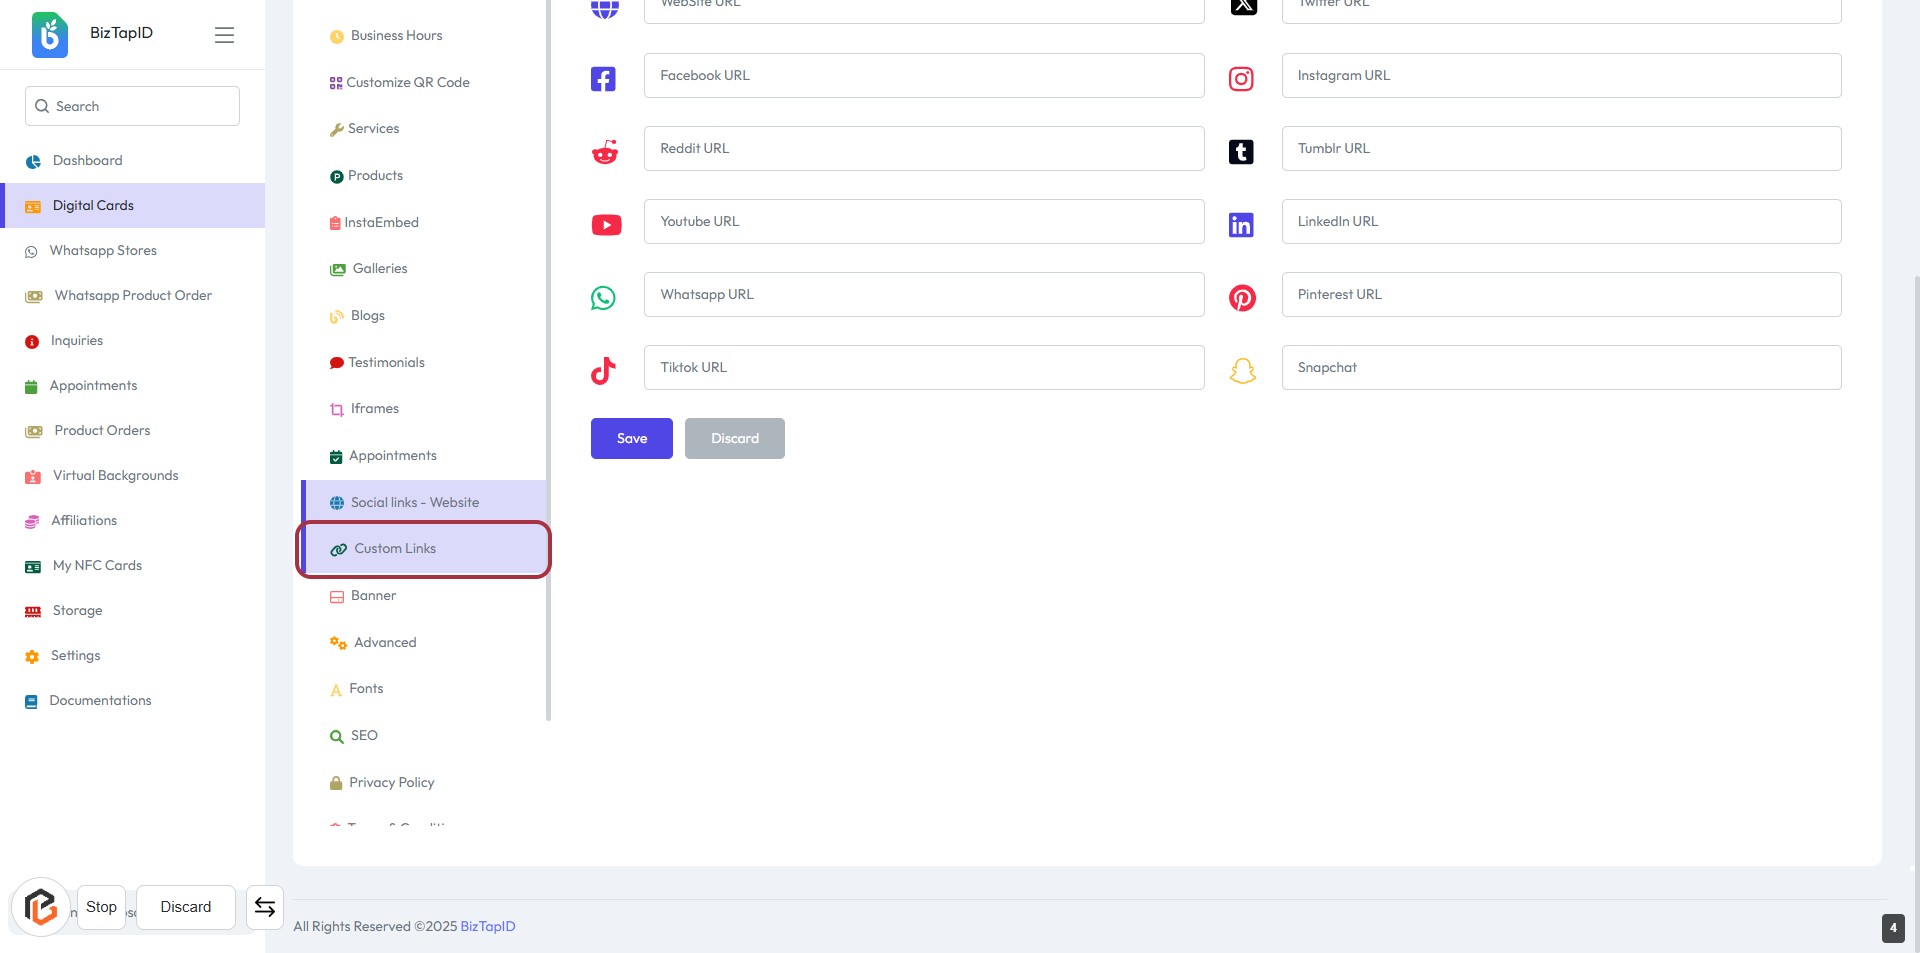
STEP 5: Click on "Custom Links" to Access Additional Options
- Navigate to the Custom Links section in the sidebar.
- This section allows you to manage and add custom social media links.
- Ensure all required fields are filled in, indicated by an asterisk (*).
- After reviewing, proceed to the next step by clicking on Add Custom Link.
STEP 6: Click on "Add Custom Link"
- Navigate to the "Custom Links" section.
- Click on the "Add Custom Link" button highlighted in red.
- This action will allow you to add a new custom link to your digital card.
- Ensure all required fields are filled out in the next step.

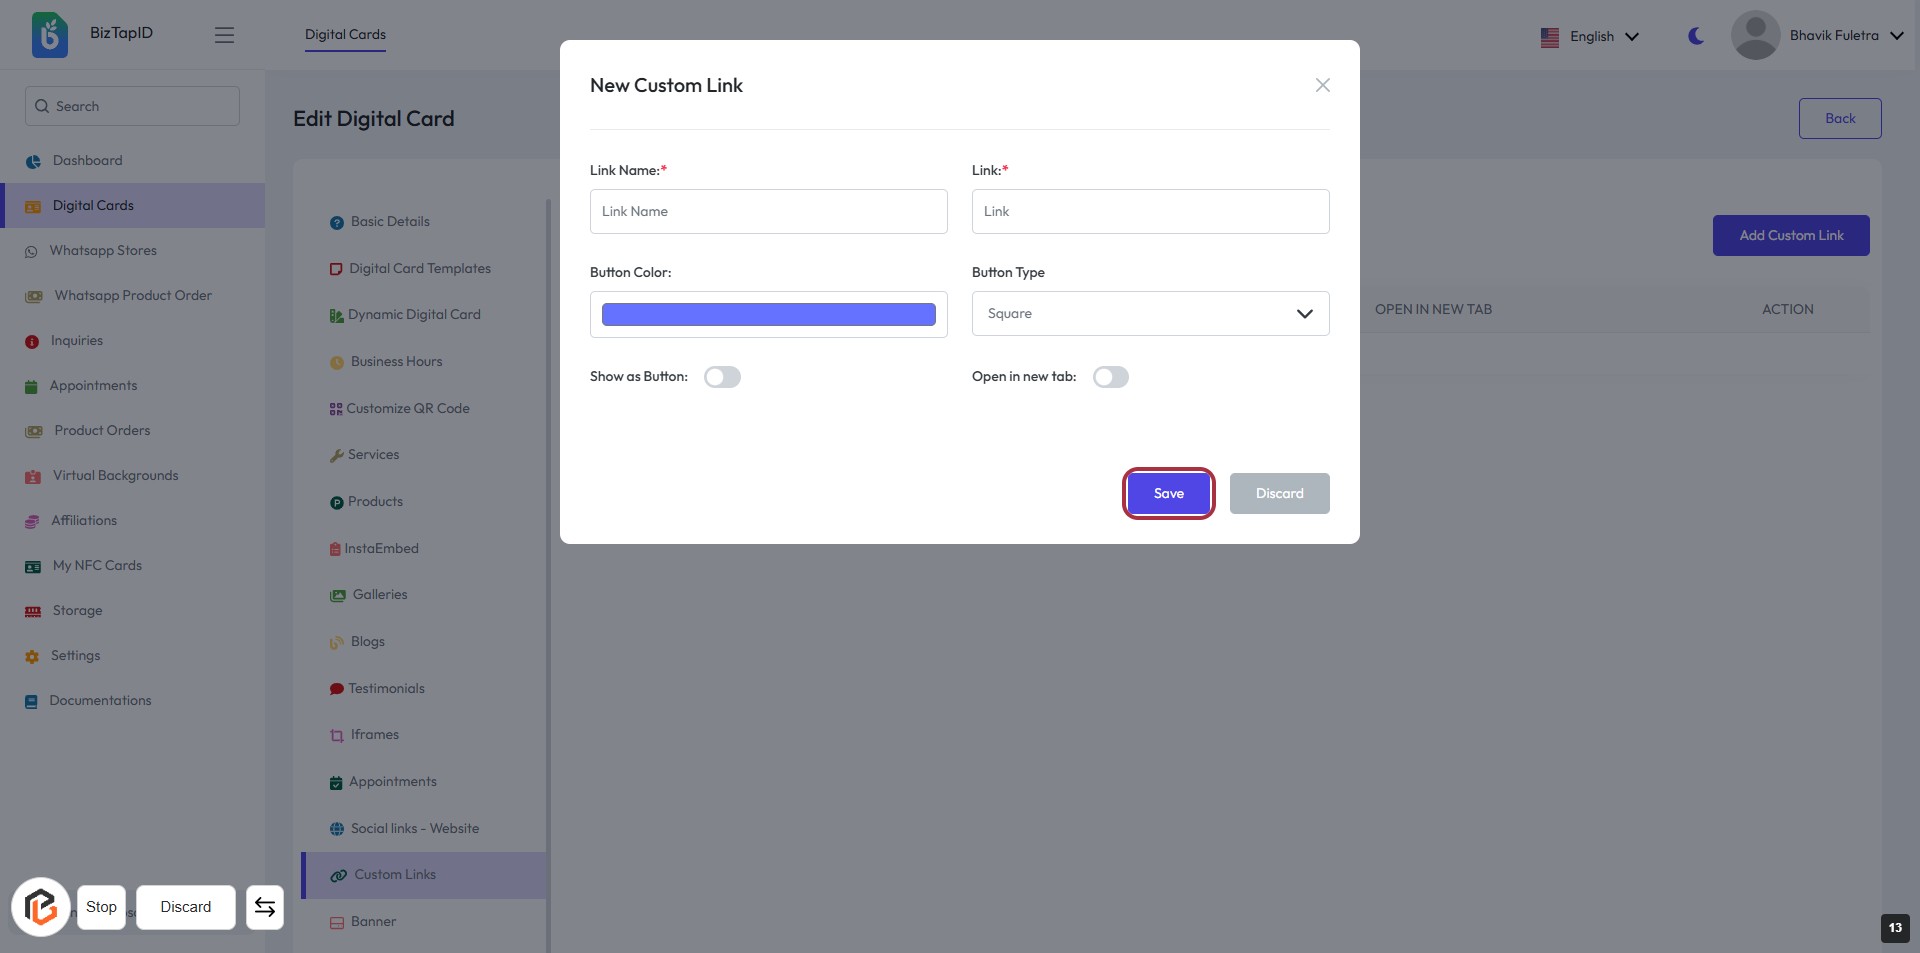
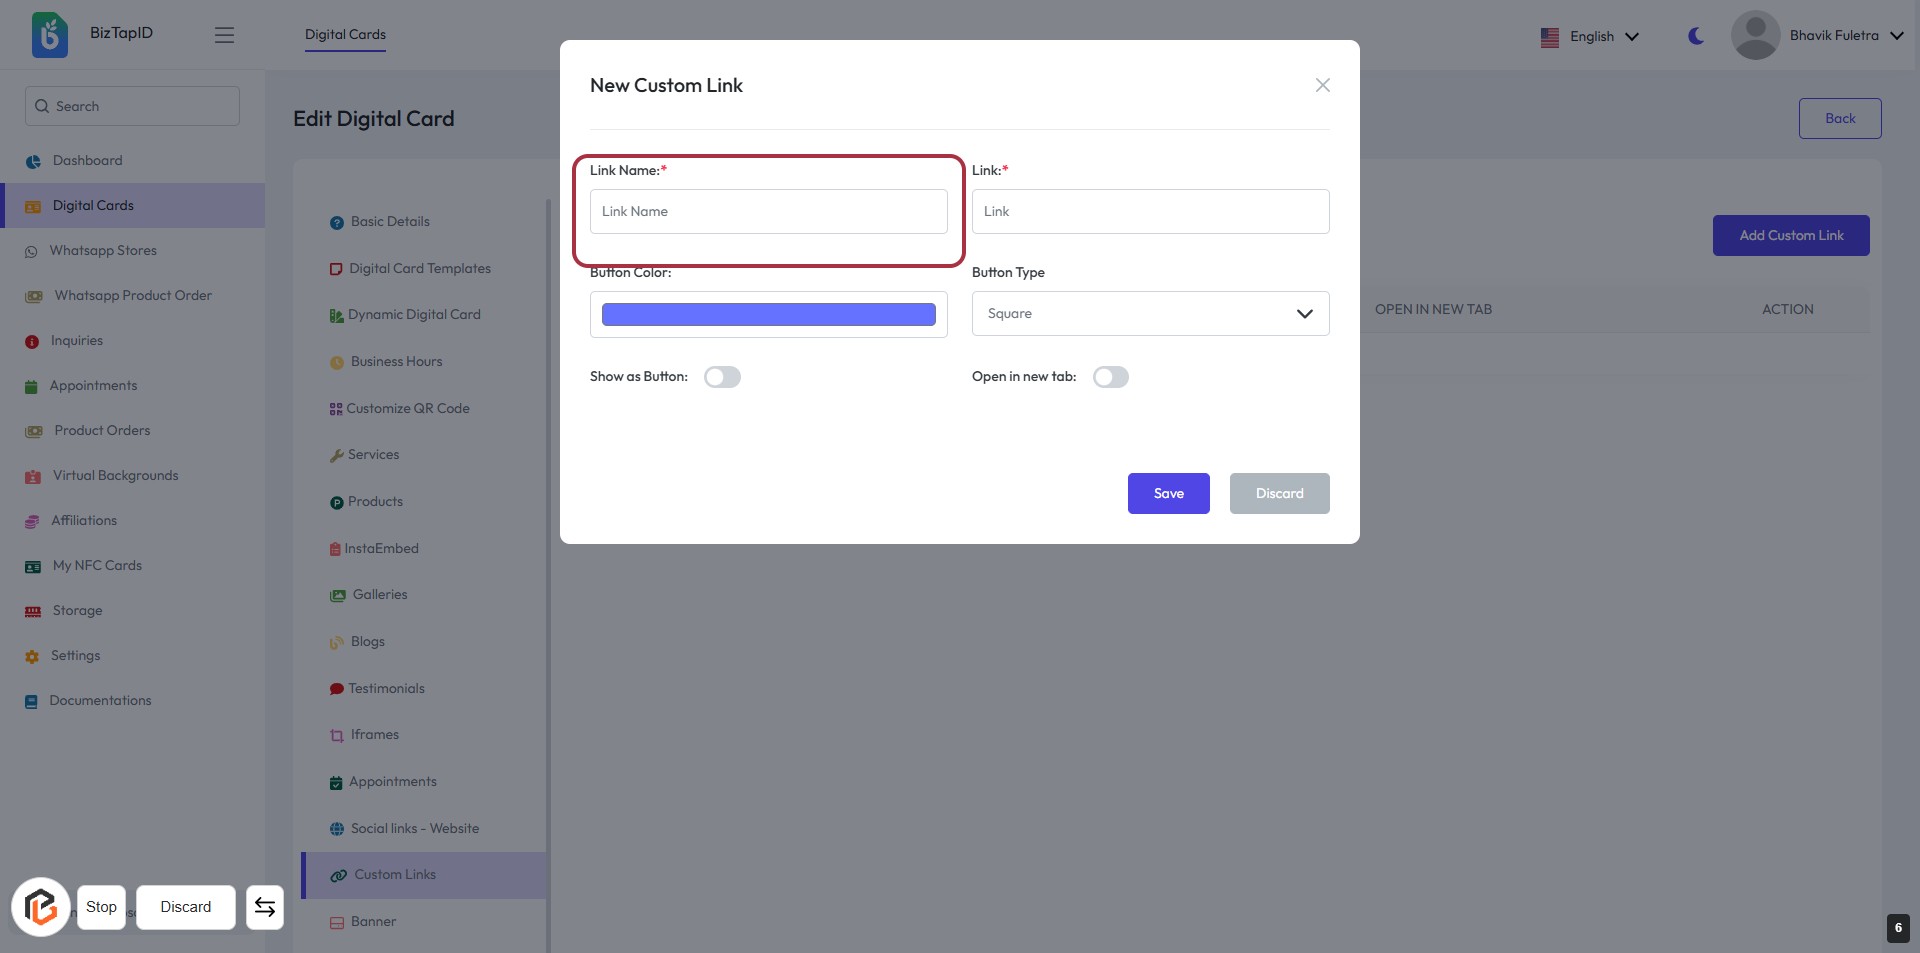
STEP 7: Enter "Link Name"
- Click on the highlighted area labeled "Link Name:" to input the desired name for your custom link.
- Ensure that this field is filled as it is marked with an asterisk (*), indicating it is required.
- After entering the link name, proceed to the next step to add the actual link.
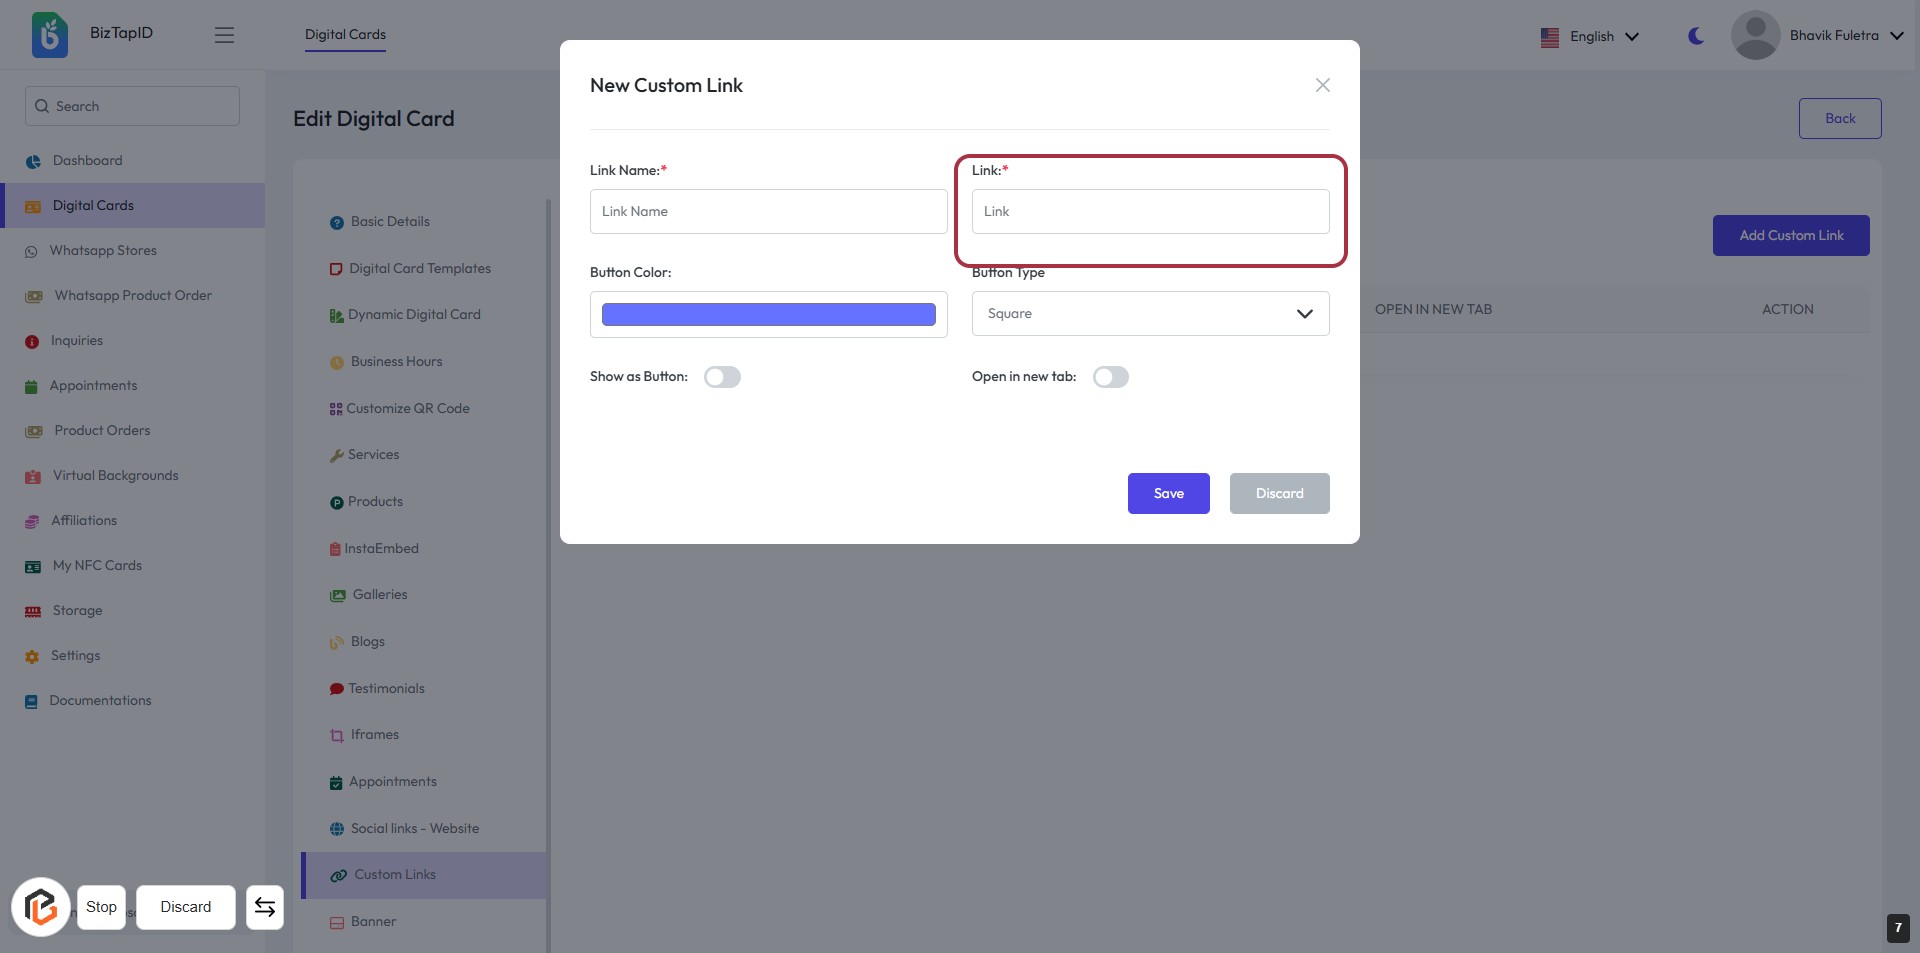
STEP 8: Click "Link" to Add a Custom Link
- Click on the Link field to enter the URL for your custom link.
- Ensure the field marked with an asterisk (*) is filled, as it is required.
- Review other fields such as Link Name and Button Type for additional customization.
- After entering the link, proceed to the next step to choose the Button Color.
STEP 9: Select Button Color
- Click on the "Button Color" area highlighted in red.
- Choose your desired color for the button from the color options available.
- Ensure that the color aligns with your branding or design preferences.
- After selecting, proceed to the next step to select the "Button Type."

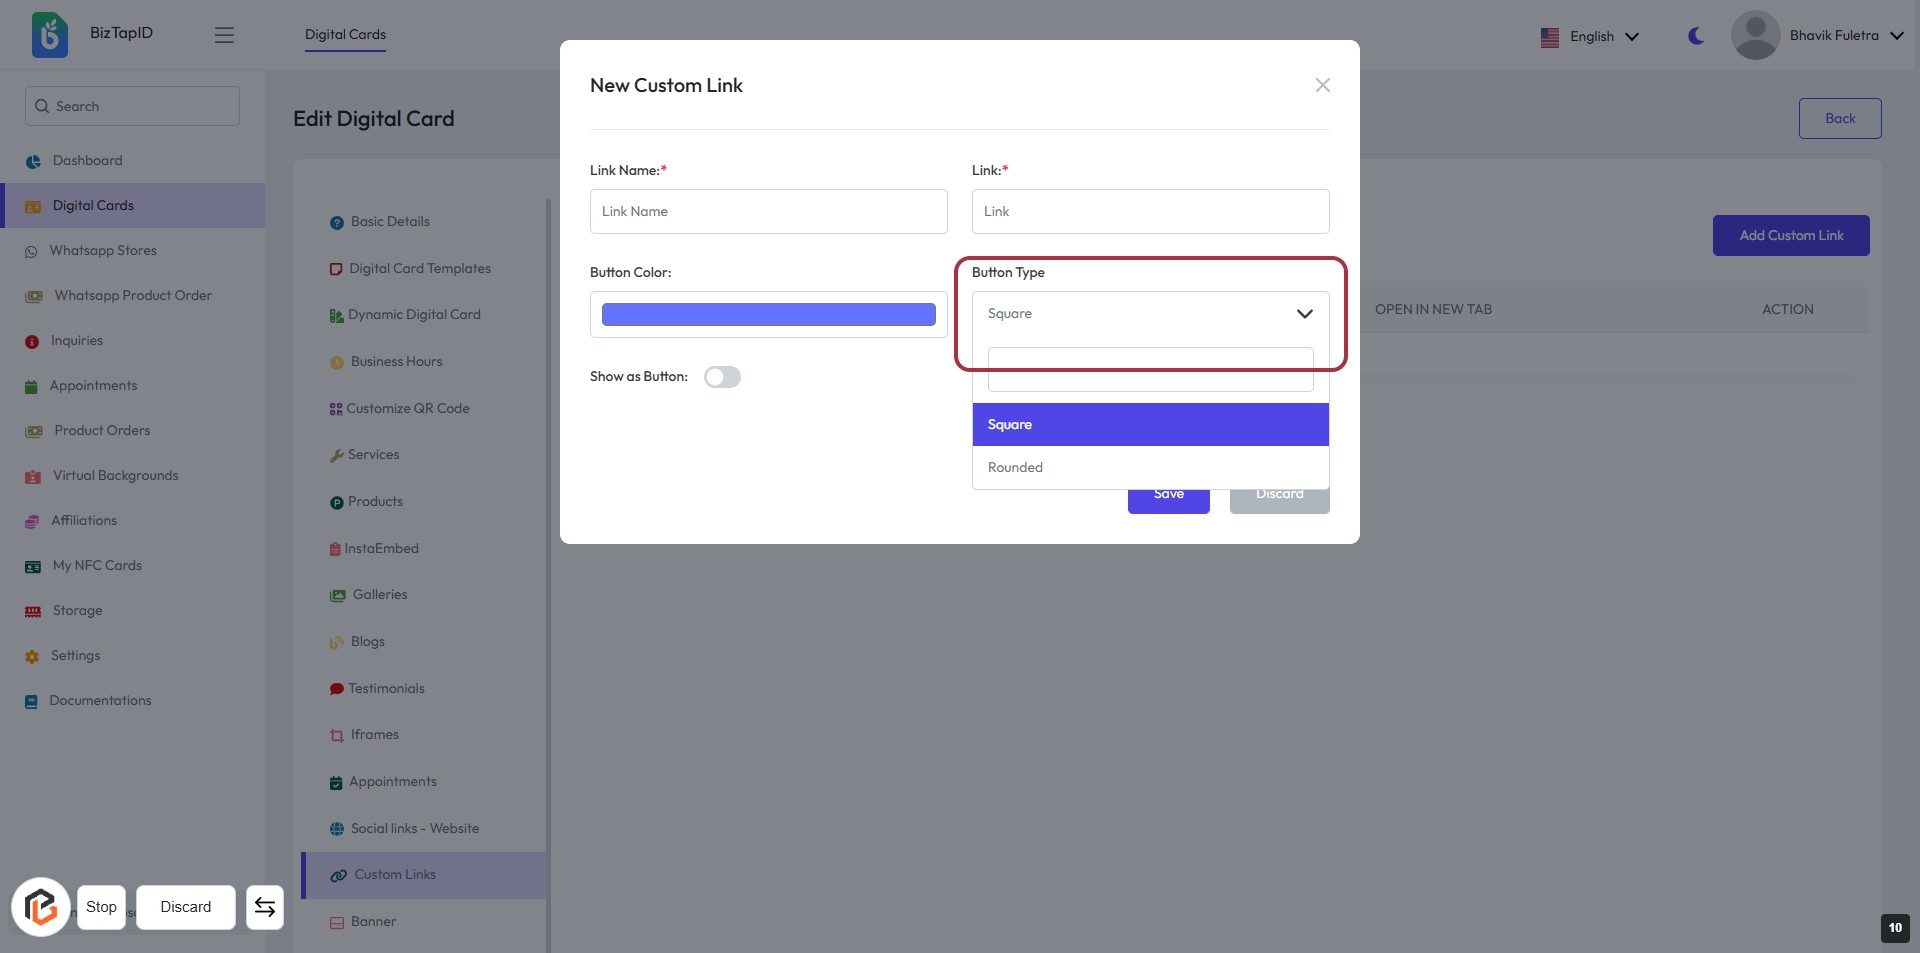
STEP 10: Select "Button Type"
- Click on the "Button Type" dropdown menu.
- Choose between "Square" or "Rounded" options.
- Ensure all required fields (Link Name, Link) are filled out.
- Review your selections before proceeding to the next step.
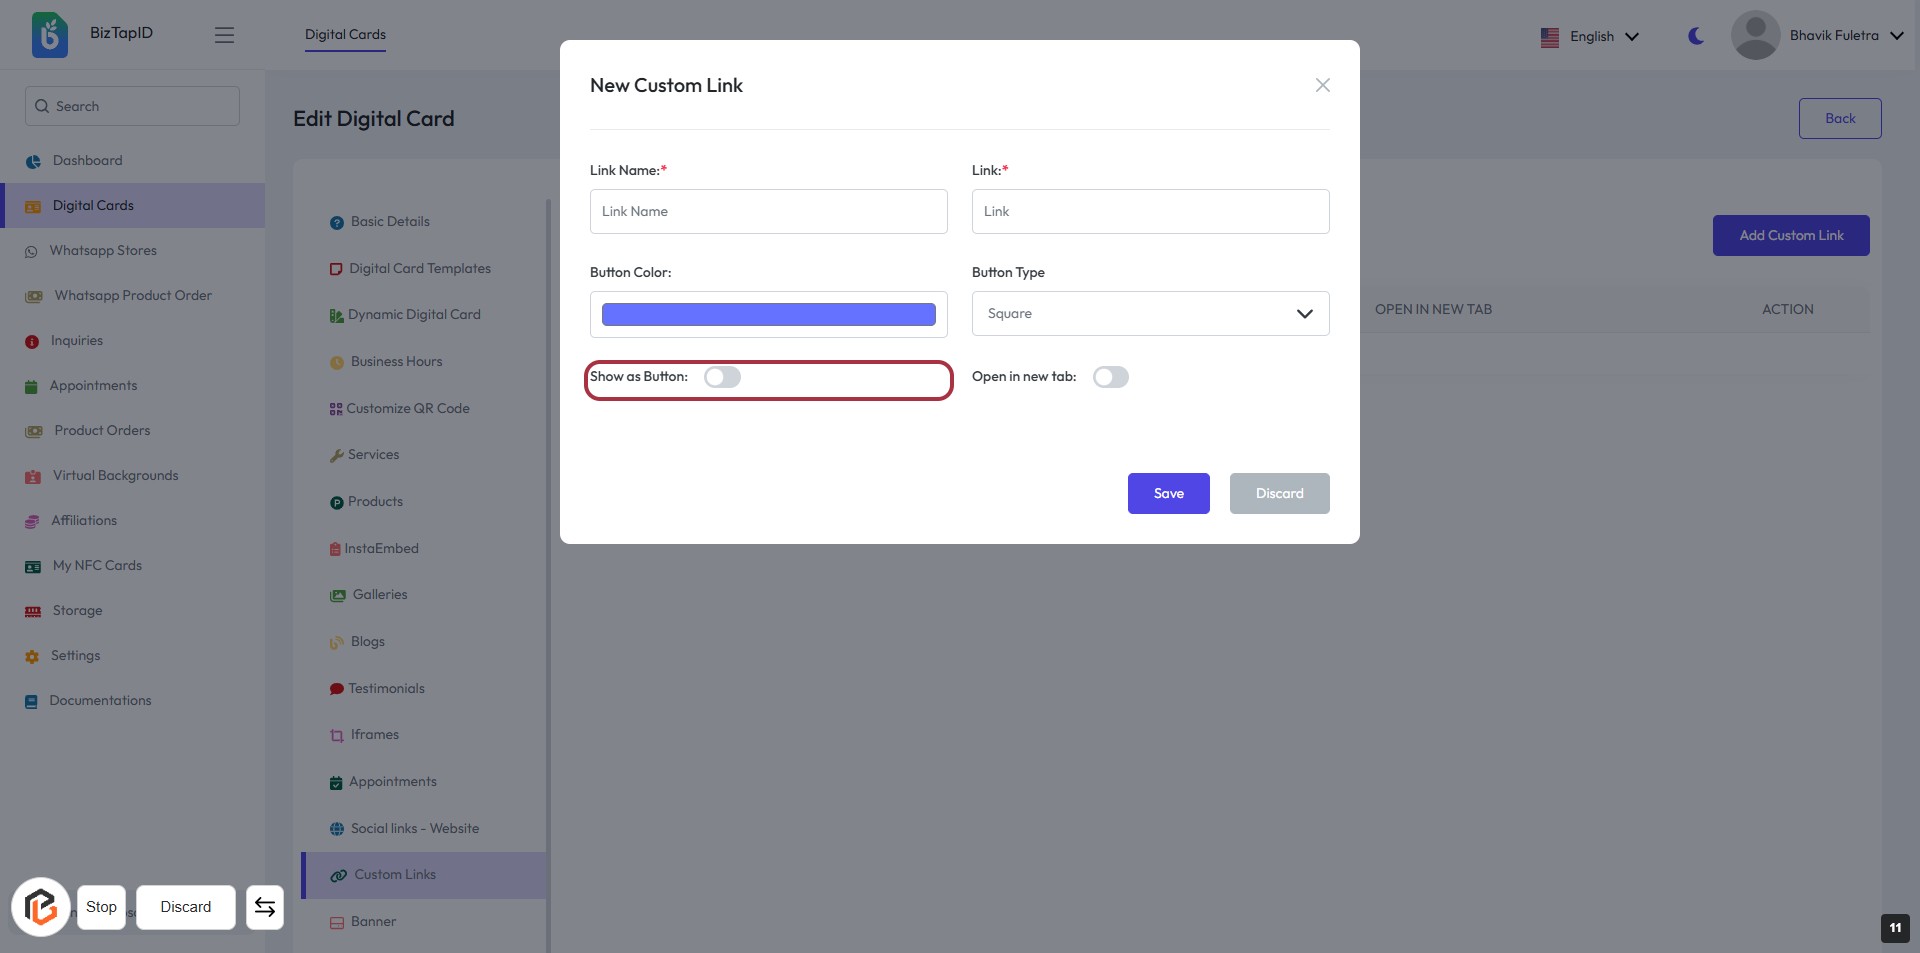
STEP 11: Click "Show as Button" to Enable Button Display
- Navigate to the "New Custom Link" form.
- Locate the "Show as Button:" toggle.
- Click on the toggle to enable or disable the button display.
- Ensure other required fields are filled, marked with an asterisk (*).
- Proceed to the next step to set "Open in new tab."
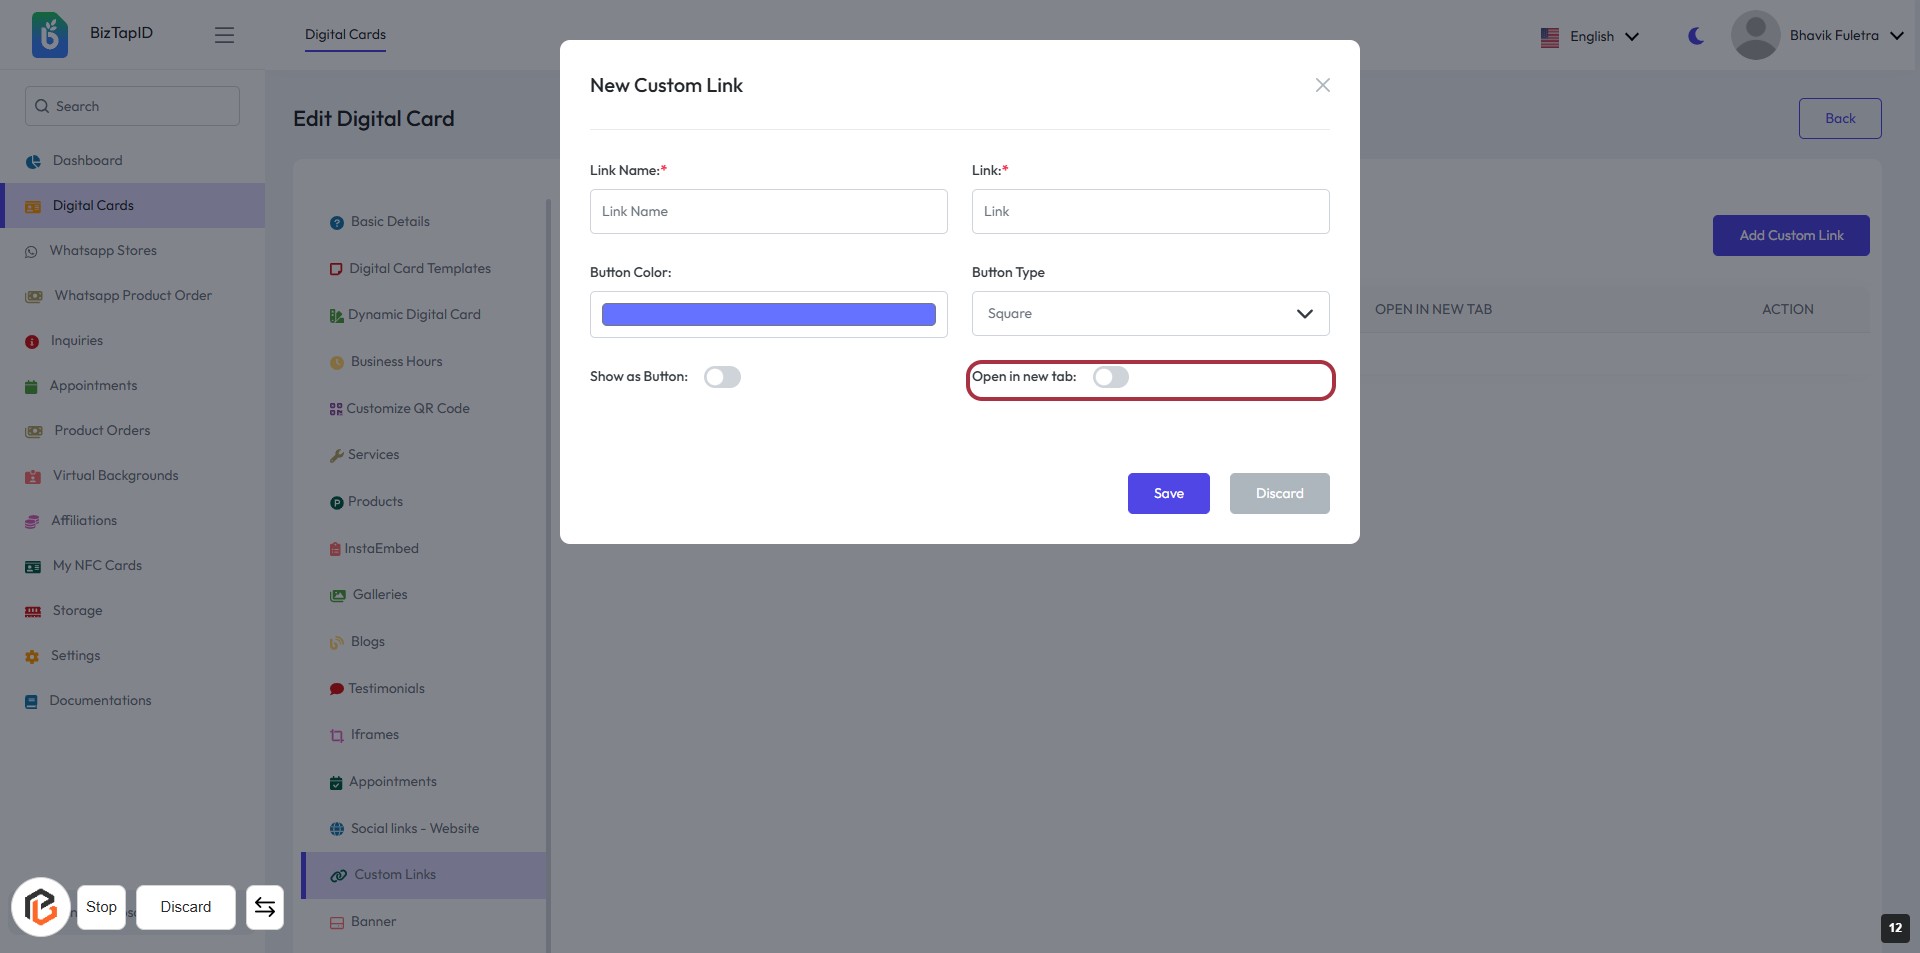
STEP 12: Click to Turn On "Open in New Tab" Option
- Locate the "Open in new tab:" option in the form.
- Click on the toggle switch to enable this feature.
- Ensure that the toggle changes position to indicate it is active.
- This setting allows the link to open in a new browser tab when clicked.
STEP 13: Click on "Save" Button
- Ensure all required fields (Link Name, Link) are filled in.
- Review the Button Color and Button Type selections.
- If needed, adjust the "Show as Button" toggle and "Open in new tab" option.
- Click the Save button to finalize your custom link.